11 Easter Egg Wreath Craft For Kids
11 Easter Egg Wreath Craft For Kids
Easter is the perfect time to welcome spring into your home and celebrate with family and friends.
You can also get your kids in on the fun by creating these adorable egg crafts. They’re not only easy to make, but they’ll be a great way for your little ones to get creative when it comes to showing off their Easter decorations. Keep reading for eleven of my favorite Easter egg wreath ideas!
Easy Easter Egg Wreath
If you are looking for an easy way to decorate your home, then this craft is perfect! Not only is it simple and inexpensive, but it also can be used as a table décor or a gift.
Materials.
- Easter eggs (as many as you want)
- Wire hanger or ribbon
- Glue gun and glue sticks (or any multipurpose adhesive)
Tools.
Paper plate or cardboard box cut into the shape of a circle (this will serve as your base)
To start with your wreath, take the paper plate/cardboard and glue it onto the center of your wire hanger/ribbon. Allow it to dry completely before proceeding.
Now you’re going to take all of those cute little colorful eggs that you bought from the dollar store and arrange them on top of each other in arcs around the center point until there aren’t enough left for another layer.
Easter Egg Wreath From Paper Plates
Materials.
- Paper plates (1 per child)
- Markers
- Construction paper in coordinating colors
Instructions
Use the markers to decorate each plate with holiday-themed designs, such as Easter egg baskets or bunnies. You can also draw on a face with the eyes and nose, but avoid drawing objects that could be chewed off by your child’s dog or swallowed by your baby’s teething ring.
Recycled paper plates work best for this craft because you don’t need to worry about them being eaten by your pets; however, if you have pet-friendly plates then go ahead and use those instead! Your child should enjoy decorating his or her plate.
Cut out small circles from construction paper of various colors (white works best). These will serve as grass patches around an Easter egg wreath—so make sure they are all approximately the same size when they’re cut out so they fit together well later on! You’ll want several pieces at least 3 inches across so there are enough holes where little eggs can sit easily without falling through too quickly while making this project together.”
Recycled Tissue Paper Wreath
- Recycled tissue paper wreath
- Paper plate wreath
- Styrofoam egg wreath
Decoupage Easter Egg Wreath
Use Mod Podge to glue on paper
You will need.
- paper of any color, size, or pattern
- Mod Podge (available at most craft stores)
- a sponge brush or brush that can be used with the Mod Podge
- a wreath form (optional)
If you don’t have your wreath form, you can use an egg carton instead! The egg carton is easy to remove from the finished product, so no worries about ruining it with sticky fingers or anything like that. All you need is tape and scissors for this part of the project!
Painted Wooden Easter Egg Wreath
Painting wooden eggs is a fun way to get messy with your kids. You can make a wreath, or just create a delightful centerpiece for the table.
To paint wooden eggs.
- Gather supplies — the number of paints you need depends on how many eggs you want to paint
- Spray paint the bottom of each egg and set them aside to dry so that they’re ready when you are
- Pour some white craft paint into plastic cups for easy cleanup
- Have your child pick out his favorite colors from the plastic cups and use them as finger paints!
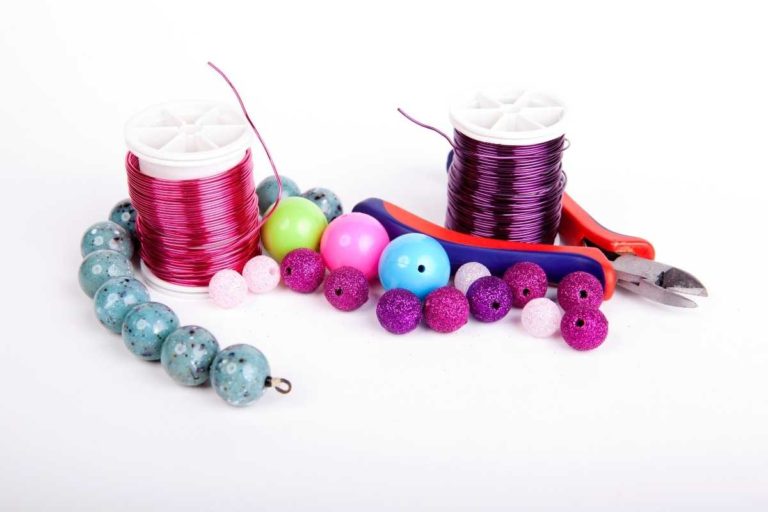
DIY Jeweled Easter Eggs
- To decorate your eggs, you will need:
- Glue gun
- Jewels (you can use any type of jewel but it is important to make sure they’re safe for children)
- Toothpicks or other small sticks
Glitter Easter Eggs
If you have a glue gun, use it to glue glitter to the eggs.
If you don’t have a glue gun and would rather not buy one (because who needs another thing to plug in?), then instead use some regular old-school Elmer’s glue and paintbrush.
The same principle applies: dip the brush in water first so that its bristles are coated with just enough moisture for the glue to stick on top of them. Then brush over your egg with a generous layer of glue, letting it dry completely before brushing on any more layers or glitters if desired.
Finally, if this whole process is starting to feel like too much work for you, simply grab some glittery stuff from your craft box or buy an inexpensive bag at Michael’s or Walmart and add some sparkle by sticking them directly onto each egg using either tape or hot glue
Colorful String Art Egg Wreath
- 1 foam egg wreath
- 1 roll of crepe paper in assorted colors, or a pack of tissue paper flowers
- Felt pens, crayons, or stickers, depending on your child’s age and ability. If you are making this craft with some older children who can write out letters themselves, then use felt pens to decorate the eggs
- Scissors and/or hole punch (if you are using tissue paper flowers)
- Glue gun or tape if you don’t have a glue gun
DIY Embroidery Hoop Easter Egg Wreath
To make your embroidery hoop wreath, you’ll need.
- a large embroidery hoop (the one I used is 8 inches in diameter)
- an assortment of colored felt cut into circles (or you can use fabric scraps)
- scissors or a craft knife to cut out the circles with
- glue gun and glue sticks
First, determine how many circles you want to use. You can make them as small as 1 inch or as large as 3 inches in diameter—the size of the circle determines how many eggs will fit in it. If using small circles, feel free to mix different colors; if using larger ones, keep each one consistent.
Once all of your felt pieces are cut out and dried from being glued on (which only takes about five minutes), start gluing them onto the embroidery hoop!
Be sure not to leave any gaps between the pieces so that no egg peeks out through any cracks! Once one layer has been glued down completely, add another layer until each section has at least three layers of felt covering it up completely.
DIY Floral Easter Egg Wreath
You can make your own DIY Floral Easter Egg Wreath with fresh flowers, dried flowers, fake flowers, or real ones.
You’ll need a wire wreath or wooden wreath for this project to add some color and texture. If you’re looking for an artificial option that is still affordable and looks great, try this floral foam wreath from Amazon!
This is perfect for kids who are just learning how to use scissors and make their very own crafts!
Button Easter Egg Garland Tutorial
Materials
- Button Easter egg garland
- Glue gun
- Yarn, ribbon, or string
Kids Will Love Making These Colorful, Springtime Crafts For Your Home
There’s no doubt about it: kids will love making these colorful, springtime crafts for your home. They’re easy to make and inexpensive, too!
And they’re a great way to get kids involved in decorating for Easter.
These crafts are also perfect for any time of year—you could easily adapt any of the following ideas by changing colors or using different materials. You might even want to try some of them yourself!
Conclusion
I hope you enjoyed our collection of Easter egg wreath crafts. They’re a fun way to get your kids into the spirit of spring, and they make great gifts too! We know you have plenty more ideas than we do, so feel free to share them in the comments below. Happy crafting!