11 Best 3d Craft Ideas for Pinterest That Go Viral: Weekend Wonders
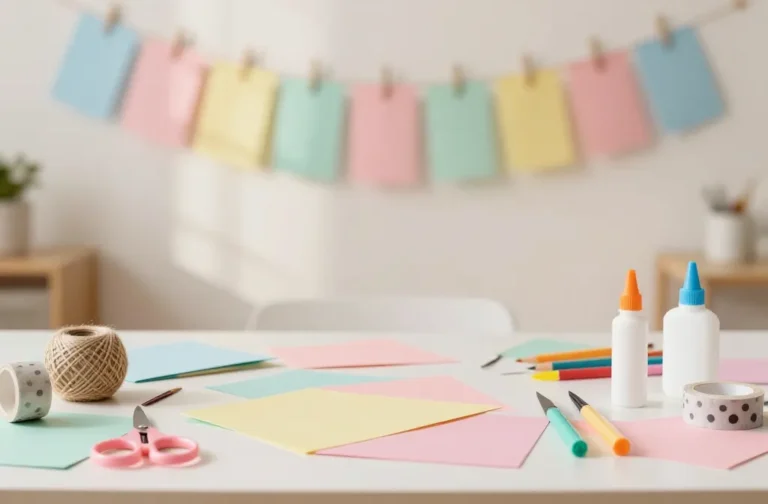
Ready to craft your way onto Pinterest’s trending page? These 11 totally unique 3D craft ideas are designed to be visually stunning, insanely satisfying, and easy enough for a weekend project. Trust me, you’ll want to try every single one.
Let’s dive into ideas that pop, textures that tempt, and finishes that beg to be shared. FYI: these aren’t just crafts—they’re scroll-stopping statements you can actually make.
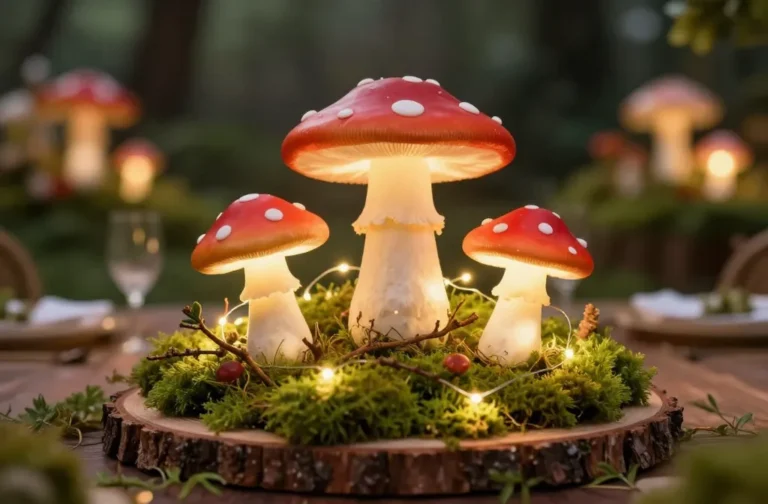
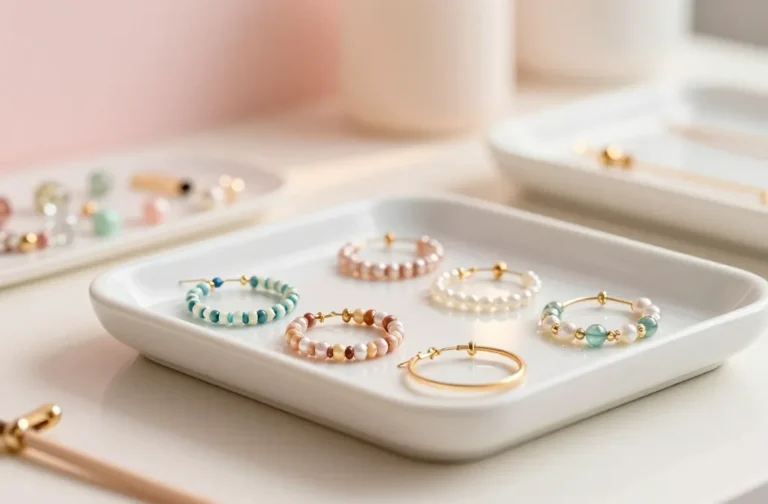
1. Paper-Stacked Floral Dome Centerpiece

Imagine a delicate, sculptural dome made from layered paper florals perched over a glass candle. The finished piece looks like a tiny garden frozen in glass—soft, airy, and incredibly chic. It’s the kind of centerpiece that gets saved and DM’d all weekend long.
Materials Needed
- Colored craft paper in pinks, peaches, greens
- Florist wire and floral tape
- Clear glass bowl or mini cloche
- Hot glue gun and glue sticks
- Spray sealant (optional)
How to Make It
- Cut dozens of small petal shapes from the paper in varying sizes.
- Layer petals on thin wire stems to form individual blooms.
- Attach stems to a lightweight base so they radiate upward in a dome shape.
- Place the dome inside or atop the glass container for a 3D floral crown effect.
Pro Tips / Styling Ideas
- Use a monochrome color palette for a modern look or a sunset gradient for drama.
- Seal with a light spray to keep colors vibrant and petal edges crisp.
- Pair with a few real greens or moss for an organic contrast.
Who would love this? Anyone hosting a spring soirée or looking for an heirloom centerpiece that’s easy to re-theme for holidays.
2. Upcycled Bookend Forest Sculptures
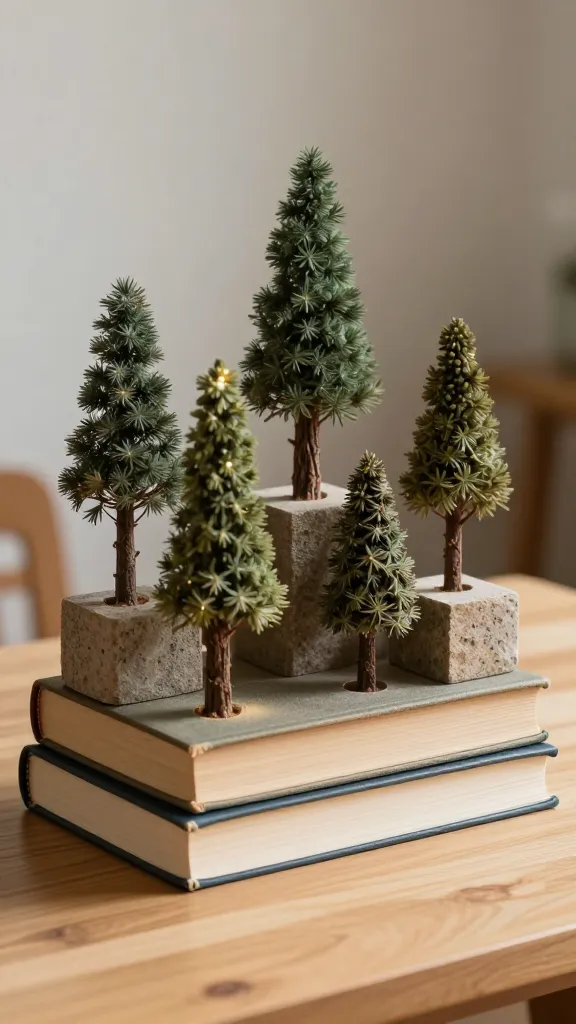
Turn old books into a miniature forest that sits on your desk or shelf. When light hits the pages just right, you’ll swear the trees glow. It’s quirky, educational, and totally Instagrammable.
Materials Needed
- Old hardback books (2–4, same height)
- Mini faux trees or twigs
- Stone or wood-textured foam blocks
- Hot glue and a craft knife
How to Make It
- Cut a shallow notch in the foam block, slide a twig or faux tree into it, and secure with glue.
- Stack foam blocks to create varying heights behind the book spines for a “forest ridge.”
- Glue the books upright, offsetting the blocks to maintain balance.
Pro Tips / Styling Ideas
- Paint the blocks in neutral tones to keep the focus on the trees.
- Dust lightly with white pigment for a frosted winter vibe.
- Line with a thin felt strip for a clean, finished look.
Who would love this? Book lovers, desk champions, and anyone who wants a nature-inspired shelfie with zero maintenance.
3. Resin Arrow Wall Plaque With Embedded Pressed Flowers
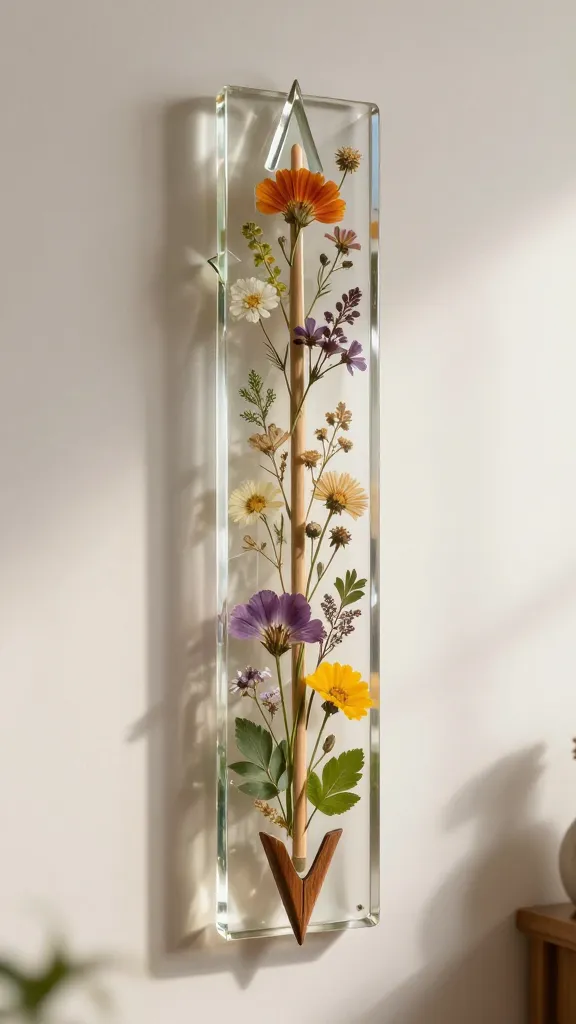
A glossy, transparent arrow plaque that captures real pressed flowers in motion. It’s bold, personal, and makes a dramatic wall statement. You’ll want to center your gallery wall around this one.
Materials Needed
- Clear resin kit (with hardener)
- Two-part epoxy pigment (optional)
- Pressed flowers or leaves
- Wooden arrow-shaped plaque
- Protective gloves and a well-ventilated space
How to Make It
- Seal pressed botanicals to prevent resin seepage; arrange on the arrow face.
- Mix resin per instructions, adding a subtle tint if desired.
- Pour in layers, letting each layer cure for a few minutes; embed new elements as you go for depth.
Pro Tips / Styling Ideas
- Use a long, narrow form to create a focal wall piece; vary the floral shapes for texture.
- Pair with minimalist frames and warm lighting for a gallery effect.
Who would love this? Resin lovers, botanical fans, and anyone wanting a luxe, personalized wall feature.
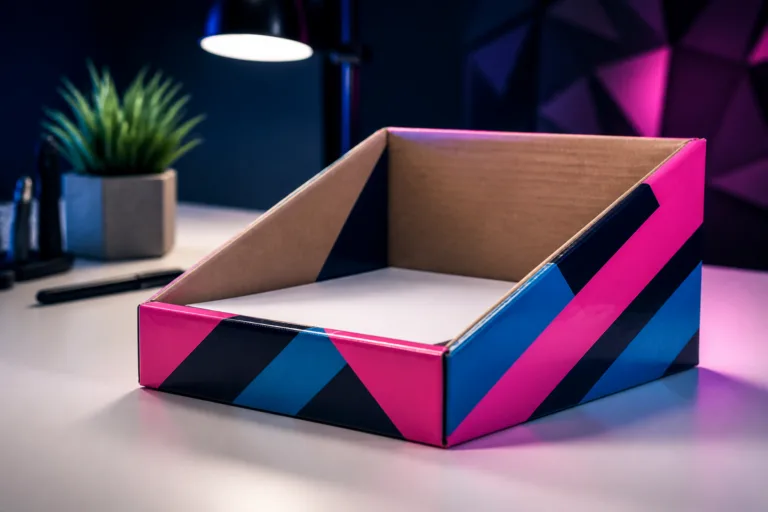
4. Geometric Rope-Freeform Planter Trio
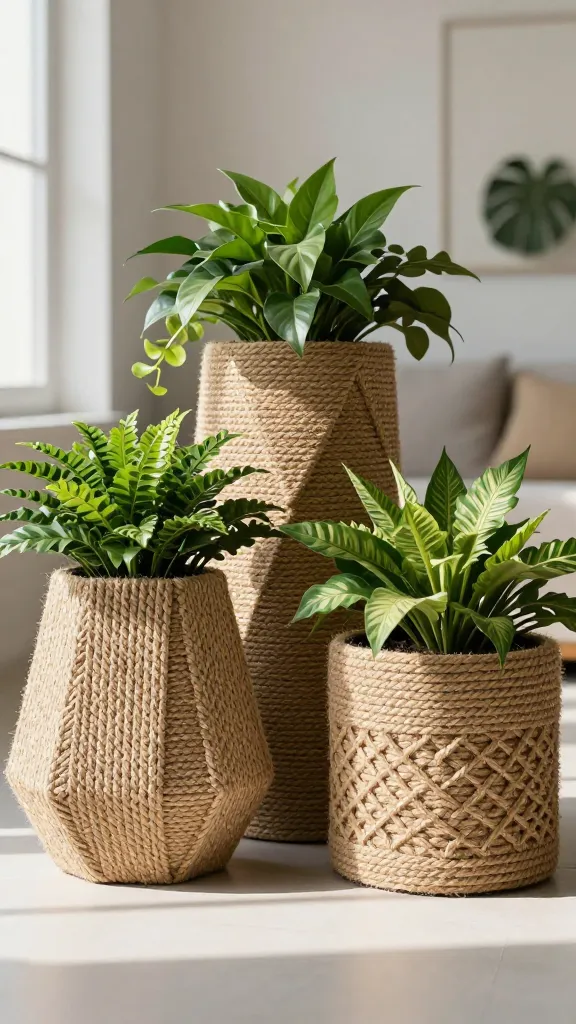
Three planters with bold geometric silhouettes, wrapped in heirloom-grade jute rope. They remind you of a modern art installation and are perfect for bright, plant-filled corners.
Materials Needed
- Plastic plant pot (3 sizes)
- Jute rope (various thicknesses)
- Hot glue gun
- Painter’s tape (optional for clean edges)
How to Make It
- Cover each pot with alternating rope patterns: vertical, diagonal, and lattice-esque wraps.
- Affix ends securely with hot glue; trim excess rope with a sharp blade.
- Nest smaller pots inside larger ones for a tiered display or stand them solo.
Pro Tips / Styling Ideas
- Paint the rope tips with metallic paint for a touch of glam.
- Group with air plants or succulents for a crisp, modern vignette.
Who would love this? Plant lovers and anyone who wants a tactile, textural trio on a coffee table or balcony.
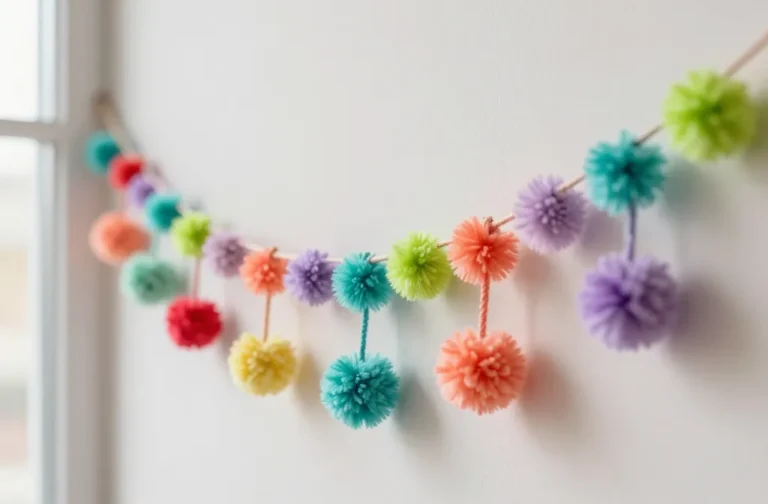
5. 3D Origami Floating Garland
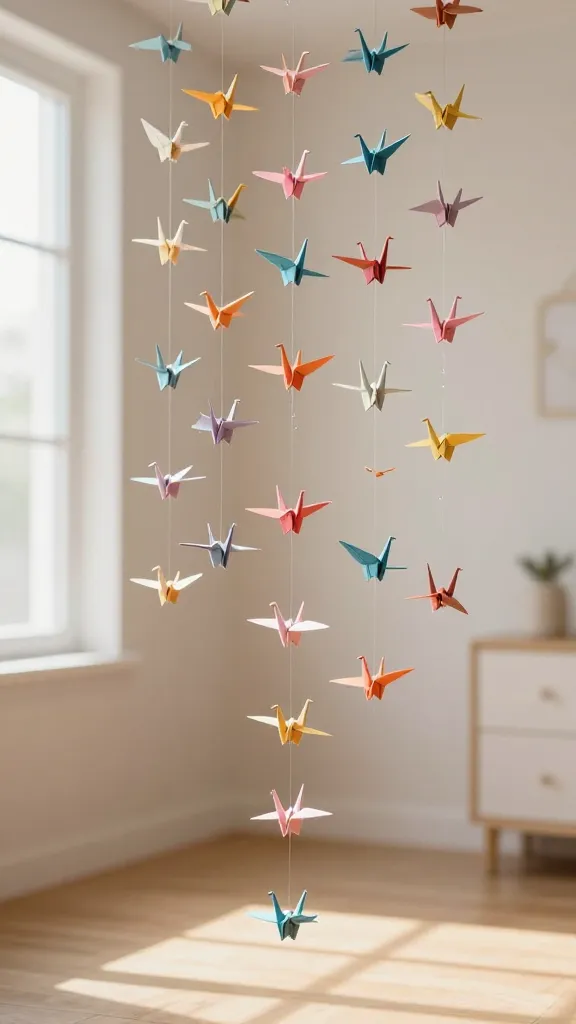
Imagine dozens of tiny origami cranes suspended in midair to create a cascading, dreamlike garland. It’s a sculpture you can walk through, perfect for photo backdrops and baby showers alike.
Materials Needed
- Colored origami paper
- Thin fishing line or clear thread
- Mini binder clips or a lightweight hoop
- Stapler or tiny craft glue
How to Make It
- Fold multiple flat origami cranes in different colors.
- Attach cranes to a thread at regular intervals; secure with tiny knots.
- Hang the garland in a doorway, on a wall, or beneath a canopy.
Pro Tips / Styling Ideas
- Vary crane sizes to add depth and movement.
- Use pastel tones for a soft, airy vibe or bright hues for a playful vibe.
Who would love this? Party planners, nurseries, and anyone chasing a whimsical, photogenic backdrop.
6. 3D Lettered Monogram Planter Frames

Turn ordinary planters into personalized art with 3D lettered frames. Spell your name, a favorite word, or a vibe you want to cultivate at home.
Materials Needed
- Plain ceramic planters (3–6 inches)
- Cardboard or lightweight wood for the letter cutouts
- Hot glue, primer, and acrylic paints
- Succulents or air plants
How to Make It
- Cut out the letter shapes and mount them to the front of each planter with glue.
- Prime and paint the letters in a bold color for contrast against neutral planters.
- Plant with small greens; place on a shelf or windowsill for a personalized touch.
Pro Tips / Styling Ideas
- Keep color consistent with your decor palette for a cohesive look.
- Line the bottom with a thin layer of river rocks for drainage and style.
Who would love this? Home decorators, gift givers, and anyone who wants a custom tabletop or shelf focal point.
7. Miniature Clay Tile Wall Quilt
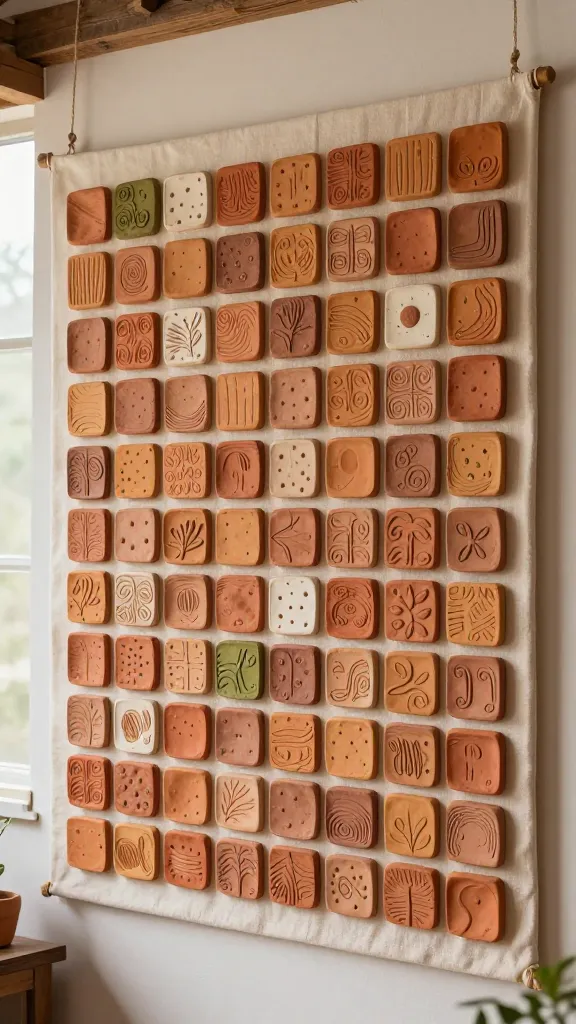
A wall hanging composed of dozens of tiny, hand-formed clay tiles arranged like a quilt. It’s tactile, earthy, and harvest-ready for autumn displays or rustic interiors.
Materials Needed
- Air-dry clay or polymer clay
- Palette knife or sculpting tools
- Acrylic paints in warm tones
- Jute twine for hanging
How to Make It
- Roll mini tiles and press textures into each piece—dots, lines, swirls.
- Bake or air-dry until hard; paint with a weathered, matte finish.
- Attach to a fabric or canvas backing in a grid pattern; string for hanging.
Pro Tips / Styling Ideas
- Use complementary earth tones for a cohesive, cozy quilt vibe.
- Incorporate metallic accents on a few tiles for a touch of glam.
Who would love this? Crafters who adore tactile walls and a handmade, artisanal feel.
8. Glass-Etched 3D Layout Letters
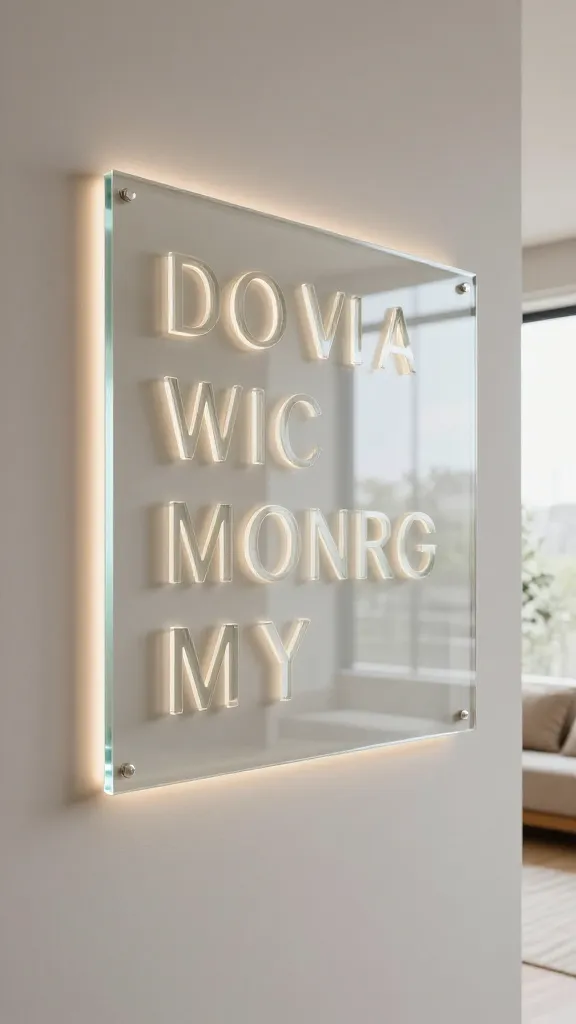
Engrave or etch a 3D-lettered family motto onto glass to create a luminous wall accent that catches light all day long. It’s modern, glossy, and seriously share-worthy.
Materials Needed
- Glass sheet or glass plaque
- Etching cream or glass-etching stencil kit
- Adhesive wall spacers for a 3D effect
- Tiny LED strip lights (optional)
How to Make It
- Affix letters on the glass using stencils; apply etching cream per instructions.
- Mount the glass with spacers to create a subtle gap from the wall; plug in LED accents if desired.
Pro Tips / Styling Ideas
- Pair with a minimalist frame or a bold paint color behind the glass to pop the etched design.
- Place above a console with a few curated vases for a refined gallery vibe.
Who would love this? Fans of modern typography, light-catching decor, and gallery-style walls.
9. Shadow-Box Botanical Diorama
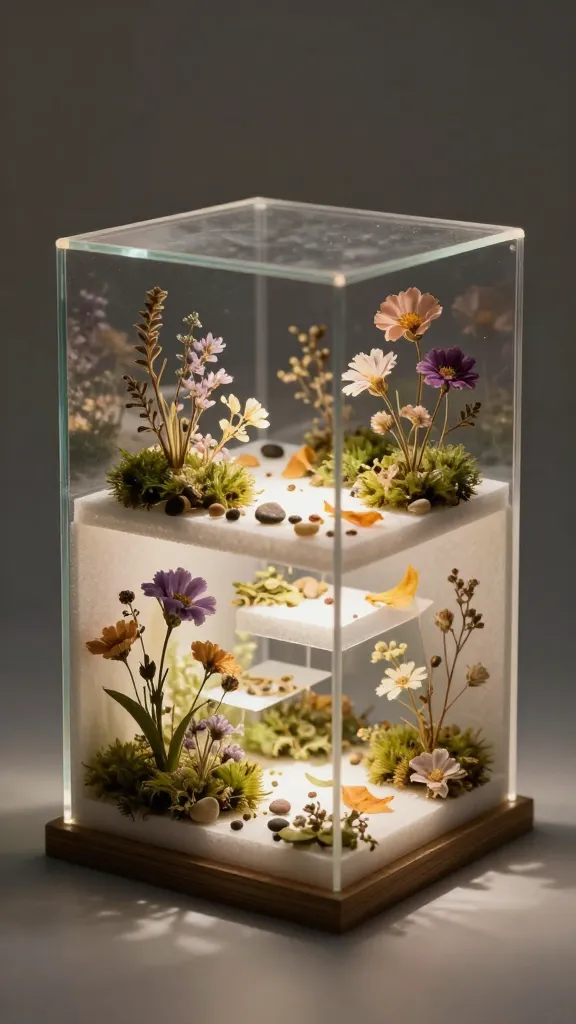
A multi-layered shadow box that steps back into a tiny, thriving garden. When lights hit the box just right, the layers cast soft, real-looking shadows—pure mood.
Materials Needed
- Shadow box frame (deep)
- Pressed florals, dried moss, mini pebbles
- Thin foam board for layers
- Acrylic spray sealant
How to Make It
- Layer the foam boards inside the shadow box to create a 3D stage for florals.
- Arrange dried botanicals across each layer, with the top layer closest to the glass.
- Seal with a light mist to preserve color and reduce debris.
Pro Tips / Styling Ideas
- Use a color palette that matches your room—deep greens, dusty rose, and ivory look timeless.
- Place on a mantle or shelf with a warm LED backlight for a theater-worthy glow.
Who would love this? Plant lovers, interior stylists, and anyone craving a natural, dimensional wall art piece.
10. Velvet Ribbon Wrapped Geode Coasters
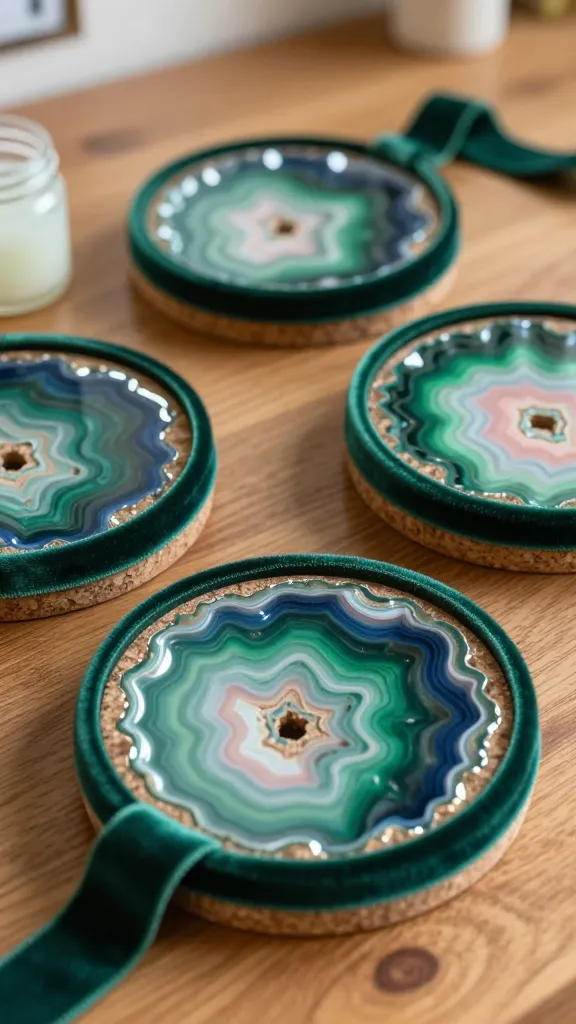
Shimmering geode-inspired coasters wrapped in velvet ribbon—soft, luxe, and a little cheeky. They’re conversation starters and practical gifts all rolled into one.
Materials Needed
- Flat cork coasters
- Hot glue gun and glue sticks
- Geode resin paints or acrylics
- Velvet ribbon in colors like emerald, midnight blue, or blush
How to Make It
- Paint a few abstract geode patterns on cork coasters; let dry.
- Wrap edges with velvet ribbon, gluing in place to create a smooth border.
- Seal lightly to prevent fraying of the ribbon edges.
Pro Tips / Styling Ideas
- Coordinate with matching napkin rings or a velvet tray for a coordinated look.
- Gift set them in a simple box with a handwritten note for a luxe, personal touch.
Who would love this? Anyone who loves tactile, opulent textures and chic tableware.
11. 3D Seed Packet Wall Art
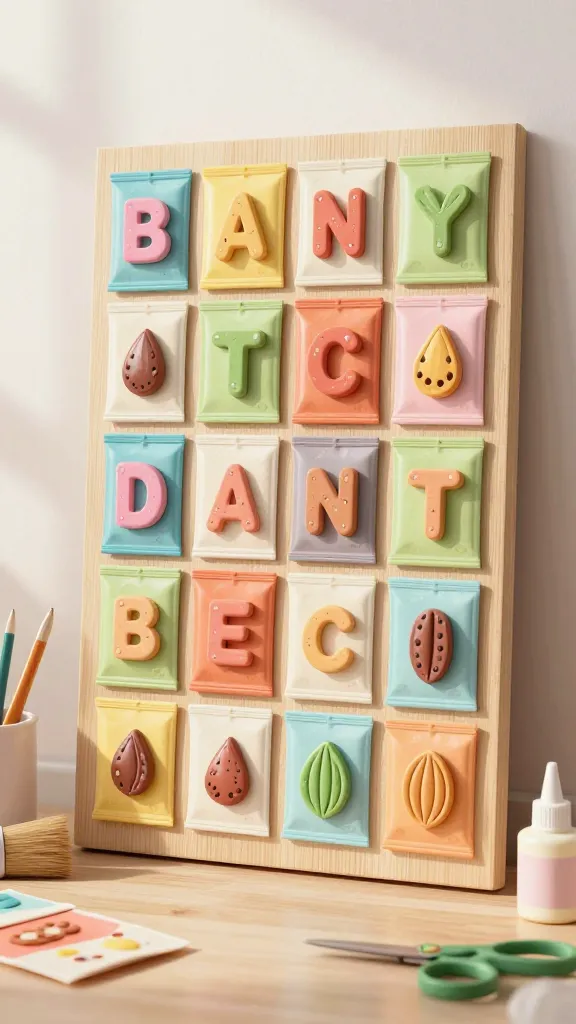
A cheerful wall piece that looks like a collage of real seed packets—complete with raised lettering and tiny seed shapes. It’s bright, whimsical, and surprisingly easy to assemble.
Materials Needed
- Canvas or wooden panel
- Cardstock, seed shapes cut from lightweight cardboard
- Raised letter stickers or 3D foam letters
- Mod Podge or craft glue
- Gloss spray for a finished look
How to Make It
- Arrange seed packet shapes in a grid pattern on the panel; secure with glue.
- Adhere raised letters to spell a quirky phrase or the year you grew the garden.
- Seal with a gloss spray to mimic a sealed packet look.
Pro Tips / Styling Ideas
- Frame with a slim white frame to keep the look crisp and modern.
- Hang near a sunny window for a cheerful, sunlit mood.
Who would love this? Garden lovers, crafters, and anyone who loves a playful, vintage-inspired wall piece.
Conclusion
Want to level up your Pinterest game? These 11 completely unique 3D craft ideas are crafted to be bold, photogenic, and seriously doable. Pick one to start, or let yourself be inspired to mix and match across projects. The result will be a gallery of scroll-stoppers you’ll be proud to pin, share, and actually make.
Ready to begin? Grab a few supplies, pick a vibe, and dive in—your future viral-worthy craft wall is only a weekend away. You’ll love this journey from idea to finished piece, and so will your followers.