11 Door Hanger Craft For Kids
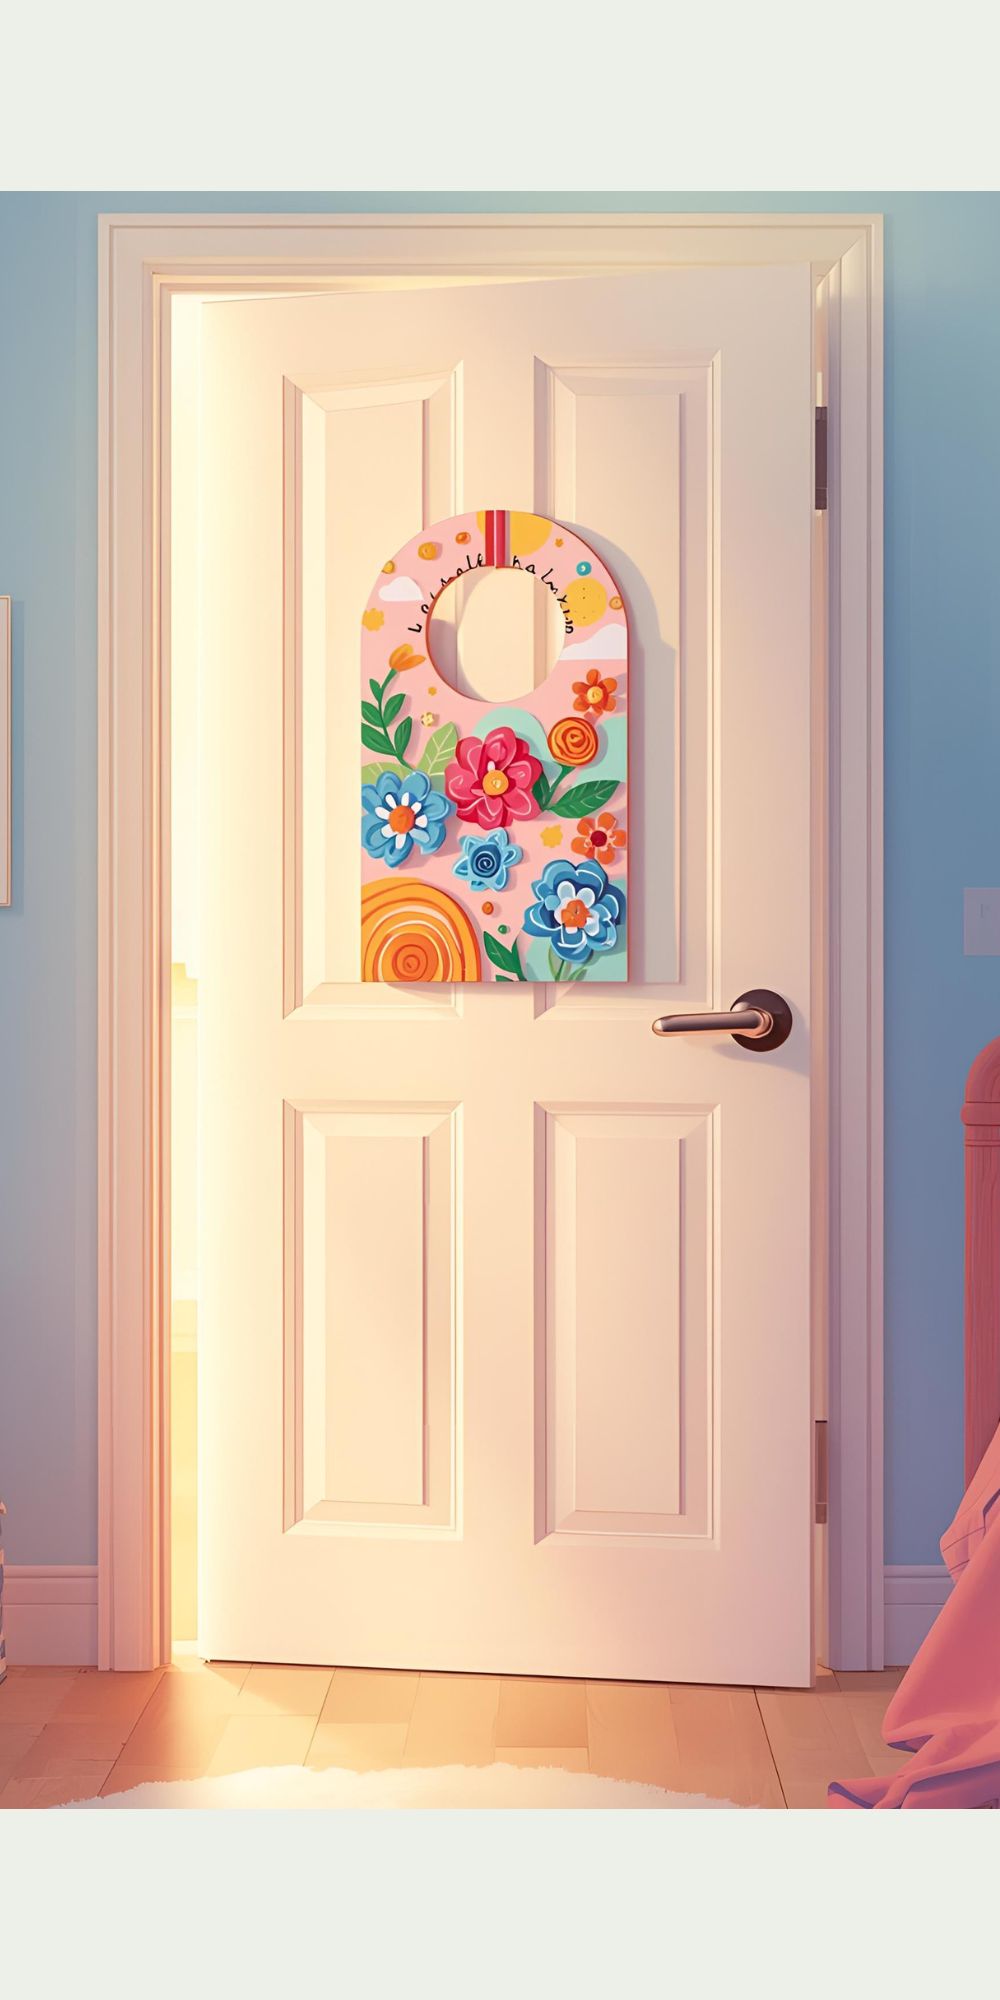
Door hanger crafts are a fun and creative way for kids to personalize their space. Whether they’re adding a splash of color to their bedroom door or making gifts for friends, these crafts are simple, budget-friendly, and perfect for sparking creativity. With just a few supplies, children can design unique hangers that reflect their personalities.
Here are 11 door hanger craft ideas kids will love.
1) Foam Shape Hangers
Use colorful foam sheets cut into shapes like stars, hearts, or animals. Add stickers and glitter for a playful finish.
2) Painted Wooden Hangers

Buy plain wooden door hangers and let kids paint them with bright colors, patterns, or their favorite characters.
3) Name Tags
Personalize hangers with stencils, markers, or letter stickers so kids can proudly display their names on the door.
4) Animal-Themed Hangers
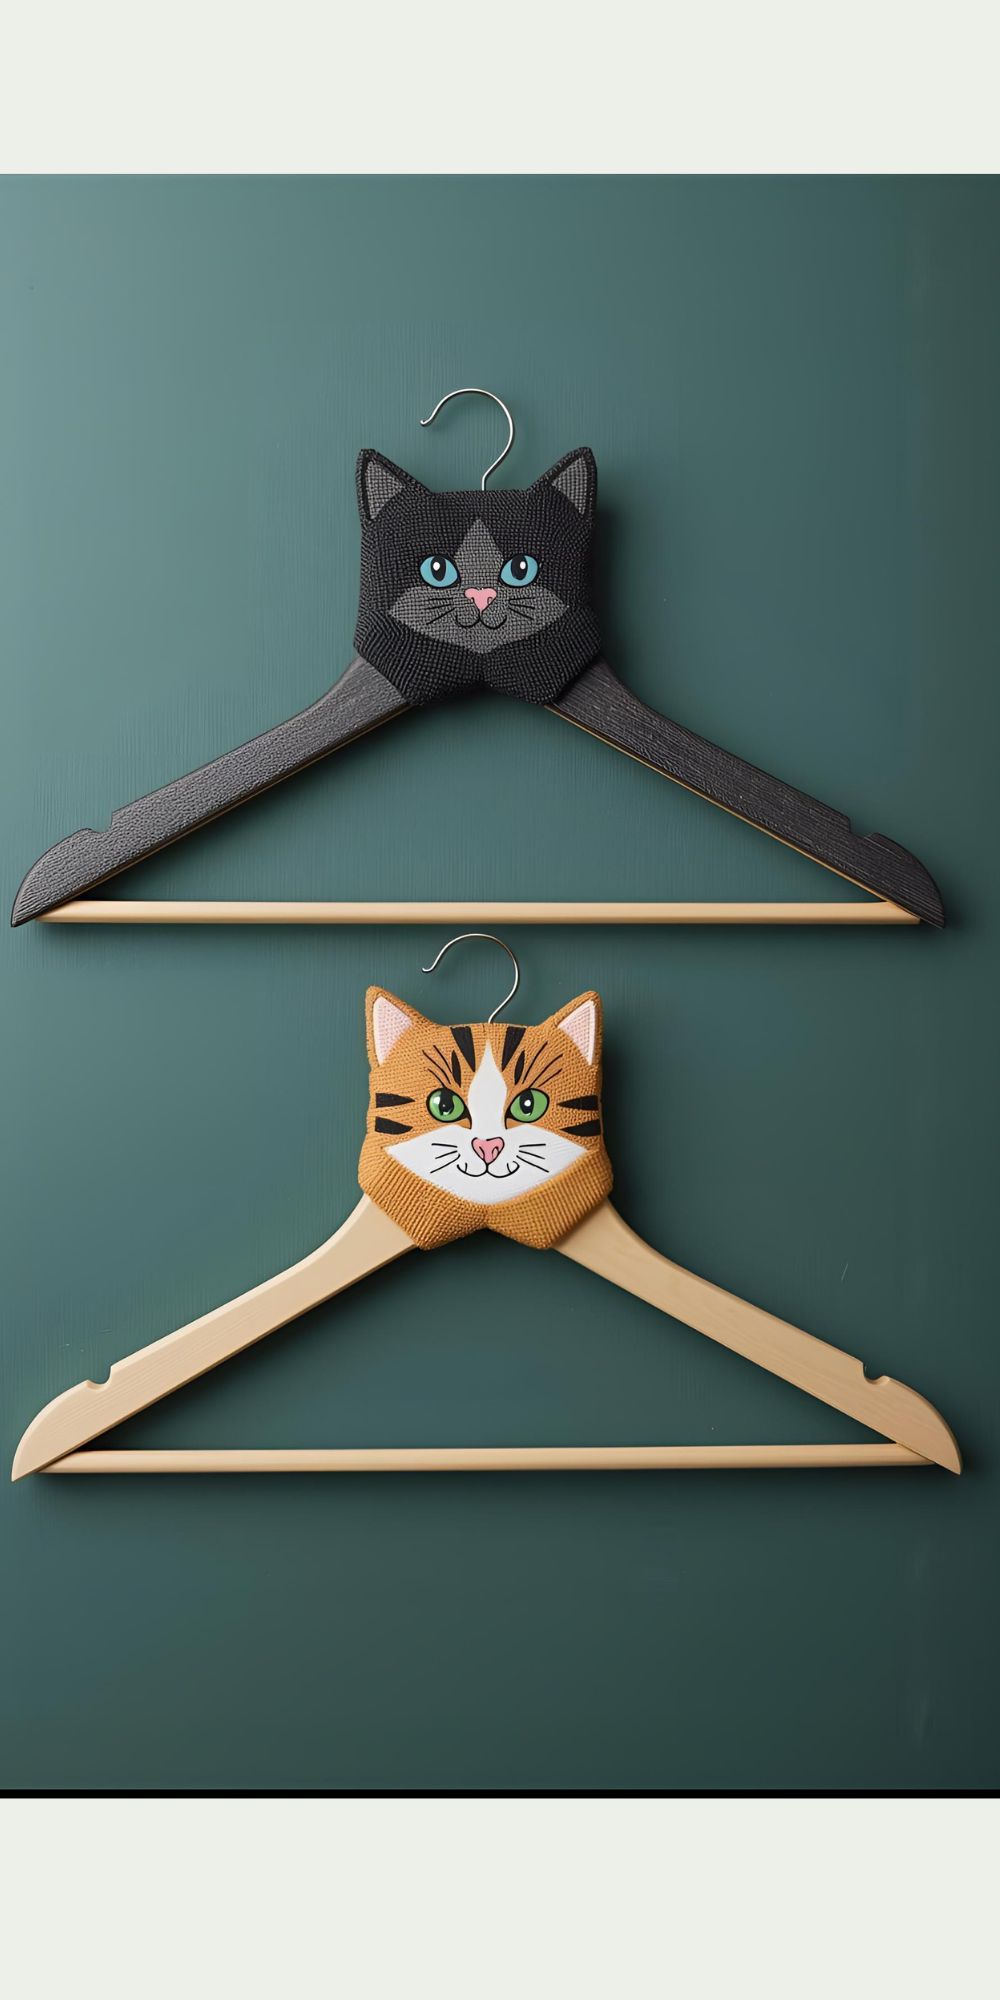
Create hangers shaped like cats, dogs, or dinosaurs. Add googly eyes and felt for extra fun details.
5) Holiday Hangers
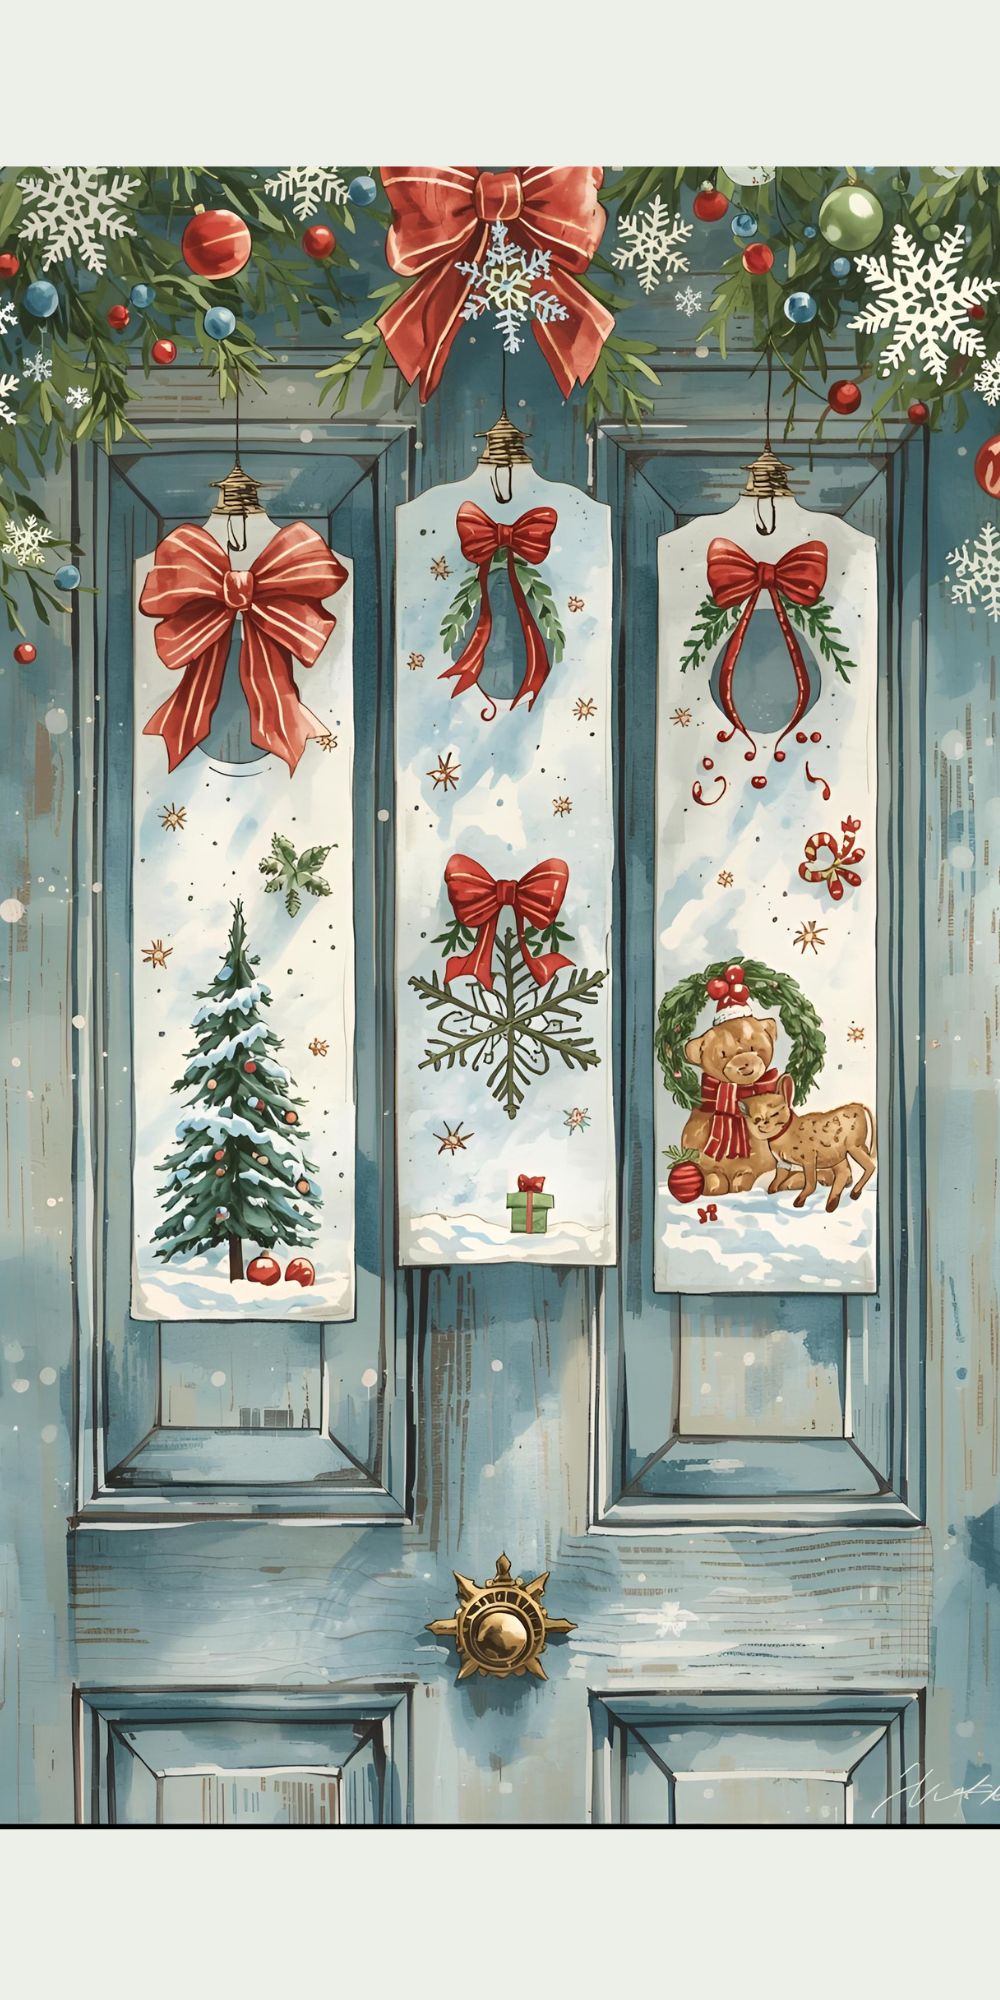
Decorate with seasonal themes—like snowflakes, flowers, or sun designs—to match the time of year.
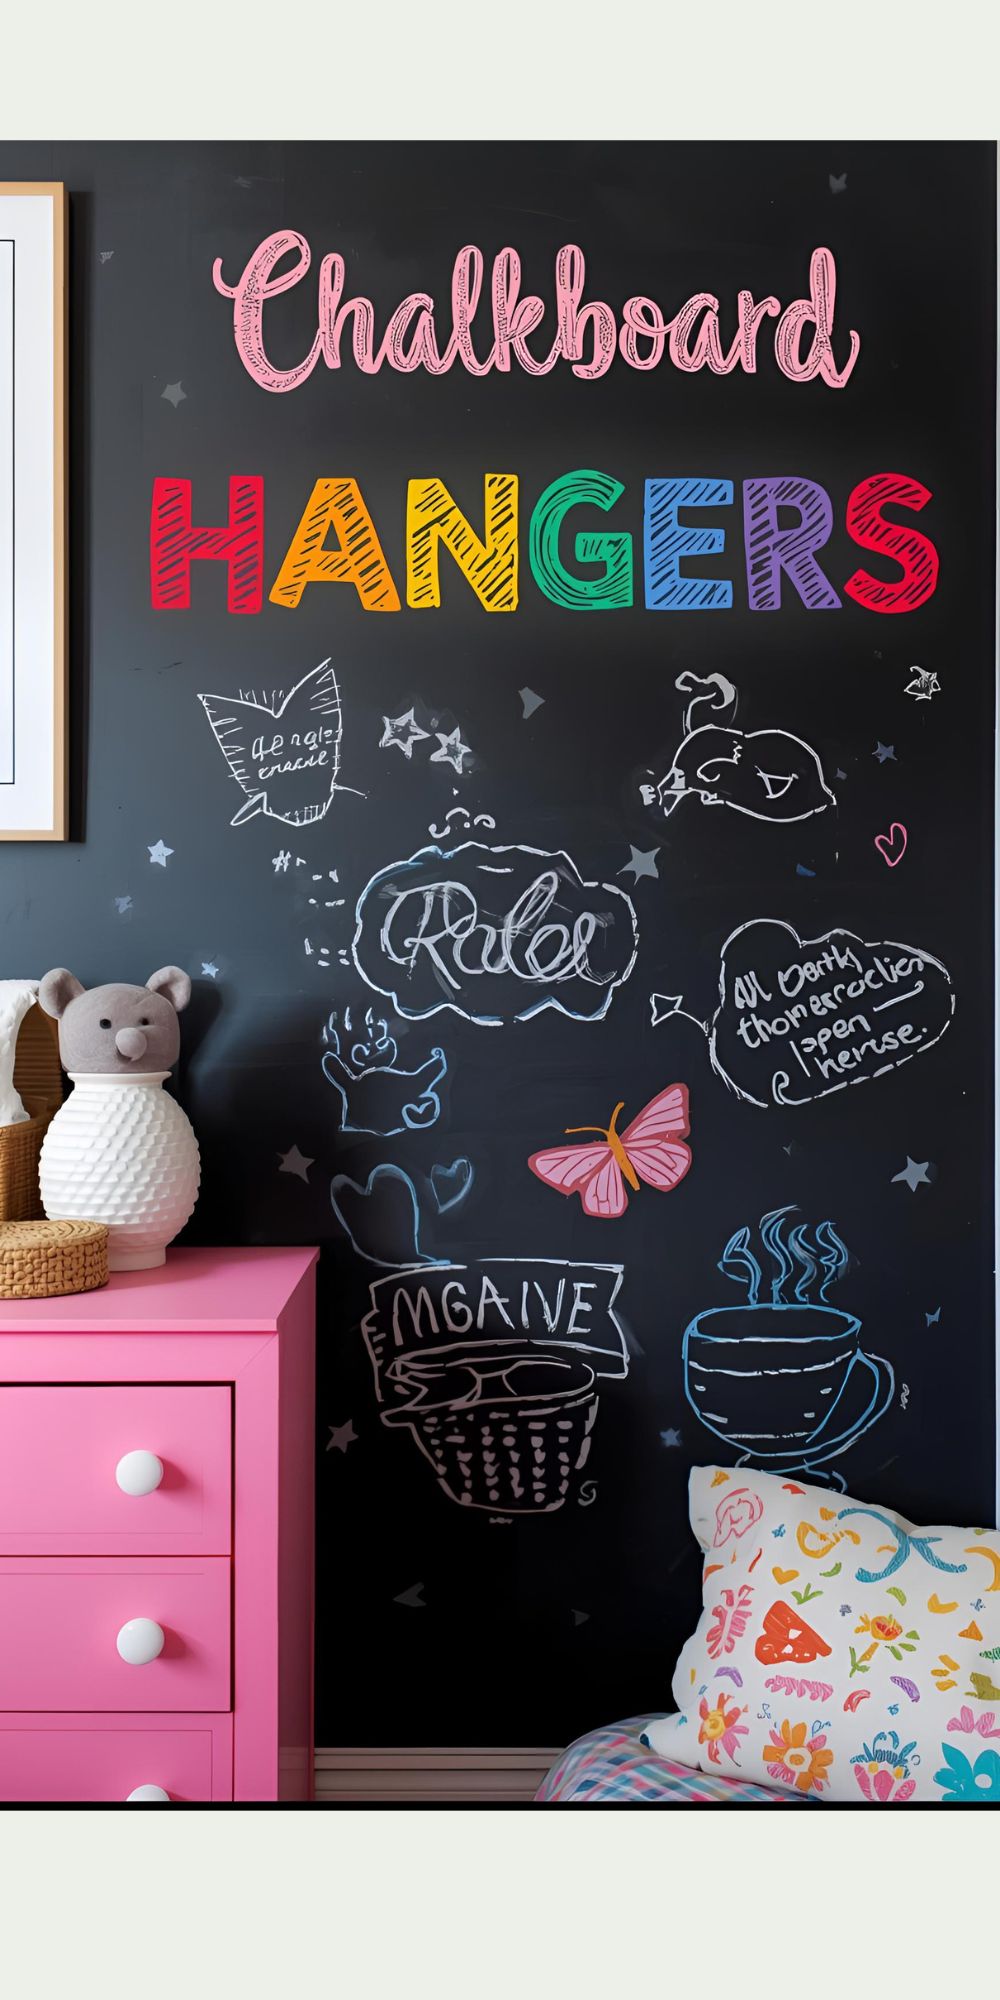
6) Chalkboard Hangers
Paint with chalkboard paint so kids can write and erase messages whenever they want.
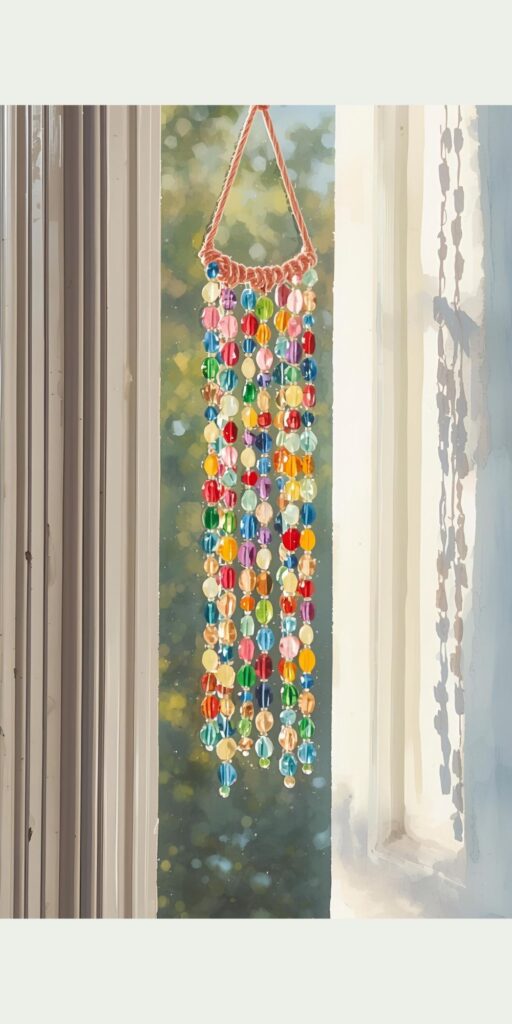
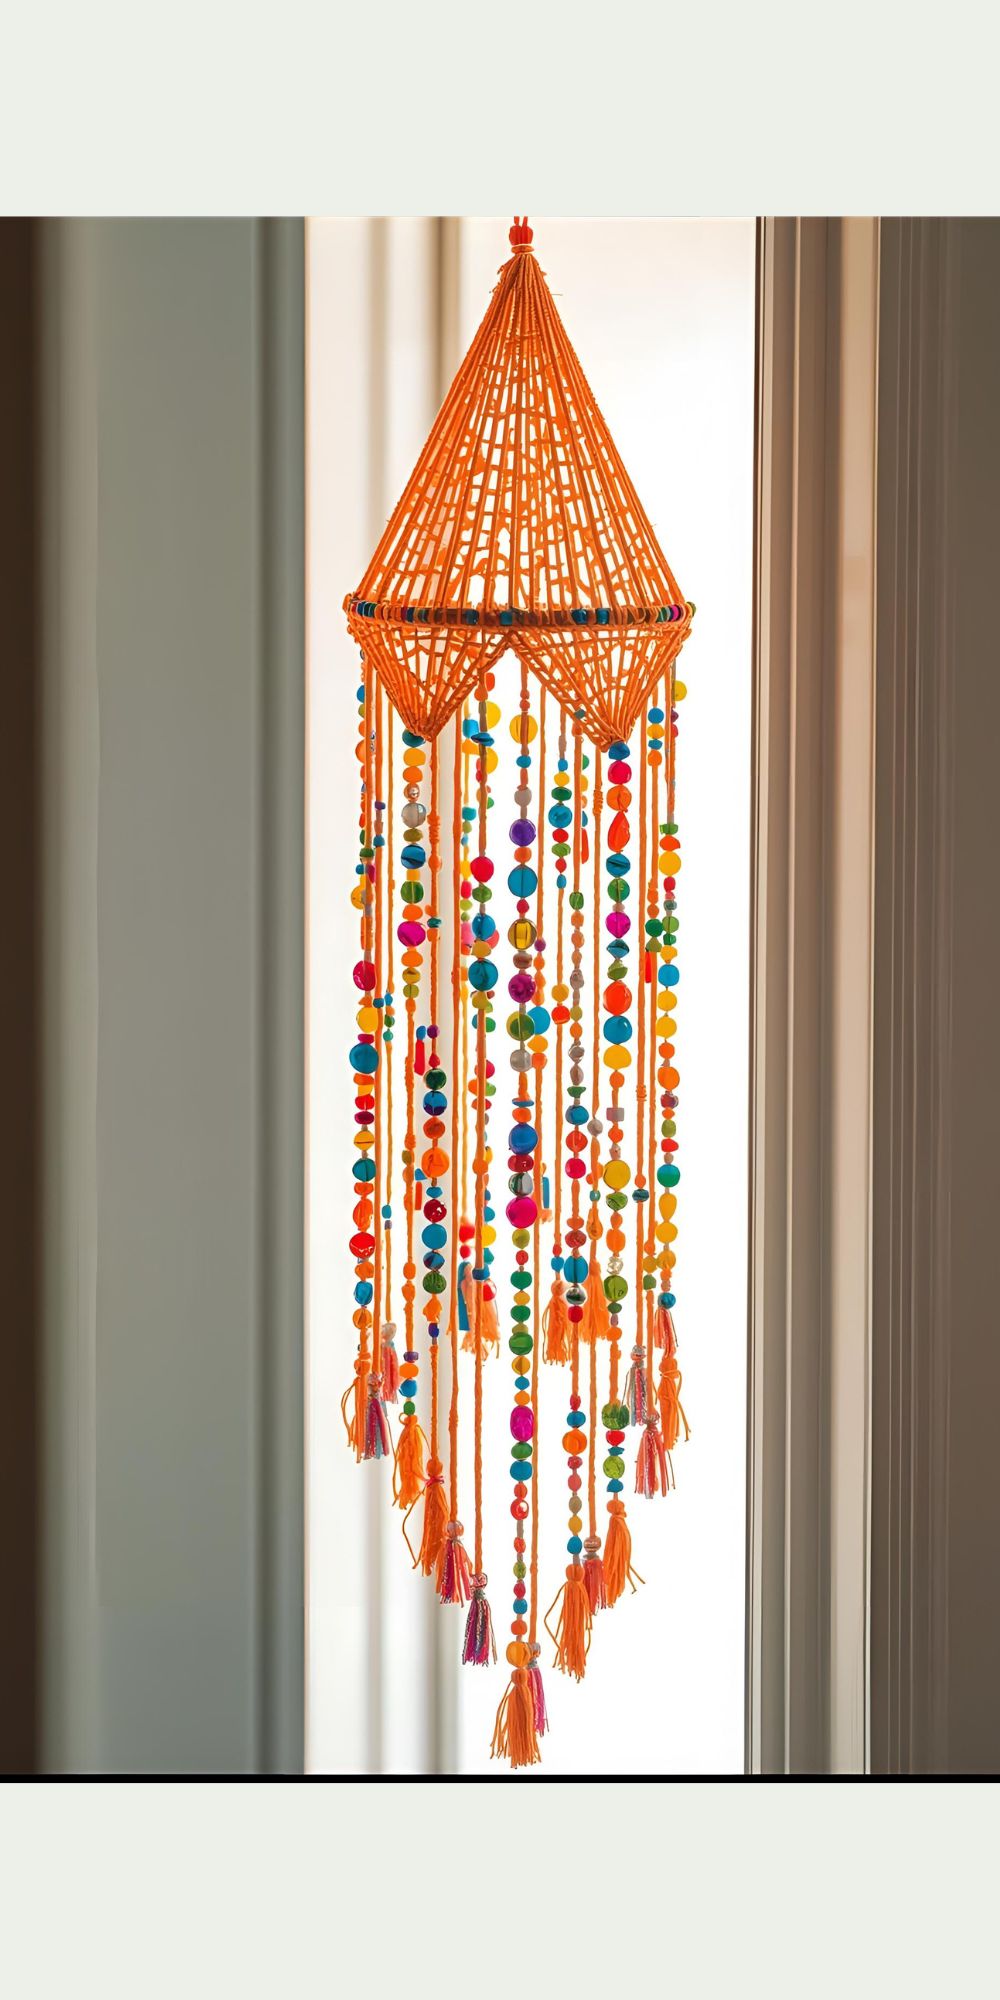
7) Bead and String Hangers
Attach colorful beads and yarn to make a hanging design that jingles when the door opens.
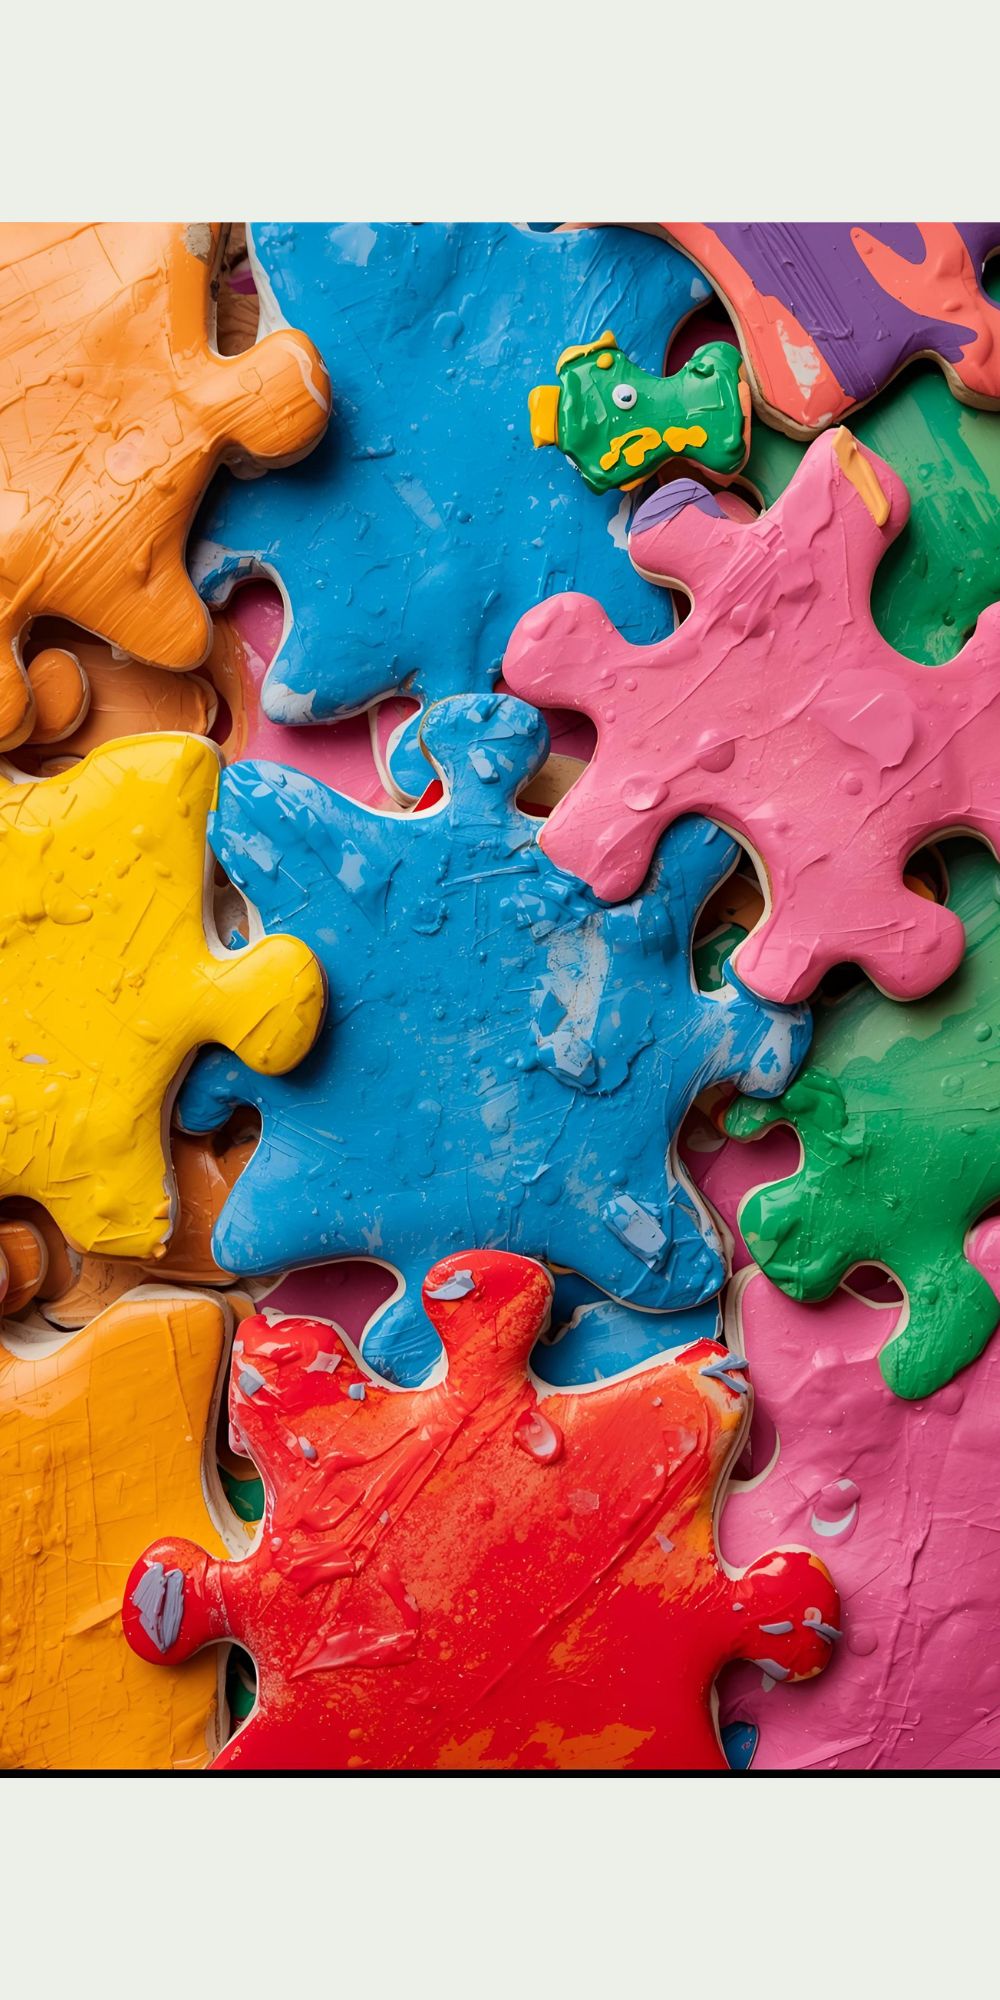
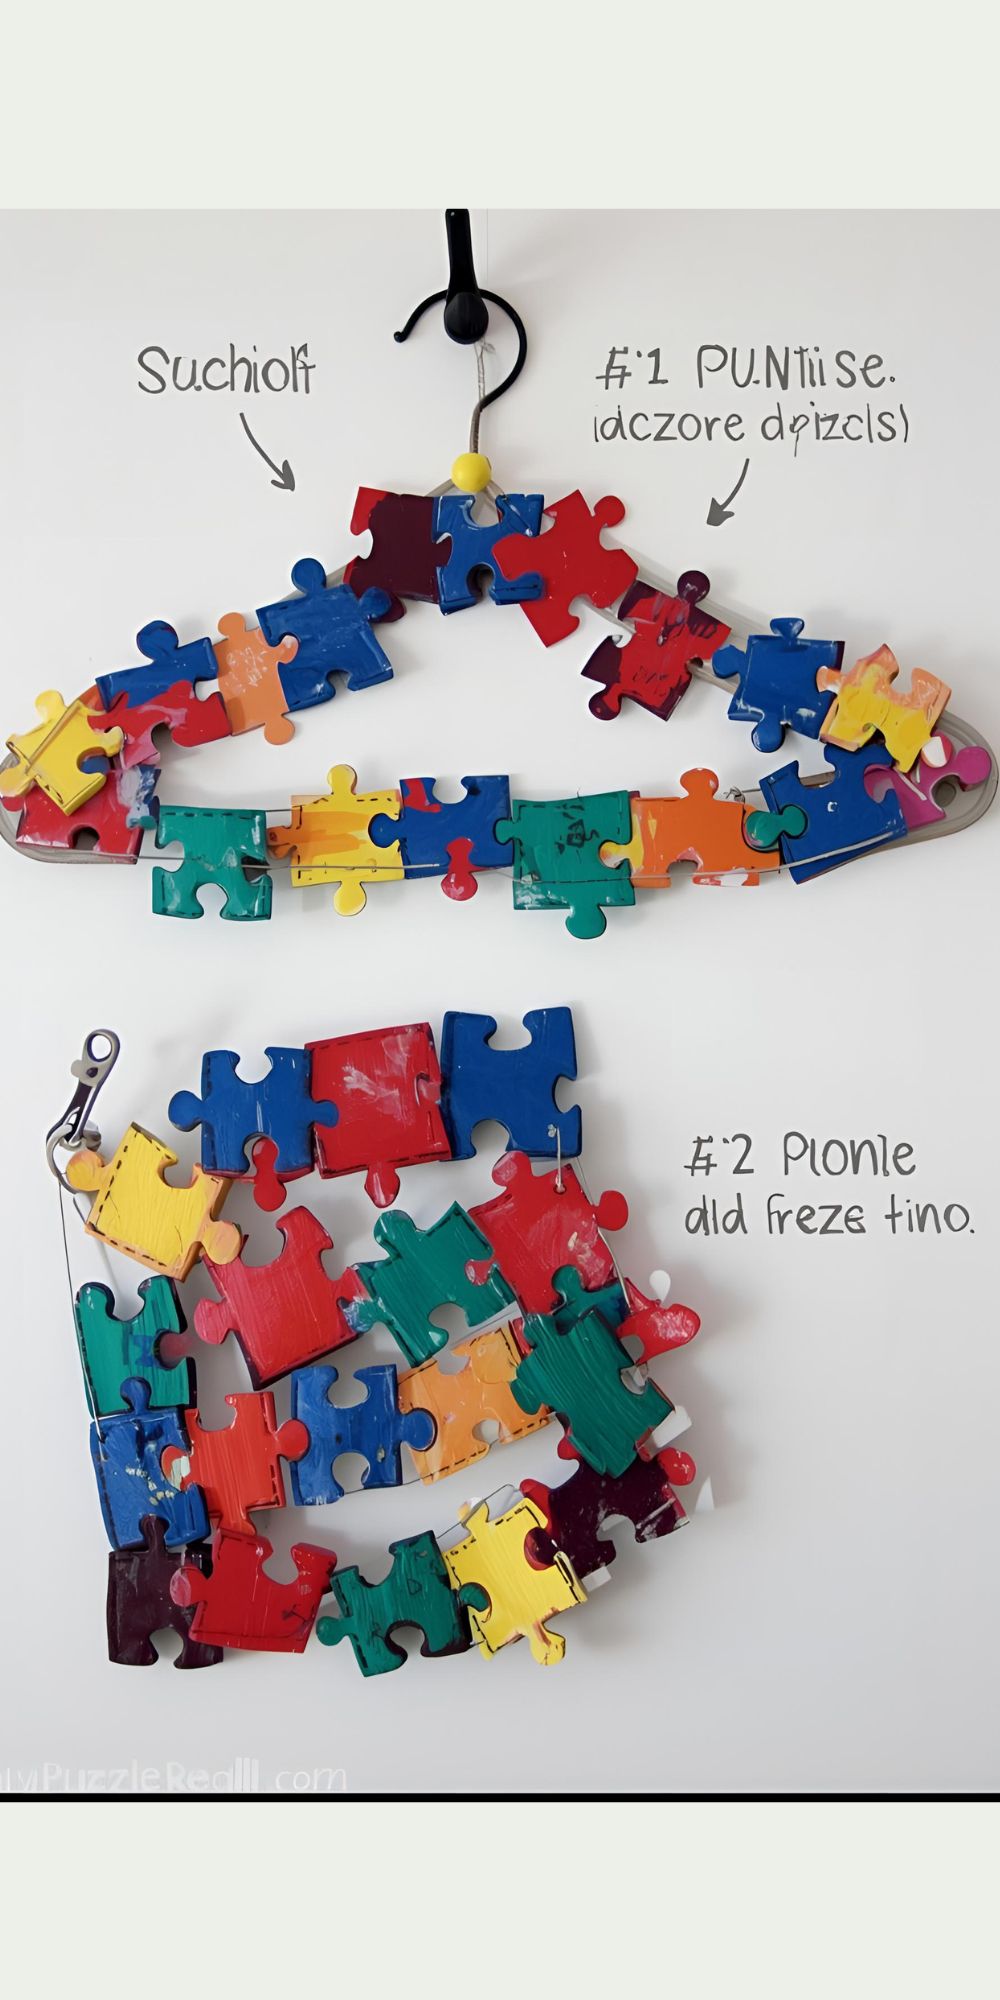
8) Puzzle Piece Designs
Recycle old puzzle pieces by gluing them onto a hanger, then painting them in vibrant colors.
9) Nature-Inspired Hangers
Glue on dried leaves, pressed flowers, or small twigs for a natural and earthy design.
10) Paper Collage Hangers
Cut out magazine clippings or patterned paper, then glue them on for a fun collage-style craft.
11) Glow-in-the-Dark Hangers
Use glow paint or stickers so the hanger lights up at night, making it extra exciting for kids.
FAQs

What materials are best for kids’ door hanger crafts?
Foam sheets, wood, cardboard, and felt are safe, easy-to-use materials.
Can door hanger crafts be used as gifts?
Yes—personalized door hangers make thoughtful, handmade gifts for friends or family.
Are door hanger crafts easy for younger kids?
Absolutely. Most designs only need simple supplies, making them suitable for preschool and elementary ages.