11 Simple Easter Craft For Kids
Easter is a time when families gather together to celebrate the resurrection of Jesus Christ.
While Easter is actually a religious holiday, it’s also fun to enjoy with family and friends. There are many really fun, easy, and creative crafts you can do with your kids this Easter. Here are 11 simple Easter craft ideas for kids:
Easter Eggshell Flowers
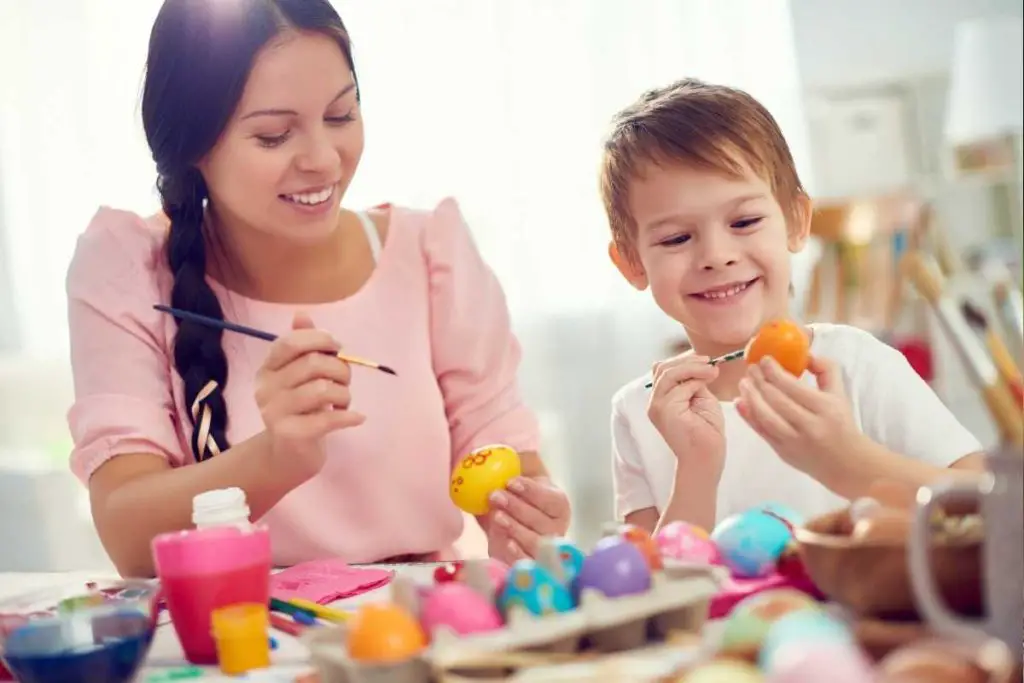
You can also make an Easter eggshell flower. Just glue the eggshell together and decorate it with paper, paint, or any other material you like!
You can even use it as a necklace or bracelet by adding a string to it.
How about making an Easter bookmark for your mom? You’ll need some stiff cardboard, some beads, and glue plus some painted eggshells and you’re ready to go!
Paperbag Bunny.
Paperbag bunny is a fun and easy Easter craft for kids.
You can make it with your child, or he can make it on his own. Either way, you will save money by recycling old paper bags and time because this craft doesn’t take long to complete!
Easter Bunny, Chick, And Lamb Painted Rocks.
Materials
- rocks, pebbles, or stones (the size of a golf ball)
- acrylic paint
- paintbrush
- toothpick to make the eyes. Use a straw to make the ears and tail.
Funny Handprint Chicks.
You will need
- An egg carton (or the top of a shoebox)
- Paint and paintbrushes
- Paper and pencils (for making patterns)
- Scissors and glue or tape, to make the chicks look like they’re peeking out of their eggs.
Egg Carton Chicks.
- Use an egg carton.
- Paint the egg carton.
- Marker the beaks and feet on all of the eggs in an identical shape.
- Use a hole punch to make two holes for the eyes, just above the bottom of each egg’s face. Use a straw to make wiggly eyes (cut it at this length first).
- Use a straw to cut out wings from two other eggs at different lengths, so they’re not all exactly even; we’re trying to replicate feathers here!
Paper Plate Easter Wreath.
This easy craft is ideal for anyone who loves to decorate Easter eggs.
This Easter wreath is a fun way to add some springtime flair to your home, and it’s easy enough that even small children can help make it.
What You’ll Need:
- Paper plates in assorted colors and sizes
- Colored paper straws (optional)
- Scissors or a craft knife (adult supervision recommended)
Spring Chick Sun Catchers.
- Paper
- Scissors
- Craft stick (or something similar)
- Cotton balls
- Paint (or food coloring if you’re okay with messy hands)
- Paintbrush (optional)
- Paper towel or cloth to wipe off paintbrush between colors
- Plastic Easter eggs
For this craft, all you need is paper and scissors. Cut out a small piece of paper, fold it into thirds and cut out a triangle shape. Then unfold the paper, apply glue inside each corner of your creation, place a cotton ball on top and press down gently.
Once dry add paint using either brushes or fingers as desired! You can also add glitter for extra sparkle!
Popsicle Stick Bunny Frame.
Gather your materials. You’ll need to find a frame and some colored popsicle sticks. If you can’t find one at home or in your local dollar store, try a craft store like Michaels or Hobby Lobby.
Use the glue gun to attach the popsicle sticks together to form the bunny’s ears. Make sure they are facing forward so they can stand up when you’re finished building them!
Draw your eyes and nose on your bunny with markers or paint pens if desired. Be sure to give him a happy expression—he’s Easter after all!
Yarn-wrapped Easter Eggs.
You’ll need. Yarn in a color that matches your eggs. You can use a solid color, or you can get creative and use several different colored strands of yarn to create a marbled effect.
If you choose the latter, make sure your yarn is all roughly the same thickness—the more tightly it’s wound, the better it will stay on the egg as you wind it around.
What to do.
Gather your materials and find an area where you have lots of space around you so all your materials don’t get tangled up while working with them (if possible).
Wrap each individual egg in yarn until there isn’t any visible white left on top anymore (or just until it seems like enough). This may take some trial and error depending on how long or short each piece of yarn is, but go for about 1½ times around each egg for best results!
Display them proudly in their new outfits! You could put them on display somewhere prominent where others can see them easily during Easter celebrations or give as gifts to family members who like decorating their homes too much for Christmas time but not quite enough for Valentine’s Day 🙂
Carrot Card Holder For Kids To Make And Give As A Gift For Their Teachers.
Why not make a cute carrot card holder for your teacher? It is easy to make and it will be the highlight of her Easter.
You will need
- Carrots (or any other vegetable)
as many as you want to use. I used 7 carrots for my bunny card holder but if you want to make a chick, just use 3 carrots instead! If you want to make 2 bunnies, add another carrot or two. You can also add different colors of carrots if you’d like them all different colors!
- Scissors
Cut out your vegetable shapes for making the bunny or chick face on top of each carrot! You can also use food coloring pens if your child wants their carrot red instead of orange like mine was originally before adding a food coloring pen into it 🙂
- Glue / Tape
To glue together all parts needed into place once they’ve been cut out so they stay together while drying overnight before wrapping with ribbon/string/twine later on 🙂
Hand and footprint Easter bunny art
keepsake for kids to make and give as a gift to their parents or grandparents.
For this craft, you’ll need.
- A sheet of white cardstock paper
- A pencil or pen
- A ruler (optional)
Have your child place his/her clean foot on the piece of paper and gently press down to make an imprint. If the child is young, you may need to help him/her get the right angle for his/her print. This will be a little trickier with bigger feet if they are not standing upright and instead have their toes curled under them while they sit down in their high chair or couch.
You can trace over their footprint with a pencil or pen by holding onto each toe and then drawing around it as well as around their entire footprint on both sides at once so that there is no mistake about where each part belongs when putting it back together later on in step 3 below!
Make sure that both hands are resting comfortably above one another before having them stand up straight with arms bent slightly forward so that there’s plenty of room between those two fingers when making sure that they’re not touching each other too much during your tracing process (this is important because we want them looking like two separate prints).
Slowly lift your child up off of whatever surface they were standing on until these two hands come together behind him/herself while holding onto one another tightly enough so that nothing gets smudged off during any parts where these prints might overlap themselves unintentionally–if so just erase those lines right away without worrying about rubbing dirt into anything else nearby since erasing lines usually doesn’t smudge any other places nearby unless done carelessly with too much pressure.) Now line up all four arms evenly spaced apart from one another before asking him/her what color sheeting he would like best for covering up his bottom half since we’re going above waist height here today; 3 Let go slowly again; 5a) Then ask who wants which handprint kept closer towards center mass first–which
There Are Many Really Fun, Easy, And Creative Crafts You Can Do With Your Kids This Easter
Easter is a great time to do crafts with your kids! There are many really fun, easy, and creative crafts you can do with your kids this Easter.
You can make them at home or take them to a craft store. If you don’t have the supplies on hand, you can always go shopping for the materials when it’s time for one of these activities.
There are also many different ways that you can do these projects—you could make them with your kids or let them make them on their own later in the day if you want to get involved in some other aspect of Easter (or just sit back and relax).
Conclusion
We hope that you’ve found these ideas for Easter crafts for kids to be an inspiration! If you want to see more of our projects, check out our website.


