15 Top Hat Craft For Kids
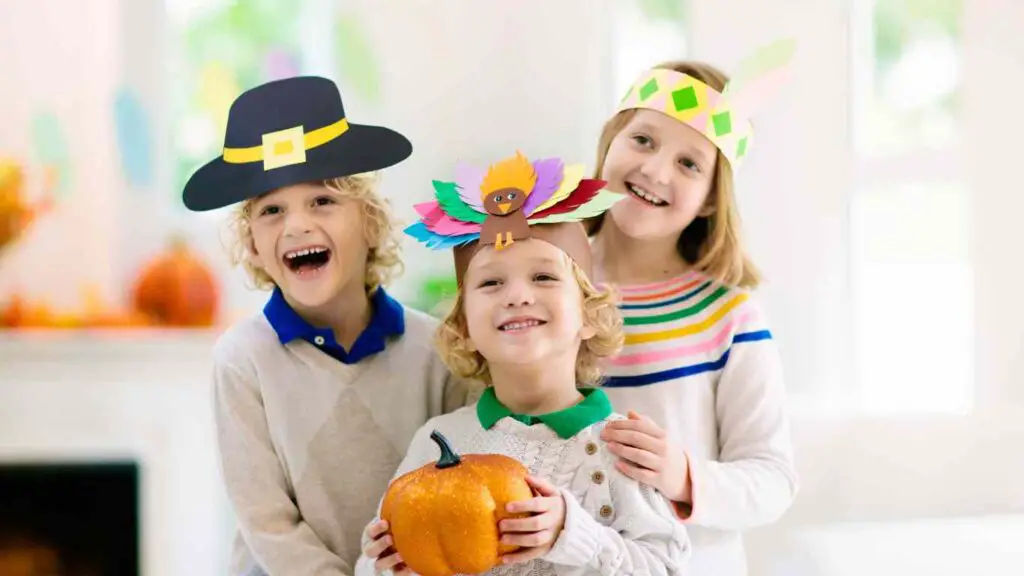
Top hats are a classic accessory for men and women alike. They’re also perfect for kids to wear during Halloween—and any other time of year.
15 Top Hat Craft For Kids
This collection of top hat crafts for kids will give you step-by-step instructions on how to create your own hats, plus some additional ideas that you can use if you want to make something more elaborate. From paper plate crafts to felt hats and everything in between, these projects are sure to please everyone at your next party or gathering!
Paper Plate Top Hat
Materials
- Paper plate
- Scissors
- Glue or tape (optional)
- Marker or pen (optional)
Cut a hole in the center of the paper plate. Make sure it’s big enough for your head to fit through!
Decorate your hat with markers, stickers, glitter, etc. Or you can leave it plain if you want! Just make sure that all decorations are secure so they won’t fall off when you wear them.
Halloween Top Hat
- Top Hat Craft For Kids
- Top Hat Crafts For Kids
- Top Hat Crafts For Kids To Make
- Top Hat Crafts For Kids To Make At Home
- Top Hat Crafts For Kids To Make With Cardboard
- Top Hat Crafts For Kids To Make With Paper
Jack O’Lantern Top Hat
What you’ll need:
A large top hat (you can find them at craft stores or party supply stores). Two giant foam pumpkins (available at most dollar stores). Stickers and markers for decorating your hat and pumpkins.
How to make it.
Place the pumpkin inside the hat so that it rests on top of the brim. The bottom should sit about an inch from the brim, but only if you want some extra room for your face! If not, simply place it directly on top of the brim.
How to decorate it.
Stick stickers or draw designs onto your pumpkin with markers. You can add arms, legs, and faces too! If desired, glue fabric scraps around the rim of each pumpkin; then glue those pieces under where they overlap each other in order to hide any gaps left over from cutting away excess material before gluing them down!
This will make sure nothing falls out when handling this craft later on down below 😉 If doing so feels like too much work just leave out this step by all means – no one will judge 🙂
Newspaper Top Hats
- Paper plate
- Scissors
- Glue
Newspaper to cover the plate (You can also use brown paper bags instead of newspaper, but it might be harder for kids to cut holes in those.)
Construction Paper Top Hats
Use construction paper to make a top hat.
Cut out a hat shape from your construction paper, then glue it to the center of a paper plate. Use markers to decorate your hat if you like!
Use scissors or a hole punch to make holes in the bottom of the plate and lid of your container, then secure them together with elastic bands or twine.
Felt Top Hat
To make your child’s top hat, you’ll need a paper plate and felt. You can choose any color of felt you want, but we chose red for this craft.
If you have little ones who are making their own hats, use tape to hold the paper plate in place while they decorate it. This will prevent them from getting frustrated when they accidentally move their project too much while working on it!
When you’re ready to add some flair to your hat, add glue dots around the rim of it instead of cutting out holes or shapes with scissors since that could be dangerous for younger kids who might poke themselves with blades by accident while making their own hats at home! Once it’s dry enough not to tear easily I recommend adding ribbon trim along each edge as well just because they look pretty 🙂
Boy’s Top Hat
The boy’s top hat is a great craft for kids. It’s a fun project that can be enjoyed by both boys and girls, but it’s especially good for boys.
Boys like to make things out of felt, so this is the perfect project for them.
The boy’s top hat can also be made for girls or for adults who need a new hat or just want something new to wear with their costumes and outfits.
Cardboard Top Hat
Making a top hat out of cardboard is the perfect craft for the littlest maker!
You will need:
- a piece of cardboard large enough to cover your head
- a piece of paper in the shape of a hat brim (you can download it here)
- glue or tape to attach the brim to your top hat
Felt Strawberries and Cream Top Hats
What you will need.
- A Sharpie or other marker
- Orange and red felt (1 sheet each)
- Black felt (1 sheet)
- White paint or chalk, if desired.
- Strawberries!
You can use paper ones or real ones, but I recommend the latter because they’re more fun and it’s a nice treat for your hat maker to have some cool fruit around while they work. * Optional: Cute straws that fit inside of the strawberries
Fireman’s Helmet Hats
Materials
- Construction paper
- Glue (optional)
- Paper plate (or you can use a cup or bowl)
- Yarn (cut into three 6-inch pieces)
Cardboard Tube Witch Hats
Materials
- Cardboard tube (such as a toilet paper roll, paper towel tube, or a paper towel roll)
- Scissors
- Glue gun and glue sticks
- Paper plate or cup for the brim
Lincoln Hat Crafts for Kids
Lincoln hats are one of the easiest and most fun crafts for kids. There are so many different materials you can use to make a Lincoln hat that any child will be inspired by the possibilities.
Your child’s creativity will shine as they create their own Lincoln hat or help you with yours!
You’ll need.
A cardboard tube or stack of old soda cans (about 12 inches tall). Thick, colorful construction paper or poster board (cut in strips)
Cover the cardboard tube with construction paper, wrapping it around tightly and taping pieces together where needed. Cut out a circle from thick cardstock, about six inches in diameter; cut this circle into half moons that look like the top half of an orange slice (see photo).
These should be attached at right angles—the flat side should face outwards when looking at them from above—to create two ears on either side of a round head shape made by cutting out two semicircles from lighter colored cardstock or construction paper; then glue them together along their flat sides to form one large triangular “hat” shape. You may want to add some details like buttons or stitching here as well!
Crazy Cat in the Hat Crafts for Kids
The Cat in the Hat is a classic Dr. Seuss book that comes with a lot of fun crafts for kids to make at home, including hats and other decorations.
If you want to share this funny story with your child or grandchild, then try some of these Cat in the Hat crafts for kids that you can make at home.
The Cat in the Hat is one of Dr. Seuss’ most popular creations and after reading it together as a family, everyone will be ready for some cat-themed fun! Here are some ideas for activities related to this timeless classic:
Girly Birthday Hats for Kids to Make
Birthday hats can be made from paper plates. This is a great project for kids to make at home or in class.
Birthday hats can be decorated with stickers, markers, crayons, and more! You can even use the paper plates and make some cool designs on them before you cut them out.
You could even draw hearts on the plates before you cut them out if your child wants to create hearts on their birthday hats for kids!
These Top Hat Crafts For Kids Are Easy To Make And Perfect For Pretend Play
Top hat crafts for kids are a great way to encourage pretend play and creativity in your little ones.
Pretend play is important because it allows children to develop their imagination, learn about the world around them, and gain confidence. It also helps them learn about cause-and-effect relationships. Playtime should be fun for everyone involved, so make sure that you’re having fun too!
Top hat crafts for kids can help with all of these things!
Conclusion
I hope you enjoyed these top hat crafts for kids. They are easy to make and perfect for pretend play. The best part is that they can be made out of simple things like paper plates or cardboard tubes!