6 Easy Baby Craft Activities for 6-12 Months (Cute Keepsakes!)
Ready to turn tiny grins, chubby hands, and sleepy snuggles into adorable keepsakes? These 6 craft ideas are simple, safe, and totally baby-friendly, perfect for 6-12 month little explorers. I’ll show you how to capture precious moments without the fuss—trust me, you’ll love these.
Grab a cup of tea and your glue sticks—let’s dive into seriously cute, mess-friendly projects that mom, dad, or caregivers can do in a nap-time breeze. These activities are designed to be quick, repeatable, and wonderfully frame-worthy for the fridge, wall, or gallery of memories.
1. Handprint Forest Keepsake Tree
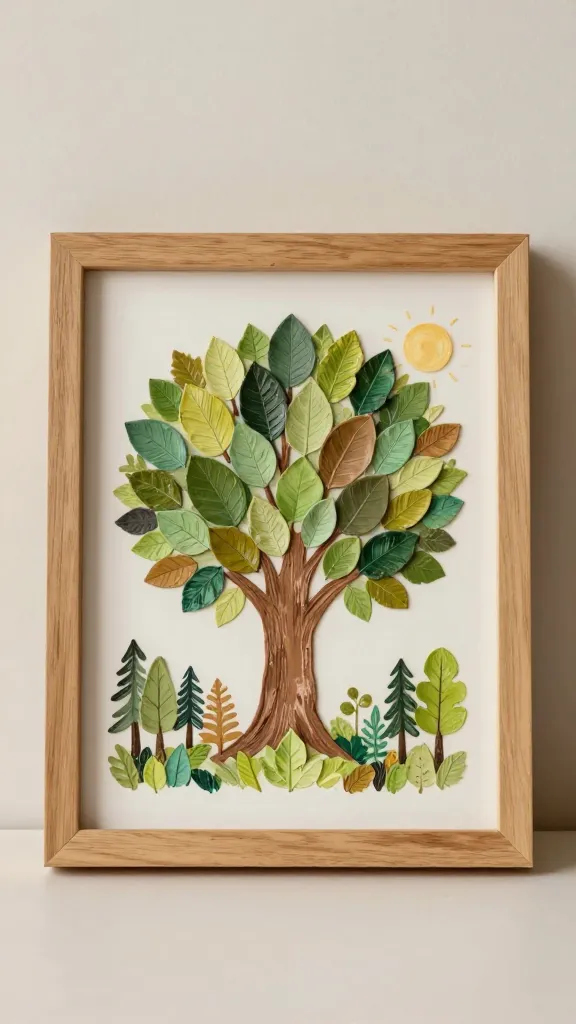
Picture a framed scene of a tiny handprint transforming into a playful forest. From the trinket-like leaves to a little sun in the corner, this crafts a cherished, wall-ready treasure that’s as sweet as it is sentimental. The best part? It grows with every print, turning yearly rituals into a charming woodland mural.
Materials Needed
- Plain wooden frame or a canvas board
- Non-toxic acrylic paints (green shades, brown, a pop color for leaves)
- Baby-safe stamp pad or sponge brush
- Painter’s tape (optional for clean lines)
- Fine-tip marker or craft pen
How to Make It
- Paint a soft sky background on the canvas or leave the natural frame color for a minimalist look.
- Paint a trunk with brown on the lower portion of the print. Let it dry.
- Gently press your baby’s hand (or foot) onto the green paint to create the forest canopy, repeating with the other hand for a fuller scene.
- Add tiny leaves, birds, or a sun using a fine brush or stamp pad. Use the marker to write dates or a sweet caption along the bottom.
- Seal with a child-safe sealant if your surface requires it, then assemble into the frame.
Pro Tips / Styling Ideas
- Use varied greens and a hint of yellow for warmth.
- Frame with natural wood to echo a cozy, rustic vibe.
- Swap in a seasonal motif—snowflakes, blossoms, or autumn leaves—to mark milestones.
Who’ll love it: parents who want a yearly growth and memory piece, perfect for a nursery wall or a grandparents’ gift stash.
2. Finger-Painted Color Squares Memory Tile
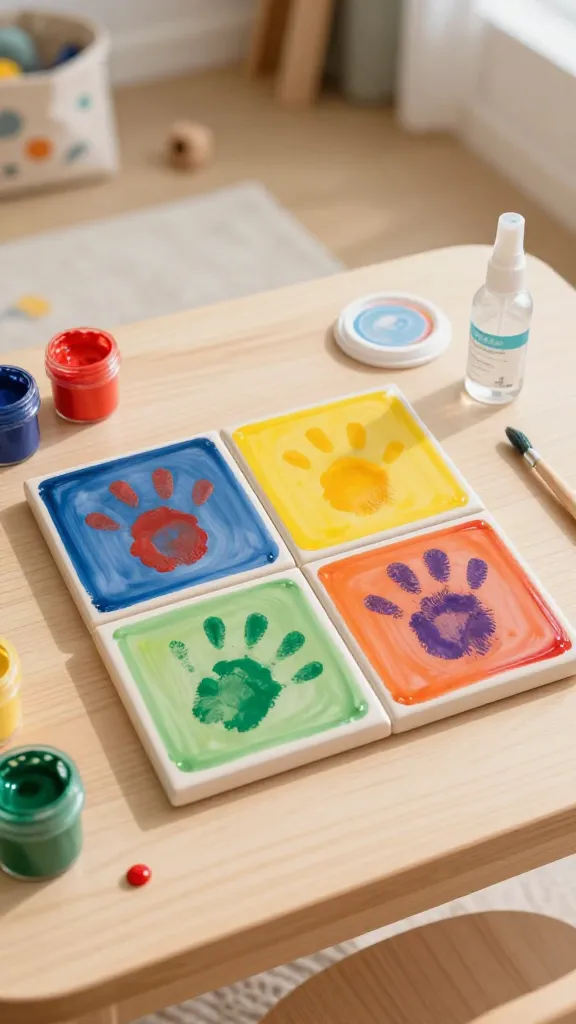
Imagine a tile-sized collage that showcases a few bold, baby-dabbed color squares. It’s playful, modern, and surprisingly chic in a sunny playroom. Each square carries a fingerprint print, turning tiny finger art into a stylish mosaic that celebrates color and curiosity.
Materials Needed
- Ceramic tile or thick wooden tile (4×4 or 6×6 inches)
- Acrylic paints in 4–6 bright colors
- Baby-safe fingerprint ink pad or washable paint
- Sealant spray (non-toxic) or clear acrylic
- Adhesive hooks or easel stand for display
How to Make It
- Paint four to six color blocks on the tile, letting each dry before the next to avoid smudging.
- Gently press your baby’s fingertip into a paint color to stamp tiny fingerprints onto each block.
- Add a simple line or pattern with a fine brush to connect the blocks if you like.
- Seal the tile with a clear coating and let it cure completely.
Pro Tips / Styling Ideas
- Choose colors that match your nursery palette for a cohesive look.
- Place on a small easel in a bookshelf display or mount on the wall as a grid.
- Swap in seasonal colors across the year for a mini art gallery vibe.
Who’ll love it: design-minded parents who want a modern keepsake with a splash of whimsy, plus a perfect baby gift for a first birthday.
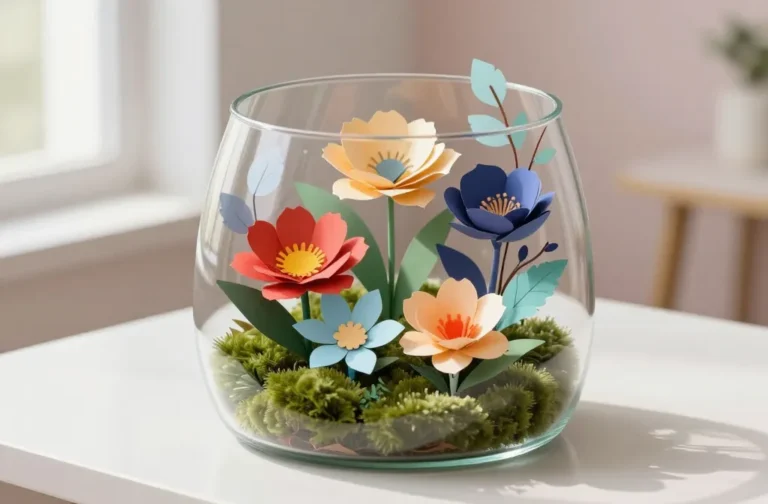
3. Baby Footprint Flower Pot Planter
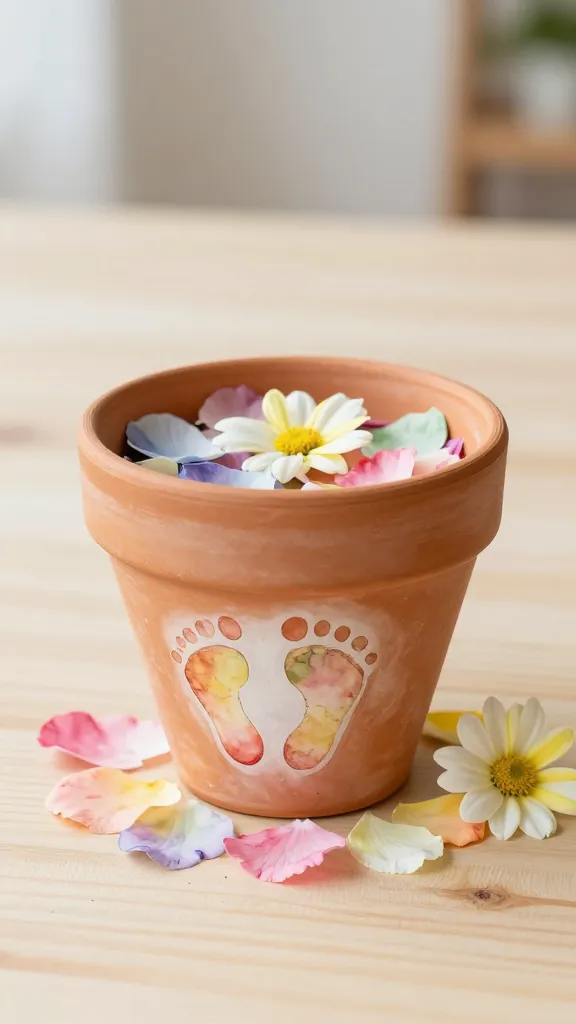
Sprout a tiny garden of memories with a footprint-turned-flower pot. This craft doubles as a practical decor piece and a delightful photo-op moment—watercolor paints bloom with the baby’s footprint, making a charming floral tribute for springtime or a bright birthday display.
Materials Needed
- Terracotta or ceramic plant pot (small size)
- Non-toxic acrylic paints or ceramic paints
- Soft paintbrushes and a sponge
- Vegetable-based sealant (optional)
- Bright artificial or temporary flowers for display
How to Make It
- Paint the pot with a base color (soft pastel or vibrant shade). Let it dry thoroughly.
- Paint a baby footprint on the side, using a coordinating color for the petals or flowers around it.
- Add small details like stems, leaves, and a few doodled bees or butterflies for whimsy.
- Seal if desired and place a small plant in the pot to complete the scene.
Pro Tips / Styling Ideas
- Pair with a real plant for a living memory or use faux greens for low-maintenance display.
- Customize with the baby’s name and birthdate in hand-lettered script.
- Make a matching several-pots garden for a shelf or window display.
Who’ll love it: plant-loving families who want a personal, nature-inspired keepsake that doubles as decor.
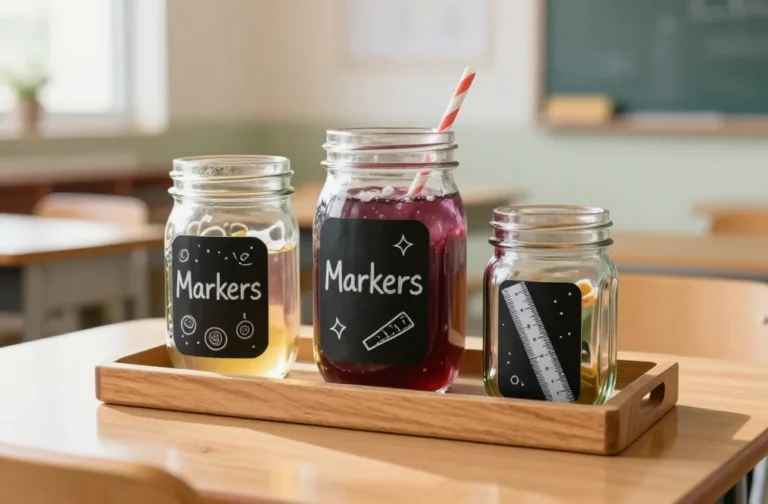
4. Milestone Milky Way Homemade Chalkboard
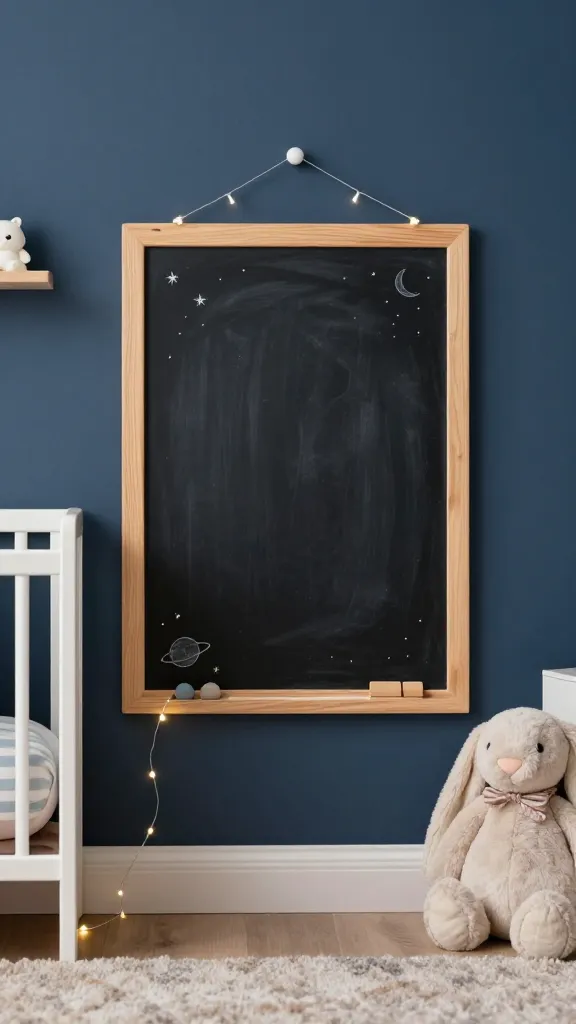
Launch a tiny galaxy right on a chalkboard that captures milestone dates, first words, and silly quotes. This is a playful, reusable piece that grows with your baby’s milestones, turning your wall into a storybook of moments.
Materials Needed
- Small wooden chalkboard or magnetic whiteboard
- Non-toxic chalk markers or chalk pastels
- Stencils for stars, moons, and planets (optional)
- String or ribbon for hanging (optional)
How to Make It
- Choose a color theme that matches your nursery—deep space blues, purples, and silvers look magical.
- Draw a whimsical Milky Way with tiny stars and planets, leaving space for milestone dates and quotes.
- Use the space to write the baby’s weight, height, and a favorite phrase or memory from that month.
Pro Tips / Styling Ideas
- Revisit monthly to add new milestones or wipe clean and start fresh for the next stage.
- Hang with twine and push pins for a gallery vibe.
- Use removable chalk markers to avoid ghosting between updates.
Who’ll love it: families who enjoy a playful, ever-evolving display that documents growth in a dreamy, space-themed style.
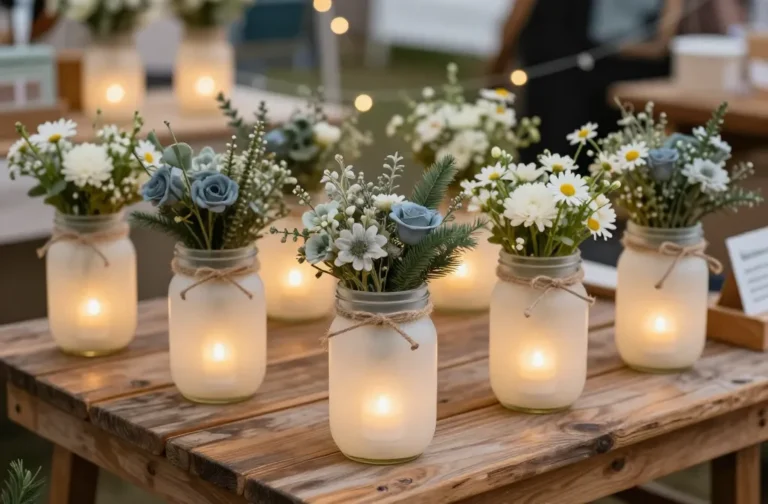
5. Soft-Sound Shaker Rattle Keepsake
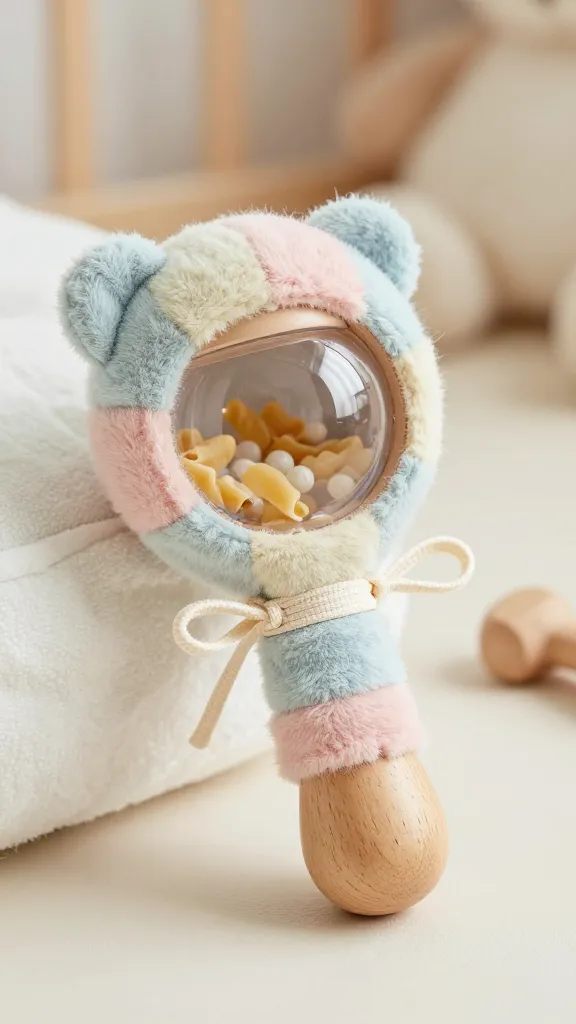
Turn gentle sounds and soft textures into a keepsake that babies can explore and you can frame as a memory capsule. This tactile project becomes a multisensory memento—perfect for curious fingers and sleepy afternoons.
Materials Needed
- Small, clean plastic bottle or wooden rattle body
- Non-toxic beads, dry pasta, or seed fillers
- Soft fabric scraps or yarn for the exterior wrap
- Non-toxic glue or fabric glue
- Ribbon or string for a ribbon-wrapped handle
How to Make It
- Fill the rattle body with safe, lightweight fillers that won’t rattle too loudly for nap times.
- Wrap the exterior with soft fabric, securing ends neatly with glue or stitched edges.
- Attach a ribbon loop for easy handling and a gentle, comforting texture to rub against curious fingers.
Pro Tips / Styling Ideas
- Choose calming colors—pastels or sea glass tones—for a soothing mood.
- Don’t overfill; you want a soft shake that’s toddler-friendly and calming.
- Pair with a small display stand or a fabric wall hanger for a cozy corner.
Who’ll love it: parents seeking a low-key sensory toy that doubles as a memorable, handmade gift for grandparents or babysitters.
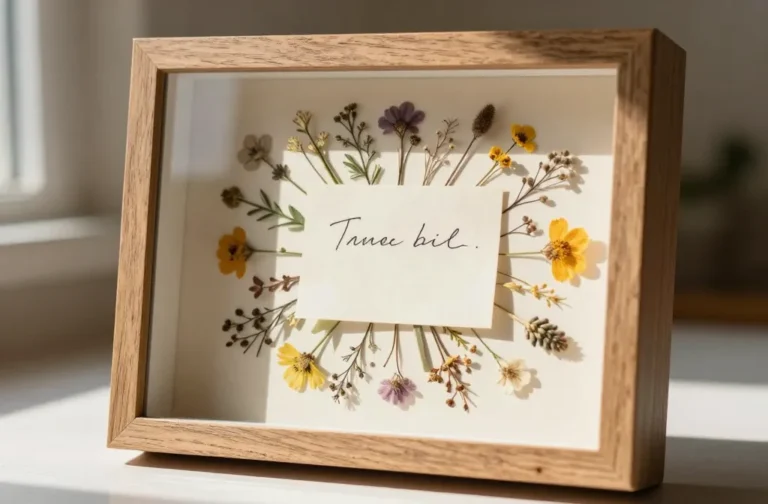
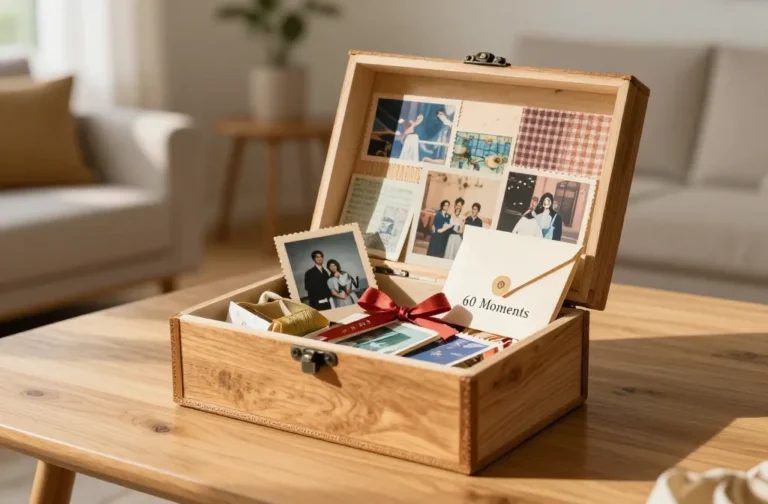
6. Baby Scrapbook Shadow Box
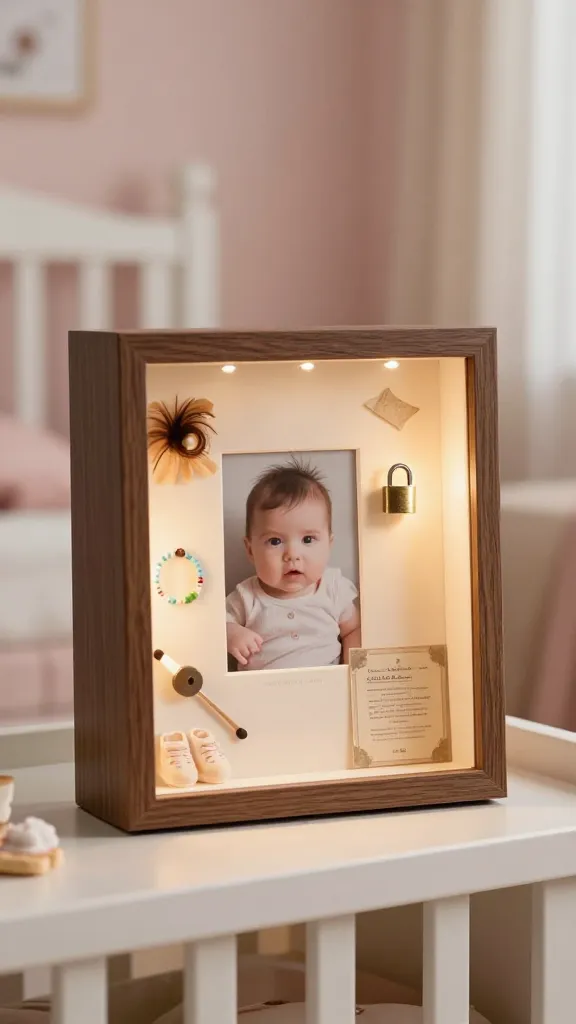
Let’s box up a year’s worth of tiny adventures into a dreamy shadow box that sits on a shelf and invites a daily peek. Add a tiny photo, a lock of hair, certificate, or a favorite tiny outfit—this is a slice of baby life captured in a glassy, nostalgic frame.
Materials Needed
- Shadow box frame (deep-set works best)
- Small keepsakes: hospital bracelet, first bootie, tiny photo, lock of hair, etc.
- Acid-free backing paper or cardstock
- Double-sided tape or glue dots
- Mini decorative elements: paper shapes, sequins, or confetti (optional)
How to Make It
- Lay out your keepsakes on the backing to plan the composition before attaching anything.
- Secure photos with tape or glue dots; place small mementos with a little space between items to breathe.
- Add a small handwritten caption with dates and names for a personal touch.
Pro Tips / Styling Ideas
- Create a yearly or monthly shadow box for a fresh display each season.
- Use acid-free materials to prevent yellowing over time.
- Pair with a soft light or display plinth for a gallery-like effect.
Who’ll love it: new parents and extended family who want a tangible capsule of baby’s first year to treasure or gift with pride.
Conclusion
These six ideas are designed for easy, joyful crafting that yields adorable keepsakes you’ll treasure forever. Each project is crafted to be safe, quick, and seriously Pinterest-worthy, perfect for capturing six to twelve months of tiny milestones. Pick one to start—or try all six and build a mini baby-art gallery at home. Ready, set, craft—and have fun creating memories you’ll flip through in years to come.