11 Cuckoo Clock Craft For Kids
Cuckoo clocks are timeless, playful, and full of charm. For kids, creating their own clock-themed crafts is not just fun—it also helps them learn about time, design, and creativity. From simple paper projects to 3D models, these cuckoo clock crafts can spark imagination while keeping little hands busy.
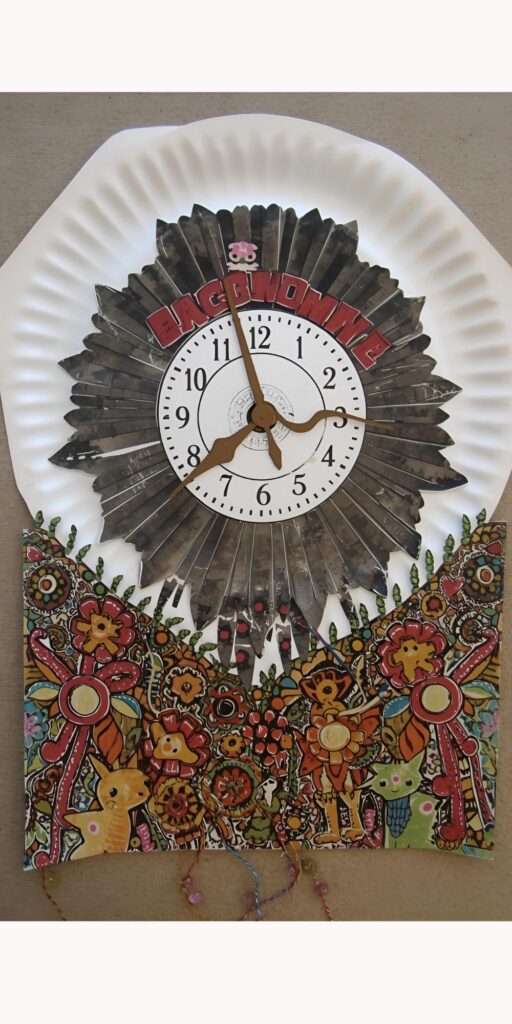
1) Paper Plate Cuckoo Clock
Kids can paint or color a paper plate, add clock hands with a brad fastener, and decorate with feathers or animal cutouts for a fun bird-inspired design.
2) Printable Cuckoo Clock Template
Use free printable templates to help children cut, fold, and glue together a miniature paper cuckoo clock they can hang on the wall.
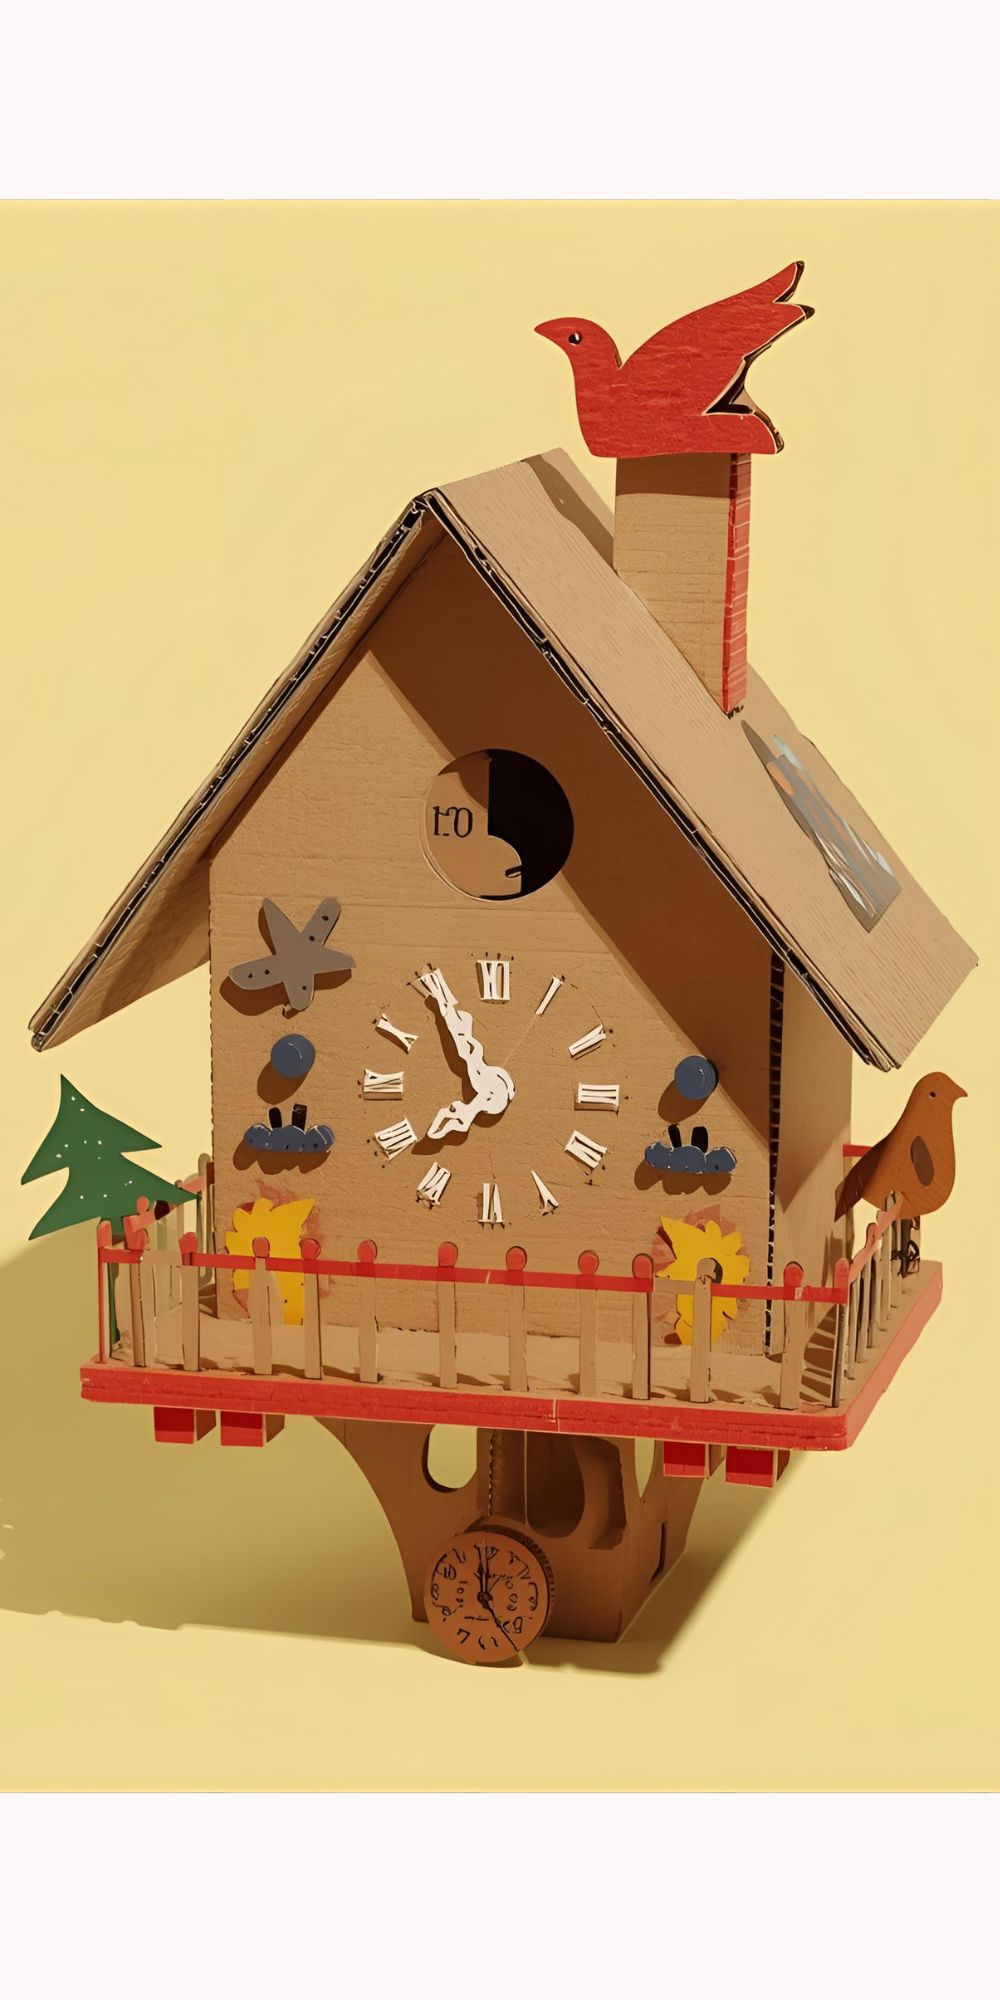
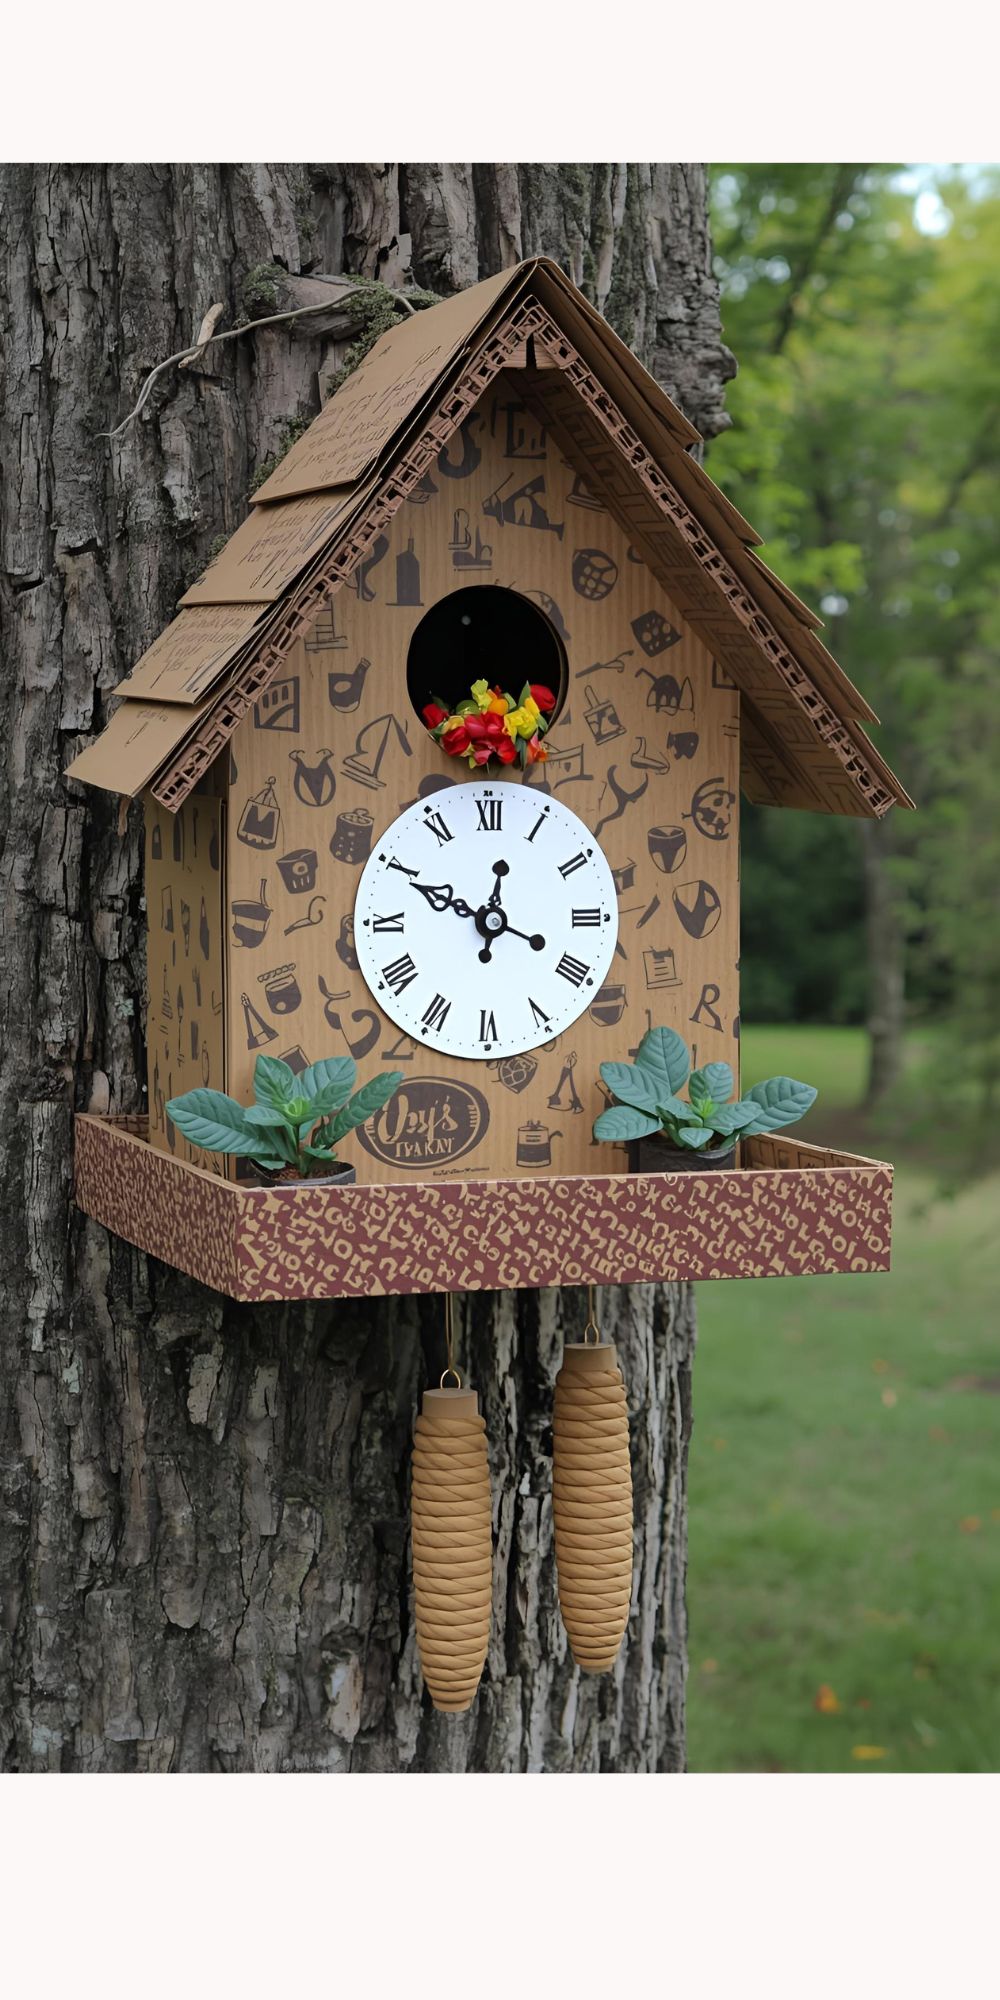
3) Cardboard Cuckoo House
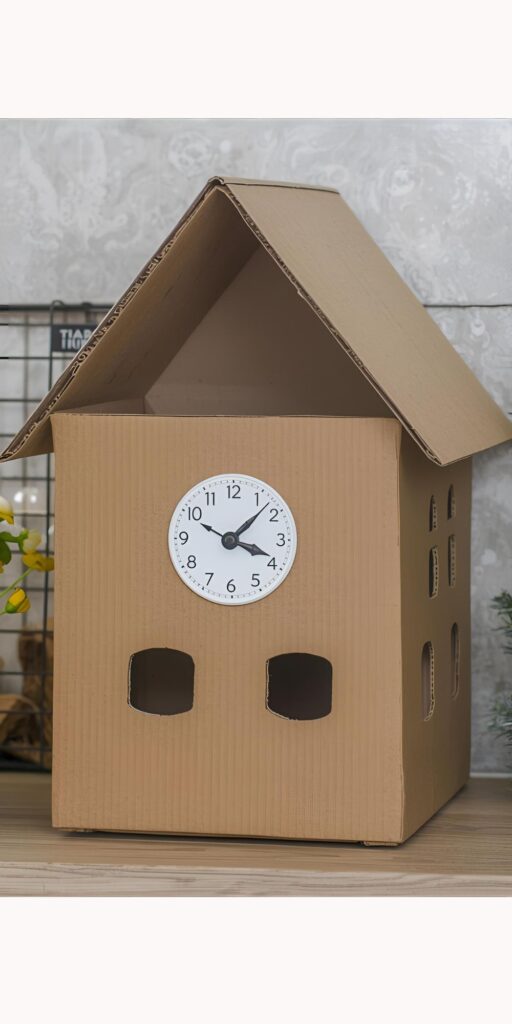
Transform recycled cardboard into a cute clock house. Kids can cut windows, add a bird, and paint their clock for a rustic look.
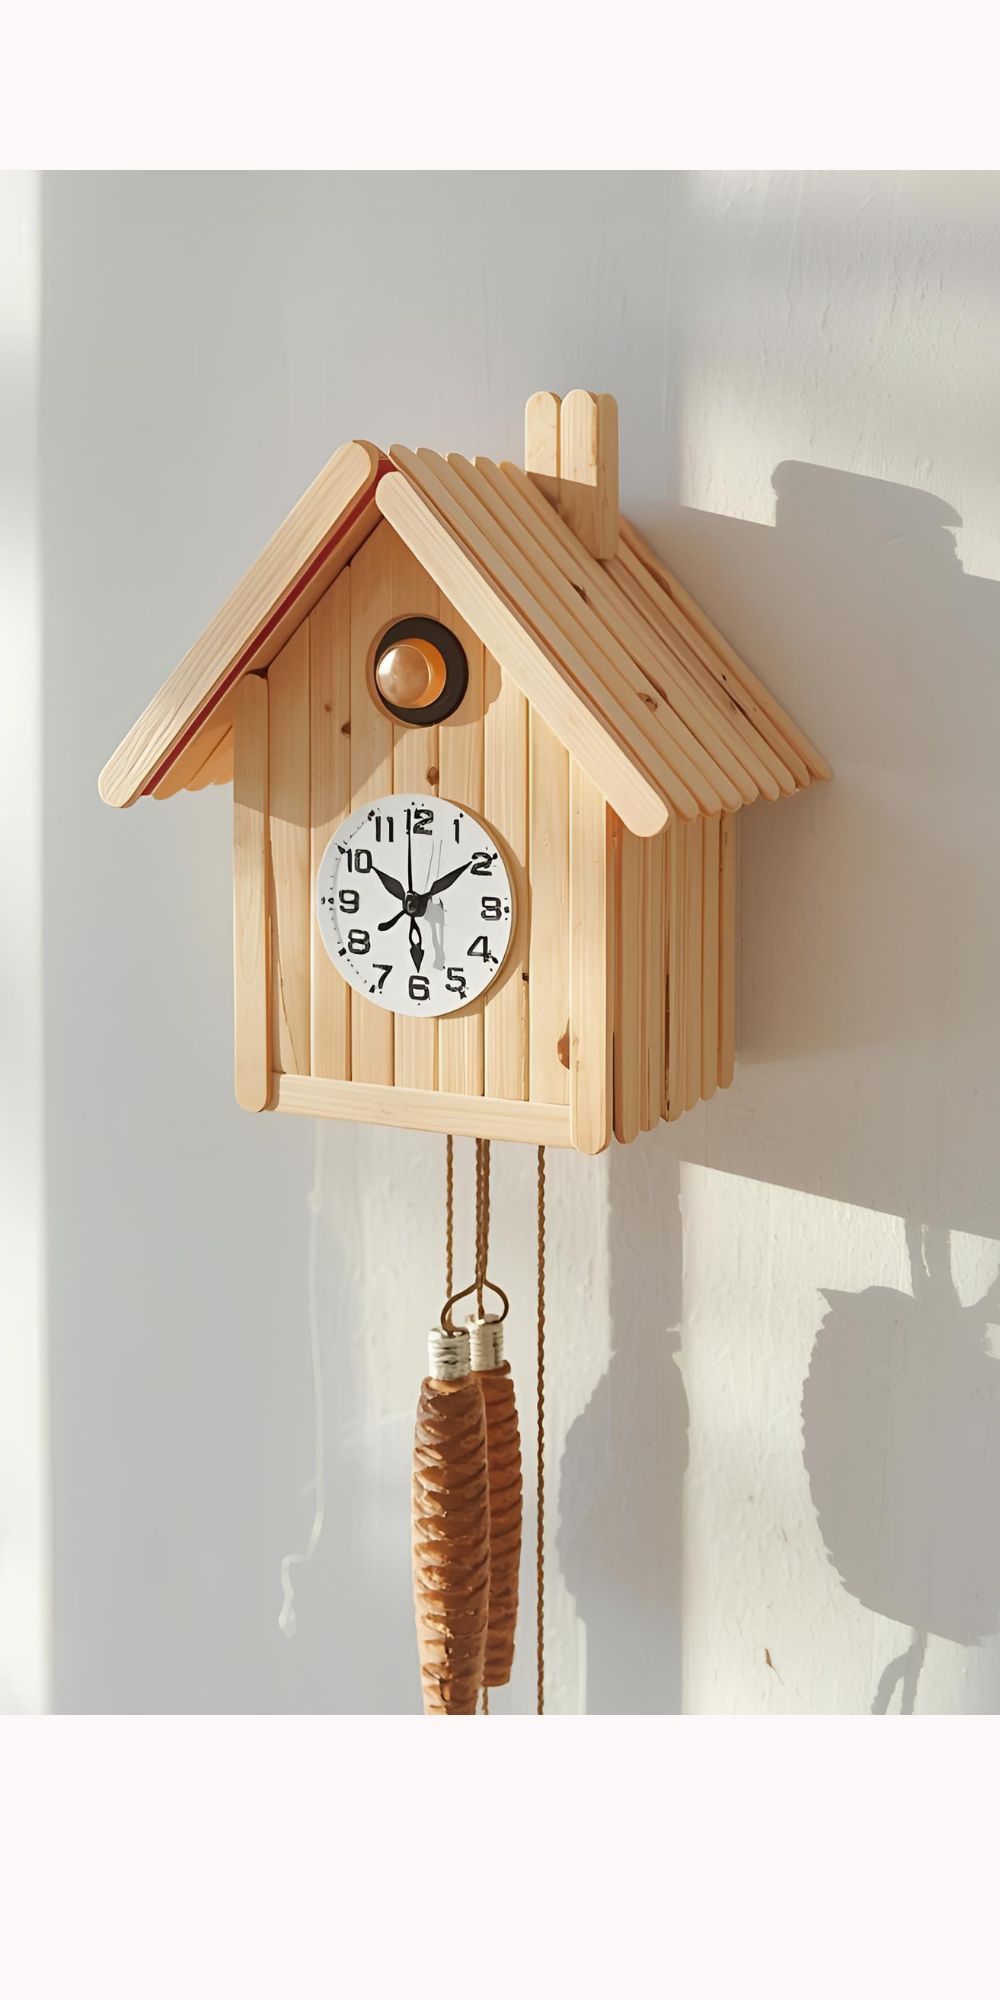
4) Popsicle Stick Cuckoo Clock
Arrange popsicle sticks into a house shape, glue them together, and decorate with markers or stickers to mimic a wooden cuckoo clock.
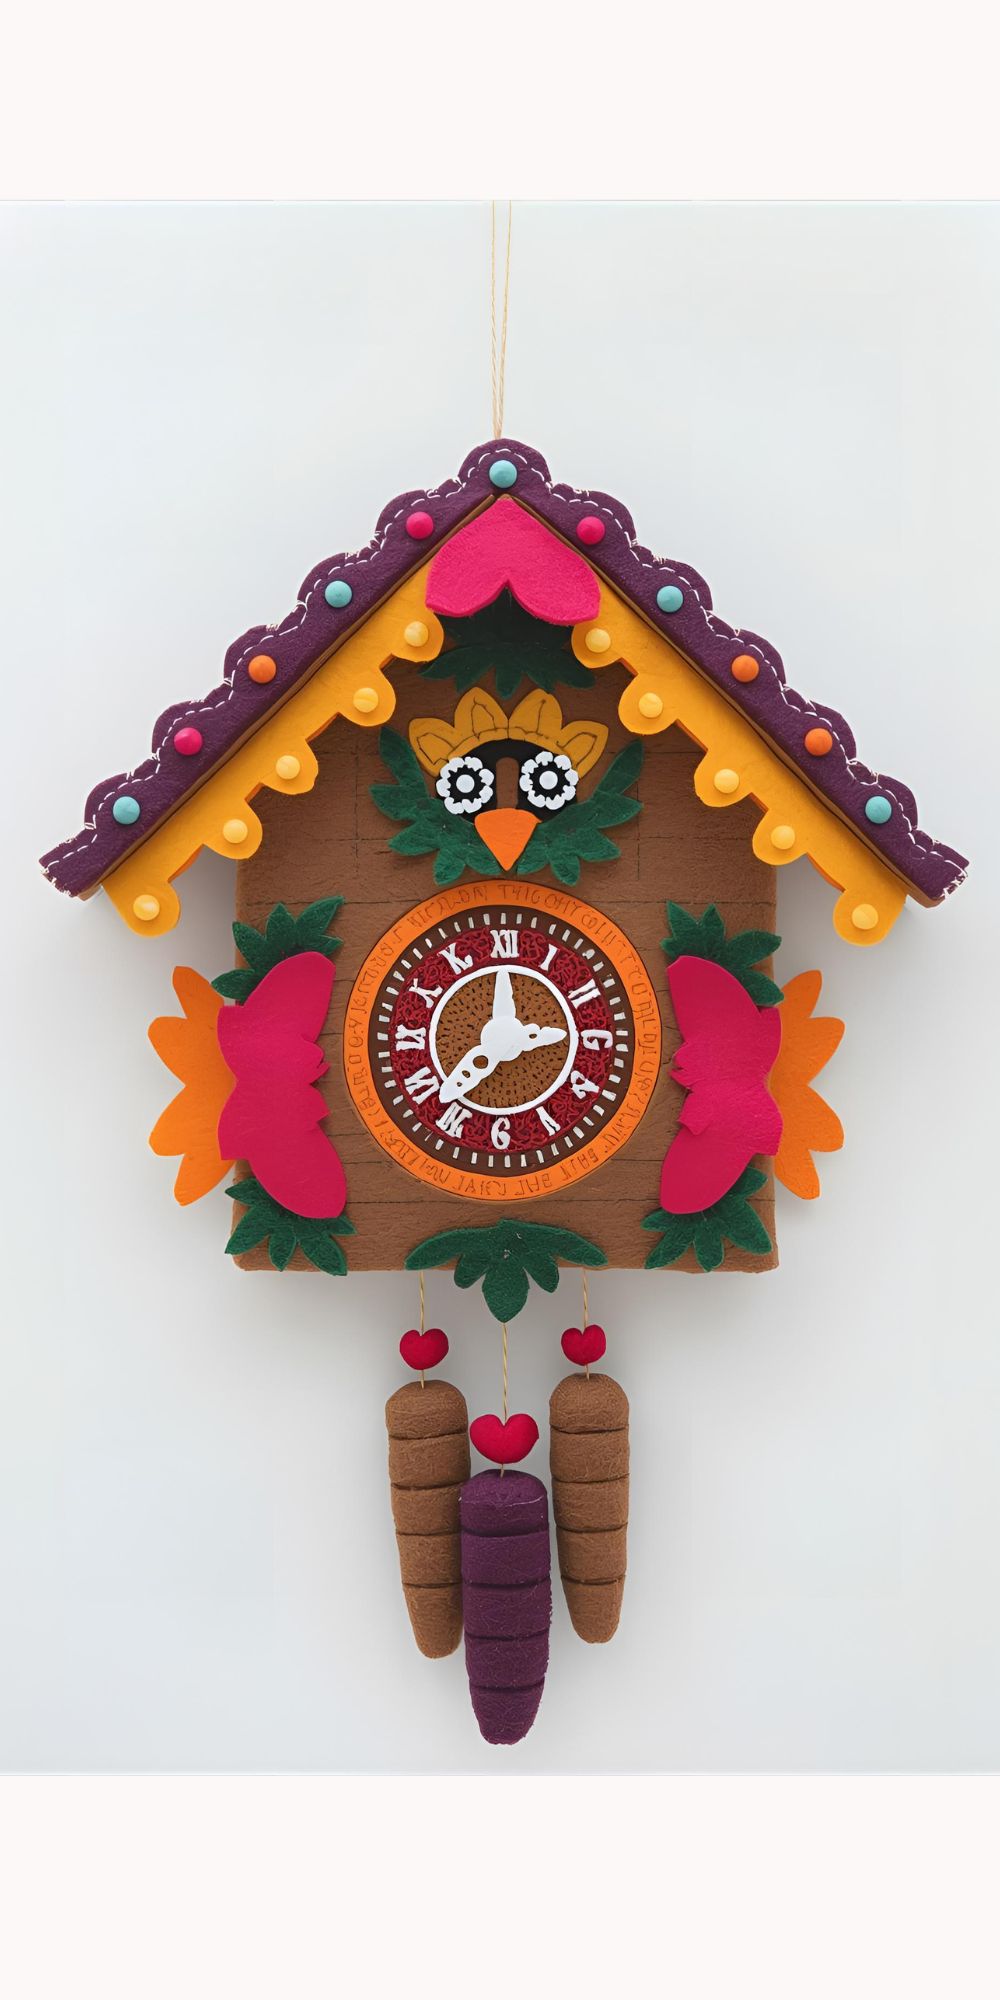
5) Felt Cuckoo Clock Craft
Using felt pieces, kids can sew or glue a soft cuckoo clock with colorful details. Perfect as a wall hanging for their room.
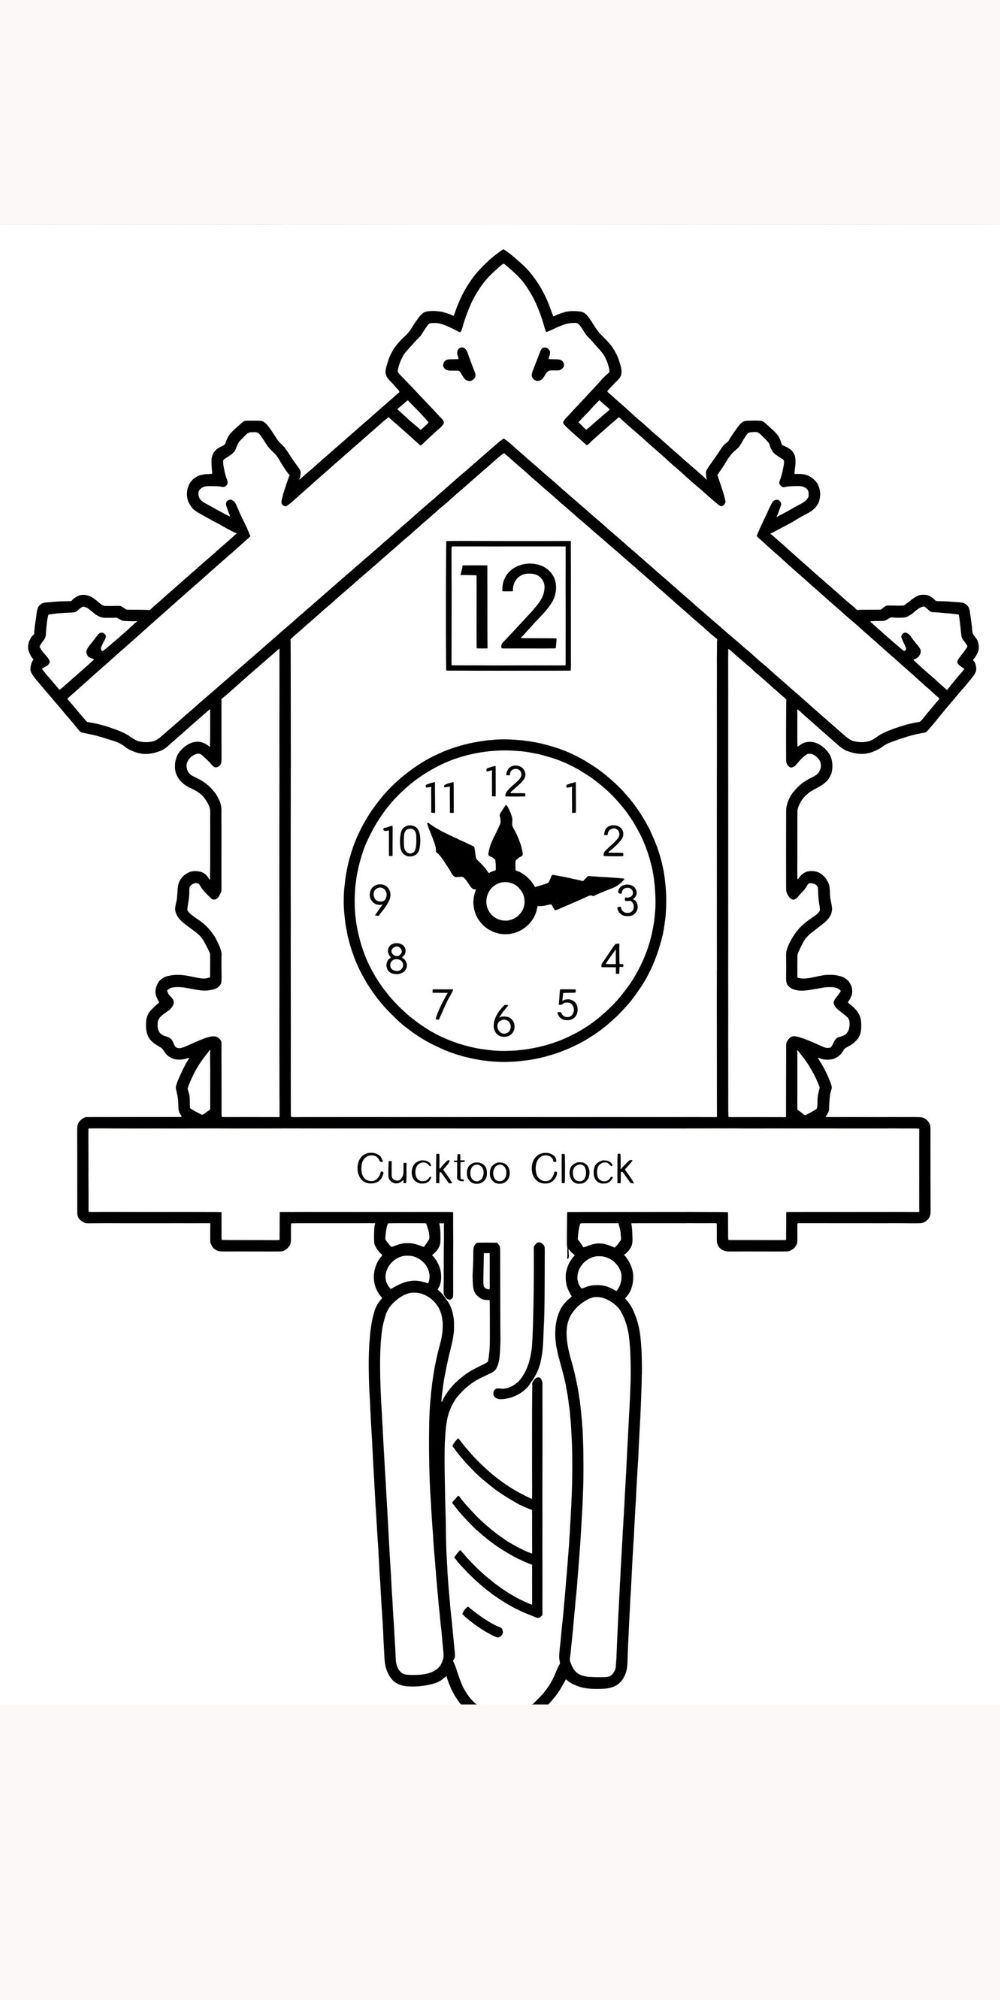
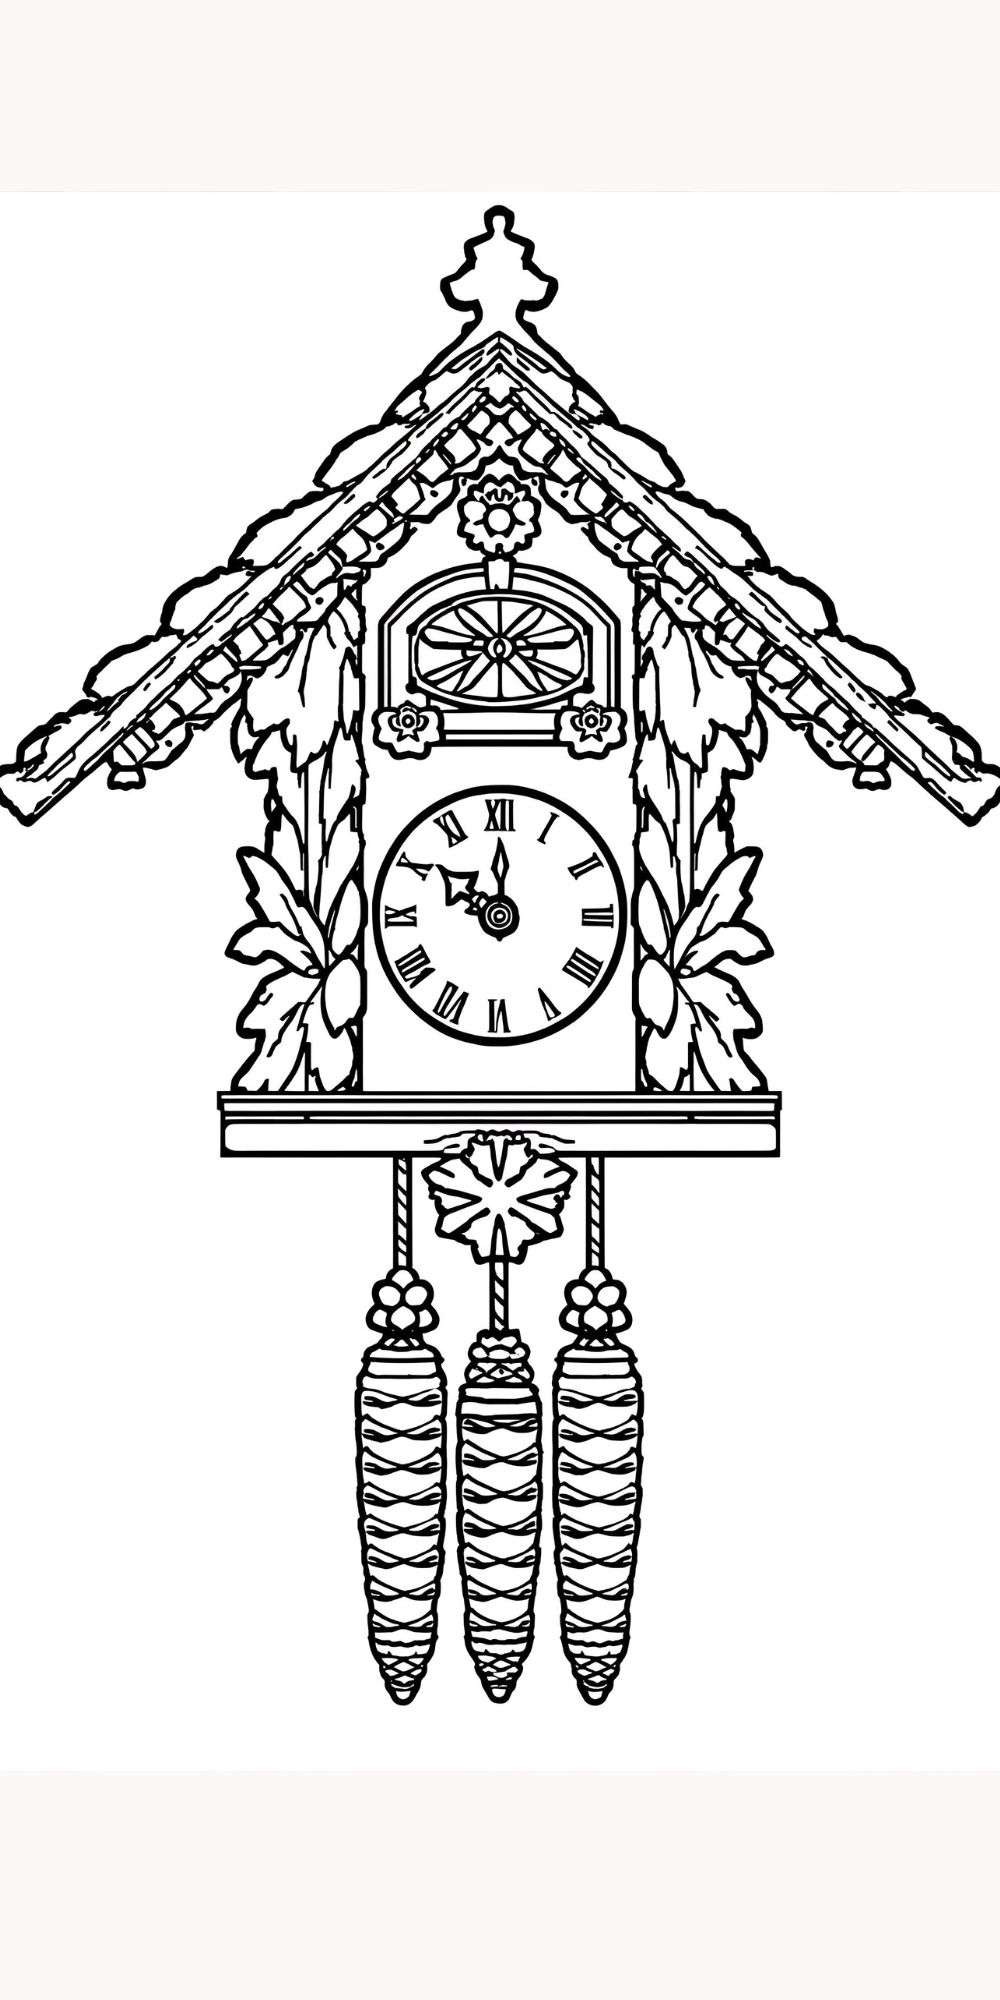
6) Cuckoo Clock Coloring Pages
For a simpler activity, printable cuckoo clock coloring sheets let kids explore creativity with crayons, colored pencils, or markers.
7) Shoebox Cuckoo Clock
An empty shoebox can be turned into a 3D cuckoo clock by cutting a front door for the bird and decorating with craft paper.
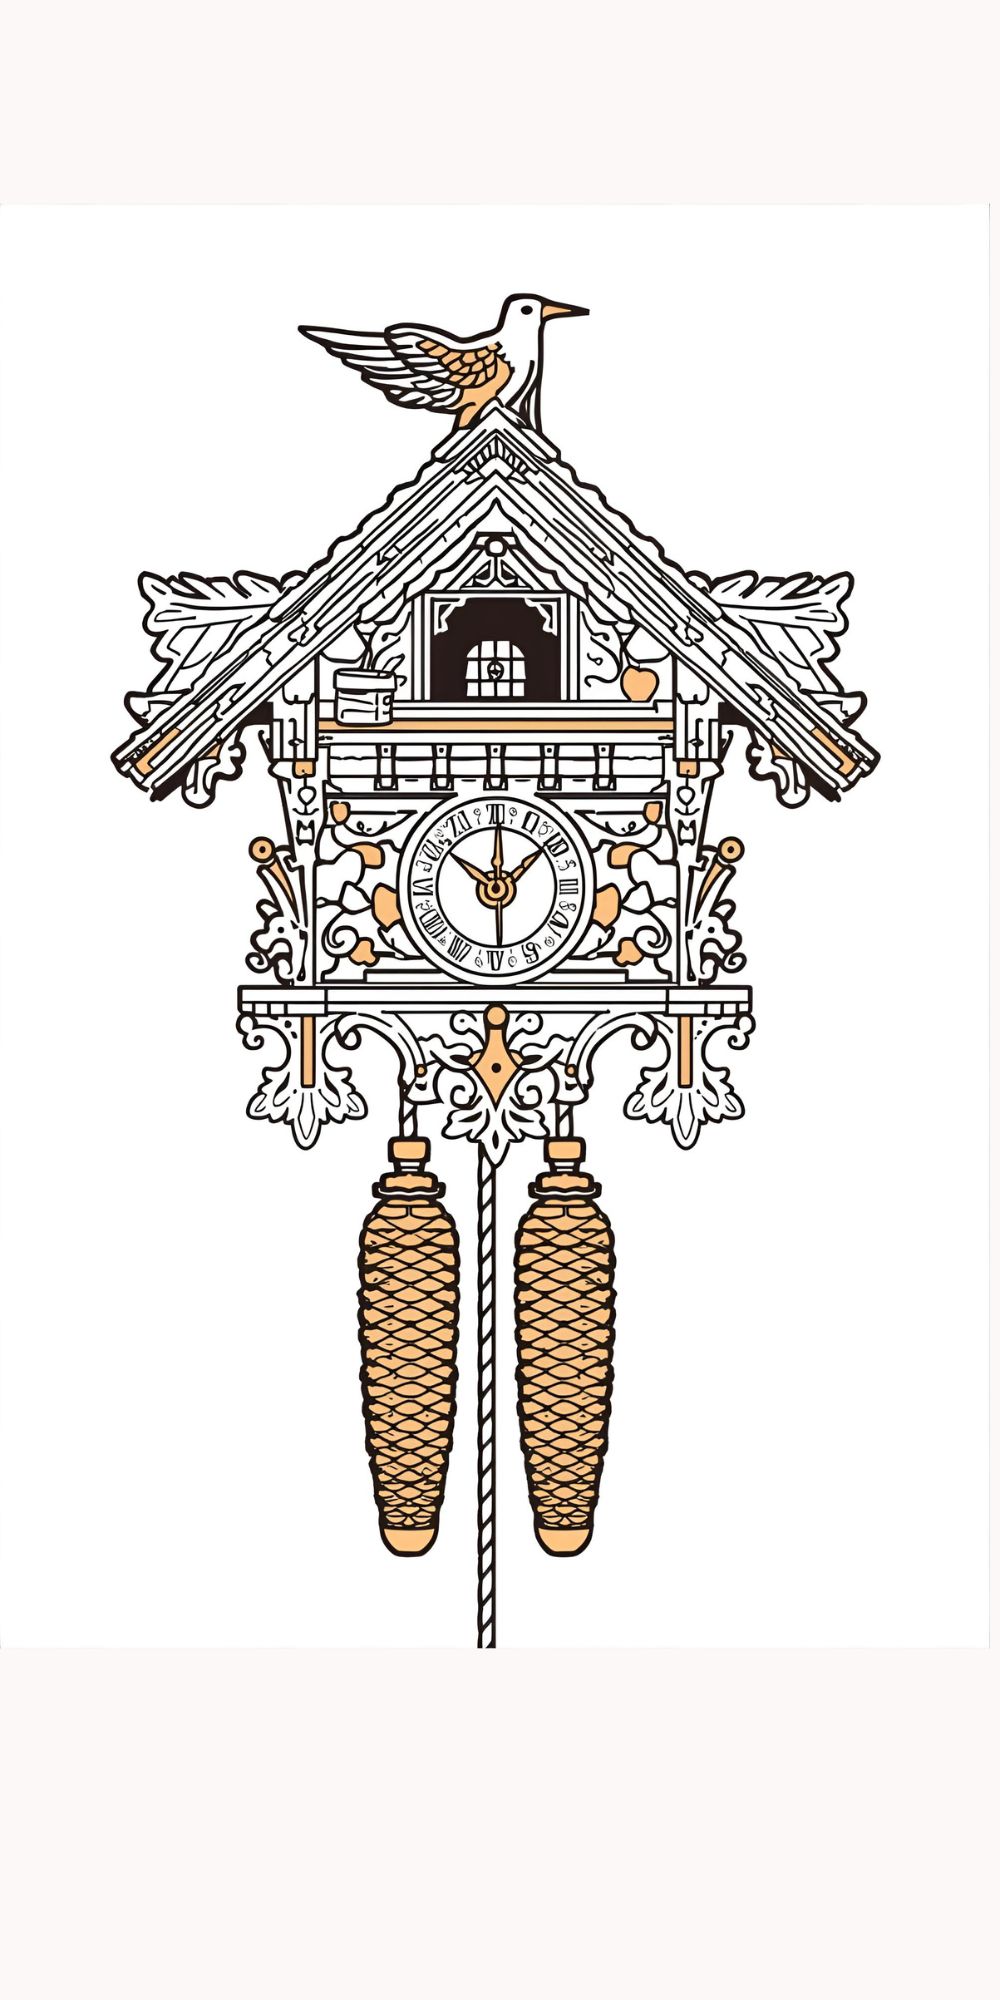
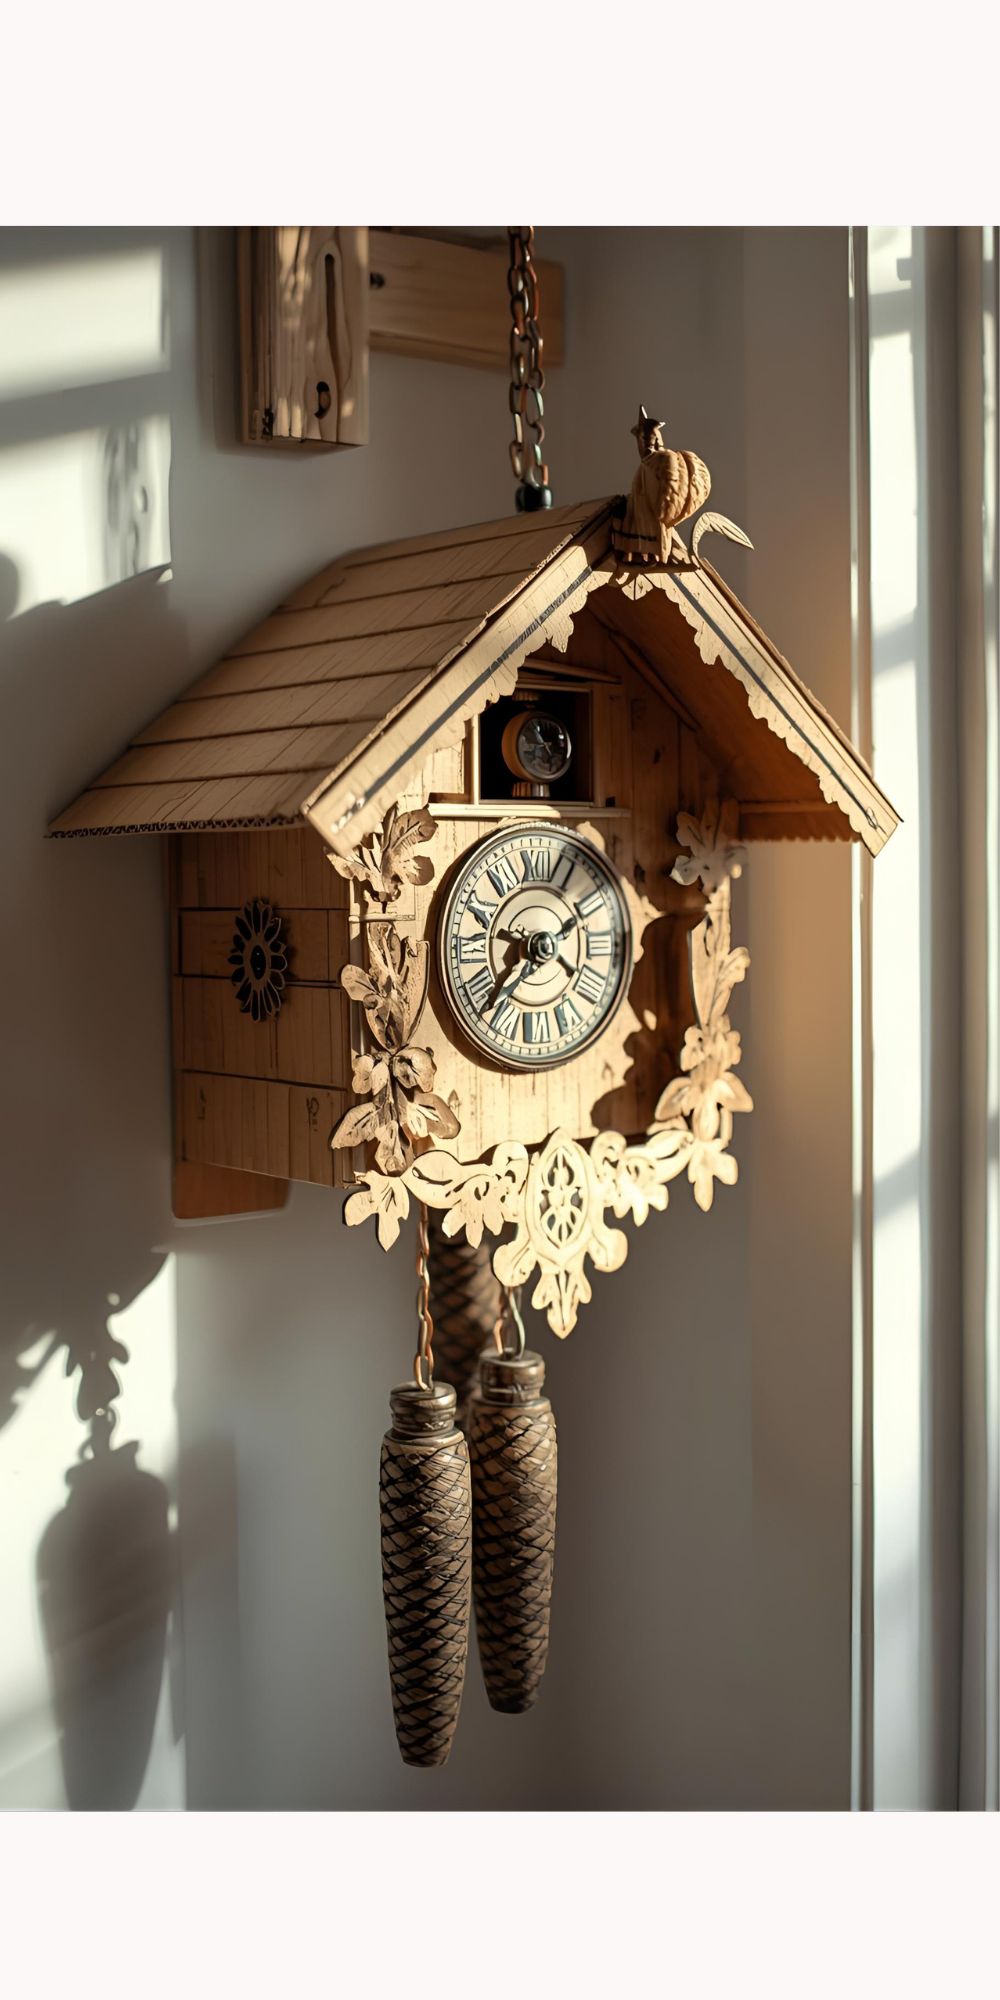
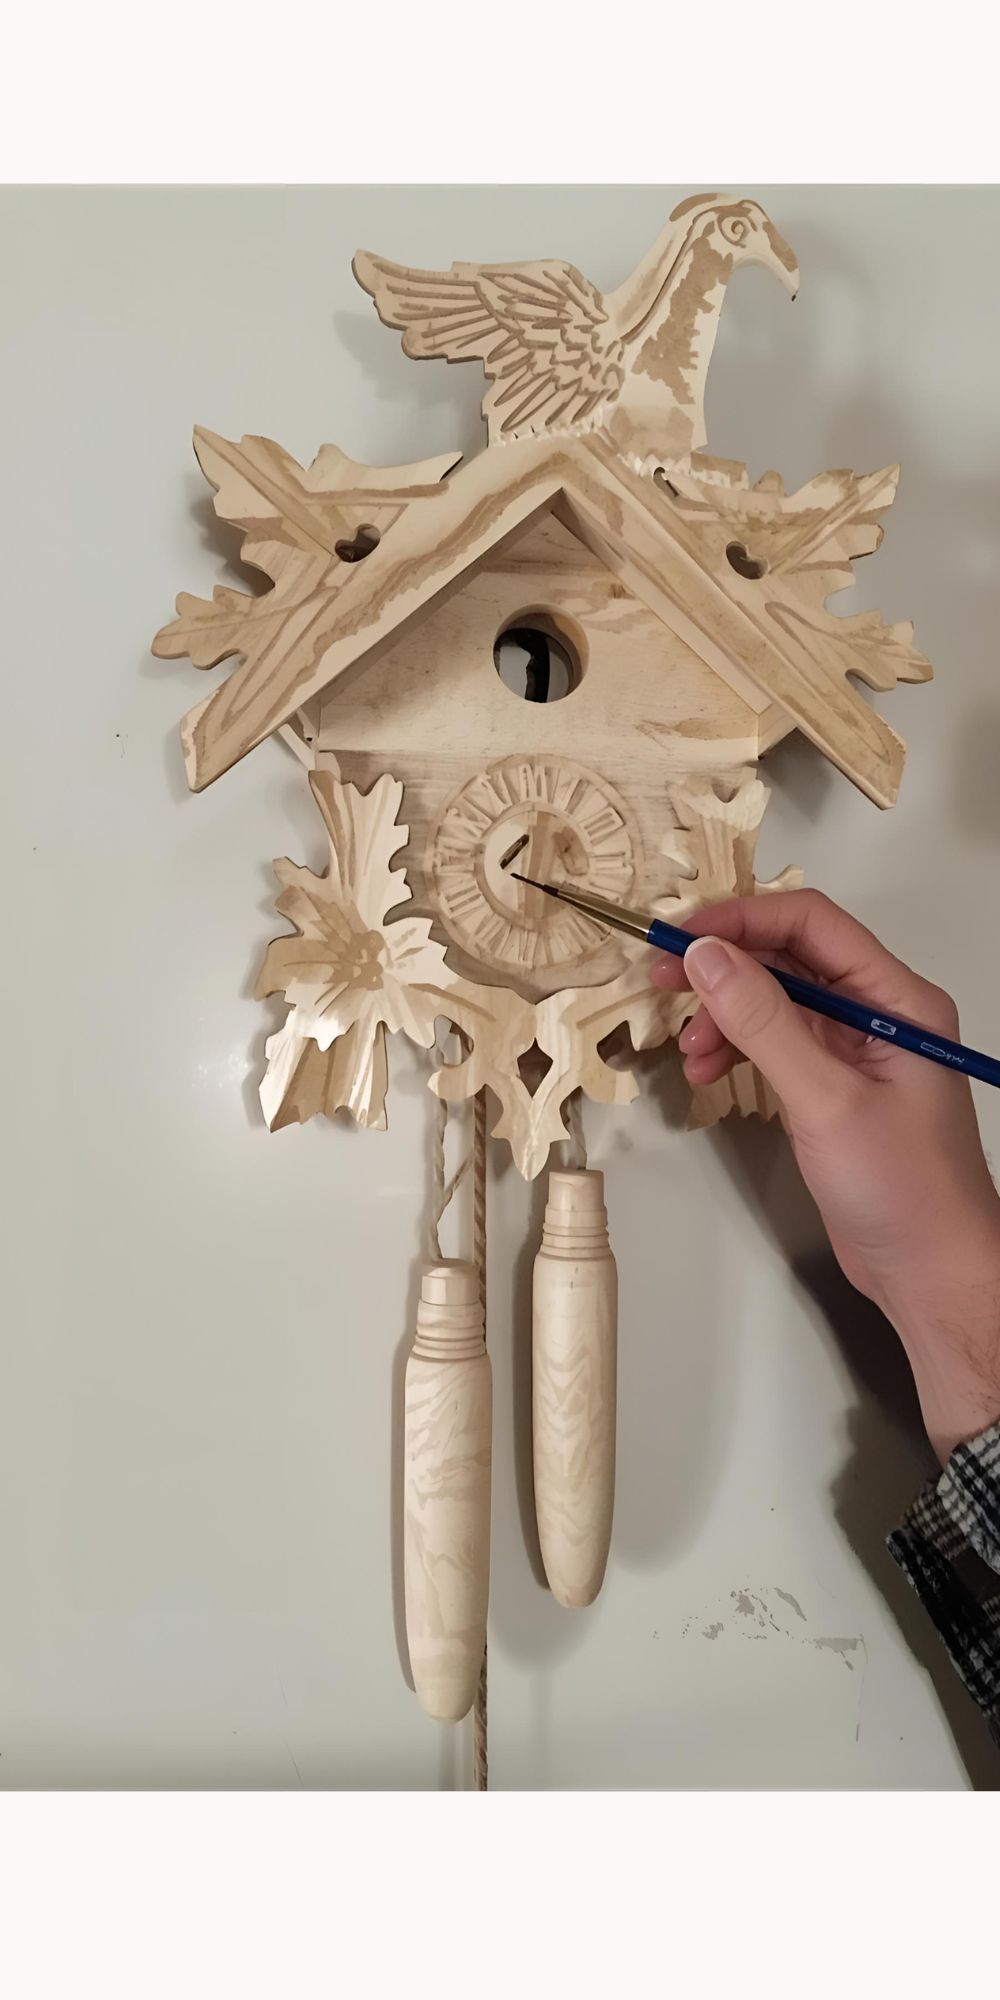
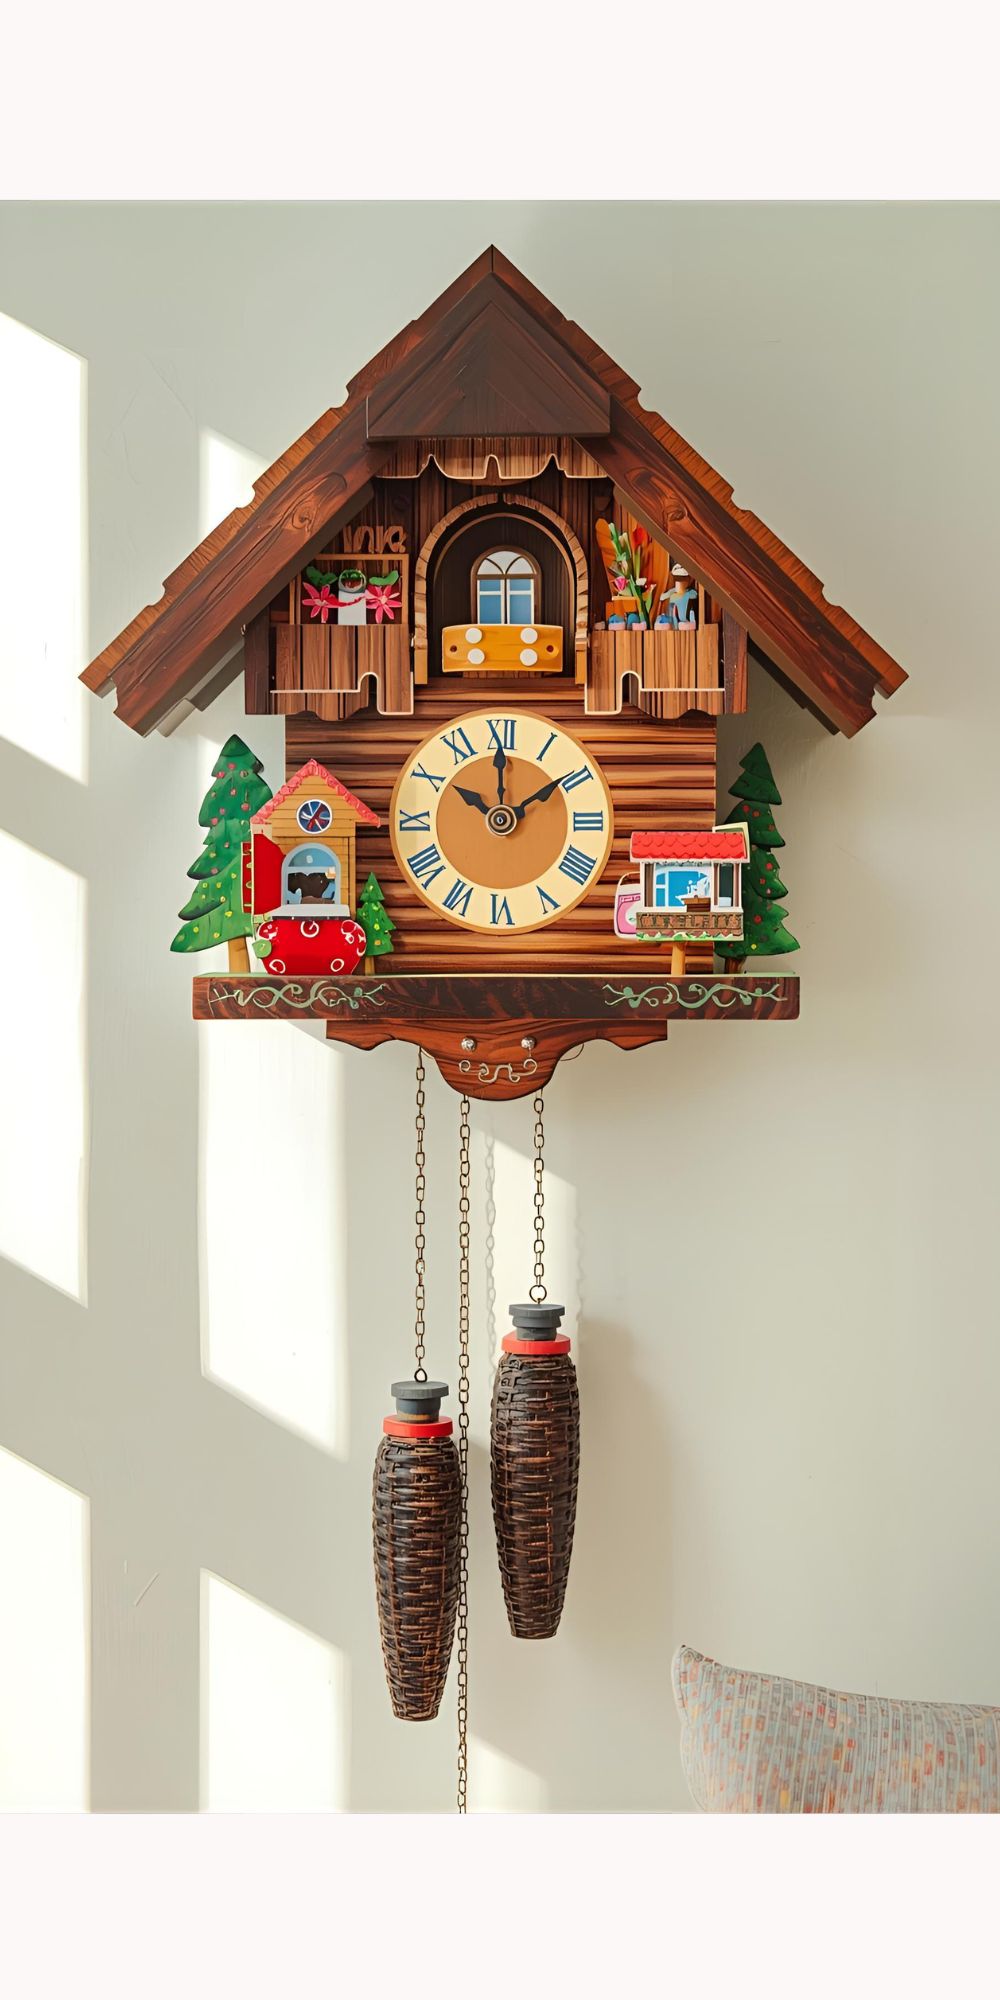
8) Wooden Cuckoo Clock Painting
Small unfinished wooden cuckoo clocks (available in craft stores) can be painted by kids with their favorite colors and patterns.
9) Cuckoo Clock Collage
Kids can create a cuckoo clock design using magazine cutouts, scrapbook paper, and stickers on cardboard for a mixed-media art piece.

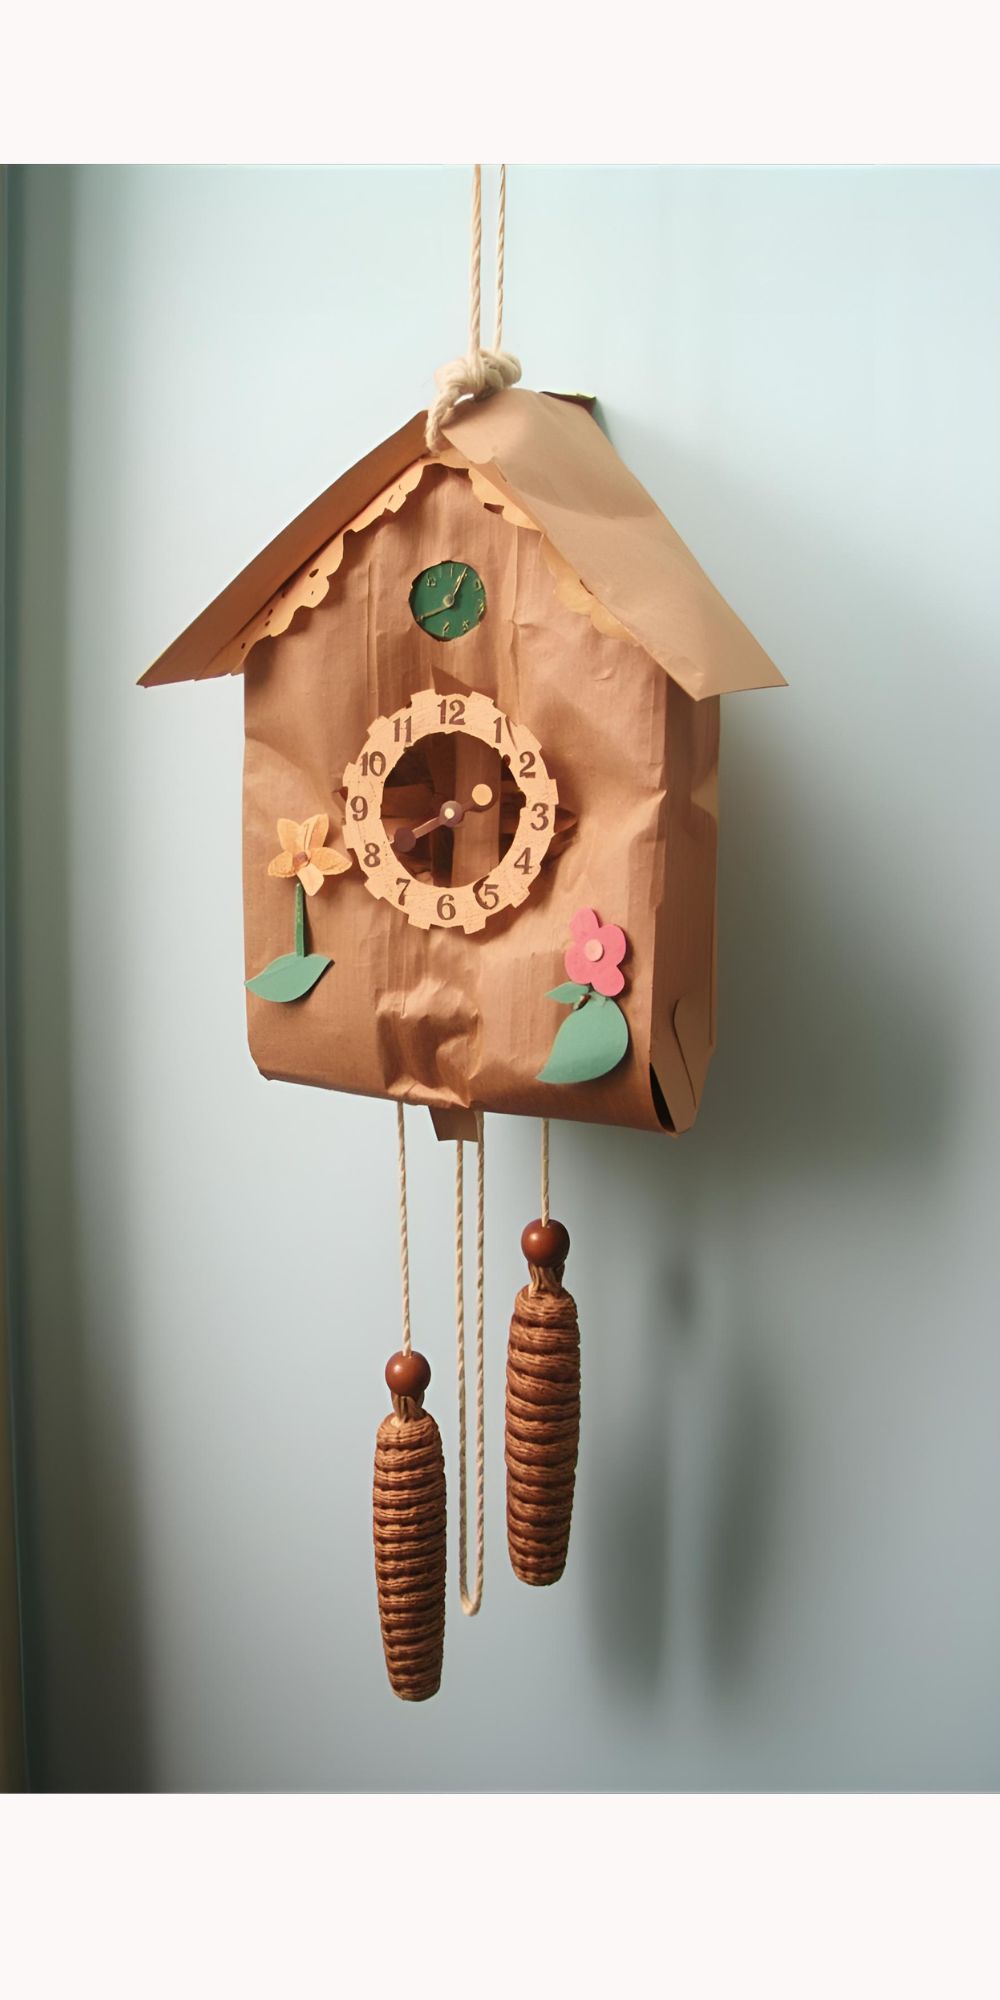
10) Paper Bag Cuckoo Clock Puppet
Turn a paper bag into a cuckoo clock puppet. Kids can draw a clock face and add a bird that “pops out” when the bag opens.
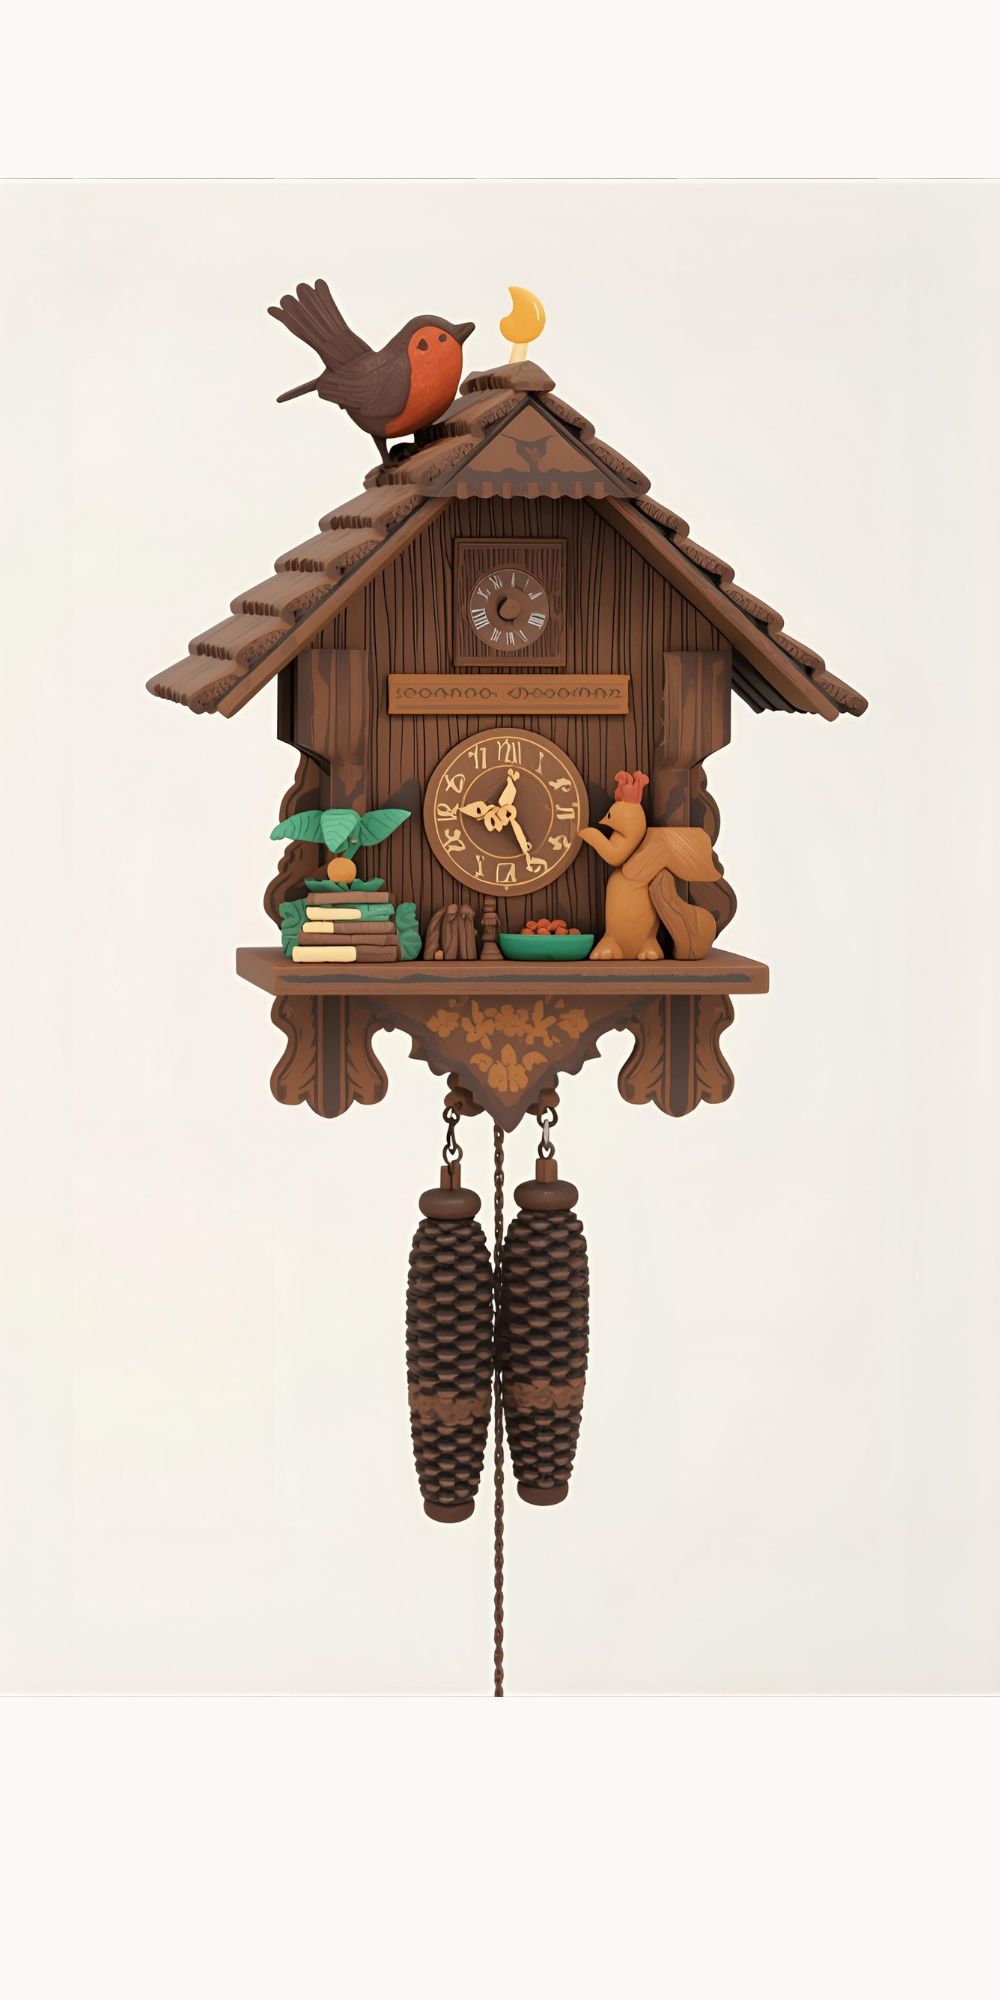
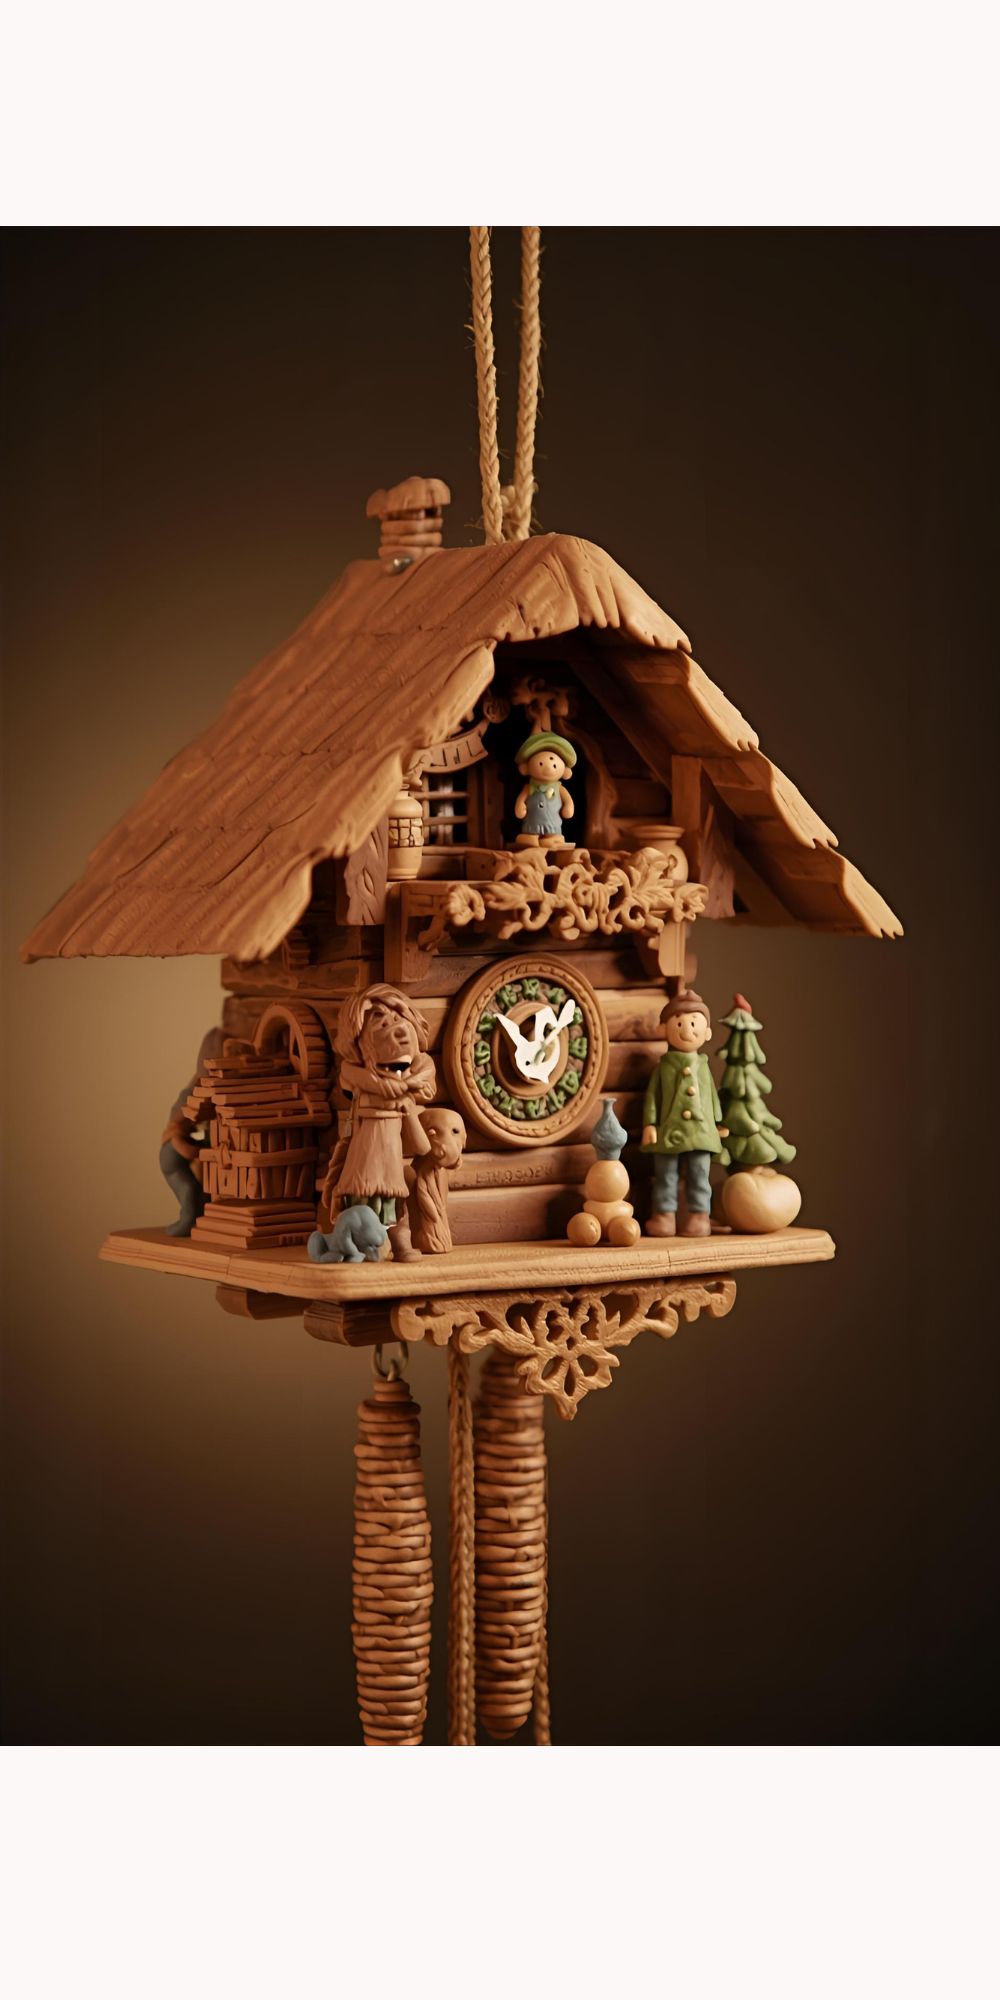
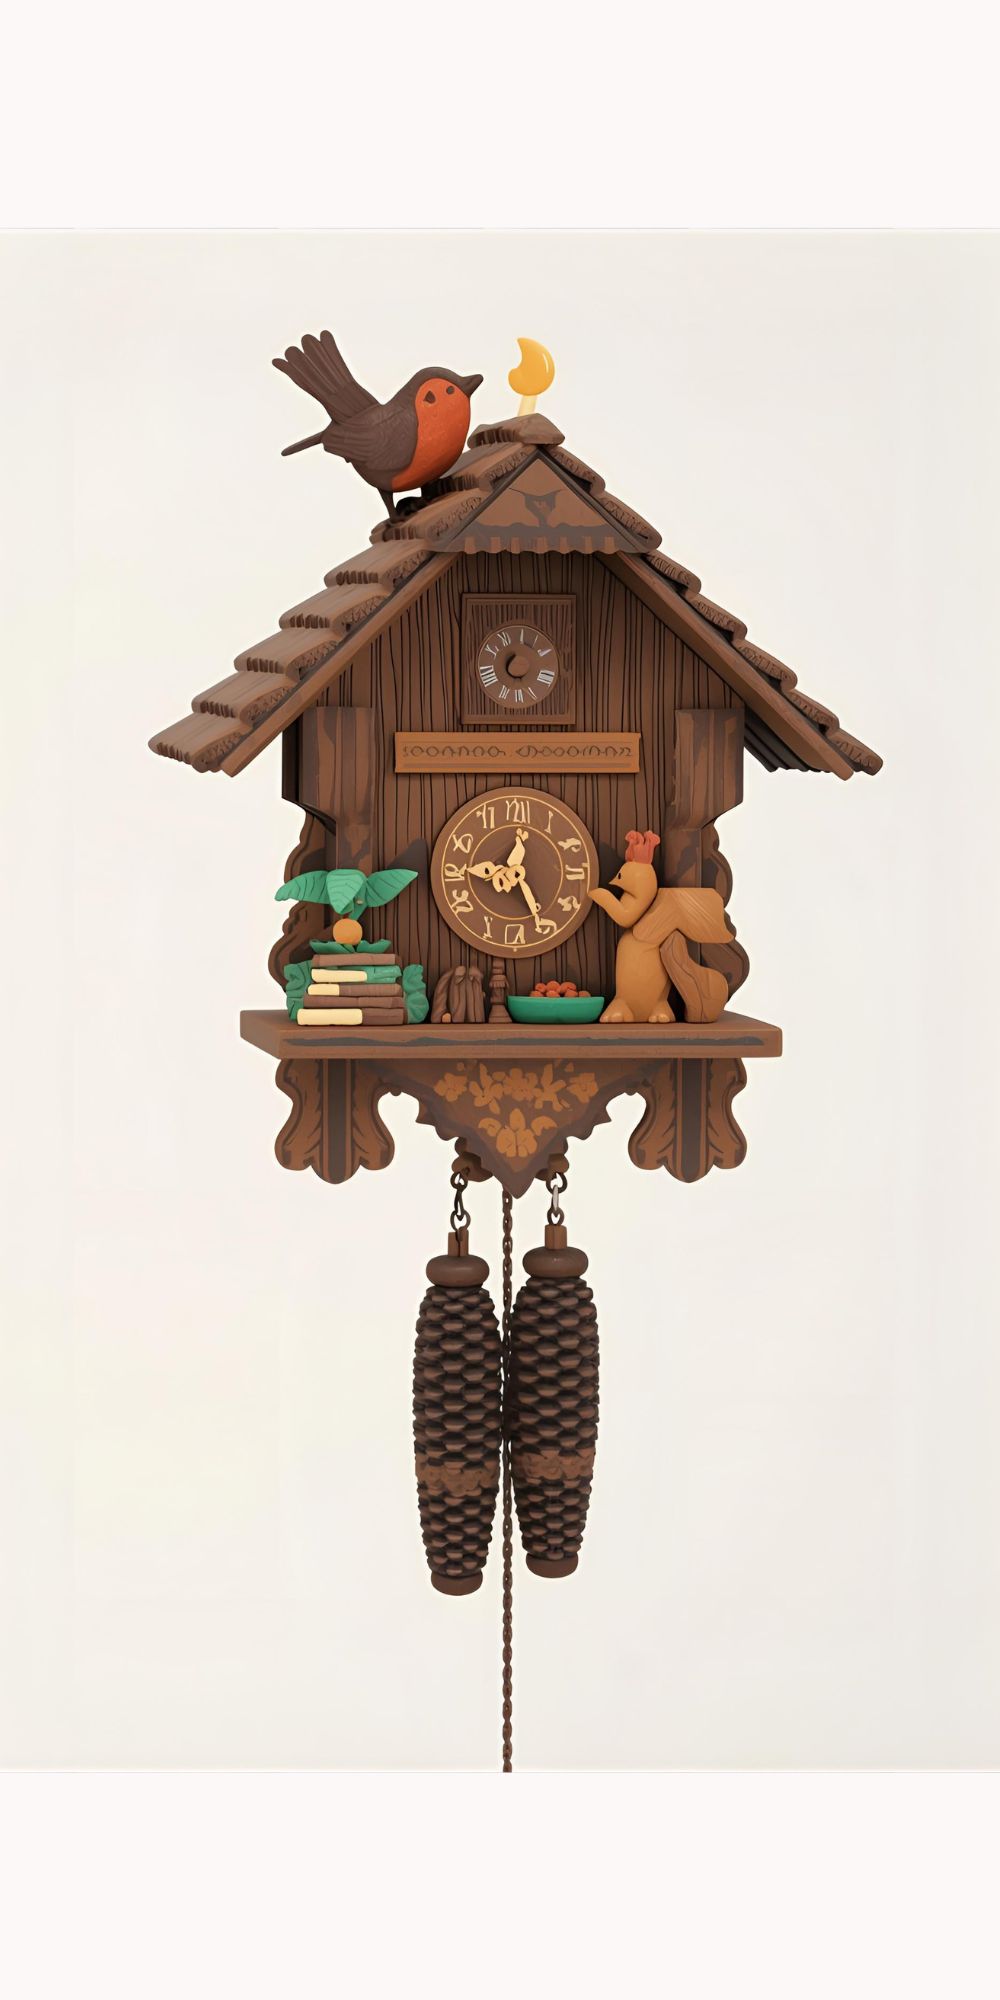
11) Clay Cuckoo Clock Model
Air-dry or polymer clay can be shaped into a mini cuckoo clock. Children can paint the details after the clay hardens.
FAQs
What materials are best for cuckoo clock crafts?
Paper plates, cardboard, popsicle sticks, felt, and clay are all excellent kid-friendly materials.
Are cuckoo clock crafts suitable for all ages?
Yes, simple crafts like coloring sheets suit younger kids, while older ones can try 3D models or sewing projects.
Can these crafts help kids learn about time?
Definitely—many of these crafts include clock faces, helping children understand numbers, hours, and hands-on learning.

