11 Helmet Of Salvation Craft For Kids
The “Helmet of Salvation” from the Armor of God (Ephesians 6:17) is a powerful reminder of faith and protection. Teaching kids about it through creative crafts makes learning engaging and fun. These ideas use simple materials while helping children understand this biblical symbol in a hands-on way.
1) Paper Plate Helmet
Cut and fold a paper plate into a helmet shape. Kids can decorate it with markers, stickers, or crosses to represent salvation.
2) Printable Helmet Template
Use free templates that kids can color, cut out, and wear as a simple reminder of the Armor of God.
3) Cardboard Warrior Helmet
Recycled cardboard can be cut and painted into a Roman-style helmet, giving kids a 3D model to wear.
4) Foil Helmet Craft
Wrap cardboard with aluminum foil to create a shiny, metallic look. Add decorations with permanent markers.
5) Felt Helmet Headband
Cut felt into strips and shapes to form a helmet headband. Soft, colorful, and comfortable for younger kids.
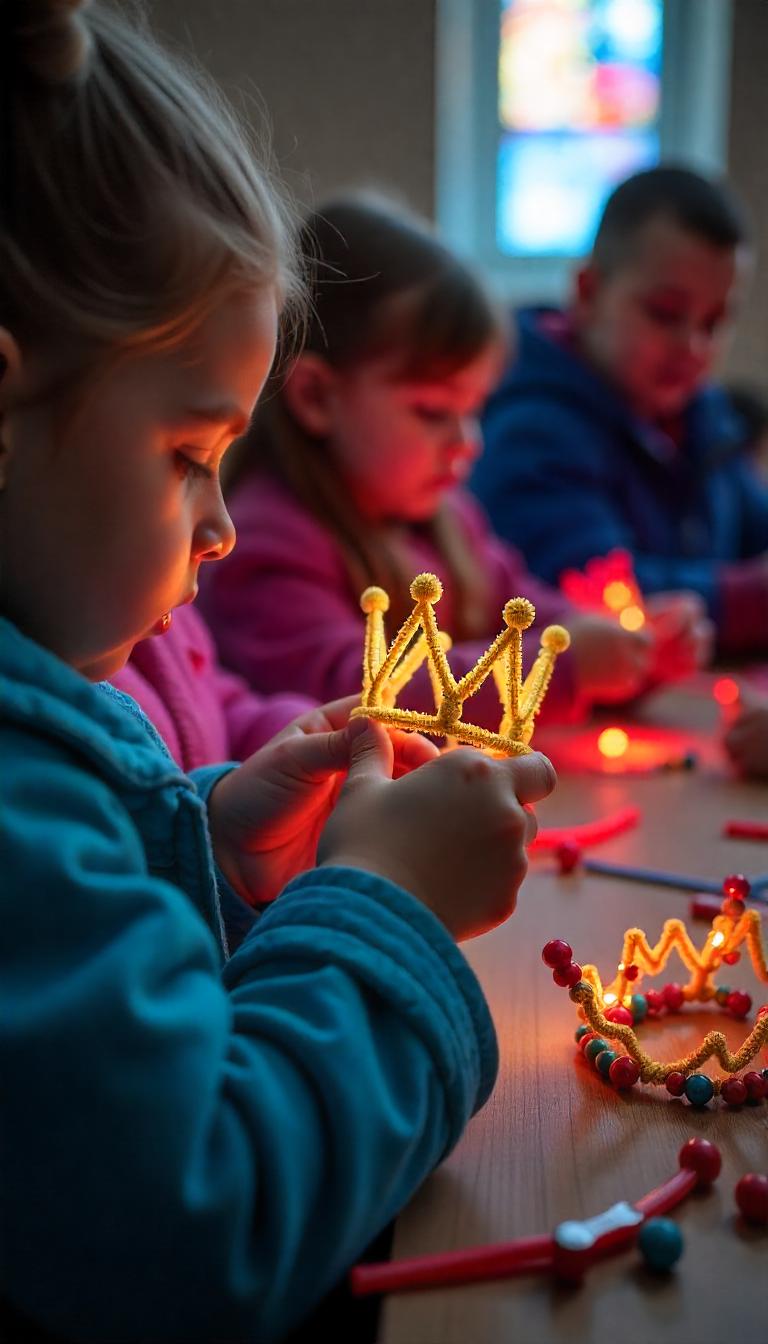
6) Pipe Cleaner Crown Helmet
Shape pipe cleaners into a helmet crown. Kids can twist different colors together for a fun and easy version.
7) Masking Tape Helmet
Use masking tape over a balloon, let it dry, and then cut it into helmet form. Paint and decorate afterward.
8) Craft Foam Helmet
Craft foam sheets can be cut, glued, and shaped into lightweight, flexible helmets kids can wear.
9) Paper Bag Helmet
Turn a paper grocery bag into a helmet by cutting out a face hole and letting kids paint designs on it.
10) Shield and Helmet Combo Craft
Pair a paper helmet with a matching shield, teaching kids about multiple pieces of the Armor of God in one project.
11) Clay Helmet Model
Kids can mold mini helmets out of air-dry clay and paint them, making a lasting keepsake of the lesson.
FAQs
What lesson does the Helmet of Salvation teach kids?
It reminds children of God’s protection and the importance of faith in their daily lives.
What materials are best for these crafts?
Paper plates, cardboard, foil, felt, and craft foam are kid-friendly, safe, and affordable.
Can these crafts be used in Sunday School?
Yes—these ideas work well for group lessons, Bible studies, or Vacation Bible School activities.