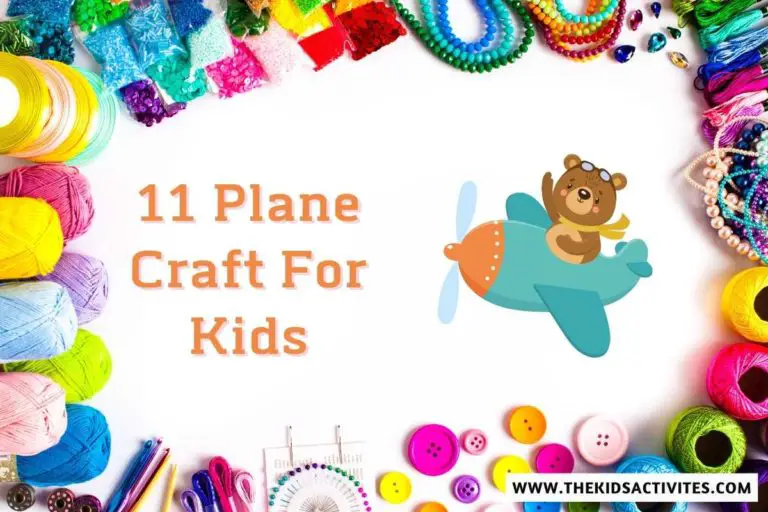
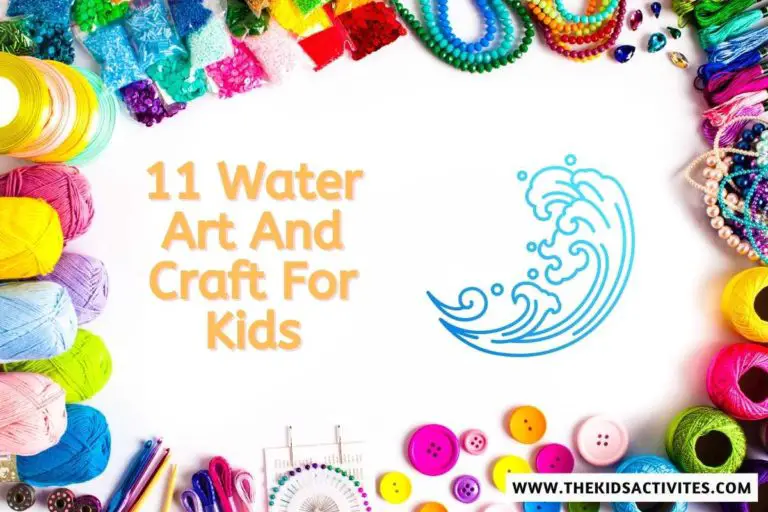
11 How To Do Art And Craft For Kids
11 How To Do Art And Craft For Kids
Arts and crafts are great ways to give children a creative outlet. These can help with fine-motor skills, develop the child’s imagination and empower them about the beautiful world we live in.
Even young kids can do art and craft projects like collage, coloring pages, and paper crafts;
Crafting can be a very rewarding hobby for kids. Here are 11 ideas for getting your child started with art and craft activities,
The goal of this article is to share with you How To Do Art And Craft For Kids, which includes fun activities for kids of all ages to get their hands dirty with paints, paper, and more
Pom-Pom Painting
What you need
- Crayons
- Paper
- Cardboard (optional)
- Tape
- Scissors (or cutters if you have them, but scissors will do just fine)
- How to do pom-pom painting.
Cut a piece of cardboard into a square or rectangle, depending on your preference and the size of your paper plate. The size of the paper plate will dictate how large this piece of cardboard should be—it should fit inside the circle made by your paper plate with no overlap and extend 1 inch beyond its outer edge.
The size doesn’t matter too much, but we recommend using one that’s at least 5 inches across so it can hold all those crayons! You can also use this trick with any other circular object like a bowl or even an empty jar lid! We’ll explain why later.
Lay out tissue paper on top of the cardboard for easy access later when painting over it with color (we’re going for something magical here so don’t worry about getting messy). If you don’t have tissue paper handy then use whatever works best for you—paper towels are another option! For now, though let’s just focus on getting everything set up so we can get started making those poms look pretty and picture-perfect )
Paper Plate Sea Creatures
First, cut out a circle from the middle of a paper plate. Next, paint the background of your sea animal with paint and let it dry.
Using scissors or a craft knife, cut out shapes for eyes and fins from construction paper and glue them onto the plate with glue or sticky-tack (this works great because kids can’t rip it off once they stick it on).
Once everything is dry, use markers to draw faces on each creature! You can also add other details like arms or legs if you want by cutting pieces of pipe cleaner into small pieces that fit around your creatures’ bodies and then wrapping them around their limbs before gluing them into place.
Add a fishing line for antennas by poking holes through both sides using an awl/needle tool then threading through some thin string/fishing line which will be hidden inside since we won’t see those anyways when placed behind our painted cardboard plates that are meant to look like waves instead anyway.
Coloured Sand Art
Colored sand art is a fun and easy project that’s perfect for kids.
There are several ways you can use sand art to teach your kids about color mixing, geometry, pattern making, and symmetry.
Coloured Sand Art Materials.
- Colored sand (available at most craft stores)
- Paintbrushes in various sizes and shapes (optional)
Potato Printing!
Materials needed.
- Potatoes (preferably organic)
- Food coloring or paint of your choice
- Paint brushes (optional)
Apple Stamping!
- Apple
- pencil
- paper (optional)
- colored pencils (optional)
- paper plate
- scissors
- hole punch or large hole craft punch (opt.)
Use a pencil to draw an image on the apple, if you’re using one. If not, cut your apple in half and remove the core. Then use a knife or other sharp object to etch away at the flesh of your apple until it looks like a face or something interesting enough for you!
You can also draw directly on top of its skin with crayons if you prefer this method instead of cutting into it first.
Pine Cone Fireworks
We love to make fun crafts at the Squad, but we also love to play with our finished products. That’s why we’ve come up with some ways to make your pine cone fireworks into toys.
- Paper
If you want paper that looks like it came from a firework display, try wrapping your pine cone in a newspaper or other paper and tie it with string. The kids can play with this one by throwing it into the air and watching it explode as they catch it again!
- Paint
Paint your pine cones before decorating them to add more color and sparkle (literally). Use paintbrushes of varying sizes for maximum effect!
- Glitter
It’s hard not to look at glitter without squealing at how pretty it is. Covering your pine cones in glitter will make them shine brighter than any other craft project around!
- Yarn
We’ve all seen yarn bombing—taking over public spaces with knitted items such as trees, cars, fences…everything! Make sure that you have enough yarn so everyone can participate; this is great for parties where everyone wants their own individualized art piece!
- Beads
Who doesn’t love beads? They’re colorful and shiny so what better way than using them on our pine cones? Kids will love wearing these around town showing off their artistic flair!”
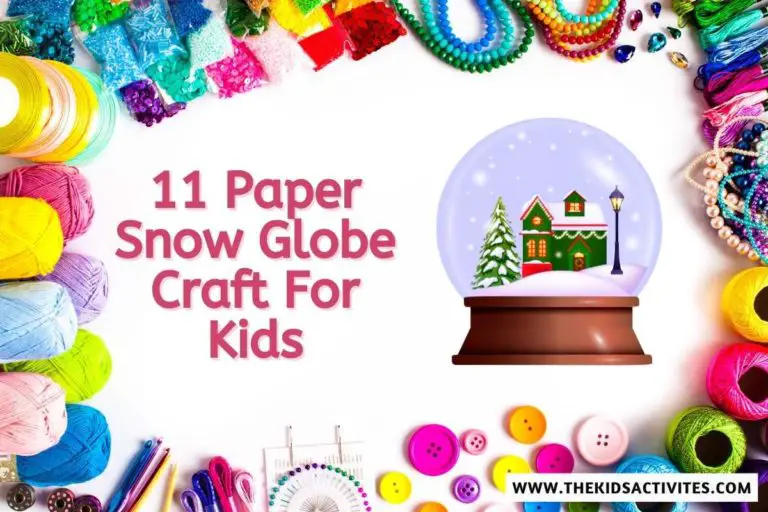
Artsy Snow Globes!
Get creative with your snow globe by adding a picture of your favorite family member or friend.
- You will need a clear glass bowl
- Fine glitter to mimic snow
- Water-soluble paints in different colors to paint the trees, houses, and people inside your snow globe. You can also draw these items instead of using paint if you want it to be more detailed.
Paper Bag Lanterns
Materials needed.
- paper bag
- glue
- paper (any type will do, but the thicker paper is better)
- pencil or pen with an eraser on the end of it so you can erase mistakes
- scissors (for cutting out shapes)
- ribbon or string (if you want to hang the lantern from something)
Tools needed.
Tape – for hanging lanterns and decorations. You can use duct tape or masking tape for this purpose. If using duct tape make sure that there’s no sticky residue on your hands after using it; otherwise, it’ll get all over your artwork!
Recycled Egg Carton Flowers
- To make one flower, you’ll need:
- 1 egg carton (These can be found at your local dollar store.)
- Pencils (6 to 8)
- Scissors (or a sharp knife) or x-acto blade.
- Glue or tape.
Try to use something that dries clear so you don’t have to worry about the color! In this example, I used hot glue sticks which are super easy for kids to use and make for an instant project!
You could also use regular glue sticks or hot melt glue guns if you like those better Or even double-sided tapes could work well too!
Cut out 4 petals from each side of the egg carton as shown in the picture below:
This would be a good time for kids to decorate their flowers before hanging them up because they won’t be able to move around much after they’re attached together.
You can get creative with different colors here too; reds orange pinks purples greens yellows browns black white silver gold etc… The possibilities are endless really!
Just remember though if it’ll stain clothes then try using some kind of colored pencil instead so nothing gets ruined accidentally when playing later on down the road )
Craft Stick Kites!
This is a fun and easy craft that can be made in no time. All you need are.
- craft sticks (one for each person involved)
- glue (to glue the craft sticks together)
- paint (to paint the kite)
- string (to tie the kite to a stick)
Download and print your choice of kite template here. I have included both regular kites and diamond-shaped ones, which are great for younger children who might not have enough patience to cut out all those little triangles on their own!
There is also a blank template if you are feeling particularly creative and want to design something original on your own. Or maybe your child wants their own custom design? Either way, this makes it really easy!
Cut out your chosen shape using scissors then glue them onto the back of each side of one end of each stick so they form an L shape when connected together.
Step 2. Fold over any remaining cardboard from step 1 so that only about 3cm remains showing from either side, then glue this down as well making sure not to cover up any writing printed onto it earlier in step 1 above such as “Turn Left” or “Go Straight Ahead” etcetera…
11 How To Do Art And Craft For Kids
- Play Dough Animals
Play dough is such a fun, tactile material for kids to use in their art. You can make an animal out of play dough and then paint it with watercolors. A great way to use up any leftover paint is to let the kids decorate their own canvas with it!
- Pom-Pom Painting
Pom-poms are brilliant for younger children as they’re lightweight, colorful, and easy to hold onto while painting with watercolors or finger paints (or whatever else you might be using). They’re also great when used as decorations on cards or gifts – just tie them onto birthday candles or stick them onto presents!
- Paper Plate Sea Creatures
Create these cute sea creature sculptures using paper plates, paint, pipe cleaners/twist ties/wooden dowels/string/yarn, etc., then hang them from the ceiling using adhesive hooks (or even tape!) so that they look like they’re swimming through the air!
This project requires no fancy tools – just some creativity!
Conclusion
We hope you enjoyed this list of art and craft ideas for kids. The best part about these projects is that they can be done with just about anything! Your child probably has everything required for these crafts at home, so it’s just a matter of getting started and letting their creativity run wild. Just remember that the most important thing is to have fun while creating your masterpiece!