11 Japanese Lantern Craft For Kids
The upcoming Lantern Festival is one of the most celebrated by children in different countries.
Celebrate this special occasion and make it more memorable through these simple crafts that they will surely enjoy!
Tissue Paper-covered Lantern
This is a great craft to do with kids because it’s so simple and they can get their creative juices flowing.
First, you’ll need to make sure you have some tissue paper and scissors. Then, take a lantern or any base and cut out shapes from the tissue paper. If your child wants to be more adventurous, try cutting out different shapes for each lantern–you could even write on them!
Once you’ve made enough shapes for all of your lanterns (or for each one), glue them onto the lanterns using glue that’s appropriate for children. Finally, decorate the outside of your lantern using glitter or stickers.
Paper Fans
Paper fans are an easy craft to make, and you can use them to keep cool when the weather gets hot. To make a paper fan, use a template and cut out shapes from lightweight tissue paper.
The tissue paper should be cut into rectangular pieces—you’ll need five of this per fan. You can also use colored construction paper instead of tissue if you want!
After all your pieces have been cut out and trimmed, assemble your fans by placing two rectangles together so that they overlap slightly at the top. Then fold over one end of each rectangle so that it creates an open V-shape in between two parallel lines (pictured below).
Press gently but firmly on all four sides until they stick together well enough for handling purposes, then repeat with the remaining pieces until all five are assembled into one long strip with an open V-shaped section in between them.
Finally, fold this strip over itself into a triangle shape where both ends overlap slightly at the top (pictured above).
Jar Craft
Use a jar with a lid to create your lantern. Cut tissue paper into strips of varying widths and lengths, then glue the strips all over the jar in any design you like, using a glue gun.
Feel free to use different colors of tissue paper as well!
Once dry, use a pencil or pen and ruler to draw along the edge of your lantern; this will make it easier for you to cut out after you’re done drawing!
For extra protection against rain (or if you just want it cleaner), coat the entire outside surface with spray paint so nothing can get through!
Necessary
If necessary, water down some paint thinner and apply it liberally before applying spray paint so that any imperfections are smoothed out before they set permanently—then simply wait until dry before continuing on with steps 5-8 below )
After drying overnight (or longer depending on how much time is needed), take apart your jar by removing its lid and carefully pulling back each layer of tissue paper gently until everything comes loose at once—sticky residue may remain but don’t worry about fixing that right now).
You should now have access inside without needing anything else since there are no more layers left between where we want them.”
Egg Carton Craft
Materials.
- Egg carton
- Tissue paper, cut into squares and triangles (or use origami paper)
Directions.
Cut a hole in the bottom of your egg carton. This will be used to light the lantern with a tea light candle. You can also use batteries and LEDs instead if you prefer not to use fire as part of this project!
Wrap your egg carton with tissue paper or origami paper and secure it with tape at the end. If you’re using tissue paper, be sure to cover any holes so they don’t catch on fire when lit!
Use scissors or an X-ACTO knife to poke a small hole through one side of your lantern—this will allow for smoke from burning materials inside it to escape during operation (and also serves as ventilation).
Milk Carton Craft
Materials.
- Tissue paper
- Glue
- Scissors (for cutting)
- Milk carton
- Paper plate Marker (optional)
Cut the tissue paper into small pieces and glue them onto the milk carton. You can also use markers to draw on your paper lanterns, or paint them with acrylic paints!
Diy Japanese Koinobori Carp Windsock
Koinobori is a Japanese carp streamer.
They are typically flown during the Children’s Day holiday (May 5th), which celebrates the growth and health of children, but they can be displayed at any time.
What is a koinobori carp?
The pattern on each koinobori is unique to its owner. Koinobori is traditionally made from fabric or plastic paper and is either hung from trees or walls, or in some cases flown like flags.
Making your own koinobori windsock craft for kids is a great way for them to get involved in this important tradition!
Tea Light Holders
Tea light holders can be made from a variety of materials like paper, wood, clay, glass, and more.
You could use these as table decorations or hang them from trees at night. The possibilities are endless with tea light holders!
All Things Orange And Round.
Orange and round is the perfect combination for the upcoming Lantern Festival.
Orange is a vibrant color, and rounds are round, which makes this craft perfect for all ages!
Japanese Tapestry Wall Art
Materials needed.
- Fabric (I used Japanese craft cotton, but you can use any kind of fabric you have)
- One piece measuring approximately 30 x 30cm
- One piece measuring approximately 20 x 20cm
- DMC floss and embroidery needle (or the yarn of your choice, if using it)
- Fabric glue or double-sided tape (optional)
Instructions.
Cut out two pieces of fabric from step #1 as described above. The size will depend on how big or small you want your finished item to be, but make sure that they are big enough so that when folded in half each side covers both sides of the lanterns formed in Steps 2 & 3 below!
Also, leave about 10mm extra around all edges for finishing off later with either double-sided tape or embroidery stitches (see Step 7).
Handprint And Footprint Art
- Use large sheets of paper or cardboard, and paint.
- Use small pieces of paper (like magazine pages) and fingers or handprints to create art.
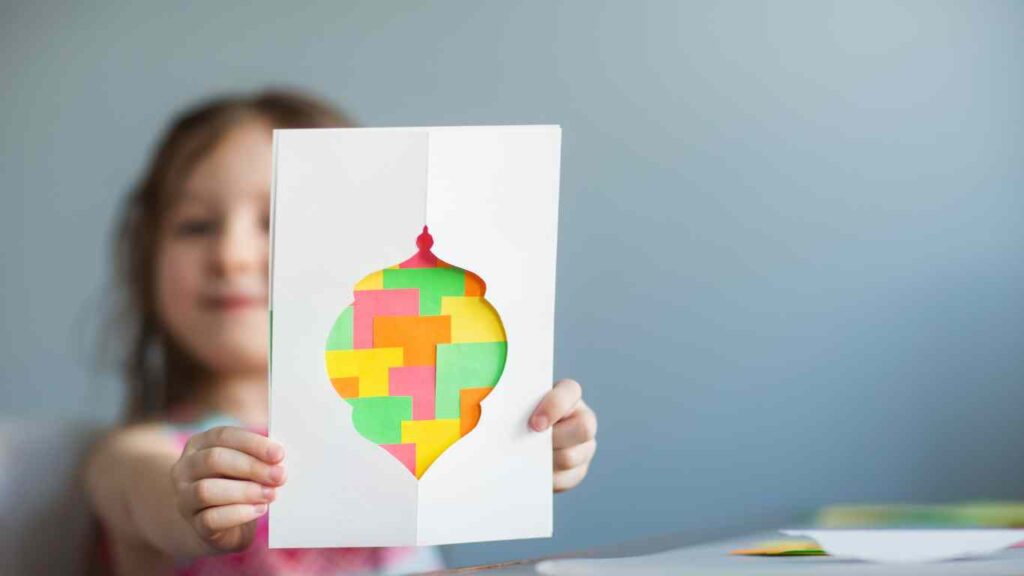
Scrap Paper Lanterns
Materials
Paper scraps. You can use any type of scrap paper you have lying around the house, such as old wrapping paper or newspaper.
How to make
Cut out shapes from your scrap paper that you like. You can make stars, hearts, circles, squares, and other shapes. If desired add a hole at the top by making two cuts on either side of where you want to cut a hole and then pull apart those edges just enough for your child’s hand or an adult to fit through easily (see photo).
Decorate! Use markers, crayons, or paints to decorate your lanterns however you like!
The upcoming Lantern Festival
The upcoming Lantern Festival is one of the most celebrated by children in different countries.
Celebrate this special occasion and make it more memorable through these simple craft that they will surely enjoy!
- Paper Lanterns
- Rice Sticky Ball
This is a fun and easy way to let your kids make their own Japanese rice balls at home. It’s also an easy treat for lunchboxes or afternoon snacks, especially when you use your favorite fillings like soy sauce, pickled plum paste, or lotus root paste.
Conclusion
We hope that you have found this article helpful. By using these simple crafts, your child can make a lasting memory of their first Lantern Festival. If you liked our ideas and want to share them with others, please feel free to leave comments below or share them on social media!
