11 Milk Carton Craft For Kids
The milk carton craft is a classic and simple way to recycle and reuse milk cartons.
11 Milk Carton Craft For Kids
It’s also a great way to get kids interested in recycling and learning about sustainability.
I was surprised at how many really cute ideas there are for using these recyclables! Here are some of my favorites:
Milk Carton Lighthouse Craft
Materials
- One milk carton (or two if you want to make your lighthouse taller)
- Cardboard or paper for the legs, lighthouses should always have legs!
- A piece of string or yarn to hang up your lighthouse.
You can also use a fishing line if you want it to be even more sturdy, but this is optional. If you don’t want it hanging, just skip this step!
Instructions
Cut out a small piece of cardboard and draw a rectangle with rounded corners on it roughly the size of the top part of your milk carton (the white bit). Then cut out that rectangle and glue it onto the front face of both sides of your milk carton so that one side has two rectangles and one side has three rectangles.
The reason why we’re doing this is that we want our lighthouse to have windows and doors later on in its construction process so we need something for these things to rest on.
We’ve already got an open area at each corner which will be covered by our windows/doors later on so there’s no need for any unnecessary holes in our main structure right now but if there were then adding another layer underneath would prevent those unwanted holes from happening later down in life when they get older too!
Milk Carton Bird Feeders
Bird feeders are a great way to attract birds to your yard. You can make a bird feeder out of an empty milk carton, just as you would any other type of bird feeder.
By following these steps, you will be able to create a simple bird feeder that will provide your backyard with hours of entertainment from observing the different types of birds visiting it.
Cut the top off your milk carton using scissors or a utility knife. If you have younger children who are helping you make this project, be sure they understand why they should not cut their fingers on the sharp edge when opening up the carton!
Gather materials for decorating your new birdhouse (paint chips/sticks/feathers etc.) and start by painting one side with bright colors so birds can easily see it from far away. Once dry add some fun details like glitter or glitter paste!
Then hang in a tree branch or outside wall near plants where many types enjoy eating fruits & vegetables such as berries or squirrels eat seeds off ground plants like sunflowers etc.
Mini Greenhouses
Mini greenhouses are a great project for kids to make, especially if you live in a cold climate and don’t have the space or time to grow plants outside.
Kids will love learning about the life cycle of plants, as well as seeing how different plants can help each other thrive when they’re together.
The materials for this project include
- Cardboard milk carton
- 1/2-inch diameter Styrofoam balls (about 12)
- Kite string or yarn of your choice
- Scissors
Milk Carton Pencil Cases
To make the pencil case, you need
- a sharp knife
- a metal ruler
- a stencil (optional)
Milk Carton Bird Houses
You’ll need
- A pencil
- A ruler
- An eraser (optional)
- A sharpener or knife (if you don’t have a sharpener)
Milk Carton Lanterns
Materials
- Milk cartons
- Paper or cardboard tube (the same length as the milk carton)
- A box cutter or scissors to cut the excess paper from around your milk carton.
- Paint and paint brushes for decorating your lanterns in any color you want!
Directions
Cut the bottom of each milk carton off by about half an inch to create a flat bottom for you lampshade, or cut it into a circle if you’re making a globe shade (see below). If you find that cutting all of them is too much work, try painting over some old plastic bottles with colorful designs and then gluing those onto the top of your lamps.
Glue your paper tube onto one end of each lamp so that when it’s rolled out they’ll be even in length and shape
- Paint all sides of both types
- Make holes where there will be wire later on
- Put some glue on each end so they won’t fall apart after being folded
- If using small lightbulbs like these ones here. lengths of twine around each wire
- Place globes inside when finished
- Hang with hooks
Insert wires through holes;twist together at the bottom where they still stick out beyond edge
Piggy Banks
Piggy banks are a great way to teach kids about saving money. They’ll enjoy making these piggy banks and will be proud of their new creations!
To make a piggy bank, you’ll need:
- A large cardboard box (a shoe box or cereal box will work)
- Scissors
- Pencils or crayons (optional)
Using your scissors, cut the top off that box so it’s completely flat on top. Then draw some ears and eyes onto the front of your box with pencils or crayons if desired.
Cut out an opening in one side of your piggy bank and fill it up with coins! You’re all done! Now go play some more games on Arcade Spot
Garden Tools
Use a sharp knife to cut the carton into pieces. Make sure that you don’t cut the handle off of your orange juice carton.
Glue the handle onto each half of the carton using hot glue and let it dry completely before proceeding further.
Using a paintbrush, paint both sides of your milk cartons with white paint or acrylic paint and let it dry completely before proceeding further (this will give them a smooth finish).
If you wish for different color handles, then skip this step and just draw on them with permanent markers or crayons instead later on in the process!
You can also get creative here and make other designs such as flowers if desired (just remember they’ll be upside down when finished).
Now comes time for decorating–use permanent markers or crayons to draw any kind of design/patterns onto either side(s) where needed; these can be simple circles or lines but may also include more complicated shapes like stars/hearts/etc.(we chose butterflies because they’re pretty).
Party Hats
A party hat is a fun way to dress up. Party hats are easy to make. Party hats are a great way to recycle.
Party hats are a great way to use up old milk cartons, and they can be made with markers you already have under your kitchen sink! Here’s how:
- Cut out two circles from cardboard or cardstock. The circles should be the same size as your milk carton lid and overlap in the center by about an inch (so that when the top of the hat is on your head it won’t fall off).
- Cut out a triangle from one circle, with points facing toward each other in opposite directions; this will become your party hat’s brim/bill.
Easter Baskets & Chicks
Use a straw to make a hole in each corner of the milk carton.Cut out a bottom and top from the milk carton, leaving about 3/4 inch around each edge for support and stability (this will also help when you are cutting out the handle).
Cut out three small circles or stars from your extra paper, which will be used for making eyes on your chicks (or whatever animal you’re making). These can be glued on later or painted with markers or colored pencils now if desired—
just remember not to cover up any holes where straws will be inserted later! If you do glue them on now, it might be easier just to poke holes through them with safety pins so they won’t get stuck while working on other parts of the project later…
To make a handle: cut straight down along two adjacent sides then fold over each side flap that remains attached at the bottom corners; fold edges inward so they stick together tightly against the inside surface of the container bottom piece;
repeat steps 1-4 above with another piece if needed until all flaps are folded under securely forming one long handle that fits snugly within the opening between top/bottom panels when closed properly into place (you may need help getting these last few steps right if younger children are involved).
Milk Jug Dolls & Animals
- Milk Jug Dolls
- Watercolor paper (poster board works well)
- Old milk jugs with lids, empty and clean
- Paint a milk jug doll
Choose an old milk jug that you would like to use for your craft. If the jug has a lid, that’s even better because you can leave it on when painting the doll’s face so it doesn’t dry out too quickly!
Find some scrapbooking papers that you like and cut them into large squares. You should have at least 5 different colors. Use one sheet at a time as it dries out fast from being wet too long so make sure not to overlap colors or else they won’t blend in properly when painting later on!
Pour some water into your paint tray (the container used for holding paint). Add about 2 tablespoons worth of white glue into the water mixture – this helps keep paint from drying out quickly after application onto the paper surface area(s),
which means less mess overall once finished making projects like these ones here today! Now add some food coloring drops until desired color level is reached; then stir until blended evenly throughout the entire contents before applying
Milk Carton Craft Ideas
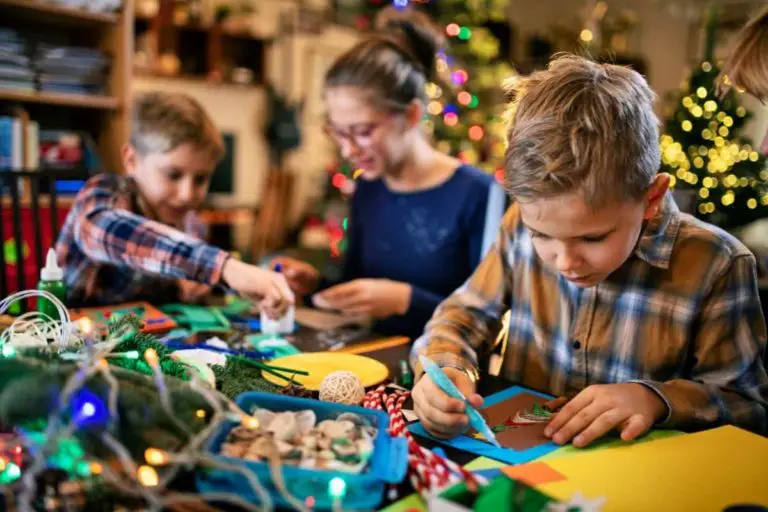
These milk carton craft ideas are so cute and easy! Kids will love making milk carton crafts and will learn lots of new skills too.
This is such a fun way for kids to learn about recycling, as well as the importance of perseverance and creativity.
The recycled paper carton can be used for all sorts of crafts, including cut-out figures, puppets, or even home decorations! You can even fill them with water and use them as bird feeders!
Conclusion
Now that you’ve read through these milk carton craft ideas, it should be easy for you to find one that is perfect for your kid. Whether they are making a dollhouse or learning about nature and animals, these milk carton crafts will keep them busy all summer long!