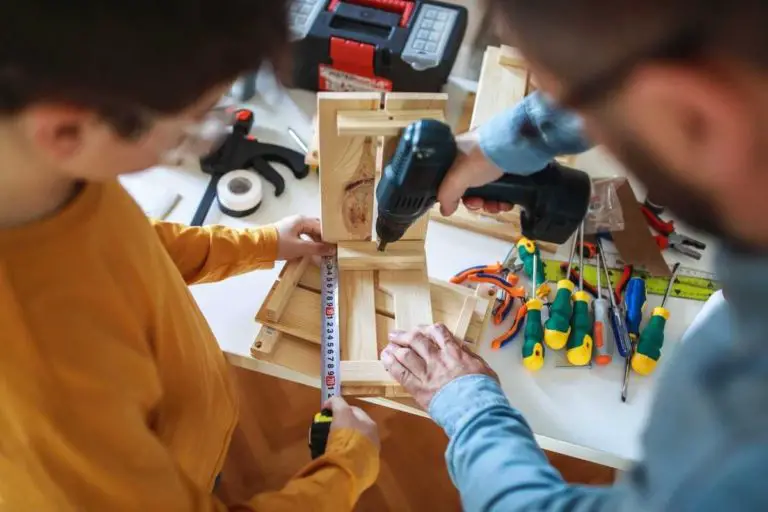
11 Mini Craft For Kids
11 Mini Craft For Kids
Crafts are a great way for kids to learn about the world around them.
They also help develop fine motor skills and teach children about science and art. If you want to give your child a fun activity that will keep them busy, here are 11 mini craft projects we think will delight your little one:
1. A Paper Plane
Paper planes are a classic toy and a great way for kids to get interested in science and engineering. With just a few simple materials, you can make a paper plane that flies far and wide!
Materials
2 pieces of 8 1/2″ x 11″ (21.59 x 28 cm) white printer paper (or larger if you have it lying around) one sheet will be the body of your plane, while the other sheet will be used for wings on both sides of your plane’s body.
A ruler or tape measurer with both inches and centimeters printed on it so that you can measure precisely how big to cut each sheet of paper before folding them into wings. If this isn’t available, don’t fret—just use whatever tools you have at hand!
You’ll just need something flat with measurements marked off on it so we can fold our sheets evenly into perfect squares every time without measuring each time we go around our desks trying to assemble them like some kind of mad scientist bent over his microscope during hours spent alone in his lab at night.
which brings me back around again about not being able to work well because I always get distracted by thoughts about working instead…?
2. Animals From Colored Pencils
How to make animals with colored pencils/
You will need paper, colored pencils and scissors.
Draw the outline of an animal on a sheet of paper using a pencil. Make sure that you also leave enough space around the outside of your design so that you can cut out the shape with scissors later.
Once your drawing is finished, use different colored pencils (or markers) to fill in the details and make it look more like an actual animal drawing instead of just lines on paper!
3. Origami Boat
Origami is the art of folding paper. It’s extremely popular, and a great way for kids to learn about geometry and design.
The origami boat is one of the most popular origami projects because it’s easy to make and fun to play with.
You can make an origami boat from any kind of paper, but newspaper works best because it’s thin enough to fold up easily yet rigid enough to hold its shape when finished.
4. A Toy Motorcyclist
Materials needed.
- Cardboard
- Paper
- Scissors
- Paints/markers/glue
- A toy motorcycle (optional) How to make it:
First, cut out the pieces of cardboard and paper that you need for your project according to the size of your toy motorcycle, then paint them with different colors and apply glue or markers to them as shown in the picture above.
After this, cut out some small rectangles from the cardboard and attach them to each side of your creation so that it looks like a real motorcycle with wheels! Now take this new creation outside for some fun riding with friends!
How do we play with it? Simply place one child on top of their sister’s shoulders while she holds onto his legs so that he can reach down toward the ground where his feet will be able to touch when he slowly moves forward—this way both children will feel like they’re riding together even though only one child is actually moving around!
When should I store my craft? You should always put away all crafts after playing with them so that they don’t get dirty or damaged while sitting around waiting next time someone wants something similar done again!
5. T-Rex Puppet
Materials.
- Paper towel roll
- Paint, markers, and/or crayons (optional)
- Scissors or a utility knife to cut the paper towel roll in half.
How to Make It.
- Cut the paper towel roll in half using scissors or a utility knife.
- Cut out two eyes from black construction paper and glue them onto the top half of the tube with white glue or Elmer’s glue stick (not included).
- Use black paint or markers to color both sides of the bottom half of the tube; let dry completely before moving on to step 4!
How to Use It.
“T” his puppet by bending one end of its body up as though it were walking toward something exciting (you). Hold this end with your hand and use your other hand for movement along its neck, head, and arms! If you’re making more than one puppet at once, try putting on some music for dancing around together!”
6. Hand Puppets From Socks
You can use any socks. You can use any colored pencils, markers, paint, or felt.
You can make hand puppets from paper; glue on some buttons for eyes and a crinkle-cut nose and mouth. Then cut out some ears from the same paper and attach them with glue or stapler at the top of your hand puppet’s head to look like a hat!
Or if you have access to fabric (maybe this craft is for you to make with your grandma?), cut out two circles about two inches in diameter using whatever colors you’d like! Glue one side of one circle onto each end of your sock so it hangs off like an open sleeve.
Then fold over that end so it fits inside itself when you’re done! If desired add some buttons/buttons (or whatever else looks good) as eyes and cut out a nose/mouth shape on white construction paper then glue onto the front face of the puppet where appropriate.
7. Toys From Felt
Felt is a fabric that is made from wool, and it’s an excellent material for kids to work with. It’s soft and easy to cut, glue, and sew.
Kids can use felt in many different ways: they can make balls out of it (which are great for throwing or catching),
They can make stuffed animals or dolls by sewing together squares of felt, and they can use their imagination to create all kinds of games with the fabric!
8. Deer Crafts From Egg Cartons
Egg cartons are a great source of recycled materials.
They can be used to make a variety of different crafts that kids will love.
You can use an egg carton to cut out pieces for an adorable deer craft. All you need is the following items:
- 1 egg carton (eggs not included)
- 1 piece of green paper or construction paper for the antlers
- 2 pieces of brown construction paper for the ears and nose
9. Paper Birds And Flowerpots
This craft activity is so easy, that you won’t believe it! And you can make it even easier by substituting the typical clay pot for a paper plate.
These will last forever and look super adorable on your desk or bookshelf. Here’s how:
Cut out some large wings from scratch paper (or any colored piece of paper). These should be about 8 inches wide from tip to tip and 4 inches at their widest point in the middle. You’ll need two of these per birdie you want to make, so have plenty ready ahead of time!
Cut out four pieces of green construction paper that are each 2 inches wide by 5 inches long; this is what will become both sides of each pot once folded over into cones. You’ll also need one or two small scraps for handles if desired (optional). Fold all pieces carefully into cones using an origami fold technique called a kite.
10. Little Fish, Octopus, And Anemone
Materials.
- cardstock (or any paper with a bit of thickness)
- scissors
- glue stick or white glue
Directions. Cut out the pattern provided. Glue onto cardstock, then cut out. Glue the fish and the octopus together, then the anemone on top of that.
For best results, use a glue stick so it dries clear rather than leaving residue on your artwork. Once it’s dry you can decorate your craft further by adding glitter or stickers!
11. A Cool Turtle For Your Kid’s Notebook
Place the turtle in your kid’s notebook and draw around it.
Cut out the shape.
Fold up the bottom of the paper to make a flap that covers up half of the turtle’s body when you fold it over.
Cut two small holes in this flap, one for each eye.
Use a red pen to draw on your eyes and then glue or tape them down onto your turtle (or use googly eyes if you have them).
11 Mini Craft For Kids
Here are 11 mini crafts for kids that won’t require a lot of materials and time, but will still leave them with a beautiful finished product they can be proud of.
- Paper Plate Flower Vase
It’s not necessary to have artistic skills when making this paper plate flower vase. All you have to do is cut the petals and leaves out of the paper plate.
Then glue them on with some hot glue gun or white glue. Let dry before filling with water flowers in glass vases!
Conclusion
As you can see, there are plenty of fun crafts to help your kids get creative and have fun. We hope these ideas will inspire you to create something awesome with your little ones!