15 Pumpkin Crafts Ideas
15 Pumpkin Crafts Ideas
One of the best things about fall is all of the cool crafts that you can make with pumpkins!
It’s a fun, creative way to transition from summer to fall and they look great as decorations as well.
Pumpkin Wreath
You will need
- A pumpkin
- Cardboard or foam core
- Thin floral wire, ribbon, or twine
Note. If you’re using a real pumpkin to make this wreath, be sure to poke holes in the bottom before you place it on the cardboard or foam core.
This will allow water to drain from the inside of your wreath so that it doesn’t rot. Cut out a circle of cardboard or foam core slightly smaller than your pumpkin’s diameter and attach it with floral wire all around its circumference.
Cut off the extra wire and make sure everything is secure by tucking any loose ends under other pieces of material. You can use any type of ribbon for this step—it’s just for decoration! Decorate with leaves made from construction paper or other materials (see below).
Glitter Pumpkins
Pumpkins are a great way to add a little sparkle to your holiday decor. You can find them everywhere, and they’re inexpensive.
They come in all shapes and sizes, so you can choose one that matches your decor perfectly. Plus, they come in so many different colors!
If you want something more traditional than an orange pumpkin, then try painting it white and adding some glitter on top of the paint before it dries (this will make sure that the glitter stays on).
You could also use any type of glitter you want: gold or silver would look nice with red or black pumpkins; green with white; pink with yellow—you get the idea!
Pumpkin Centerpiece
You can use a pumpkin as a centerpiece, vase, or planter. You can even turn it into a candle holder, candle, and pie!
Simply cut the top off the pumpkin and then clean out the insides. Next, you’ll want to dry your pumpkins for several days prior to making this craft so that they are firmer and easier to work with. Once dried out, paint them with any color you wish (we chose black).
They would also look great if you used spray paint instead of regular paint, however, we decided against doing that because we were afraid of wasting too much time trying too hard and not getting it on our hands or clothes (which did happen anyway).
The next step is filling up those pumpkins! We wanted ours super full so we went ahead and filled them right up until all the way around until they were completely full; however, depending on how big your pumpkin is will determine how much room there is inside so choose wisely before filling up each side with goodies such as flowers/greenery, etc.
Then just add some leaves or other decorative items to each side & voila! You have yourself an autumnal masterpiece that will surely be admired by all who see it sitting atop their dining room table during Thanksgiving dinner this year )
Pumpkin Treat Box
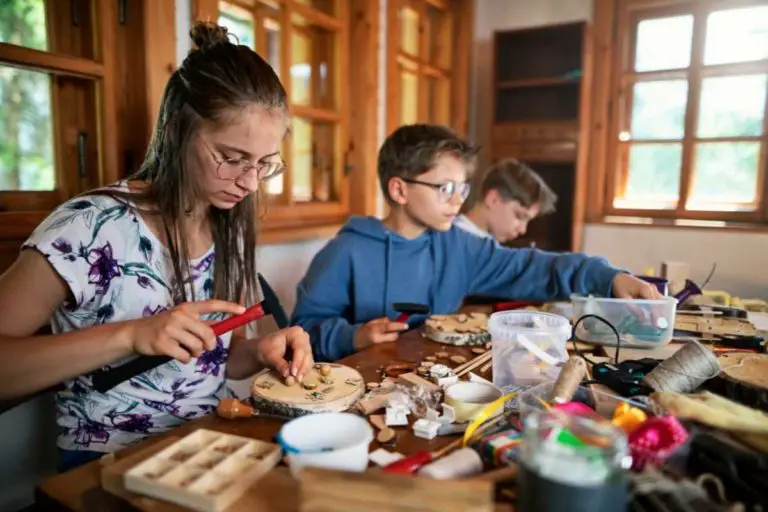
A pumpkin treat box is a fun Halloween craft for kids. They can be used to hold candy or other treats, or as a mini pumpkin, or bowl to serve food on. If you want to make one of these, here’s what you’ll need.
A small pumpkin (the size of an orange would be perfect)
A paintbrush and paint (go for either orange or white, depending on which color you prefer)
Craft glueYou’ll also want to think about decorations. You could use googly eyes and pipe cleaners for hair; if your child has trouble using scissors, try using foam stickers instead of cutting them out yourself!
When it comes time to decorate with the glue, remember that this will eventually dry hard so try not to get too heavy-handed with it unless your child wants extra messy treats!
Pineapple Pumpkins
Pineapple pumpkins are an appetizing way to decorate your front porch this autumn.
This craft is the perfect project for kids or adults of all ages, and it’s sure to be a conversation starter among your trick-or-treaters.
To create pineapple pumpkins, you’ll need.
- A pumpkin (or two!)
- A Cricut machine (if you don’t have one already) — if you’re using a pumpkin instead of an actual pineapple, one that’s slightly smaller than the other will work just fine!
You can make them as big or small as you want to depend on how many trick-or-treaters will be visiting your home this Halloween season!
Gold Dipped Pumpkins
You will need
A pumpkin. Pick one that’s not too big or too small, and make sure it has a nice flat surface for you to paint on.
Gold spray paint (it doesn’t have to be real gold—any color will do). Get the lightest shade you can find, because darker shades may create a green tint in your pumpkin.
Paintbrush and tray (optional), if you want to paint directly onto the pumpkin instead of doing it in sections like I did here.
Paper towels, scissors, and white paper for rubbing off excess gold spray paint from your pumpkins when finished painting them with spray cans.
Cut out leaves from construction paper using an X-acto knife or scissors; set them aside until later when we glue them onto our pumpkins! You can also use stickers instead of making your own paper cutouts—just stick them on with some glue when ready!
Fall Printable Banner
This fall printable banner is a great way to make your home feel like a fall. You can print out the template and use it to make a banner or sign for your front door,
but you could also cut up the pieces and use them as decorations in your house.
If you’re going to glue this project down, I suggest using spray adhesive because it’s easier than gluing each piece by hand. If you don’t have spray adhesive then just use white school glue—or if that’s not available where you live then any craft glue should do fine!
Create Your Own Customizable Sign Using Free Fonts and Cricut Design Space
If you’ve been looking for a way to create your own customizable sign, look no further. The best part is that this project is super easy and only requires 5 supplies! Here’s what you’ll need.
- A blank canvas (we recommend using a wooden one)
- A paintbrush with some water in it (a regular brush will do)
- The font of your choice from the millions available on the internet (we used “Liz Hand”)
- Cricut Design Space, which is free and can be downloaded here: https://www.cricutdesignspace.com/en-us/downloads/design-space
String Art Pumpkins
You will need
- a pumpkin of your choice
- string, yarn, or twine (I used old Christmas lights)
- two small nails or thumbtacks
How to make string art pumpkins.
Trace the outline of your pumpkin onto a piece of cardboard. The cardboard will keep the shape of your pumpkin and give you something to attach it to later on when you hang it up around the house during the Halloween season.
You can use any shape of the head for your pumpkin, but I went with an oval because it’s easier to draw in pencil and cut out.
Cut out stenciled pieces from construction paper or contact paper and glue them together (for example one piece on each side). If you’re using contact paper make sure that there are no air bubbles under them!
Otherwise, they won’t stick properly when pressing down firmly all over again before removing excess glue residue – this time without any glue since the only paper is left behind on the top surface which doesn’t stick well anymore due to lack of moisture levels from being covered previous times already ). Make sure everything looks good before applying the whole thing over the backside too).
Yarn Pom Pom Pumpkins
- Supplies
- yarn – in any color you like
- scissors or rotary cutter (if you want to make an even fringe)
Cute Kid’s Crafts! Halloween Ghosts
Get your kids involved in the process. Let them choose the colors of their ghosts, and let them help you glue on the googly eyes and pipe cleaners.
Halloween ghosts are a wonderful alternative to traditional pumpkins on a table because they don’t require carving or gutting or scooping out seeds (and they make great props for photos!).
You can also use these as decorations for your front door or windows! They look especially great if you hang them upside down with a little bit of tape so that they’re hanging head first instead of feet first.
Halloween Mason Jar Ideas- Halloween Crafting Ideas on a Budget
Halloween Mason Jar Ideas
You can make a lot of different things with mason jars, and you can use them for crafts for kids and adults. They’re also a great way to recycle!
Conclusion
These easy and inexpensive crafts will not only help you to get ready for Halloween but also add a little festive spirit to your home. From pumpkins and ghosts to cute little critters, there’s something here for everyone—even if you’re not sure what your Halloween style is yet! So grab those crafting supplies, let the kids help out with some glue or glittery paint (because it gets everywhere), and get ready for some spooky fun.