5 Beautiful DIY Greeting Card Ideas for Any Occasion
1. Watercolor Wreath Cards: Soft Blooms on a Fold-Over Frame
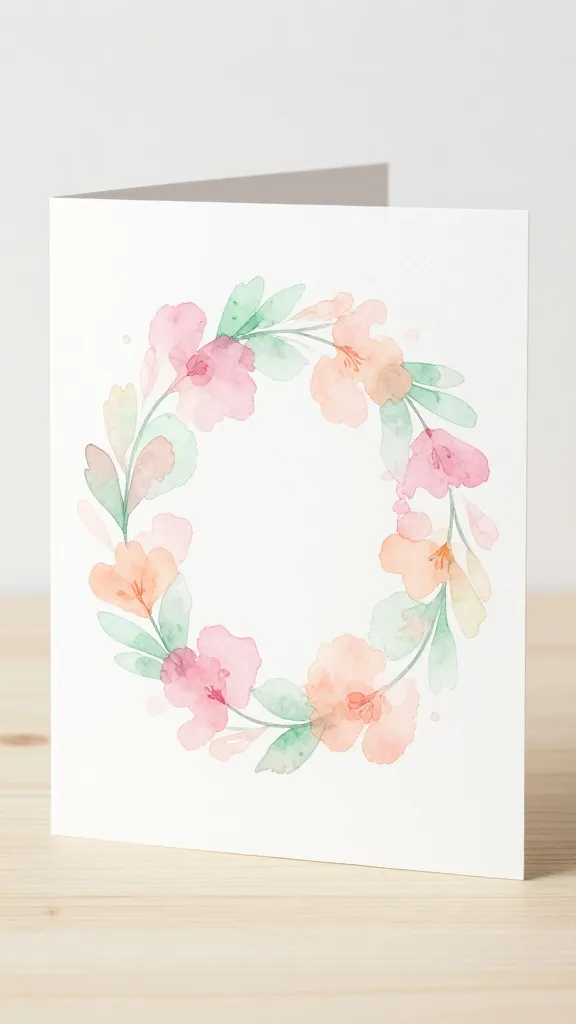
Imagine a greeting card that looks like a tiny watercolor painting you can unfold and swoon over. These watercolor wreath cards blend gentle washes of color with a crisp, minimalist wreath in the center, making them feel artsy without being intimidating.
Finished look? Think dreamy, smudgy petals paired with a clean white border that keeps the focus on the blossom circle. It’s the kind of card that says you put time into it, even if you cheated the process with a quick stencil and a delicate brush. Seriously, your recipient will love how personal it feels.
Materials
- Watercolor paper folded into A2 cards
- Watercolor paints (your preferred palette)
- Fine detail brushes and a small round brush
- Pencil and eraser
- Masking fluid or painter’s tape (optional for clean edges)
- White gel pen for highlights
- Ruler and scoring tool
How to Make It
- Lightly sketch a circular wreath in pencil near the center of the card.
- Mask the circle with masking fluid or tape to keep the inside white while you paint the outer ring.
- Paint soft floral washes around the wreath, letting colors bleed for a dreamy effect.
- Remove masking and add fine details: tiny leaves, pearls of color, and subtle highlights with a white gel pen.
- Write a short message along the bottom edge or inside the card for a polished finish.
Pro Tips / Styling Ideas
- Use a limited color palette for a cohesive look—blush pinks, sage greens, and a touch of gold foil if you have it.
- Experiment with textured watercolor paper for a tactile, gallery-worthy card.
- Try adding a gentle shimmer by brushing a fine layer of pearlescent watercolors over the blooms.
Who would love it / When to use it
Perfect for birthdays, Mother’s Day, or any time you want a heartfelt, artful note. If your friend collects handmade art, this is right up their alley. You’ll love this for its soft, romantic vibe that still stays playful.
2. Felt-Fashioned Pop-Up Friend Card: A Cozy Surprise Inside
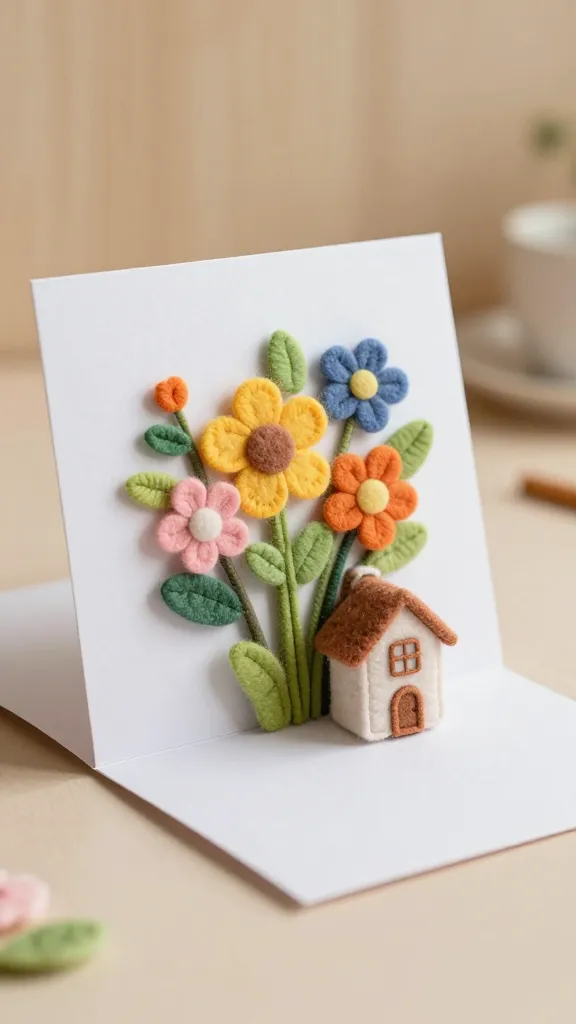
Pop-up cards are fun, and this felt version brings instant coziness to the table. Imagine a tiny felt bouquet or a little felt house that springs to life when the card opens. It’s tactile, cute, and surprisingly quick to assemble.
Finished product? A charming three-dimensional keepsake that doubles as desk decor. It’s playful and unforgettable, especially for kids and the young at heart. FYI, it’s as satisfying to make as it is to give.
Materials
- Blank A2 card and envelope
- Felt sheets in 3–4 colors
- Fabric scissors, craft glue, and needle/thread (optional)
- Cardstock for pop-up mechanism (or use pre-made pop-up bases)
- Floss or ribbon for embellishments
- Needle and small beads or buttons for details (optional)
How to Make It
- Cut simple shapes (flowers, hearts, or small houses) from felt and arrange them on a flat surface.
- Glue the shapes to a lightweight cardstock pop-up panel that sits inside the card.
- Adhere the panel to the inside of the card so the shapes pop up when opened.
- Add small embellishments with embroidery floss or tiny buttons for personality.
Pro Tips / Styling Ideas
- Choose bold, contrasting colors for a punchy, kid-friendly look or soft neutrals for a chic vibe.
- Use the pop-up panel as a tiny scene—think a bookshelf, a garden, or a cozy living room.
- Seal with a light spray of clear acrylic to keep the felt edges neat.
Who would love it / When to use it
Ideal for kids, teens, or anyone who adores tactile crafts. It makes a fantastic birthday card for a friend who loves handmade textures or a cute get-well-soon note with a cozy, homey feel.
3. Metallic Foil Stencil Cards: Bold Lines, Big Impact
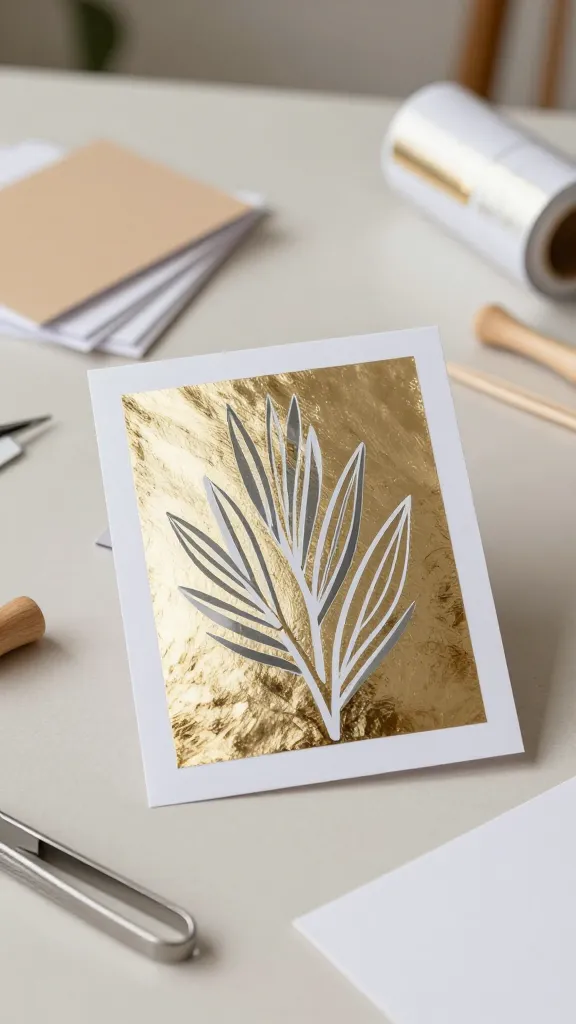
Make a statement with clean lines and metallic shine. These cards use simple stencils and foil to create a bold, modern greeting that looks expensive but is totally doable at home. It’s the kind of craft that photographs beautifully and earns extra Pinterest love.
Finished look? A crisp, contemporary card with dramatic contrast—perfect for anniversaries, graduations, or “just because” moments when you want to spark a little glam.
Materials
- A2 blank cards in a solid color or white
- Foil transfer sheets or gold/silver foil
- Stencil sheets with geometric or botanical patterns
- Adhesive (if using foil with sticky back stencils)
- Rubber roller or bone folder
- Fine-tip pen for a personal message
How to Make It
- Place the stencil on the card and secure it lightly with masking tape.
- Apply the foil over the stencil with the adhesive backing, then rub firmly to transfer the metallic sheen.
- Remove the stencil carefully and reveal a crisp, shiny motif.
- Add a short handwritten message in a contrasting ink to finish the look.
Pro Tips / Styling Ideas
- Combine metallic foil with matte cardstock for a striking contrast.
- Try dual tones—rose gold with copper, or silver with deep navy.
- Pair with a vellum overlay to add a soft, dreamy layer.
Who would love it / When to use it
Great for milestone celebrations, weddings, or classy thank-you notes. If you love clean lines and a modern aesthetic, this one will be a hit with your stylish friends.
4. Cork Board Card Garden: Texture-Rich Florals on Recycled Surfaces
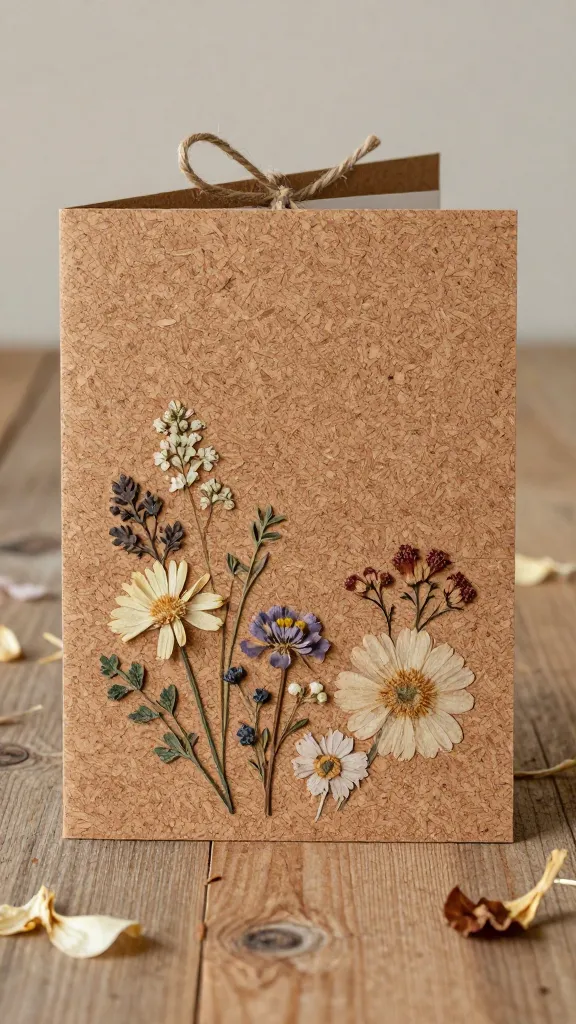
Texture lovers, this is your moment. A corkboard-inspired card uses thin cork pieces, pressed florals, and a dash of twine for a quirky, eco-friendly gift. It feels rustic, but the layout stays neat enough to mail without extra bulk.
Finished product? A tactile, nature-forward card that doubles as a tiny piece of wall art once removed from the envelope. It’s conversation-starting, earthy, and totally unique.
Materials
- Blank A2 card or folded cardstock
- Thin cork sheets or cork paper
- Pressed flowers or faux florals
- Fine twine or jute string
- Hot glue or strong craft glue
- Pencil for layout planning
How to Make It
- Cut small cork shapes to resemble petals or leaves and arrange them on the front of the card.
- Glue cork pieces in a loose floral pattern, layering for depth.
- Affix pressed flowers in the gaps to enhance the garden feel.
- Wrap a tiny piece of twine around the card’s edge or create a bow for finishing flair.
Pro Tips / Styling Ideas
- Opt for a natural palette—creams, greens, and soft browns—for an earthy vibe.
- Seal the cork with a light matte spray to protect it during mailing.
- Attach a small note on the inside using kraft paper for extra texture.
Who would love it / When to use it
Perfect for nature lovers, teachers, or gratitude notes. It’s a playful way to say thanks with a wink—like you care about both style and the planet.
5. Origami Crane Card: A Moment of Zen in Paper Flight
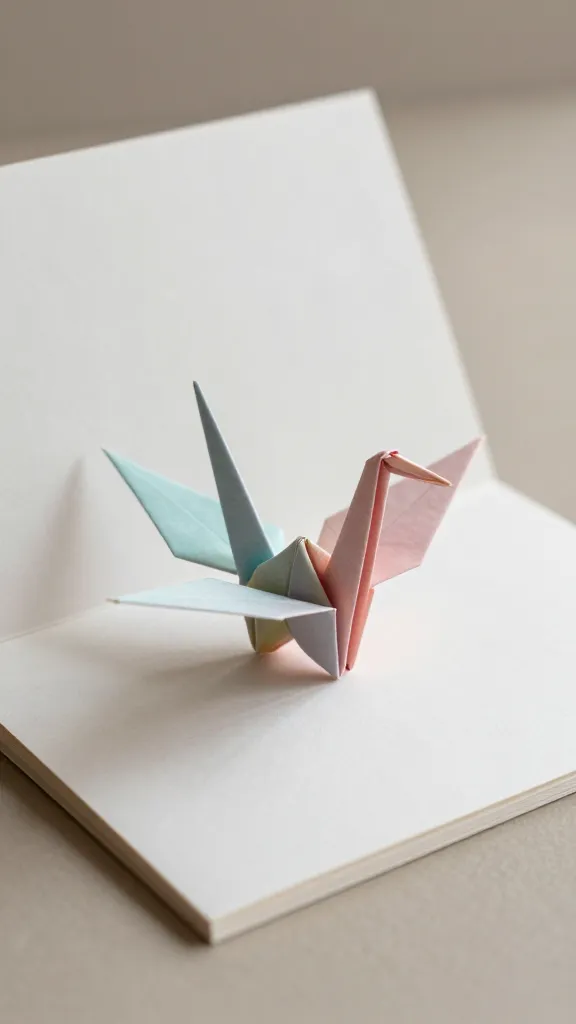
Turn a single sheet of paper into a tiny origami crane perched on the card’s front. This idea blends traditional folding with modern typography or a simple handwritten message, creating a serene, elegant greeting that’s surprisingly simple to assemble.
Finished look? A graceful silhouette that feels contemplative and refined. It’s perfect for encouragement, anniversaries, or a heartfelt hello to someone who loves a touch of quiet beauty.
Materials
- Colorful origami paper or lightweight patterned paper
- A2 blank cards and envelopes
- Fine-tip black pen or brush pen
- Optional: tiny washi tape for a decorative border
- Double-sided tape or glue
How to Make It
- Fold an origami crane from your chosen paper—keep the crane small to fit nicely on the card.
- Attach the crane to the front of the card with a small dot of glue or double-sided tape, letting the wings sit slightly raised for dimension.
- Decorate the card with a simple, hand-lettered greeting and a subtle border if you like.
Pro Tips / Styling Ideas
- Pair a bright crane with a white card for bold contrast, or go monochrome for subtle elegance.
- Use a faint gold or silver gel pen to outline the crane’s edges for a luxe touch.
- Leave the inside blank for a multi-use card (you can write any occasion later).
Who would love it / When to use it
Ideal for friends who adore thoughtful, minimalist design or anyone who appreciates a little artful symbolism. It’s especially meaningful for new beginnings, marriages, or just a thoughtful hello from afar.
Conclusion
Five completely unique, ready-to-make DIY greeting card ideas that cover any occasion—from soft watercolor elegance to tactile cork garden vibes and modern foil statements. Pick one that matches your mood, or try all of them to build a stylish, handmade greeting library you’ll actually use. Trust me, your friends will save these and your envelope will be the talk of the mailbox.