20 Craft Ideas for School Beginners: Easy Diy Fun
1. Painted Pencil Case Makeover With Celestial Magic
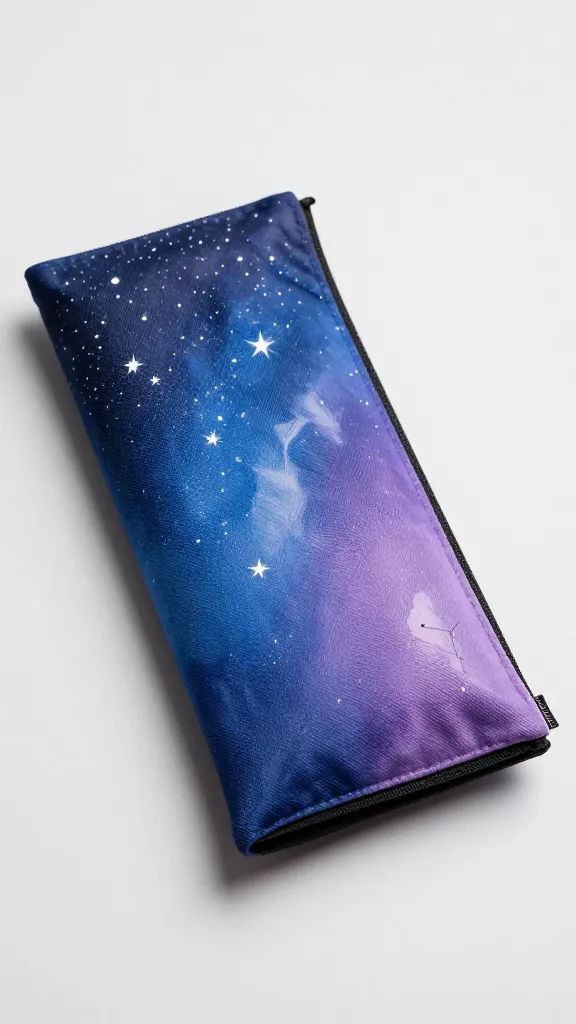
Imagine a pencil case that looks like a mini night sky, complete with stars and a lilac glow. This quick makeover makes boring sleeves sparkle with personality.
Materials: a plain fabric pencil case, fabric paints, star stencil, fine brush, masking tape.
How to Make It: Tape off a layout, dab on deep blue, add white specks, and finish with a soft purple gradient. Let it dry, then seal with a clear fabric medium.
Pro Tips: Add little constellation doodles with a fine pen for extra whimsy. You’ll love this for school or sleepover art time.
Who it’s for: kids who adore space, color, and brag-worthy desk vibes.
2. Mini Felt Monster Pencil Holders
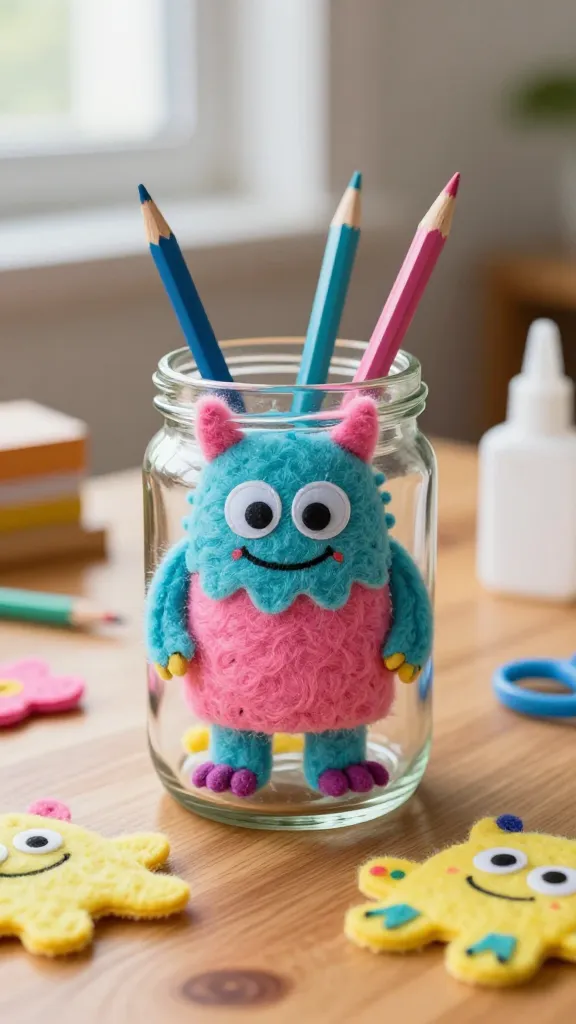
Bright, squishy, and totally adorable, these little felt monsters keep pens tidy and smiles handy at the same time.
Materials: felt sheets (assorted colors), glue, googly eyes, embroidery floss, small glass jars or cylindrical containers.
How to Make It: Cut two felt shapes for each monster, stitch or glue, add eyes and stitching details. Glue to the jar lid or body for a quirky holder.
Pro Tips: Personalize each monster with a name tag or color story. Seriously, kids will gather a whole crew for a desk zoo.
Who it’s for: animal lovers and organizers with a playful vibe.
3. Marbleized Tile Coasters (No Tile Needed)
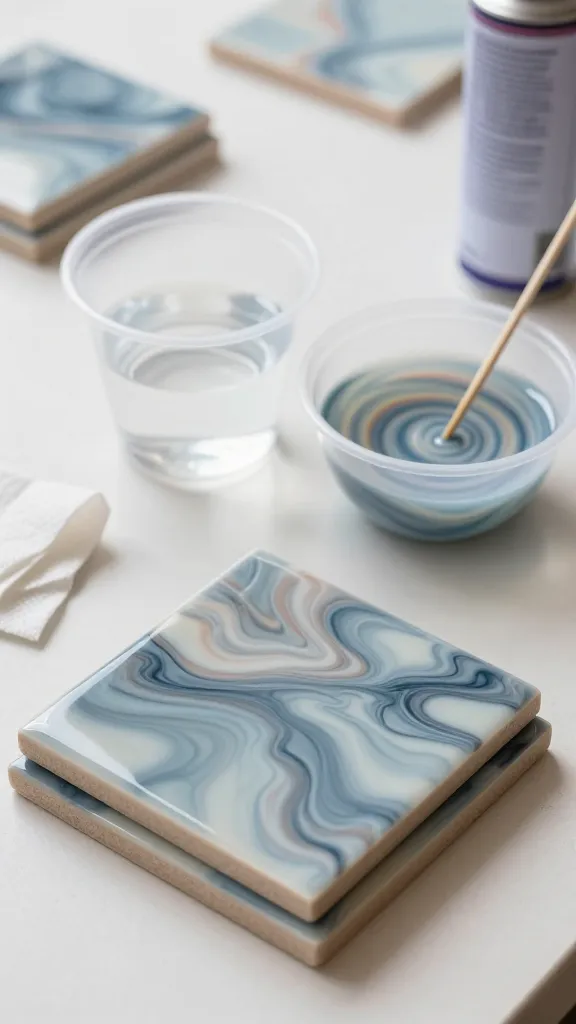
Coasters that look fancy but are actually beginner-friendly. Swirl paints on a surface to mimic marble—the glam without the fuss.
Materials: ceramic tiles or sturdy cardboard, acrylic paints, plastic cup, water, paper towels, sealant spray.
How to Make It: Drop colors into water, swirl with a skewer, dip the tile, and lift. Repeat with new colors until you love it. Let dry, then seal for longevity.
Pro Tips: Stir your own color story—cool blues, gray veining, or rosy tones. They’ll elevate your coffee corner in minutes.
Who it’s for: aspiring designers and anyone who loves a chic tabletop vibe.
4. Washi Tape Wall Art Collage
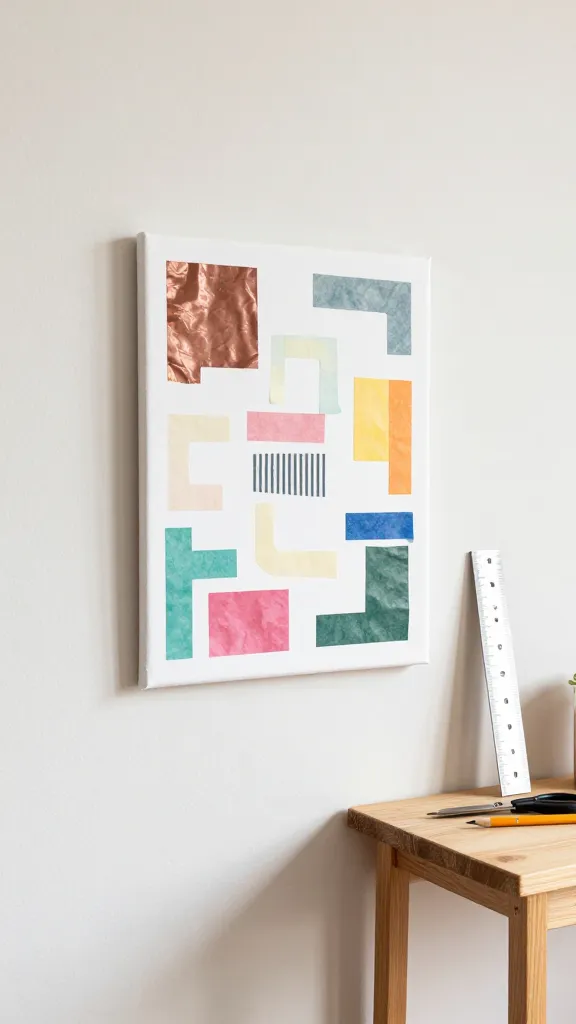
A tiny gallery wall you can move anytime. Witty patterns and bold colors turn a plain wall into a personality showcase.
Materials: canvas or thick paper, variety of washi tapes, ruler, scissors, pencil.
How to Make It: Plan a loose grid or freeform shapes, then fill with layered tape. Add a few negative-space quotes with painted letters.
Pro Tips: Mix matte and metallic tapes for texture. The best part: you can peel and reposition without a trace.
Who it’s for: wall-art lovers on a budget and renters who crave changeable decor.
5. DIY Magazine Clip Banners
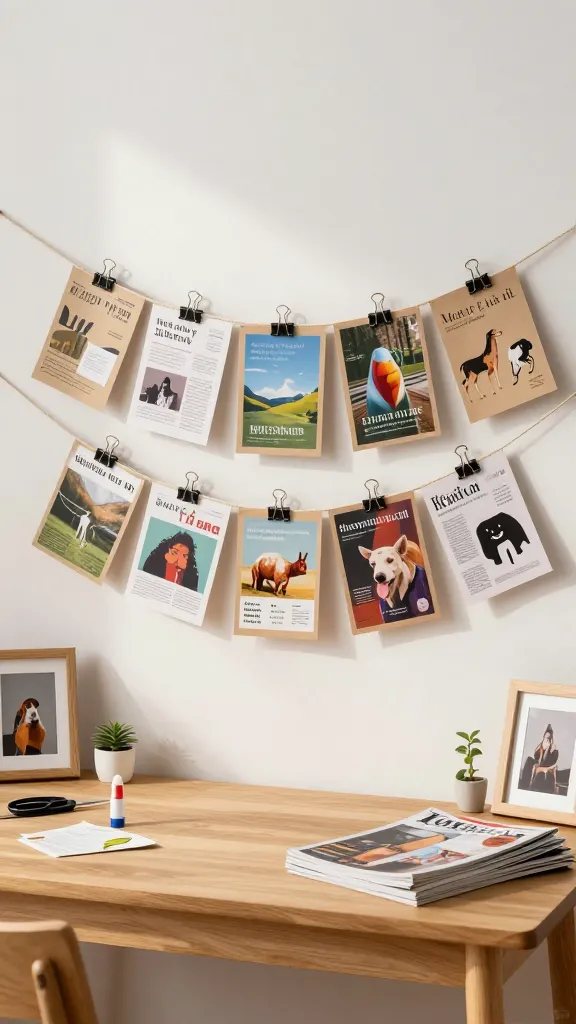
Helpful for dorms or desks, these clip banners are a cute way to label shelves or celebrate small wins.
Materials: kraft paper or sturdy card stock, magazines, scissors, binder clips, string or ribbon, glue sticks.
How to Make It: Cut magazine phrases or images, glue to banners, punch holes, and string between clips. Clip photos or notes for a rotating display.
Pro Tips: Use a color-block palette or a theme (nature, quotes, animals). You’ll love how personal it feels.
Who it’s for: organizers who crave daily inspiration with a twist.
6. Foldable Paper Fortune Cookies for Notes

Sweet, printable, and surprisingly practical. Use them to hide tiny notes, compliments, or homework reminders.
Materials: colored paper, scissors, ruler, glue, markers, tiny notes or jokes.
How to Make It: Fold paper into fortune-cookie shapes with a small pocket, tuck in a note, and let the student pass them along. They’re surprisingly stable for classroom desks.
Pro Tips: Personalize with facial expressions or school colors. A fun ritual for sharing kind messages。
Who it’s for: social butterflies and note-card lovers looking to spark smiles.
7. Button-Up Desk Organizer
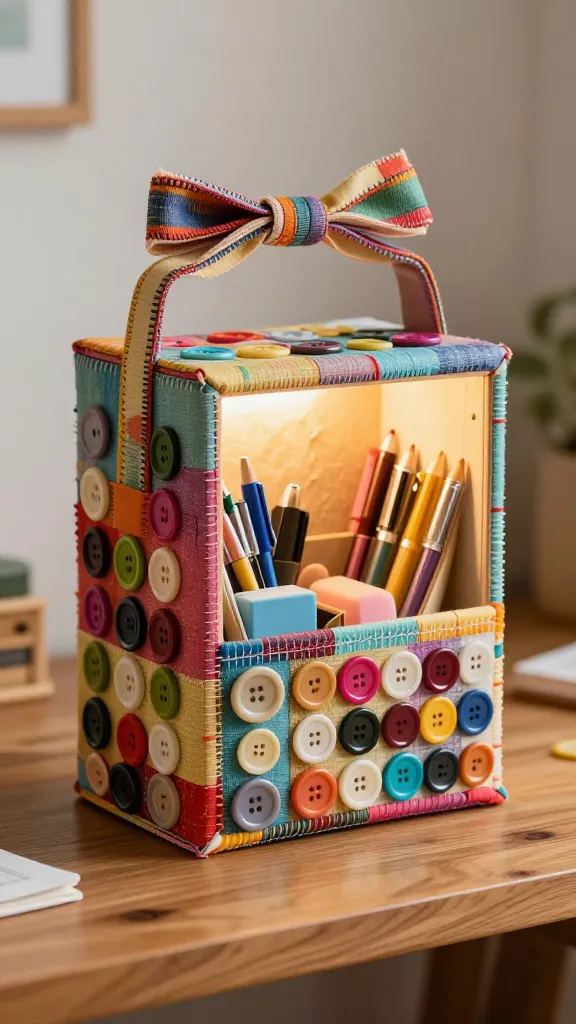
A charming, upcycled organizer that hides messy cords and holds trinkets with personality.
Materials: a cereal box or small wooden box, scrap fabric, assorted buttons, hot glue, decorative ribbon.
How to Make It: Cover the box with fabric, glue on buttons in a grid, add a ribbon handle. Create compartments for pens and erasers.
Pro Tips: Mix glossy and matte buttons for depth. It’s cute on a study desk or as a gift for a friend.
Who it’s for: upcyclers who love tactile textures and bold color.
8. Paper Plate Garden Mural
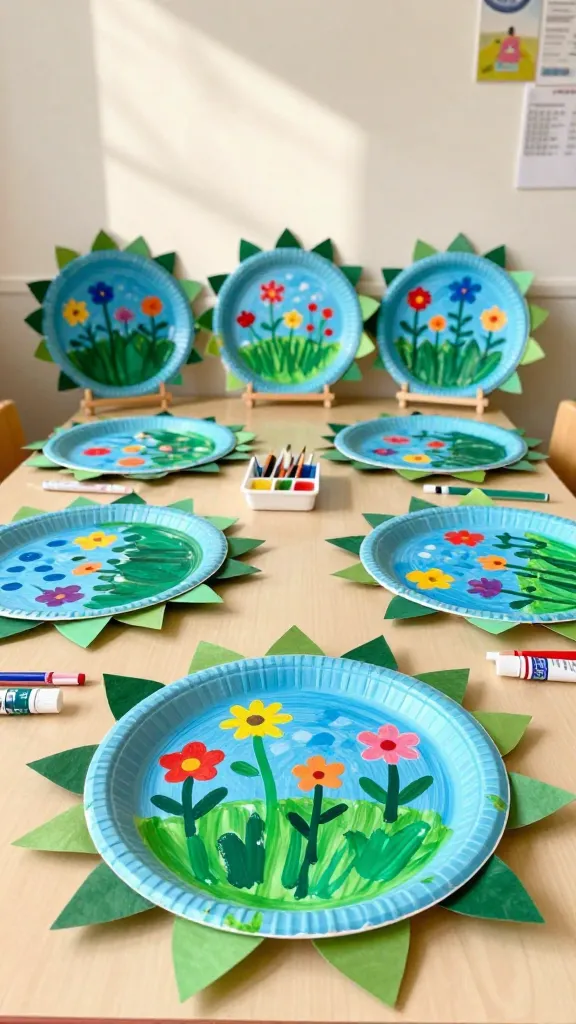
Tiny, cheerful garden scenes painted on paper plates bring sunshine into any classroom corner.
Materials: paper plates, acrylic paints, paintbrushes, markers, green crepe paper for leaves.
How to Make It: Paint a sky and ground, add flowers with dabs of paint, and glue paper leaves onto the rim to create a surrounding border.
Pro Tips: Use seasonal flowers or letter stickers to spell a small garden motto. It’s a bright, inexpensive project.
Who it’s for: nature lovers who crave a pop of color at their workspace.
9. Yarn-Wrapped Pencil Pals
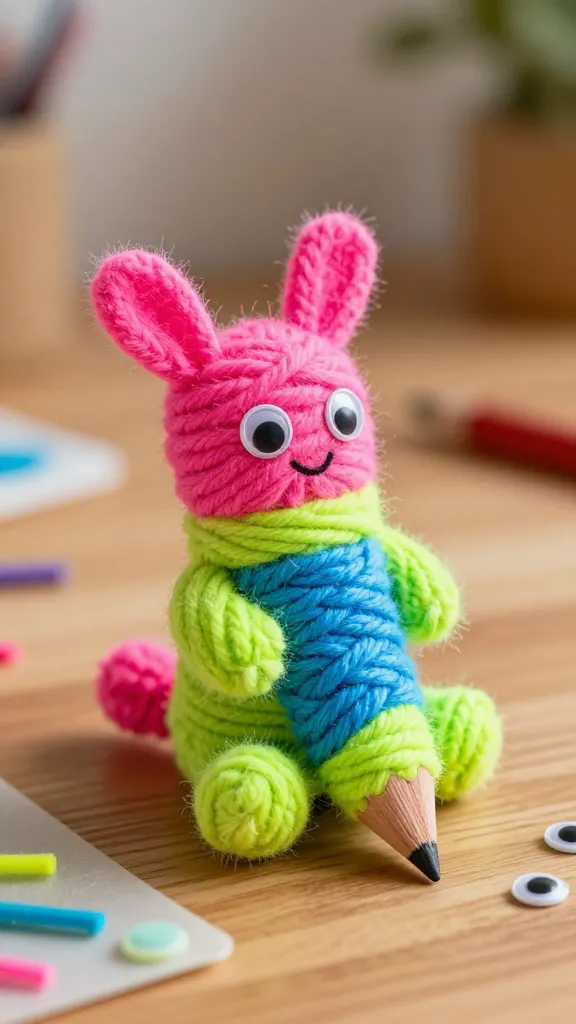
Soft, fluffy, and delightfully grippy—these little yarn creatures hug pencils for a playful writing session.
Materials: wooden pencils, colorful yarn, glue, small googly eyes, felt scraps.
How to Make It: Wrap yarn around the pencil with a tight coil, secure with glue, add ears and eyes, finish with a little smile.
Pro Tips: Try neon yarns for extra zing. They’re a favorite desk buddy for storytimeers and doodlers alike.
Who it’s for: tactile crafters who love soft textures and friendly faces.
10. Chalkboard Labels For Everything
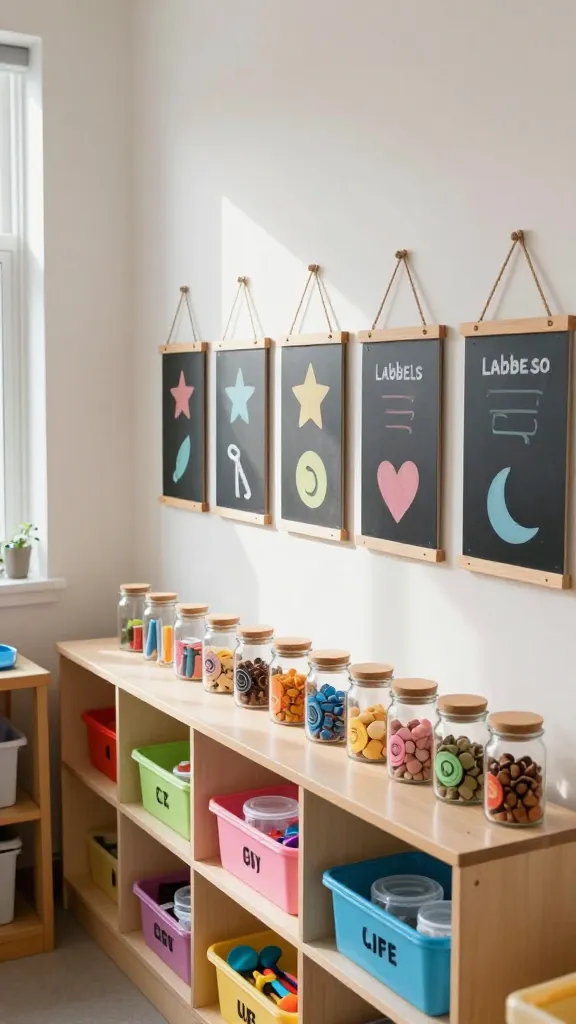
A set of reusable, kid-friendly labels that make organizing a breeze and learning visible.
Materials: mini chalkboard panels or cut cardboard, chalk markers, string for hanging.
How to Make It: Decorate panels with simple icons, punch a hole, string up near shelves. Label bins, notebooks, and jars with cute names.
Pro Tips: Create a color-code system. It makes tidying up feel like a game.
Who it’s for: neat freaks and organizers who love science-lab vibes in their room.
11. Recycled Sock Puppets
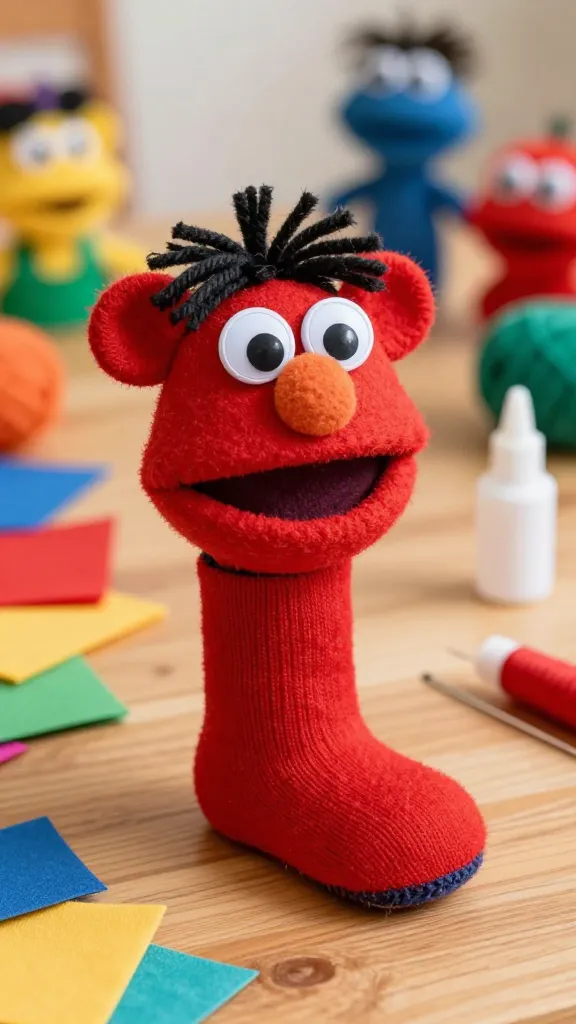
Whimsical puppets that double as storytelling props. Easy to customize and surprisingly expressive.
Materials: old socks, googly eyes, felt scraps, fabric glue, thread and needle for stitching.
How to Make It: Turn a sock into a head, add eyes and a mouth, stitch or glue on felt ears or hair. Stuff lightly for character.
Pro Tips: Give each puppet a name and a tiny backstory. Perfect for reading aloud or tiny plays.
Who it’s for: story lovers who want to bring characters to life.
12. Button Art Portraits
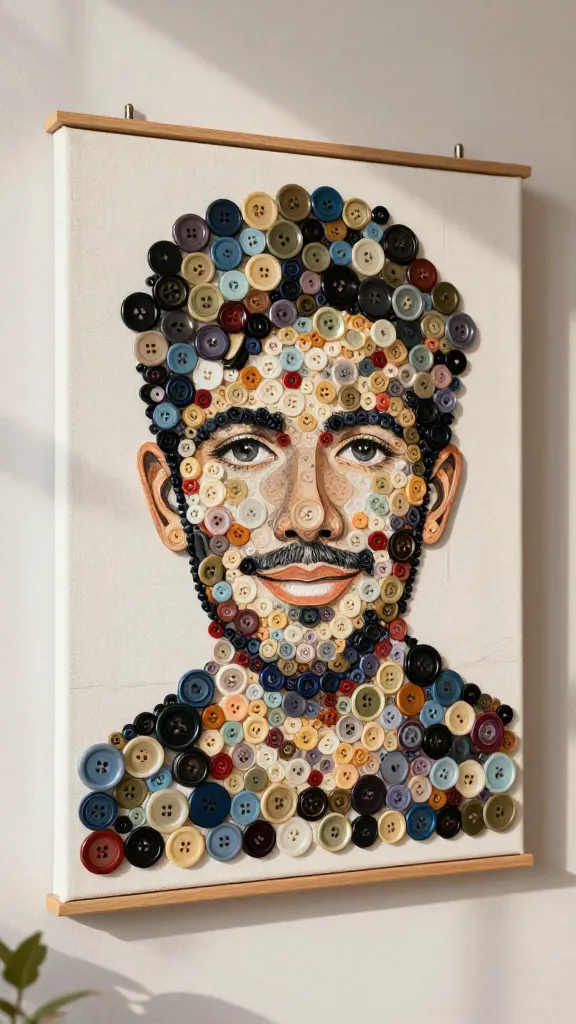
Colorful, textural portraits made entirely from buttons. A bold, modern wall piece that wears a smile.
Materials: canvas, variety of buttons, glue, hot glue gun if available, a simple pencil sketch.
How to Make It: Sketch a simple face or shape, layer buttons by color, glue in place. Stand back and admire a wearable piece of art.
Pro Tips: Start with a basic outline and fill in with gradients of color. They look fantastic in a bright hallway.
Who it’s for: budding artists who love texture and color play.
13. Foamy Ocean Scene in a Jar
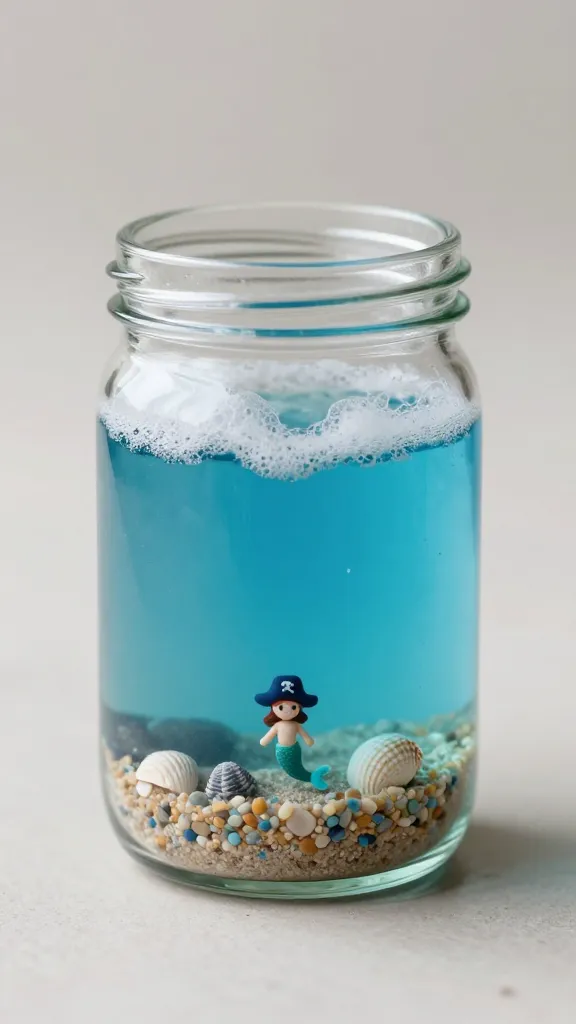
A tiny, tranquil underwater world for a desk or nightstand—calming and totally cute.
Materials: mini glass jar, blue acrylic paint, white foam for sea foam, sand or decorative pebbles, tiny shell decorations.
How to Make It: Paint the bottom with blue tones, layer in sand and shells, top with foam. Seal with a sparing drizzle of glue to keep it snuggly inside.
Pro Tips: Add a tiny pirate or mermaid figure cut from foam for whimsy. It’s a mini vacation in a jar.
Who it’s for: ocean lovers and calm-crafters who want a zen desk companion.
14. DIY Emoji Slap Bracelets
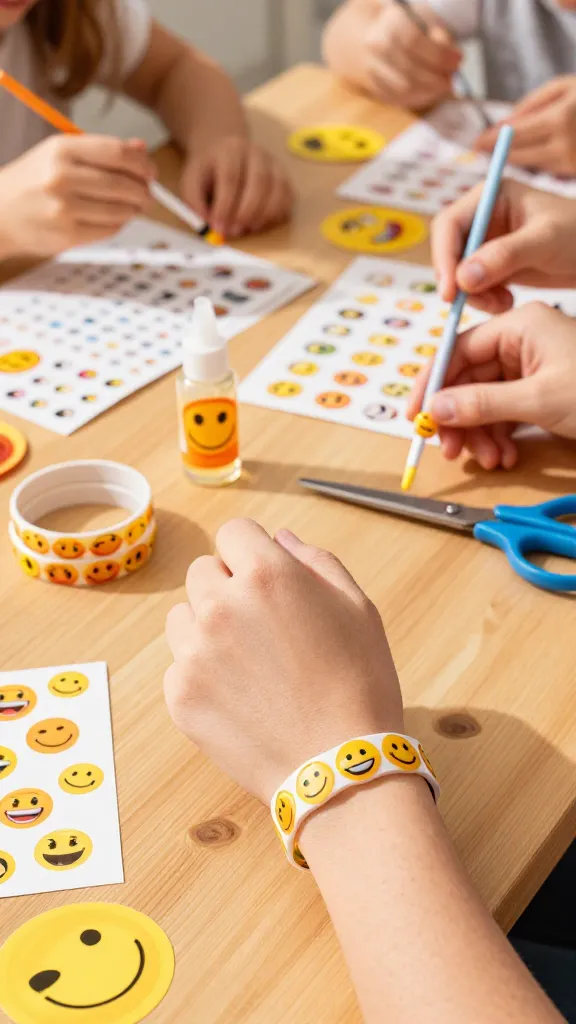
Colorful, quick, and guaranteed to spark giggles. Turn plain bracelets into a mood-matching accessory.
Materials: plain slap bracelets, emoji stickers or printable decals, clear sealant, scissors.
How to Make It: Decorate with emoji stickers, or print and cut decals, seal with a clear coat for durability.
Pro Tips: Create a set pairing moods with colors. It’s perfect for mood tracking in a playful way.
Who it’s for: trend-watchers who love playful accessories.
15. Mini Canvas Notebook Jackets
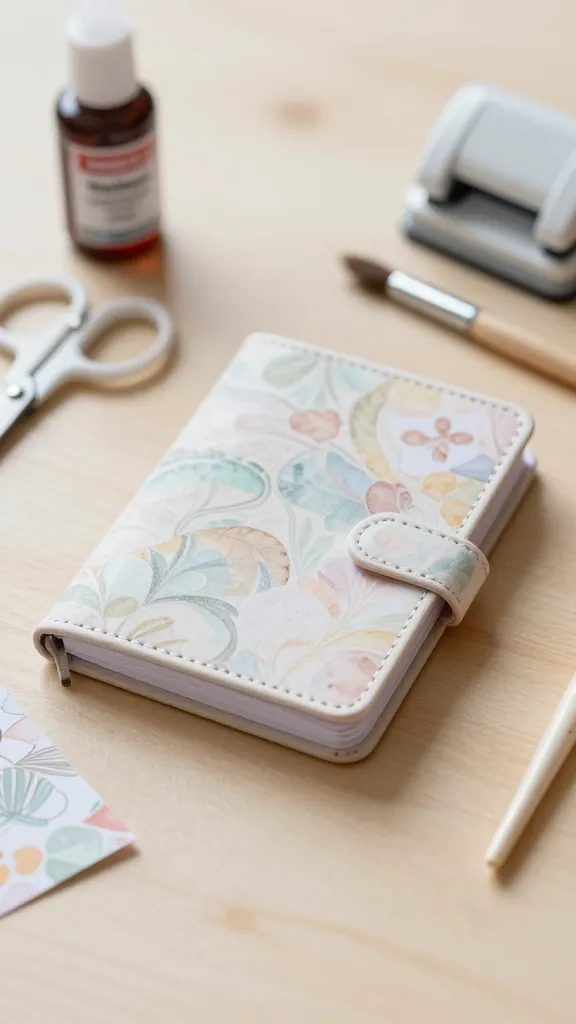
Give tiny notebooks a stylish outer shell. A little art on the outside makes writing feel special.
Materials: mini notebooks, decorative scrap paper, Mod Podge, scissors, brush, corner punch.
How to Make It: Cut scrap paper to fit notebook covers, glue on, seal with a top coat. Add punched corners for a finished look.
Pro Tips: Try a marbled effect with a plastic wrap technique for a modern texture.
Who it’s for: journal lovers who want a splashy, portable cover.
16. Cupcake Luddle Magnets
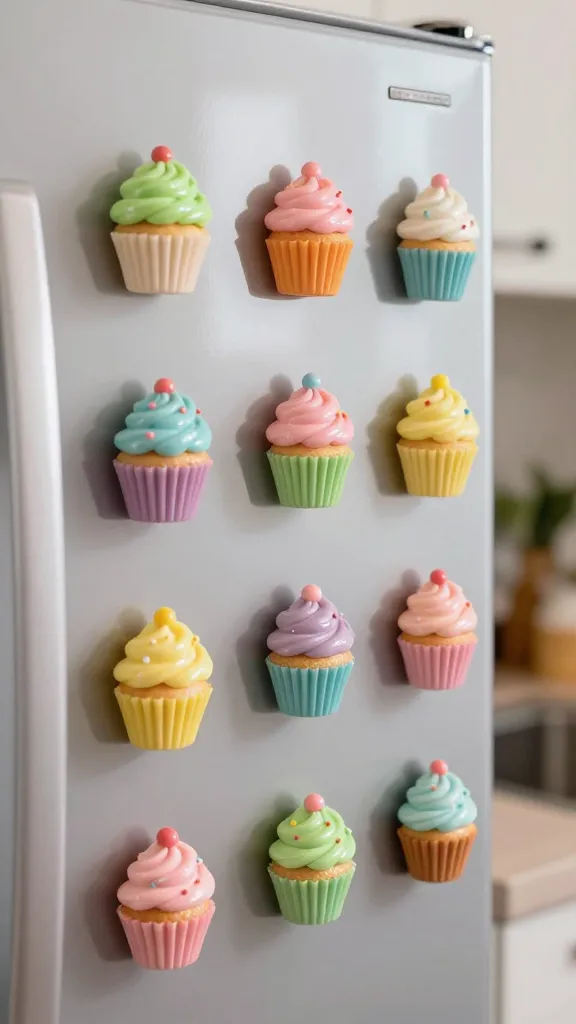
Sweet magnets shaped like tiny cupcakes to brighten any fridge or school locker.
Materials: polymer clay, magnet strips, oven, acrylic paint, sealant.
How to Make It: Bake small cupcakes from clay, paint details, attach magnets, seal. Let the kids press and admire their edible-looking art.
Pro Tips: Make in a set—pastels for spring, bright neons for back-to-school weeks.
Who it’s for: dessert lovers and magnet collectors with a sweet tooth.
17. Bubble Wrap Print Cards
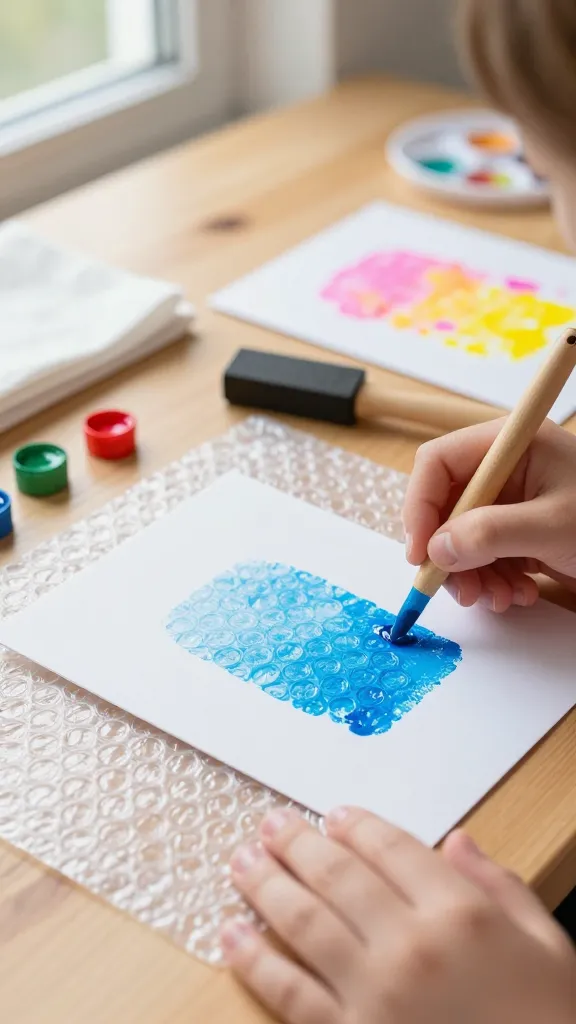
A crunchy texture meets heartfelt messages. It’s a tactile card-making adventure with instant wow.
Materials: blank cards, bubble wrap, acrylic paint, brayer or roller, paper towels.
How to Make It: Brush or roller paint on bubble wrap, press onto card for a textured print. Repeat with different colors for a mini gallery card.
Pro Tips: Use holiday stamps or doodles on top for extra flair. FYI, kids love the bouncy texture.
Who it’s for: card makers and texture enthusiasts who enjoy a snap of whimsy.
18. DIY Rainbow Salt Dough Ornaments
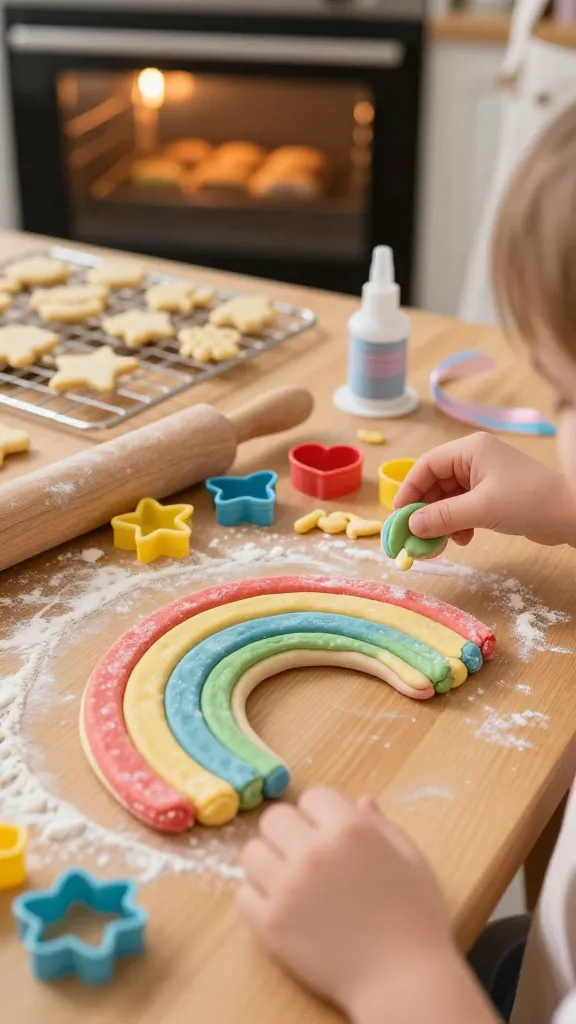
Soft, squishy, and perfect for a seasonal craft that stays good-looking year-round.
Materials: salt dough mix (or homemade), food coloring, rolling pin, cookie cutters, oven, ribbon for hanging, varnish or sealant.
How to Make It: Roll dough into color layers, cut shapes, bake until hard, paint or dust with color, seal. Add ribbon for hanging.
Pro Tips: Create a mini holiday light display effect by painting thin stripes of color on the ornaments. They make adorable decorations or gifts.
Who it’s for: color lovers and ornament enthusiasts who want a timeless keepsake.
19. Upcycled Book Page Wall Flowers
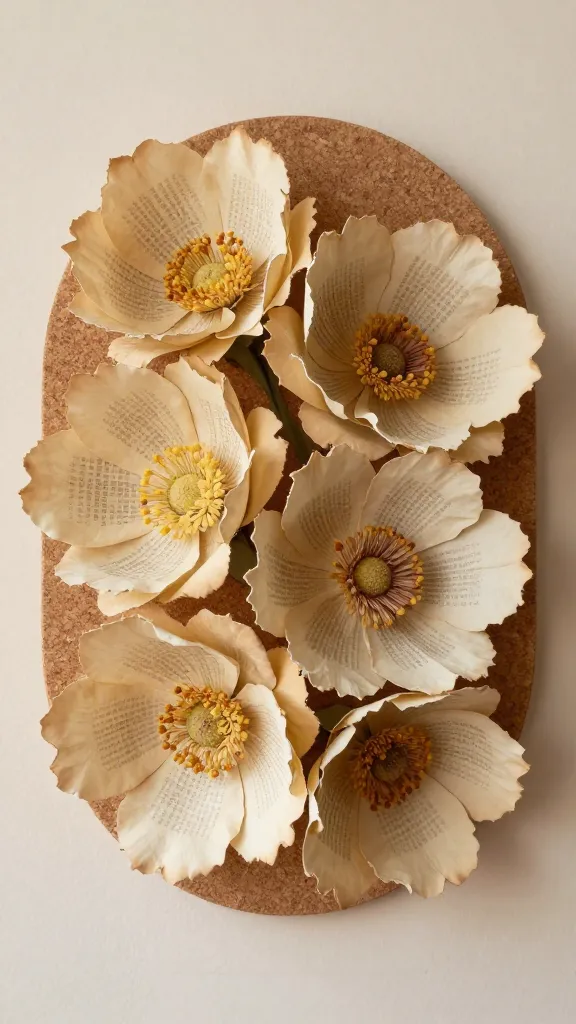
Delicate, literary petals that turn old pages into a springtime bloom for any wall.
Materials: old book pages, scissors, glue, circular corkboard or cardboard base, paint or markers for centers.
How to Make It: Cut circles in varying sizes from book pages, crumple to add texture, glue in a layered flower design. Add a painted center dot.
Pro Tips: Create a bouquet by clustering several flowers on a single board. It’s literary art with zero waste.
Who it’s for: bookworms who crave botanical charm without buying fresh flowers.
20. LEGO Brick Photo Frames
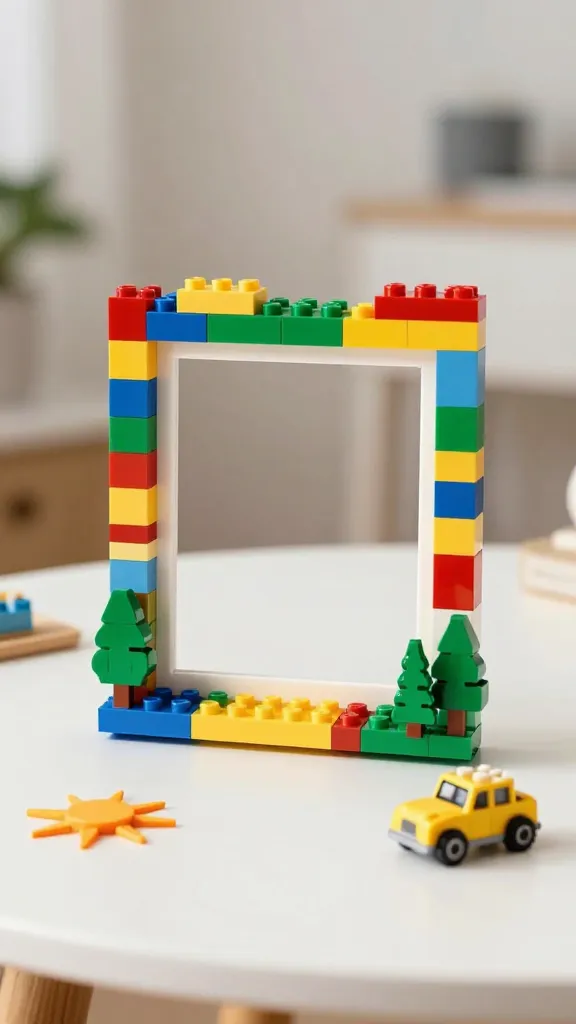
A playful way to frame memories using everyday bricks. It’s bold, nostalgic, and endlessly customizable.
Materials: small photo frames, LEGO bricks, strong glue, optional acrylic paint for brick colors.
How to Make It: Glue LEGO bricks around the frame edge in a fun pattern. Paint bricks if desired and insert a favorite photo.
Pro Tips: Build a mini scene around the frame—tiny trees, sun, or a vehicle. Seriously, it’s a tiny display that steals the show.
Who it’s for: LEGO lovers and display enthusiasts who want a chunky, quirky frame.
Conclusion
There you have it—20 completely unique, beginner-friendly craft ideas that are as fun to make as they are to share. So grab your supplies, pick a project, and start creating today. Trust me, you’ll finish with a pile of cute, usable art that sparks joy and pride.