How to Make Craft Ideas for School Science That Wow
If your craft ideas for school science feel stuck in a gluey puddle of boring, you’re not alone. We can fix that in a few creative, sciencey steps. Get ready for ideas that wow teachers and spark real curiosity.
Find a spark: where do craft ideas begin?
Crafts that teach science start with a real question. What do you actually want to learn about? Do you want to show how plants grow, how circuits work, or how ecosystems balance? Start with a tiny, doable question and build from there. FYI, big discoveries often start as small tinkering sessions that go “huh, I didn’t expect that.”
– Pick one concept you’re obsessed with for a week.
– Write down three questions you want answered.
– Choose one experiment that shows at least one answer visually.
Make it hands-on: from idea to doing
Science loves action. Your craft project should require you to manipulate materials, observe, and adapt. No spectator sport here.
- Choose a simple method: mix, build, or measure.
- Use safe materials you can find at home or in the classroom.
- Plan a quick checklist so you stay on track while glue dries and sensors wake up.
- Decide on a final product that also demonstrates a concept (like a model, poster, or interactive display).
- Test a mini-version first. If it behaves weird, that’s your data point, not a failure.
Three proven craft ideas to steal (in a good way)
Here are three starter concepts you can customize. Each one includes the science aspect and a craft twist.
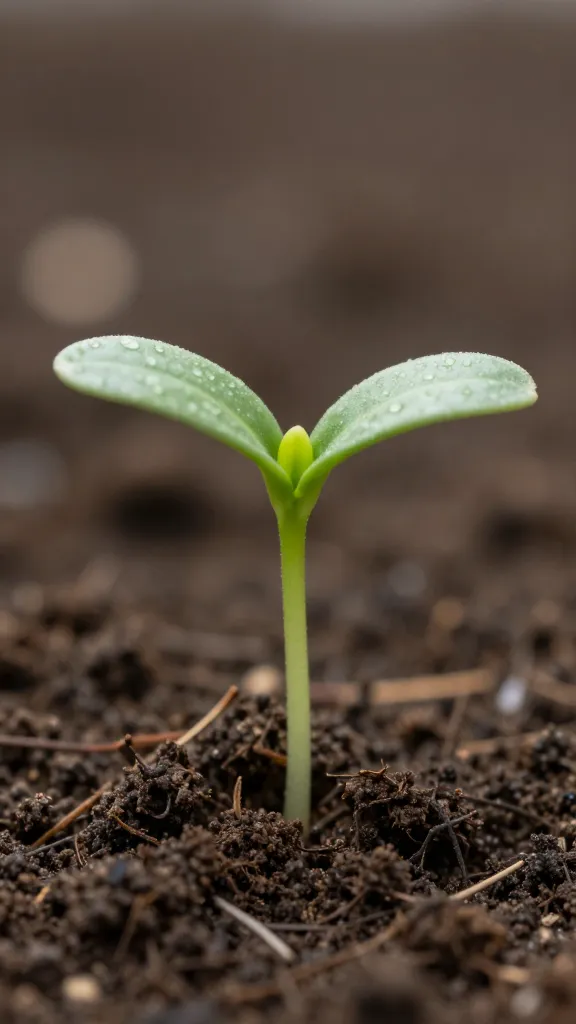
1. Grow-your-own lab: plant growth diorama
Turn a small planter into a mini ecosystem. Use seeds, soil, water, sunlight, and a tiny transparent box to track growth. You’ll show photosynthesis, transpiration, and how light affects growth.
– Materials: seeds, soil, ruler, small container, sunlight or lamp, marker, sheet of paper for a simple data log.
– What to document: germination time, height growth, leaf color changes.
– Twist: add a CO2 indicator using baking soda and vinegar to demonstrate gas exchange in a safe, visual way.
2. Circuit snack lab: edible electronics
Make a simple circuit using fruit or candy as a switch and LEDs as the light. It’s a delicious way to explain current, voltage, and closed circuits.
– Materials: coin cell battery, LED, wires, fruit slices or gummy bears, masking tape.
– What to document: which fruits conduct best, how brightness changes with different resistances.
– Twist: create a mini scoreboard showing circuit on/off with a “battery life” timer. FYI, kids love edible experiments that light up.
3. Weather graphic: make a mini anemometer
Build a wind speed sensor with simple materials and compare readings across days. It’s a tactile way to teach data collection and weather concepts.
– Materials: straws, push pin, cardboard, stopwatch, cups, marker.
– What to document: number of spins per minute at different wind levels.
– Twist: pair it with a data log poster showing wind speed trends and a radar-like weather map.
Subtle science: the art of the data log
If you don’t log data, did the experiment even happen? A good data log keeps your project honest and teachable. Keep it short, visual, and legible.
– Use a two-column table: time and observation.
– Add a simple rubric for success: what counts as “good” data?
– Include a quick reflection: what surprised you? what would you change next time?
Creating a clean data routine
– Do a quick baseline reading before you start.
– Take notes after every major step.
– Use color-coded stickers for different variables (temperature, light, growth).
Keep it teachable: clear explanations win points
Your craft project should teach more than it looks pretty. Write a short, plain-English explanation that even a new student can follow. Think “my project in three sentences.”
– Sentence 1: What is the project, in one line?
– Sentence 2: What scientific principle are you demonstrating?
– Sentence 3: What did you learn, and what would you future-try?
Tips for a compelling display
– Use bold key terms to draw attention to core ideas.
– Include a labeled diagram or simple schematic.
– Add a “What I would do differently next time” box to show critical thinking.
Safety and logistics: keeping it sane
Safety isn’t a buzzkill; it’s the backbone of any craft-science combo.
– Read labels, wear gloves if needed, and don’t mix chemicals without supervision.
– Test materials for skin sensitivity first.
– Have a cleanup plan: designate a “done with science” zone to avoid a glue avalanche.
Organization shortcuts
– Create a project folder with sections: concept, materials, steps, data, reflections, and display.
– Use a simple timeline: 1 day for planning, 2 days for building and testing, 1 day for display.
– Keep a spare set of basic tools: scissors, tape, ruler, and markers. It saves you from last-minute panic.
Presentation: selling your science with style
A project shines when you can explain it clearly to someone else. Practice a 2-minute spiel that covers the what, why, and how.
– Start with a hook: a surprising result or quick demo.
– Keep your language accessible; avoid jargon overload.
– Use a tiny demonstration during your talk to show, not just tell.
– End with a takeaway: why this matters and what you’d try next.
Conclusion
Craft ideas for school science don’t have to feel like homework with glitter on it. They’re a playground for curiosity, experimentation, and a little gutsy creativity. Start with a burning question, craft something tangible, log your findings, and practice sharing your story. You’ll walk away with not just a project, but a clearer grasp of the science behind it. IMO, the best part is you get to learn by making—and that’s way more fun than staring at a textbook page.
FAQ
How do I choose a good science craft topic?
Choose something you’re curious about and that can be demonstrated with a hands-on activity. Look for topics with clear, observable outcomes you can show in a display and explain in a short, kid-friendly explanation.
What if I don’t have fancy materials?
Great question. Start with everyday items—fruit, paper, popsicle sticks, tape, water. The key is to demonstrate a principle, not to buy the priciest gear. Get creative with substitutes and document your choices in the data log.
How long should a craft-based science project take?
Aim for about 1–2 weeks from concept to display if you’re juggling classes. If you’re crunched, plan a 3–5 day sprint: day 1 brainstorm, day 2 build, day 3 test, day 4 refine, day 5 present.
How do I make sure my project is understandable to others?
Use simple language, a clear one-page summary, and a quick demo. A mini poster with labeled diagrams helps viewers grasp the concept in seconds. Practice explaining it aloud a few times—your audience will thank you.
Can I incorporate feedback from peers?
Absolutely. Have a friend or family member review your display and explain the concept back to you. If they stumble, tweak the wording or add a quick schematic. Feedback is your friend, not your foe.