11 Mud and Nature Summer Crafts for Boy Moms: Busy-Day Fun
Ready to turn sunny days into messy, magical masterpieces? These 11 DIY ideas celebrate mud, nature, and kid-friendly creativity—perfect for busy boy moms who crave quick, satisfying projects. Trust me, they’re fun, doable, and totally Instagram-worthy.
1. Mud-Painted Eco-Friendly Tote Bag Masterpiece
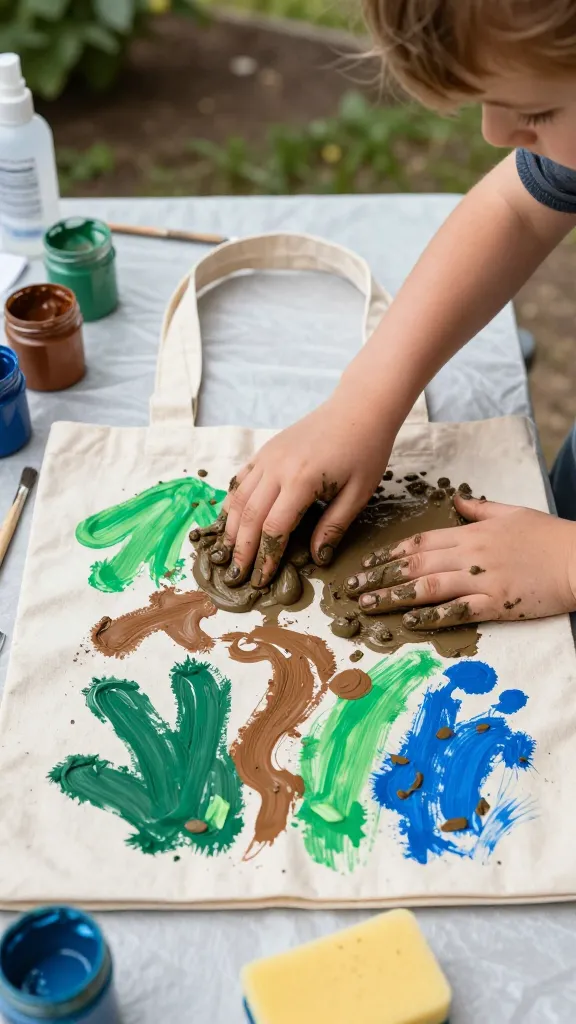
Picture your kiddo marching home from a muddy adventure, and you unroll a tote bag covered in bold, tactile prints you both created together. This tote isn’t just a bag—it’s a memory in motion, built from simple mud impressions and bright, washable paint.
Materials
- Plain canvas tote bag
- Natural earth-colored mud (dried and ground for texture)
- Acrylic fabric paints in greens, browns, and blues
- Paintbrushes and sponges
- Sealant spray (optional)
How to Make It
- Spread a sheet of paper or drop cloth and let your kid scoop up mud from the yard or a puddle. Mix with a little water for a brush-friendly consistency.
- Dip brushes or sponges into mud and carve leaf- or footprint-inspired patterns onto the bag. Layer colors for a woodland look.
- Go in with brighter acrylic paints to highlight shapes, then let it dry fully. Seal if you like extra durability.
Pro Tips / Styling Ideas
- Pair with olive greens and denim for a coordinated outdoor vibe.
- Use the back of the bag for a chalk-drawn schedule or favorite outdoor shorthand.
Who will love it?
Adventurers, campers, and anyone who wants a wearable memory of muddy mischief.
2. Nature-Crunchy Pinecone Bird Feeders
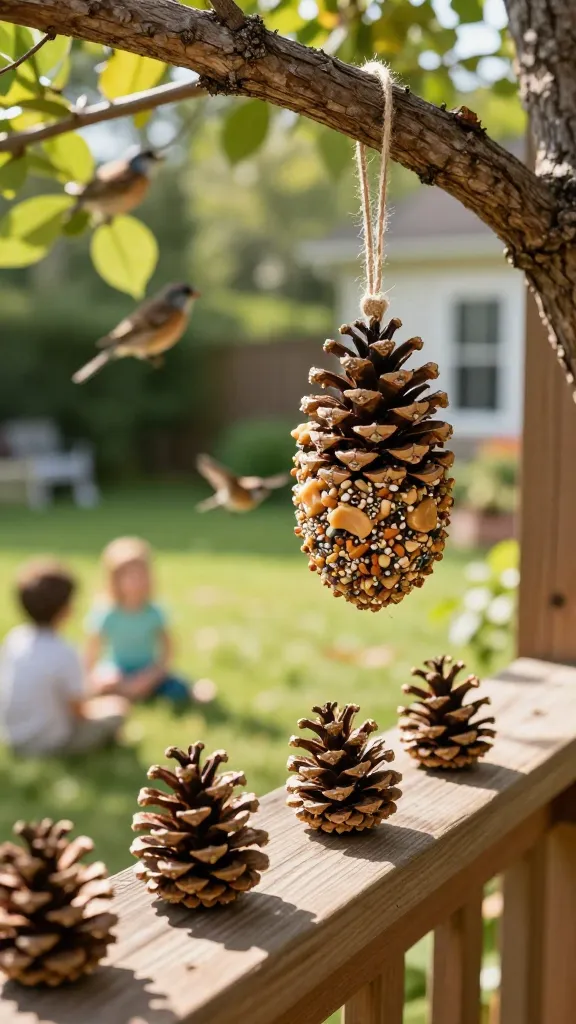
Hungry birds and curious kids collide in a crunchy, crafty feeder that smells like pine and summer mornings. It’s simple, sturdy, and endlessly adjustable to your yard’s wildlife party.
Materials
- Large pinecones
- Peanut butter or sunflower seed butter
- Birdseed
- String or twine
- Scissors
How to Make It
- Tie a loop of string around the top of each cone.
- Spread peanut butter all over the cone, then roll it in birdseed until well coated.
- Hang from a sturdy branch or railing near a window so you can watch the birds swoop in.
Pro Tips / Styling Ideas
- Dust with a pinch of cinnamon to entice birds and add a cozy scent for you.
- Create a mini feeder station by hanging several cones at different heights.
Who will love it?
Nature-loving kids and anyone who enjoys a front-row seat to backyard feathered visitors.
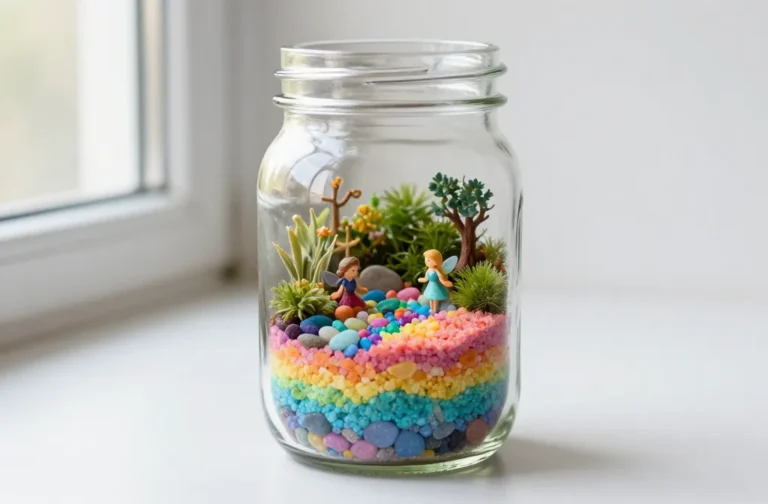
3. Mud-Slab Fairy Gardens in a Baked-Bean Can

Transform a clean, ordinary can into a miniature nature scene—complete with moss, tiny mushrooms, and a muddy river made from resin or clear resin-esque jelly. It’s a pocket-sized forest you can set on a windowsill.
Materials
- Empty, clean can (rinsed)
- Moss, small pebbles, and tiny faux mushrooms
- Air-dry clay or sculpting mud to shape tiny figures
- Mineral oil or resin for the “water” look
- Gloves for hands-on mess control
How to Make It
- Line the inside with a thin layer of soil or clay to hold moss and pebbles.
- Place moss patches, pebbles, and tiny mushrooms to create a mini landscape.
- Shape a small mud creature out of clay and place a “river” of resin or clear gel to mimic water.
Pro Tips / Styling Ideas
- Paint the outside of the can with earthy tones for a cohesive look.
- Add a tiny wooden fence or stone path for extra whimsy.
Who will love it?
Miniature lovers and sensory seekers who want a tactile, portable garden.
4. Mud-Print Wall Art Trio
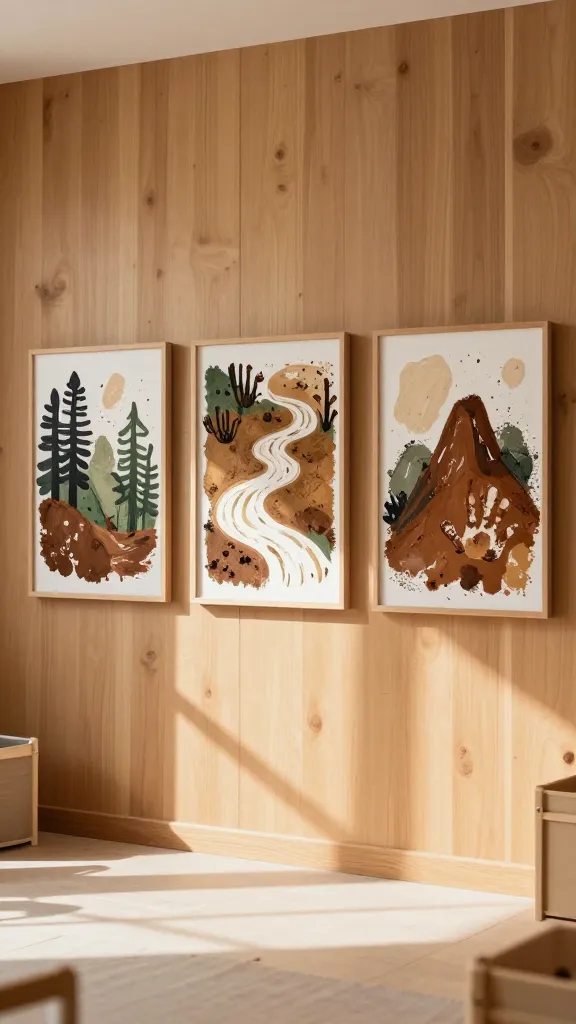
Three framed, nature-inspired prints created with muddy handprints. This is a playful, easy decor project that grows with your kid’s imagination and makes a bold statement in any playroom or mud-room.
Materials
- Three blank canvases or flat frames
- Mud (thick but workable)
- Acrylic paints for accents
- Palette or tray for muddy prints
How to Make It
- Have your kid press muddy hands onto each canvas in a different composition (left-to-right forest, river, mountain).
- Once dry, add accent lines or splashes with paint to frame the prints.
- Seal with a clear matte spray if you want longevity.
Pro Tips / Styling Ideas
- Use natural color palettes: forest greens, tan, and slate blue.
- Hang as a trio at kid-eye level for a fun, immersive gallery wall.
Who will love it?
Young painters and anyone who wants a personal, nature-inspired art display.
5. Mud-Candle Holders: Forest Floor Glow

Turn a humble jar into a glow-soaked forest scene that doubles as a candle holder. Mud textures, tiny stones, and antler-like sticks bring a cozy, rustic ambiance to any table.
Materials
- Jars or small glass containers
- Brown and green wax paints or soil-like texture paints
- Small pebbles, twigs, moss, and dried leaves
- Tealight candles or LED tea lights
How to Make It
- Paint the inside of the jar with layered mud-like textures to mimic a forest floor.
- Glue pebbles and moss around the bottom edge, and tuck a twig for a miniature tree silhouette.
- Place a candle inside and enjoy the soft, nature-inspired glow.
Pro Tips / Styling Ideas
- Group a set of three jars of varying heights for a dramatic centerpiece.
- Switch in citrus-scented LEDs for a fresh woodland vibe.
Who will love it?
Anyone who loves cozy lighting with a touch of earthy charm.
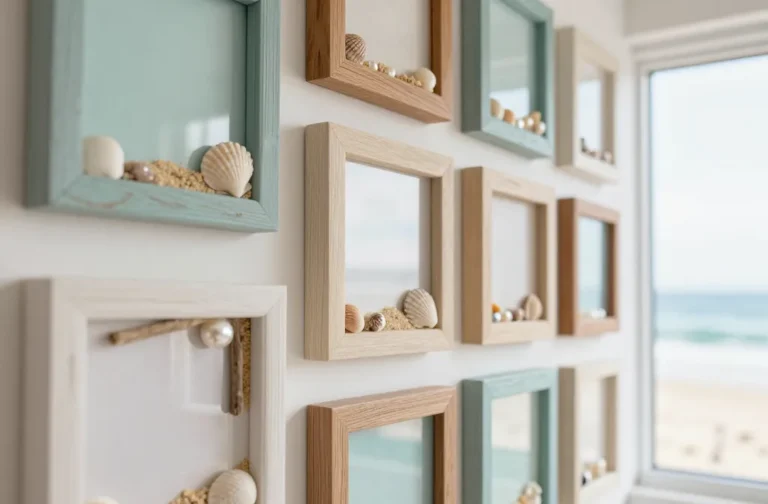
6. Beach Sand Mud Sculpture Stacks
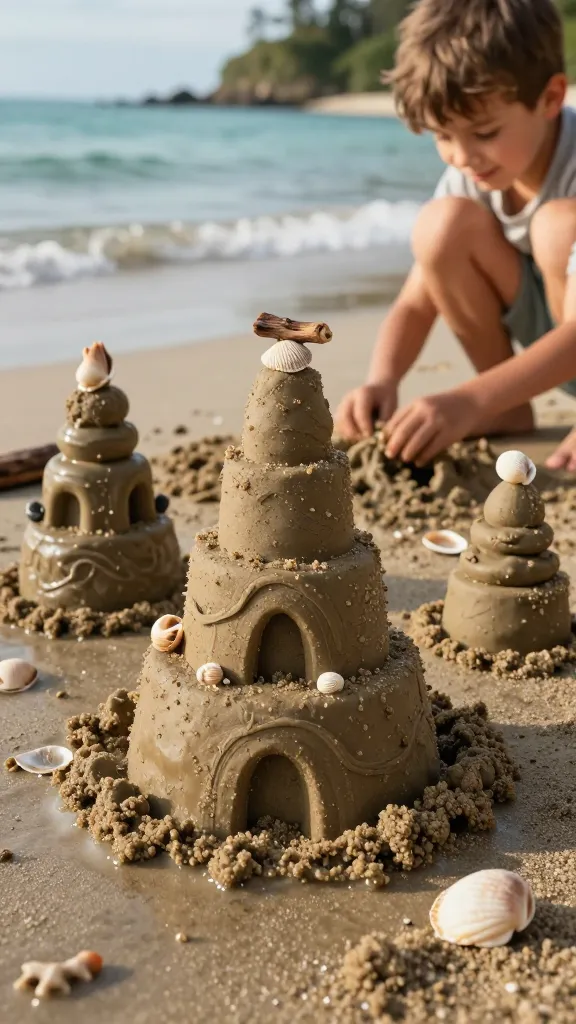
A seaside-meets-forest hybrid: layered sculpture stacks built from damp sand, clay, and a dash of mud. They’re tactile, sculptural, and endlessly repeatable with a new seaside color palette each time.
Materials
- Fine sand or beach sand
- Natural clay or air-dry clay
- Mud for color accents
- Seashells or small driftwood pieces
How to Make It
- Create a base with damp sand mixed with a bit of mud for color depth.
- Stack and carve with hands or simple tools to form towers and arches.
- Embed shells or driftwood to finish each sculpture with a coastal forest vibe.
Pro Tips / Styling Ideas
- Display on a tray with a light beachy scent for a sensory display.
- Invite kids to create a “passage” of stacked sculptures across a sidewalk or patio.
Who will love it?
Creative builders who enjoy texture and scale in a natural setting.
7. Muddy Footprint Place Cards for Outdoor Dinners

Make mealtime memories with footprint-stamped place cards. Each kid signs their prints with a date and a tiny doodle, turning a simple dinner into a nature-inspired event.
Materials
- Cardstock or craft paper
- Mud mixed with a little water
- Permanent markers or fine-tip paint pens
- Twine or mini clothespins for display
How to Make It
- Dip a finger or tiny foot in mud and press onto the card in a decorative pattern.
- Allow it to dry, then add the name and a small doodle around the print.
- Display on the table with a natural twine garland or mini clothespin stand.
Pro Tips / Styling Ideas
- Use biodegradable markers for an eco-friendly option.
- Pair with a nature-themed menu card to complete the vibe.
Who will love it?
Families who want a playful, personal touch at meals or outdoor picnics.
8. Mud-Pit Bath Time Bath Bombs in Upcycled Jars
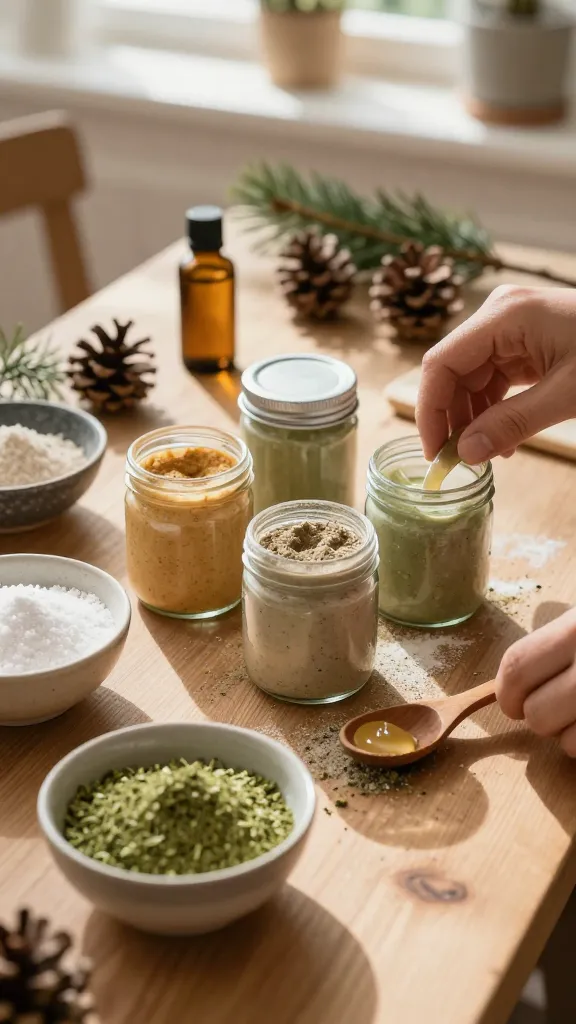
Yes, you can bottle the scent of the forest. Create mud-inspired bath bombs that fizz in the tub and release a gentle, earthy aroma—plus upcycled jars to store them in.
Materials
- Almond or coconut oil, baking soda, citric acid
- Ground green tea or cocoa powder for color and scent
- Essential oils (pine, cedarwood) optional
- Small airtight jars
How to Make It
- Mix dry ingredients, then add oil and scent until the mixture holds together when pressed.
- Press into molds and dry until solid. Package in jars with a nature tag.
Pro Tips / Styling Ideas
- Label jars with cute animal footprints or leaf icons.
- Add a little cinnamon for a warm, cozy scent profile.
Who will love it?
Bath lovers who crave a nature-inspired, spa-like experience at home.
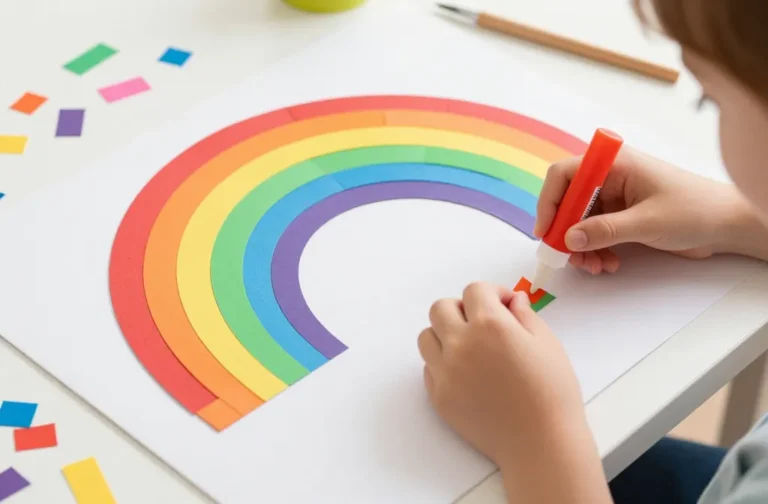
9. Rainy Day Leaf Rable: Lamination Art Cards
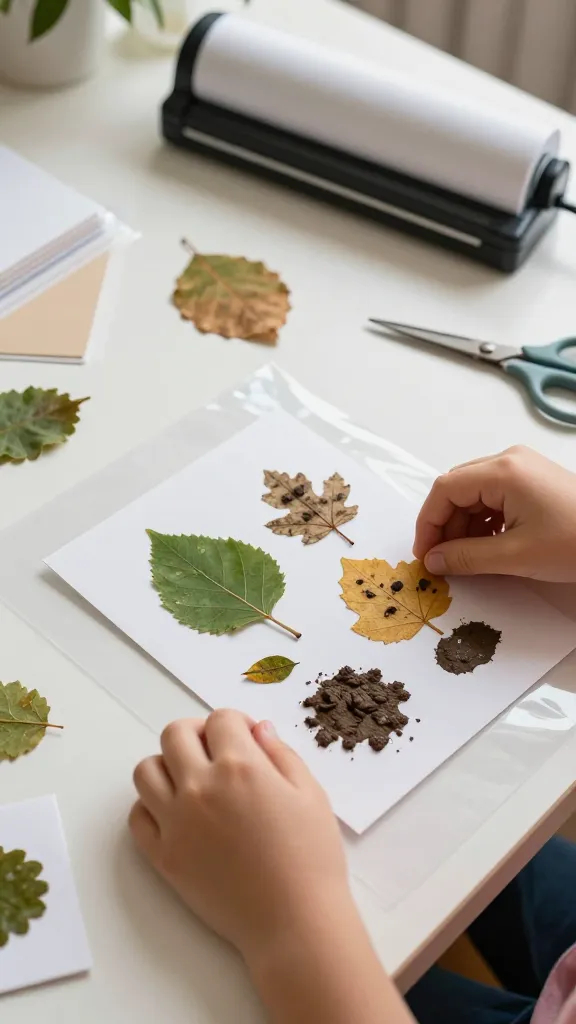
Transform fallen leaves and muddy textures into glossy, laminated art cards you can send or keep as keepsakes. It’s a quick, satisfying craft that captures the season’s color.
Materials
- Pressed leaves or mud-pressed shapes
- Cardstock cards
- Clear laminating sheets or self-seal laminating pouches
- Scissors
How to Make It
- Arrange leaves or mud impressions on the card and press with a light pouch of laminating film.
- Run through a laminator or seal with clear contact paper for a glossy finish.
Pro Tips / Styling Ideas
- Create a seasonal set with red, orange, and gold leaves for autumn vibes.
- Add a handwritten note on the back for a personalized touch.
Who will love it?
Gift-givers and mail-loving families who want a nature-forward stationery set.
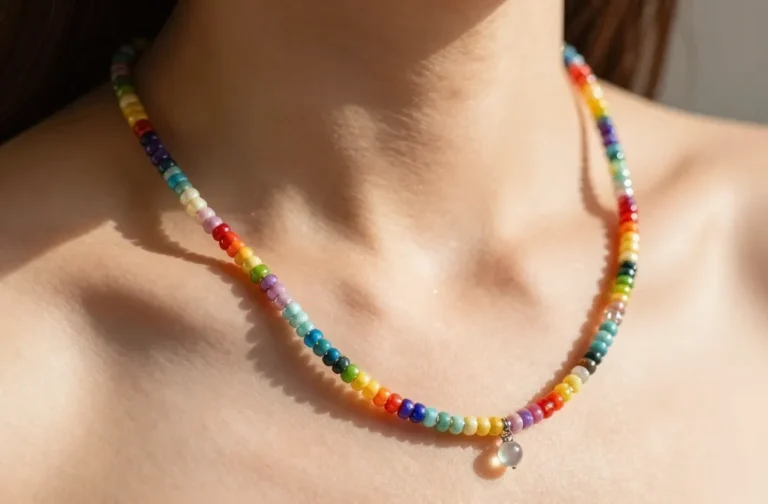
10. Mud Mixer Wind Chimes
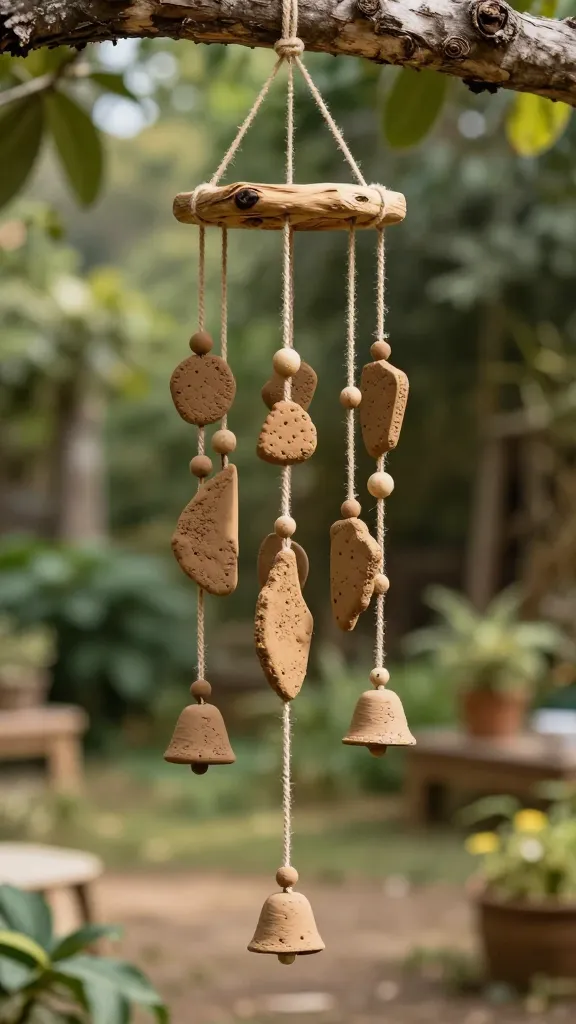
Combine muddy textures, natural beads, and gentle bells to craft wind chimes that sing with every breeze. It’s outdoorsy, musical, and totally collectible for a porch or tree.
Materials
- Twine or thin rope
- Small clay beads or wooden beads
- Hooks or driftwood piece as topper
- Mud paste or painted clay shapes
- Optional tiny bells or chimes
How to Make It
- Thread beads onto several lengths of twine, attaching mud-textured shapes between beads to create rhythm.
- Attach strings to a top ring or driftwood and hang where it catches a breeze.
Pro Tips / Styling Ideas
- Paint beads with earthy tones to unify the palette.
- Hang near a doorway for a welcoming, nature-filled entrance.
Who will love it?
Musically inclined kids and anyone who loves outdoor decor that moves with the wind.
11. Mossy Mud Micro-Garden Jars
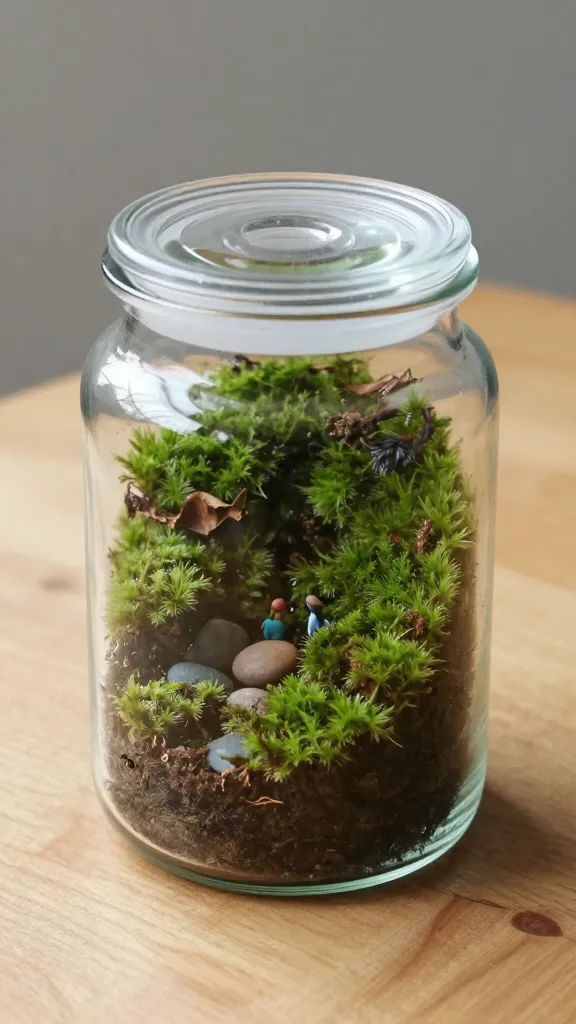
Tiny jars transformed into micro-gardens with moss, a dab of mud for texture, and miniature figurines peeking out from the greenery. It’s calm, charming, and desk-friendly greenspace.
Materials
- Small glass jars with lids
- Moss, small stones, and decorative figurines
- Mud paste or soil
- Hot glue or strong adhesive
How to Make It
- Line the bottom with a thin layer of soil or mud paste.
- Stack moss, small stones, and a figurine to create a mini scene inside the jar.
- Seal with lid for a sealed terrarium look or leave open for air flow.
Pro Tips / Styling Ideas
- Display in a row on a shelf for a nature-themed mini-garden gallery.
- Rotate the figurines seasonally for fresh scenes.
Who will love it?
Little nature curators and anyone who loves miniature worlds and green vibes.
Conclusion
These 11 Mud and Nature Summer Crafts for Boy Moms prove that mud, moss, and imagination mix into kid-friendly, Pinterest-worthy projects. So grab a few simple supplies, step outside, and start creating with your little builder. You’ll love the mess, your spaces will glow with natural charm, and the memories will be priceless. Now go make something magical—trust me, you’ll be glad you did.