6 Creative Kids Craft Ideas for 5-Year-Olds
If you’re hunting for quick, goofy, and glow-up-worthy crafts your 5-year-old will actually beg to do, you’ve hit gold. These six ideas are playful, totally doable, and sized to fit small hands and big imaginations. Trust me, you’ll love watching their creativity light up the room.
1. Puffy Cloud Felt Board Story Creations
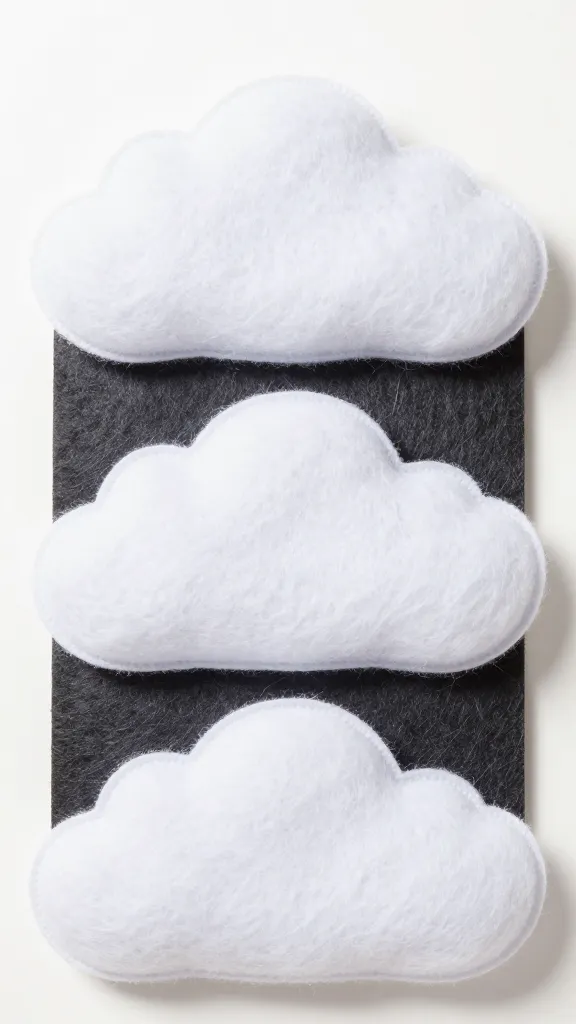
Imagine a soft, cuddly felt board that doubles as a mini stage for stories. Your kid can press, peel, and rearrange clouds, trees, and sun characters until a new tale unfolds. It’s calming, tactile, and endlessly reusable.
Materials Needed
- Colorful felt sheets (cloud white, sky blue, sun yellow, grass green, and accents)
- Felt scraps for tiny characters
- Fabric glue or craft glue
- Scissors
- Ribbon or velcro dots (optional for magnetic play surfaces)
How to Make It
- Cut a large blue rectangle as the sky and a green strip for ground on a sturdy base or felt board.
- Shape fluffy white cloud pieces and a bright sun, plus little trees and animals from scraps.
- Glue pieces onto the board in a way that invites story swapping—no permanent placement rules here!
- Optionally add velcro dots to the back of pieces for easy repositioning.
Pro Tips / Styling Ideas
- Choose bold, high-contrast colors to catch little eyes.
- Encourage storytelling prompts: “What happens when the sun meets the cloud?”
- Mount on a small easel or lay flat on a coffee table for quick storytelling sessions.
Who would love it: Creative explorers and tiny storytellers who adore gentle, mess-free playtime.
2. Colorful Handprint Animal Parade
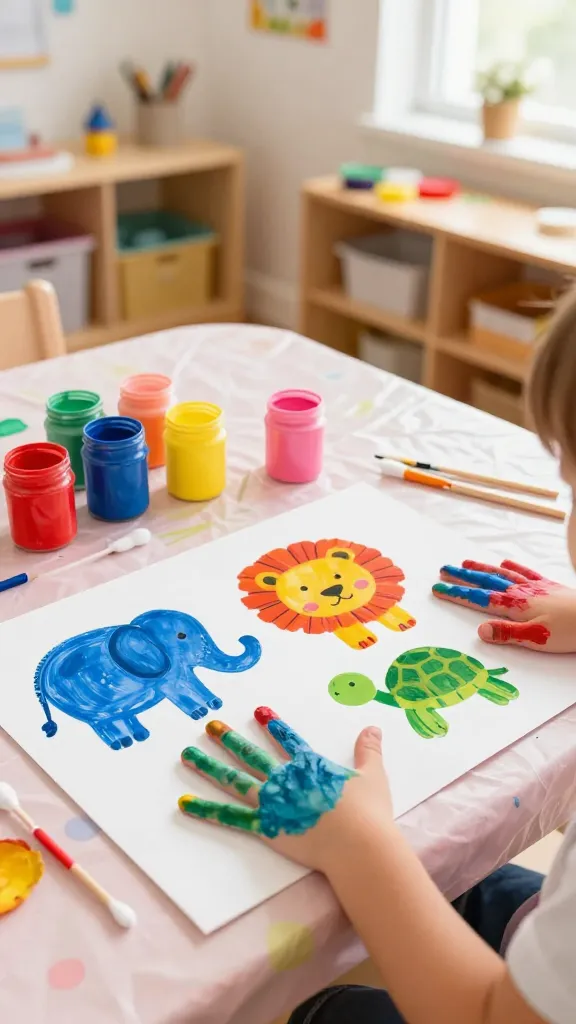
A sweet keepsake and a riot of color, this handprint animal parade turns your child’s prints into a quirky little zoo. It’s fast, fun, and totally priceless as a preschool keepsake or gift for a grandparent.
Materials Needed
- Washable acrylic paints in multiple colors
- Thick white or pastel cardstock
- Fine-tip markers
- Cotton swabs for tiny details
How to Make It
- Paint one hand with a color and press onto the paper to form an animal silhouette. Repeat with different colors for each limb/animal.
- Let each handprint dry, then add facial features and tiny details with markers.
- Arrange the creatures in a playful parade line and write a silly caption beneath.
Pro Tips / Styling Ideas
- Create a mini alphabet or number row alongside the parade for a quick learning moment.
- Use metallic markers for sparkle accents on the animals’ eyes or stripes.
- Frame the finished piece or turn it into a custom greeting card.
Who would love it: Little artists who adore color chaos and animal friends with big personalities.
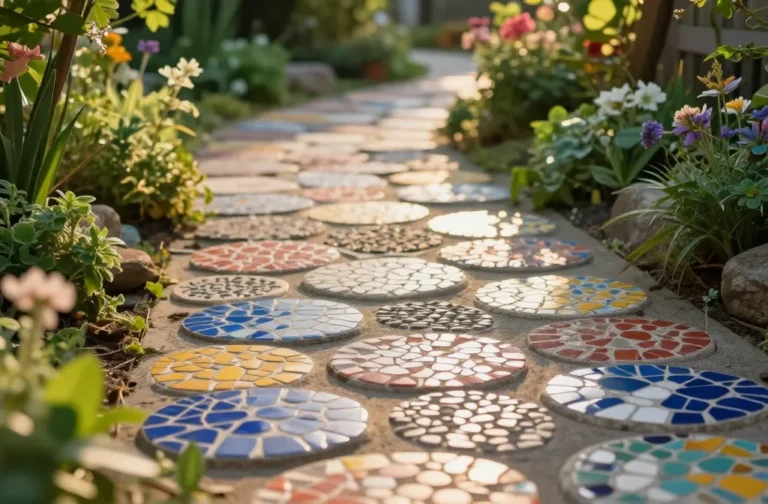
3. DIY Mosaic Mirror Tiles
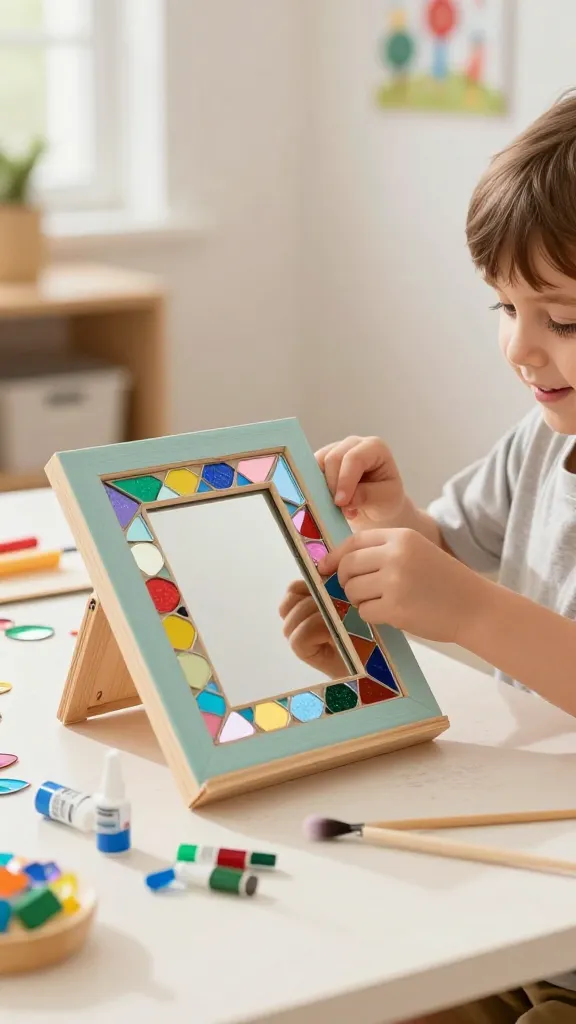
Shiny, playful, and wonderfully tactile, this mini mosaic mirror project lets kids arrange colorful tiles into a cute frame. It’s a glitter-free way to explore texture and design while creating a functional piece of art.
Materials Needed
- Small adhesive mirror tiles or reflective sticker tiles
- Cardboard or wooden picture frame (small size)
- Non-toxic glue (or double-sided tape)
- Paints and brushes for frame decoration
- Clear sealant spray (optional, adult use)
How to Make It
- Decorate the frame with paint to match a theme (ocean, jungle, rainbow, etc.).
- Arrange mosaic mirror tiles on the inner area of the frame in a simple pattern or freeform design.
- Glue tiles in place and let dry before placing a small mirror behind the frame.
Pro Tips / Styling Ideas
- Keep tiles in a color family for a cohesive look, or mix all the colors for maximum pop.
- Use the finished mosaic as a vanity mirror for dress-up moments or a desk accent.
Who would love it: Little designers who adore glimmer and a dash of sparkle without overwhelming shine.
4. Nature Collage Gallery Bottles
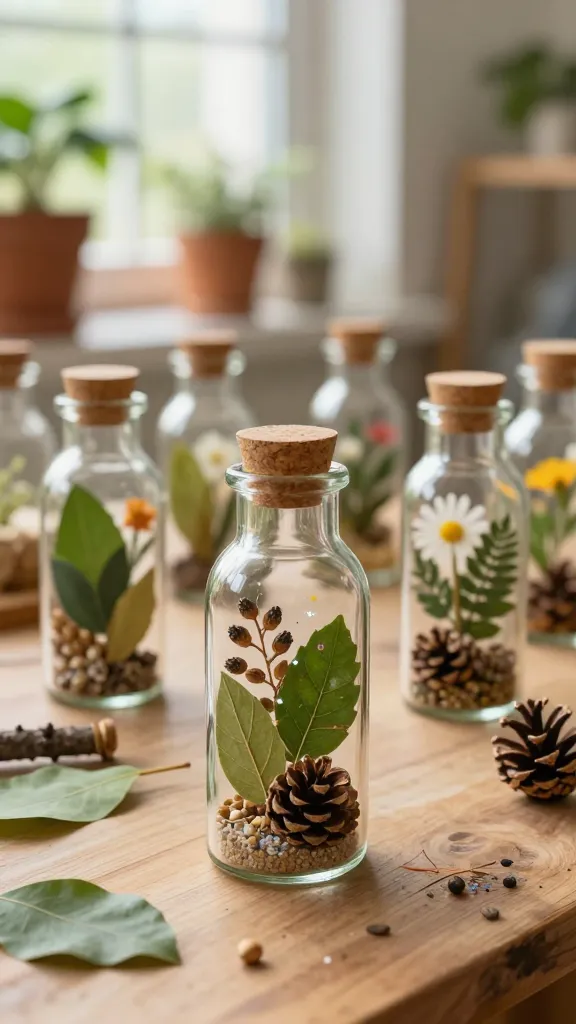
Turn tiny nature finds into whimsical mini artworks. Collect leaves, petals, twigs, and seeds, then seal them into clear bottles for a touchable, portable art piece. It’s nature play that looks as good as a keepsake.
Materials Needed
- Small glass or plastic bottles with lids
- Natural finds: leaves, petals, tiny pinecones, seeds
- Clear glue or glue dots
- Colored sand or sequins (optional)
- Hot glue gun (adult use) or strong craft glue
How to Make It
- Layer natural elements inside the bottle, adding a splash of colored sand or shimmer if desired.
- Seal the lid with a dab of glue for extra security.
- Label with a tiny handmade tag for a personal touch.
Pro Tips / Styling Ideas
- Keep items to scale so the bottle looks balanced and not crowded.
- Pair bottles in a tabletop arrangement or line them up on a window sill for sunlit sparkle.
Who would love it: Explorers who love outdoor treasures and a calm, collectible craft.
5. Yarn-Wrapped Animal Buddies
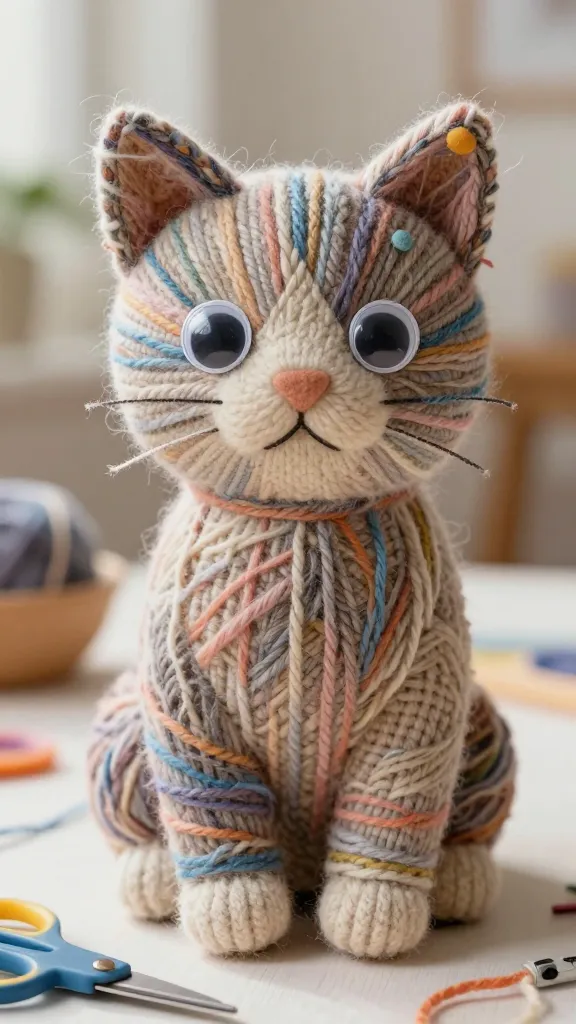
Softer-than-soft yarn wraps around everyday shapes to create plush, tactile creatures that are perfect for cozy corners or bedtime storytelling. It’s a hug-without-a-habric craft that kids adore.
Materials Needed
- Cardboard animal shapes (cat, rabbit, bee, etc.)
- Colorful yarn (varied textures if possible)
- Non-toxic glue
- Googly eyes, small felt pieces for noses and ears
How to Make It
- Glue the cardboard shape and start wrapping yarn from one end, covering entirely.
- Fill gaps with more yarn and secure the end with a dab of glue.
- Add facial features with felt pieces and googly eyes for character.
Pro Tips / Styling Ideas
- Use a consistent wrapping direction for a neat look, or go wild with a spiral pattern.
- Mount on a small wood block for a standing buddy or hang as a wall charm.
Who would love it: Crafters who crave softness, texture, and a touch of whimsy in their decor.
6. Sun-Kissed Salt-Dough Trinket Bowls
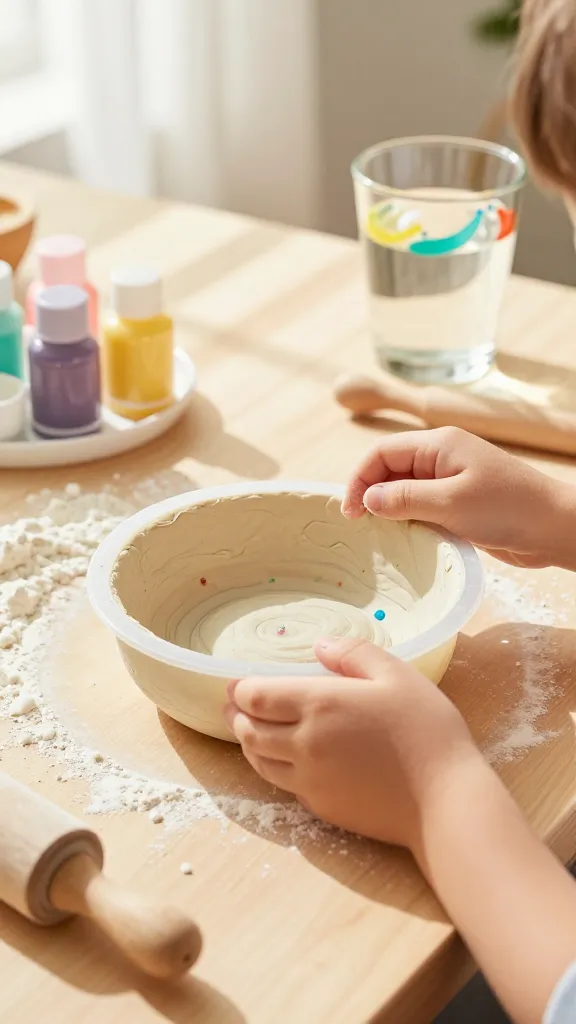
Bright, practical, and totally kid-friendly, these little bowls made from salt-dough become tiny treasure caddies for rings, pins, or keepsakes. They bake up sturdy and have a handmade charm you’ll want to show off.
Materials Needed
- 1 cup flour, 1/2 cup salt, 1/2 cup water (salt-dough starter)
- Food coloring or acrylic paints
- Small oven-safe bowls or silicone molds
- Clear sealant (non-toxic)
How to Make It
- Mix flour, salt, and water into a pliable dough. Add color if you like.
- Press dough into the mold, shaping a shallow bowl. Drape over a bowl to create a curved edge.
- Bake at a low temperature until hard, then paint and seal for a glossy finish.
Pro Tips / Styling Ideas
- Create a set in a matching color family for a cohesive shelf display.
- Use as a jewelry tray by a bedside lamp to catch tiny treasures.
Who would love it: Tiny organizers and kids who love sculpting with doughy goodness and bright colors.
Conclusion
Ready to dive in? Each of these six ideas is designed to be approachable, mess-friendly, and utterly delightful for young crafters. Pick one to start tonight, or you know what—go on, try all six and turn your living space into a kid-crafted gallery you’ll proudly pin and share. Have fun, take plenty of photos, and watch the imagination magic unfold.