8 Easy Craft Ideas for 2-Year-Olds
Welcome to a playful playground of toddler-tested crafts that are as easy as they are adorable. If you’re chasing activities that are simple, messy-free-ish, and seriously budget-friendly, you’ve found your crew. Trust me, these ideas spark giggles, tiny triumphs, and tons of proud show-and-tell moments.
Grab a snack, gather a few supplies, and let’s dive into eight completely unique crafts that your 2-year-old will actually finish—and you’ll love the photos you’ll snap along the way.
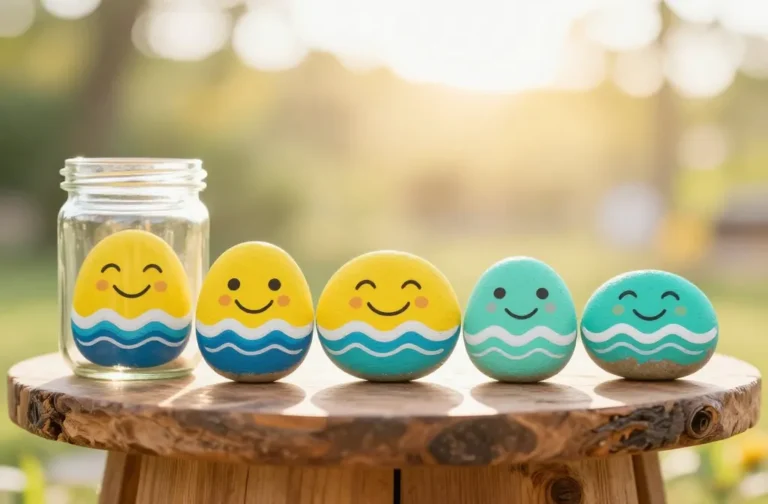
1. Sensory Watercolor Garden Pages
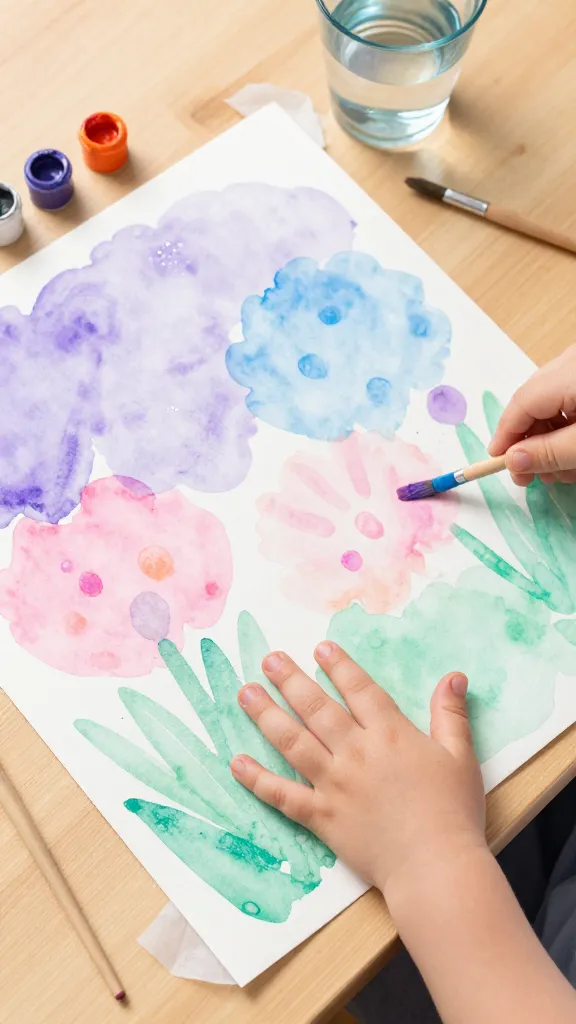
Imagine a page that blooms with color as tiny fingers swish brush and water. These sensory watercolor garden pages turn whisked color into a soft, dreamy scene your toddler can feel and see. It’s a tiny artist’s block party on a single sheet.
Materials Needed
- Thick construction paper or cardstock
- Liquid watercolor paints or washable markers
- Water cups
- Paintbrushes with thick handles
- Optional: baby-safe glitter or tissue paper for texture
How to Make It
- Stretch out a single sheet and invite your toddler to dab color in blobs. Then add water to turn it into soft, swirling washes.
- Let them blow gently with a straw to move the paint, creating airy petals and swirls—no right or wrong, just pretty.
- Add texture by pressing tissue scraps or sprinkling a pinch of glitter while the paint is still damp.
Pro Tips / Styling Ideas
- Drop one bold color in the corner and watch the rest of the page dance with it.
- Glue on paper leaves or tissue petals once dry to create a tiny garden collage.
End Note: This one’s perfect for a quiet, cozy afternoon. Your toddler will love the feel of the paint, and you’ll love the soft, dreamy result. It’s a mini art show you can frame or tuck into a scrapbook.
2. Cardboard Creature Creatures: Friendly Monsters
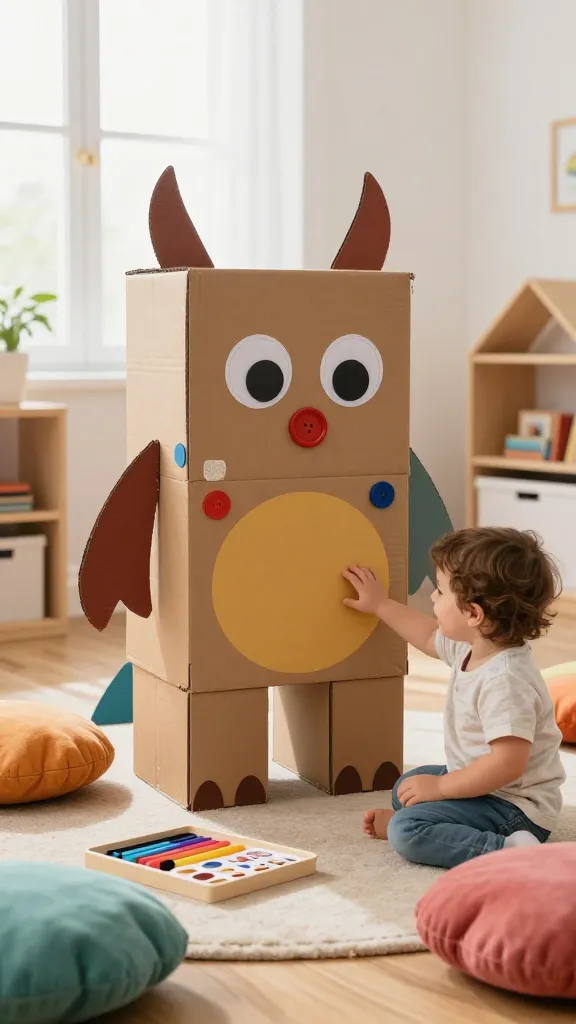
Turn a stash of cardboard into your toddler’s favorite friendly monsters. Think big, silly eyes, goofy noses, and soft, chunky textures your little one can pat. It’s a solo pretend-play superstar and a cute gift idea for a favorite neighbor’s little one.
Materials Needed
- Cardboard shapes (boxes, cereal board cut into large circles or ovals)
- Non-toxic markers, paint, or stickers
- Googly eyes or buttons
- Velcro dots for interactive parts (optional)
- Colored yarn or fabric scraps for hair
How to Make It
- Cut simple monster shapes with a big smile, then let your toddler press color onto the cardboard with their hands or a brush.
- Glue on eyes and a goofy mouth. Add yarn hair or fabric scraps for texture and personality.
- If you have Velcro, create detachable limbs or playful accessories for extra giggles.
Pro Tips / Styling Ideas
- Make a tiny “monster family” wall hanging—each child can decorate a different creature.
- Attach magnets to the back for a fridge-mounted gallery of goofy faces.
End Note: If your child loves pretend play, this craft doubles as a set of cuddly friends and a décor piece for a playroom. It’s goofy, sweet, and totally toddler-approved.
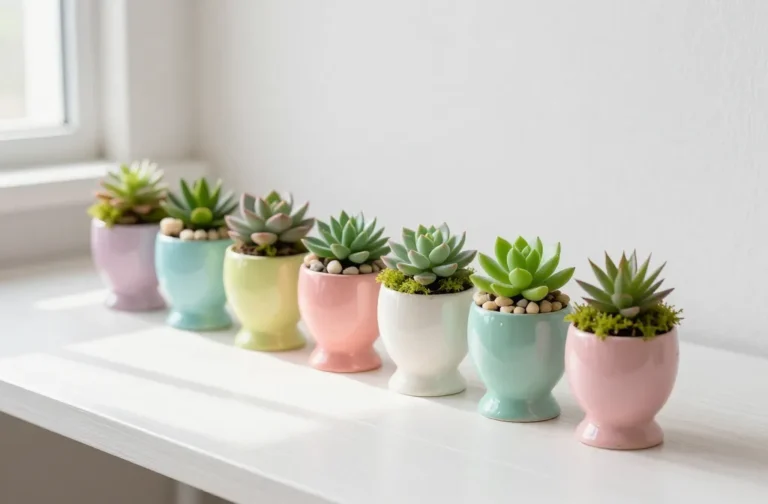
3. Seed Tape Sticker Creations
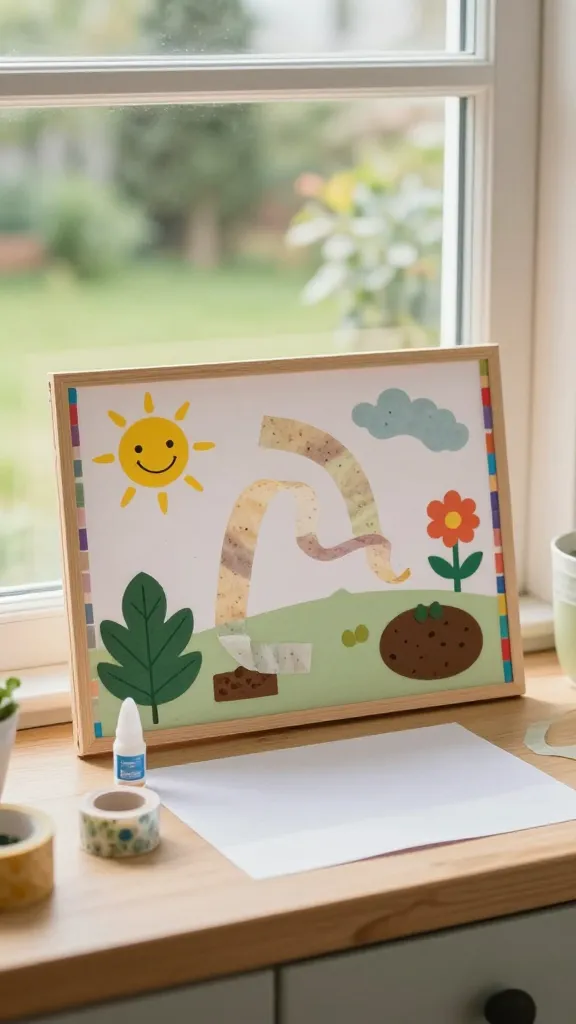
Turn seed tapes and simple plant stickers into a mini garden scene that grows over time. This is a gentle intro to nature, color, and responsibility—plus it looks absolutely charming on a kitchen window or bedroom wall.
Materials Needed
- Printable seed tape strips or biodegradable tape
- Leaf, flower, and sun stickers
- Washi tape for borders
- Low-tack glue stick
- Construction paper as a backdrop
How to Make It
- Peel and place seed tape strips across the backdrop in simple shapes—circle the sun, arc a rainbow, or make a garden bed.
- Decorate with stickers and color blocks that mimic a blooming scene.
- Seal with a touch of glue to keep pieces in place while your tiny gardener waters the real seeds later.
Pro Tips / Styling Ideas
- Frame the finished piece or display on a wide window sill to catch sunlight.
- Seasonal twist: use pumpkin stickers in autumn or snowflake stickers in winter for a living art board you rotate.
End Note: It’s a sweet, peaceful craft that nudges little ones toward nature and color recognition. A little seed of creativity grows into a garden of memories.
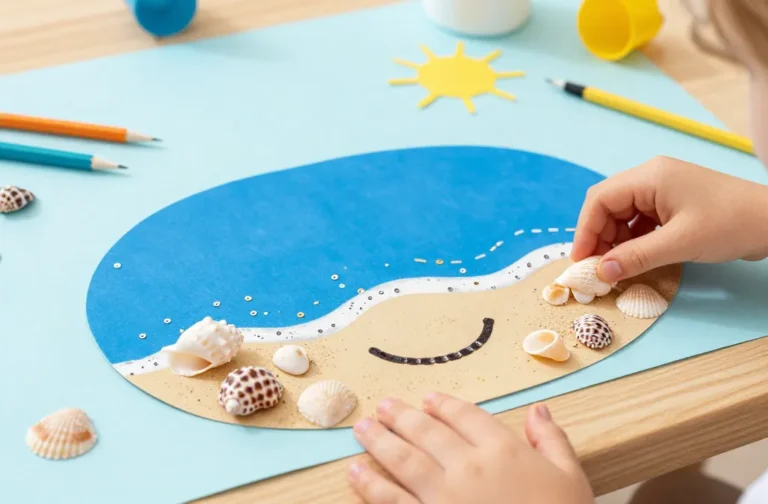
4. Finger-Paint Treasure Maps
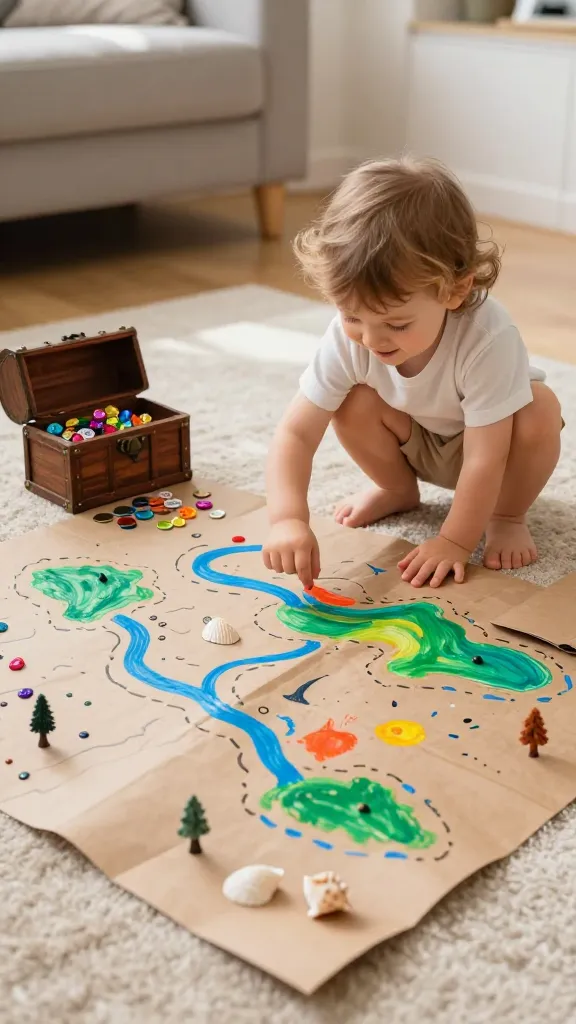
Turn your living room into a treasure island with finger-painted maps. It’s a playful exploration exercise that ends with a pretend quest and a treasure stash of sticker gems you can stash in a treasure chest (aka a small box).
Materials Needed
- Plain large sheet of paper or a cardboard map cutout
- Non-toxic finger paints
- Stickers, coins, and small toy gems
- Optional: brown kraft paper to fold into a faux map cover
How to Make It
- Let your toddler paint pathways, lakes, and mountains using finger swirls and dab-dab technique.
- Once dry, decorate with treasure stickers and a bold “X marks the spot.”
- Roll the map and tie with a ribbon for a treasure-hunt-ready aesthetic.
Pro Tips / Styling Ideas
- Use a secret cue word you both know to begin the treasure hunt later—bonus parent-child interaction.
- Laminate or seal with packing tape to extend life for another treasure map session.
End Note: It’s messy in the best way—bright, silly, and utterly engaging. Your little explorer will adore the quest, and you’ll savor frames that capture those tiny explorer poses.
5. Felt Food Picnic Party

Felted flavors and soft textures create a pretend picnic that doubles as a quiet time activity. The best part? It’s lightweight, easy to clean, and endlessly reusable for imaginative playtime.
Materials Needed
- Assorted colorful felt sheets
- Non-toxic glue or glue gun (low heat with supervision)
- Safety scissors for grown-ups; no-cut edges for toddlers
- Embroidery floss for detailing
- Optional: mini picnic basket or cloth napkin as a serve tray
How to Make It
- Cut simple shapes: apple slices, sandwich rounds, pretend cups, and cookie shapes.
- Glue pieces to a small felt board or onto a cloth mat to form a picnic spread.
- Add tiny stitches or fabric paint accents to give texture to items like seeds on a bun or seeds in a pepper slice.
Pro Tips / Styling Ideas
- Create a rotating recipe “menu” board for different pretend meals.
- Store pieces in a soft pouch for easy clean-up and travel-friendly play.
End Note: This is the kind of craft that grows with your child. From finger-pilling to more precise cutting, you’ll see both a toolkit and a tiny culinary world come together—deliciously adorable.
6. Tape-Resist Shape Collage
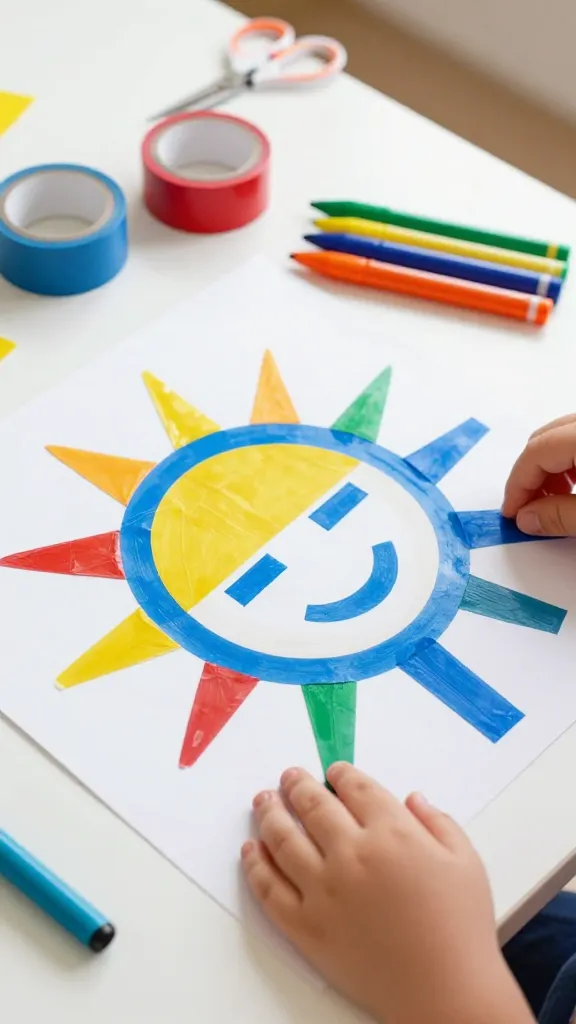
A bold, high-contrast collage that wows with symmetry and color. The tape-resist technique offers crisp lines and a satisfyingly tidy finish that still feels playful in a toddler’s hands.
Materials Needed
- Colored painter’s tape or washi tape
- Construction paper or cardstock
- Non-toxic markers or crayons
- Scissors for grown-ups or safety scissors for kids
How to Make It
- Create bold geometric shapes with tape on the paper, forming a friendly face, sun, or abstract pattern.
- Fill the exposed areas with color using markers or crayons, then gently peel away the tape to reveal crisp lines.
Pro Tips / Styling Ideas
- Make a family of geometric creatures by repeating shapes and colors.
- Frame the finished piece for a bright, modern art addition to a child’s room.
End Note: Instant gratification with a chic outcome. It’s the visual pop you’ll want to show off on your kitchen wall or a shared gallery board.
7. Marbleized Paper Boats
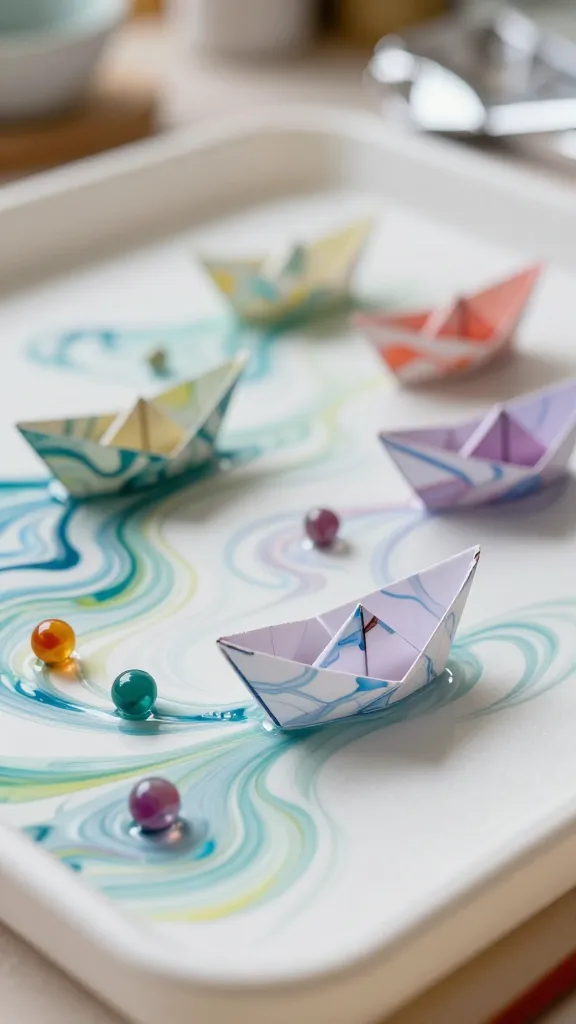
Whimsical, tiny boats sailing across a page—this craft is all about motion, color, and a tiny splash of science. The marble technique creates swirled patterns that look like watercolor storms in a teacup.
Materials Needed
- Milk-painted or plain white paper sheets
- Aluminum foil and marbles
- Watercolors or watered-down acrylics
- Shallow tray for painting
How to Make It
- Dip marbles in different colors and roll them across the paper to create marbled trails.
- Let dry, then turn the paper into little boat shapes by folding the corners and gluing edges lightly for a boat-like silhouette.
Pro Tips / Styling Ideas
- Fold and glue a small sail from a triangle of paper for added nautical charm.
- Display on a shelf with a pretend lake scene drawn beneath to complete the voyage.
End Note: A gentle introduction to color-mixing and pattern-building. Your child will enjoy the gentle, almost-meditative process as boats begin to float across a painted sea.
8. Popcorn Box Parade Friends
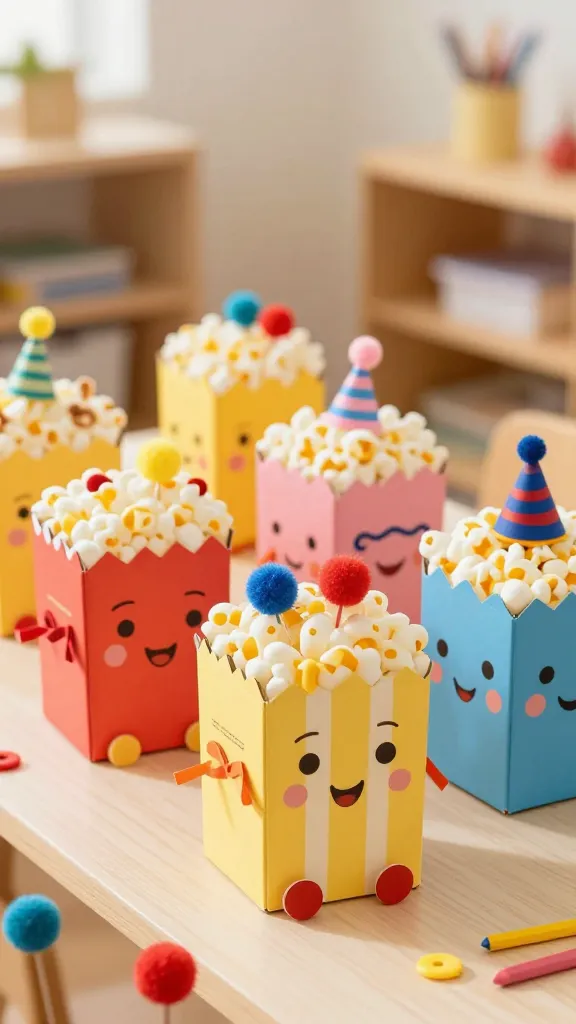
Transform simple popcorn boxes into parade-ready parade buddies. It’s bright, light, and unbelievably easy—perfect for a quick craft that still feels special and shareable with guests.
Materials Needed
- Cardboard popcorn boxes (or sturdy paper cups)
- Colorful paint or markers
- Pom-poms, ribbons, buttons, and scrap fabric for embellishments
- Double-sided tape or glue
How to Make It
- Decorate each box with a face and colorful accents. Add a simple felt or fabric “hat” or hair.
- Fill the interior with lightweight goodies or treat-free trinkets for a playful reveal.
Pro Tips / Styling Ideas
- Create a mini parade line on a table or windowsill—great for birthdays or just a fun Sunday activity.
- Use as party favors or a simple, festive children’s table centerpiece.
End Note: The popcorn box parade is a celebration in a box—quirky, cheerful, and delightfully simple to assemble. It’s exactly the kind of playful craft you’ll want to revisit for future celebrations.
Conclusion
These eight crafts prove that fun, engaging, and toddler-approved activities can be easy to pull off with a splash of creativity. Each project offers its own tiny moment of joy, photo-worthy results, and a chance for your little one to explore textures, colors, and imagination. Pick one (or try all eight) and watch the creativity unfold—your future DIY Pinterest board will thank you.