7 Shadow Craft For Kids
7 Shadow Craft For Kids
Introduction
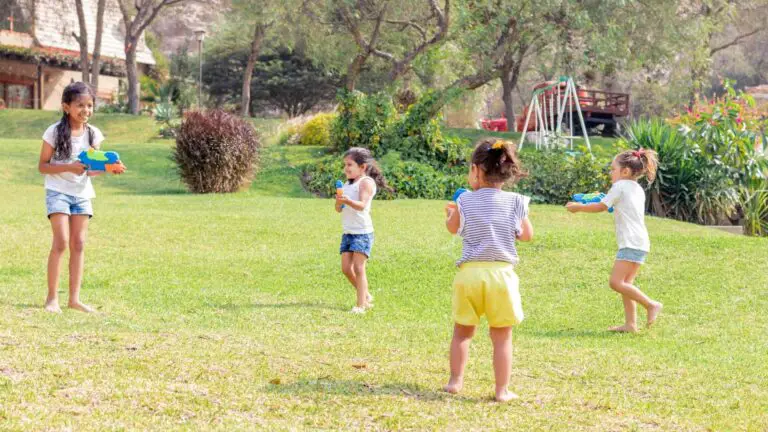
With spring in full swing, it’s time to get outdoors and enjoy the sunshine with your kids. If you’re looking for some fun activities that will keep them entertained, try these shadow crafts for kids:
Shadow Finger Puppets
Shadow Puppets with Your Fingers
You can make a shadow puppet of almost anything! Just follow these steps:
- Choose an object to be the character in your shadow play. It should be something that won’t move too much when you are moving it around, like a fish or a hat.
- Hold your hand over the light source so that your fingers cast shadows on the wall and floor behind you (or wherever else you want to hang out).
- Move your hand around as though it were an animal or someone else’s body part, like an arm or leg, and watch as the shadow follows along!
Shadow Painting
- Find a sunny day and grab the following supplies:
- Cardboard (for the ground)
- Stick or broom (to draw with)
- Paintbrush (to paint with)
- Large piece of paper (to paint on)
- Lay out your cardboard, stick or broom, brush and paper in an area that’s free from wind so you can create great shadows.
- Mix up some red and blue paints in a large bowl and add water until it forms thick paint. Then add more water until it becomes thinner. Now you’re ready to start painting!
Cloud Watching
- Find a sunny day. You’ll need to look for shadows on a clear blue sky, so make sure the weather is in your favor!
- Look for areas with good views of the sky—if you can see more than one cloud at a time, it’s better than having just one in sight.
- Look for shapes in the clouds—are there any that resemble animals or people? If so, what kinds of animals or people do they resemble? How closely do they match up with their real-life counterparts?
Shadow Matching Game
- Shine a flashlight on the sheet of paper or the white wall.
- Make sure that your child can see the wall or sheet of paper clearly, and then put a piece of paper with a grid pattern in front of him.
- Help your child turn off all other lights so that it’s just his shadow and the flashlight shining on the wall/sheet of paper.
- Now turn on both at once and ask your child to find where each portion matches up with her body part (for example, she’ll want to place her left hand in an X when she sees that part of her shadow). If there’s no match, don’t worry! Just move onto another part until there are no more parts left that haven’t been matched yet.
Shadow Letter Hunt
In this game, you need a small flashlight that can be held in your hand and a large piece of white paper. The flashlight must be strong enough to cast a shadow on the wall.
First, turn off all the lights in your room and shine the beam from the flashlight onto one side of a large piece of white paper. Then hold it up against the wall so that everyone can see what’s happening in it: “Hey! There’s my shadow!”
Now turn off your flashlight again and direct its beam at another section of white paper; this time let each player draw their own silhouette on their respective sheets with crayons or markers (or anything else they’d like). You should also ask them what color they want their shadows to be—red or blue? Or maybe green…and so on!
Once everyone has finished creating an outline for themselves and choosing colors for them too—you’ll need plenty here since each player will have two different figures displayed together—you’re ready to start playing!
Treasure Hunt
- Get a large sheet of paper and a flashlight.
- Draw your treasure map on the paper and then put your treasure in a box or bag that can be hidden under pillows, blankets and other things around the house.
- Use the flashlight to create shadows on the paper, showing where you have hidden your treasure (the children will have to find it by following the shadow).
Shadow Portraits
Materials:
- printer paper
- construction paper or poster board
- tape, glue and scissors (to make the stand)
Step One: Make Your Shadow Portrait Stand. Use the paper cutter to cut two pieces of construction paper or poster board that are each six inches by five inches. You can also use one piece and fold it in half (that’s what I did). Next, fold a piece of tape over each end of your rectangle so that they’re secure and won’t come apart when you’re working with this project later on! Now cut out your image from the magazine or book and tape it securely onto one side of your stand so that there is room for another picture in front of it. The smaller portrait should be facing away from you when you hang it up afterwards; otherwise, everything will be reversed when viewed back-to-front through your camera lens!
Conclusion
The best part about these ideas is that you can use them to create your own Shadow Craft For Kids. Make sure the background is dark and then make a template with an outline of your hand or foot. Then try to fill in the gaps with different colors and patterns so that it looks like a shadow of a different shape! You could even take this even further by making a whole group of shadows on different surfaces like paper or cardboard so that when you look at them from different angles they all appear as something else (hopefully not just another pair of han