9 First Craft Ideas Birthday Keepsake: Kid-Friendly Keepsakes
Ready to turn a birthday into a memory-filled DIY moment? These nine totally unique ideas are beginner-friendly, totally printable-worthy, and absolutely giftable. Trust me, you’ll love how each one feels personal, playful, and surprisingly easy to pull off.
Let’s dive in and pick a favorite project to make this birthday season unforgettable.
1. Confetti Shadow Box: A Year of Sweet Moments
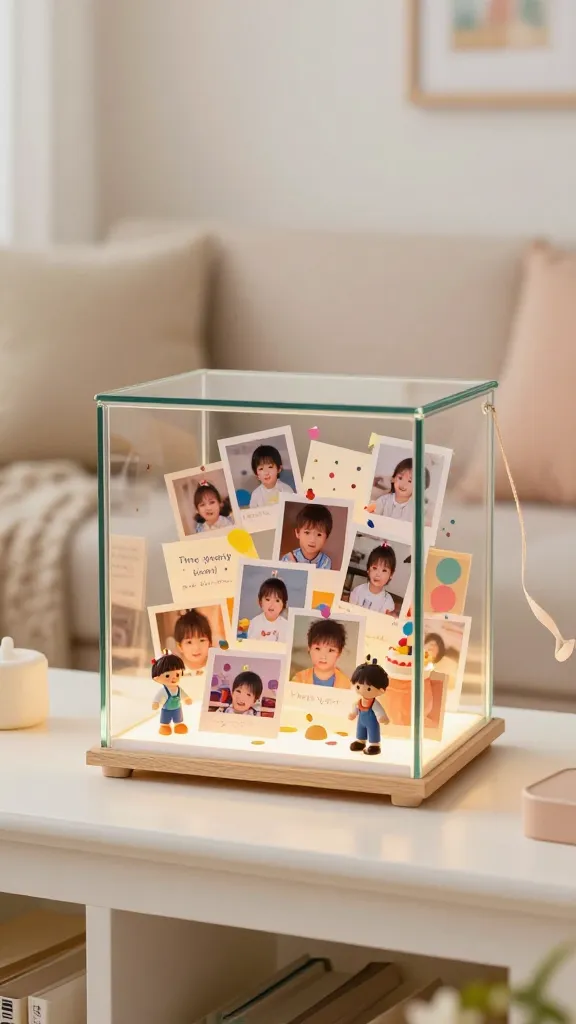
Imagine a glass box that captures a whole year of birthday vibes—the colors, the ticket stubs, the tiny doodles. The finished piece glows on a shelf and tells a story you can open and revisit anytime. It’s quirky, sentimental, and genuinely gorgeous.
Materials Needed
- Shadow box frame
- Colored confetti, tiny photos, and handwritten notes
- Double-sided tape or glue dots
- Ribbon or twine for hanging (optional)
How to Make It
- Lay out a handful of photos and notes inside the shadow box to plan the arrangement.
- Layer photos with confetti, using glue dots to keep things in place.
- Close the box and display with pride—or gift it as a time-capsule keepsake.
Pro Tips / Styling Ideas
- Use a color scheme that matches the birthday person’s vibe.
- Add a tiny date tag (e.g., “Year One: 2025”).
- Swap in new items each birthday to create a yearly tradition.
Who would love this? Anyone who cherishes nostalgic keepsakes and loves a little sparkle in their decor.
2. Pressed-Flower Calendar Keepsake

Bring spring into a personal calendar that ages like fine wine. This keepsake calendar uses pressed flowers from seasonal moments—birthdays, picnics, or a home garden—embedded in clear resin or laminated for a sleek, modern look. It’s practical, pretty, and utterly unique.
Materials Needed
- Small calendar pages or a printable yearly calendar
- Pressed flowers or dried botanicals
- Plexiglass or resin sheet
- Double-sided tape or clear glue
How to Make It
- Arrange pressed flowers on the calendar pages where birthdays appear.
- Seal with a clear layer of resin or laminate for a durable, glass-like finish.
- Hang on a wall or place on a desk as a gentle daily reminder.
Pro Tips / Styling Ideas
- Coordinate flower choices with birth months for a personal touch.
- Leave a small space for future additions each year.
- Add gold foil lettering for a luxe vibe.
Who would love this? Nature lovers and anyone who loves a soft, timeless aesthetic on their wall or desk.
3. Hand-Stamped Recipe Box of Birthday Favorites
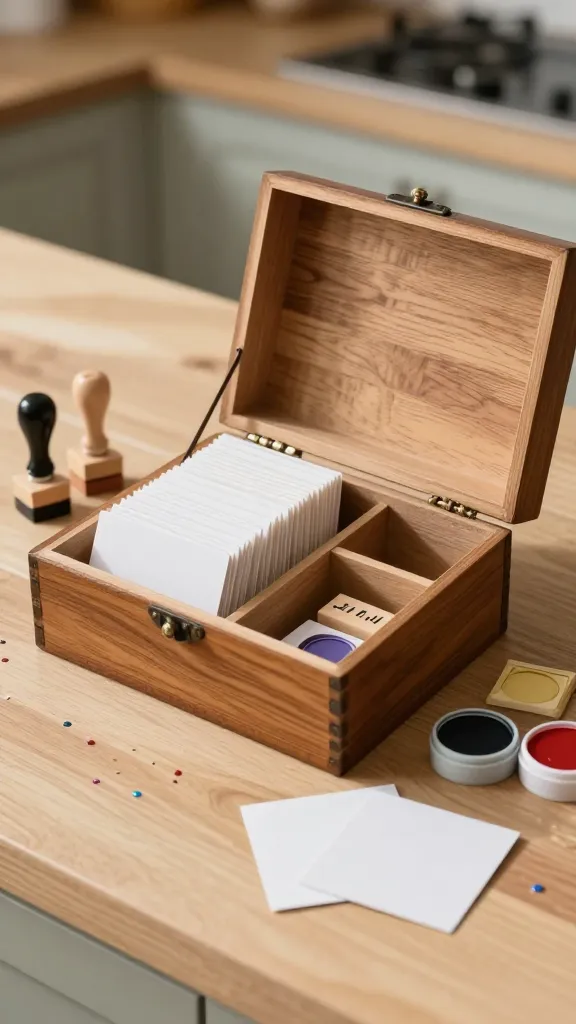
Turn favorite birthday treats into a tactile, reusable keepsake. A hand-stamped recipe box holds mini cards with beloved family recipes and little birthday notes. It’s practical, heartfelt, and endlessly usable—perfect for passing down through generations.
Materials Needed
- Wooden recipe box with lid
- Alphabet stamps and ink pads
- Mini recipe cards (or cut cardstock)
- Birthday-themed confetti or stickers (optional)
How to Make It
- Stamp each card with the name of a favorite recipe and a short birthday memory.
- Slip the cards into the box, optionally labeling sections (Birthday Cakes, Treats, Beverages).
- Decorate the lid with a simple “Birthday Keepsakes” stamp or a custom message.
Pro Tips / Styling Ideas
- Include a few blank cards for new memories.
- Finish with a natural wax or seal for a durable look.
- Gift it with a tiny wooden spoon or whisk for a cute touch.
Who would love this? Foodies, bakers, and anyone who believes the best memories come with a delicious scent of celebration.
4. DIY Birthday Banner Photo Garland
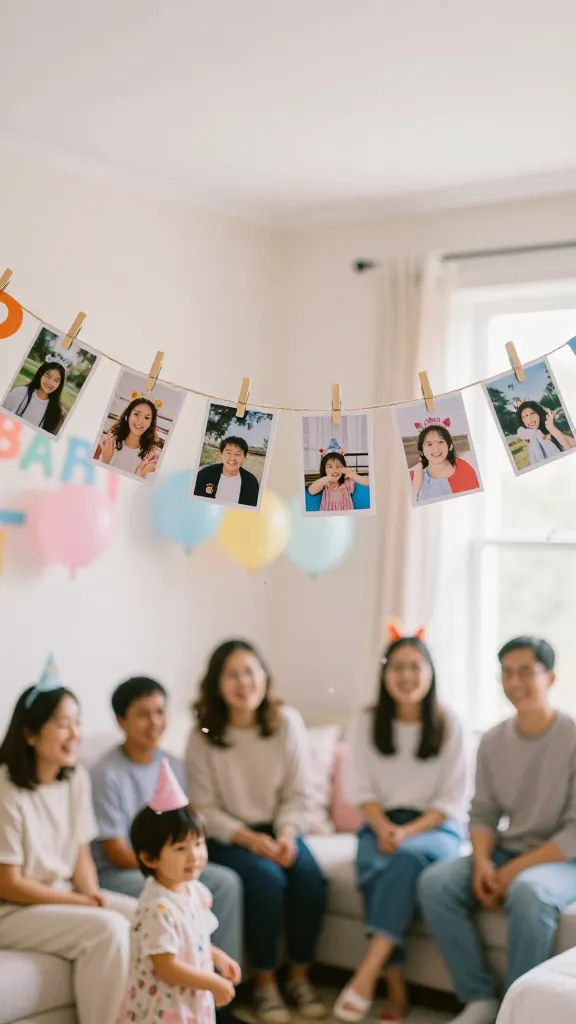
Celebrate a milestone by stringing together mini photo cards and bold birthday letters. This photo garland captures a timeline of smiles, outfits, and missed candles—ideal for a photo-worthy party backdrop or a bedroom wall.
Materials Needed
- Twine or ribbon
- Mini clothespins
- Photo prints (4×4 or 3×4)
- Alphabet letter cutouts or stamps
How to Make It
- Arrange photos in a pleasing order along the twine.
- Attach with clothespins and add a birthday banner between sections.
- Finish with a few confetti accents or tassels for party vibes.
Pro Tips / Styling Ideas
- Mix black-and-white with color for a chic contrast.
- Replace photos yearly to create a living timeline.
- Hang in a cozy reading nook or near the cake table.
Who would love this? Social-media lovers who adore candid moments and a strong visual timeline.
5. Personalized Wooden Growth Chart Birthday Edition
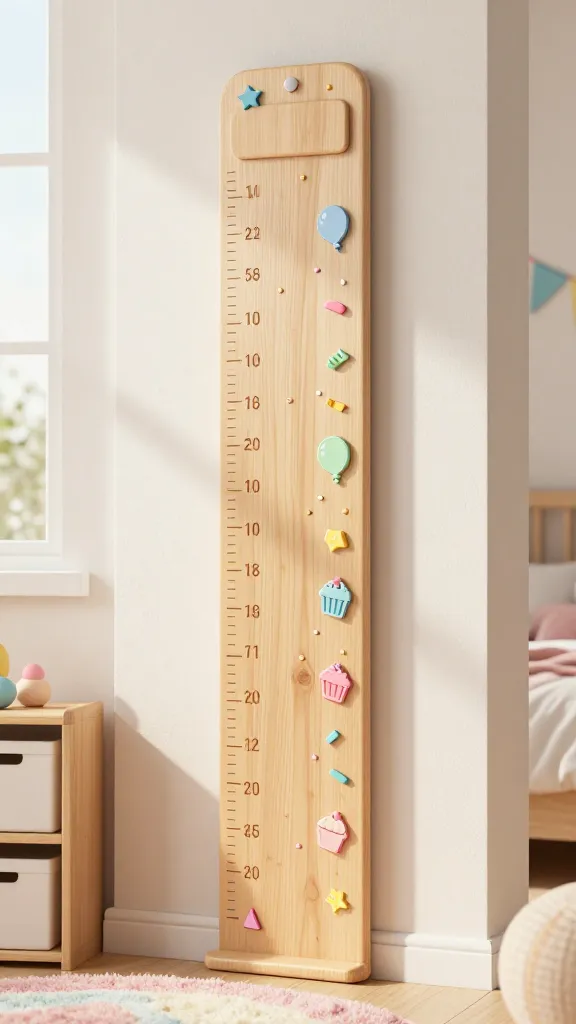
Your little one grows, and this birthday-themed growth chart keeps track of milestones with style. It doubles as wall art and a memory keeper that families will treasure as a yearly ritual. It’s playful, motivational, and easy to customize.
Materials Needed
- Plain wooden growth chart or a wooden plaque
- Paints or wood markers
- Birthday stickers or stencils
- Clear sealant spray
How to Make It
- Draw or paint year marks and the child’s name at the top.
- Add birthday-themed icons for each milestone (age 1, 2, etc.).
- Seal with a protective spray and hang in a prominent spot.
Pro Tips / Styling Ideas
- Use a color palette that matches the child’s room.
- Attach a small clip at each birthday to hold a photo or note.
- Include a yearly “wish” section for extra meaning.
Who would love this? Parents who want a tangible, growing reminder of every birthday milestone.
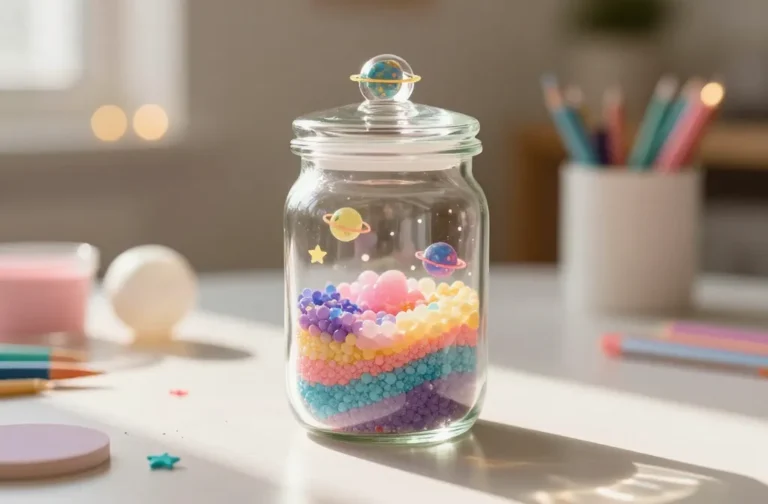
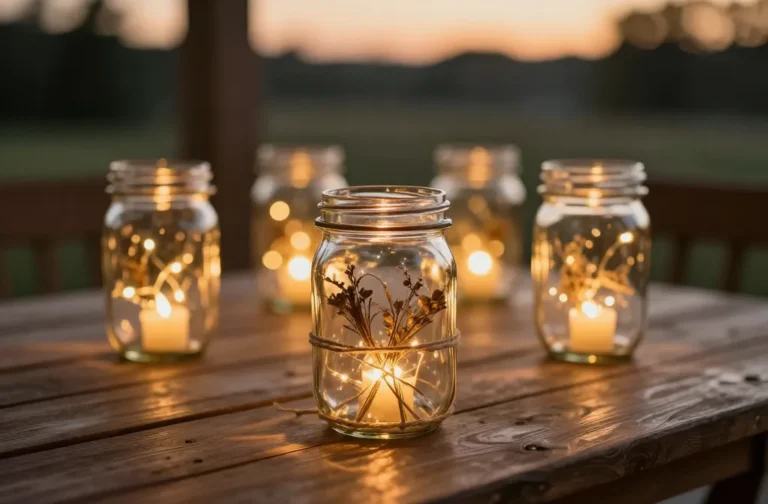
6. Birthday Wishes Jar With Mini Cards
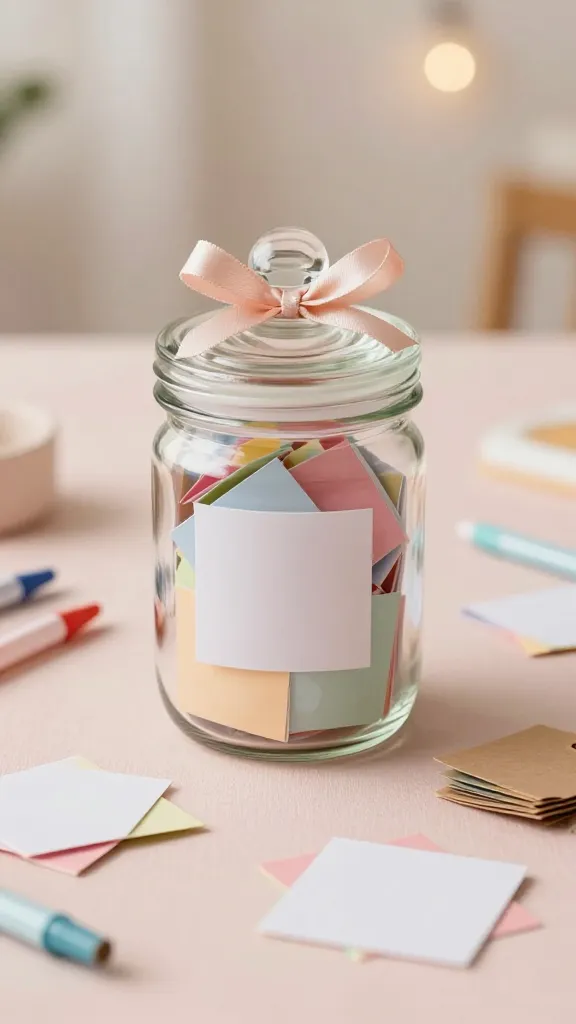
Send party guests on a tiny creative mission: leave a birthday wish on a mini card and tuck it into a jar. It becomes a keepsake bottle of love to revisit on tough days or anniversaries. It’s interactive, heartwarming, and endlessly cute.
Materials Needed
- Glass jar with lid
- Mini notecards or craft slips
- Fine-tip pens, markers, or gel pens
- Ribbon for decoration
How to Make It
- Fill the jar with addressed, decorated cards full of birthday wishes.
- Decorate the lid with a ribbon and a label like “Birthday Wishes 2026.”
- Invite guests to add their notes during the celebration.
Pro Tips / Styling Ideas
- Leave a few blank cards for future birthdays.
- Pair with a small themed charm to seal the jar’s personality.
- Display on a tabletop or shelf as a daily reminder of love.
Who would love this? Anyone who enjoys heartfelt sentiments and a tangible keepsake they can sip tea with on cozy evenings.
7. Custom Map Anniversary Map Art
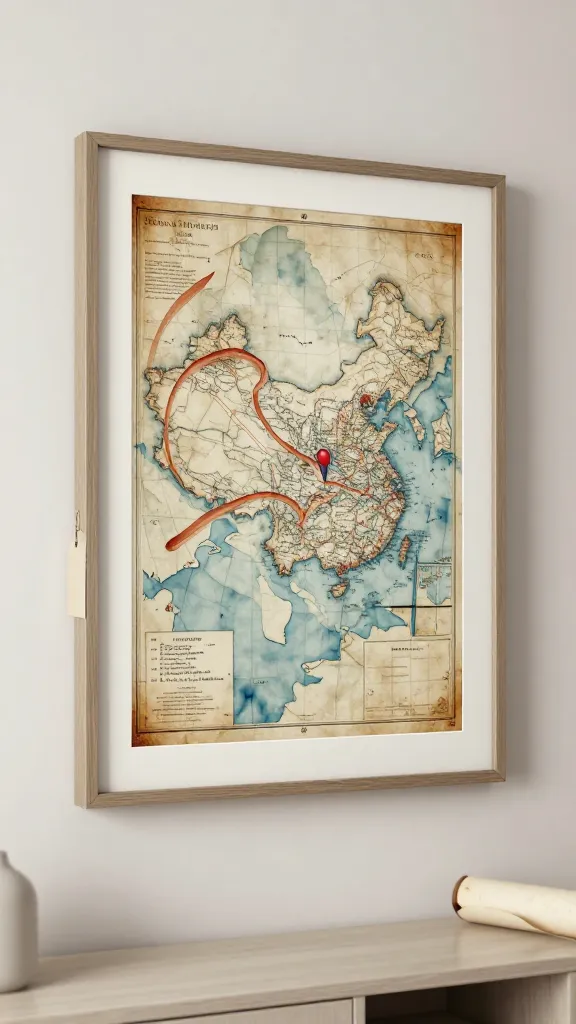
Turn a cherished travel memory into a piece of wall art. This project uses a map, a favorite birthday locale, and a few painted accents to create a stylish, meaningful piece that whispers “you are here.” It’s modern, personal, and surprisingly simple.
Materials Needed
- Printable map or an old atlas page
- Watercolor paints or ink for accents
- Frame or mounting board
- Optional: a small tag with the birthday date and memory
How to Make It
- Highlight the birthday location with a painted pin or swoosh of color.
- Stencil a short memory sentence near the pin.
- Frame and display as a personal, wanderlust-filled reminder.
Pro Tips / Styling Ideas
- Match frame color to room decor for seamless integration.
- Use a metallic pen to write the memory for a luxe touch.
- Pair with a string of fairy lights for a warm, gallery-like vibe.
Who would love this? Travel lovers and anyone who believes a map can tell a story as well as a photograph.
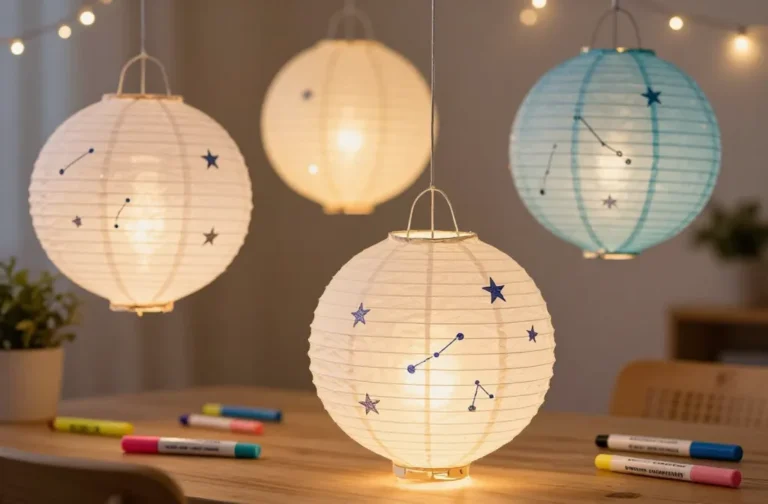
8. Night Sky Birthday Mobile
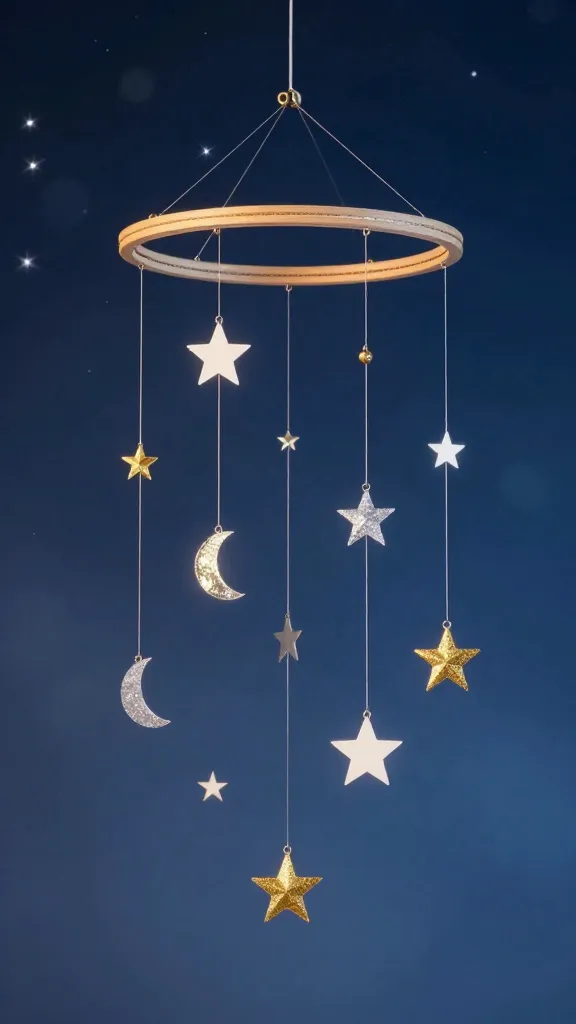
Take a moment to dream under a handcrafted night sky mobile. Delicate stars, moons, and tiny metal charms hang from a hoop, creating a serene, magical centerpiece that celebrates another year of growing up. It’s dreamy, calming, and truly unique.
Materials Needed
- Wooden hoop or embroidery hoop
- Black or midnight-blue cardstock
- Gold or silver foil stars, small charms
- Clear fishing line or thin nylon string
How to Make It
- Cut star shapes from the cardstock and decorate with foil accents.
- Attach strings at varying lengths and tie to the hoop.
- Hang in a cozy corner or near the bed for a soft, celestial glow.
Pro Tips / Styling Ideas
- Use glow-in-the-dark paint for a subtle nocturnal shimmer.
- Mix in a few tiny LED fairy lights for extra magic.
- Gift it as a “new year under the stars” surprise for a birthday.
Who would love this? Dreamers, stargazers, and anyone who enjoys a tranquil, ethereal touch in their space.
9. Tiny Memory Book in a Bottle
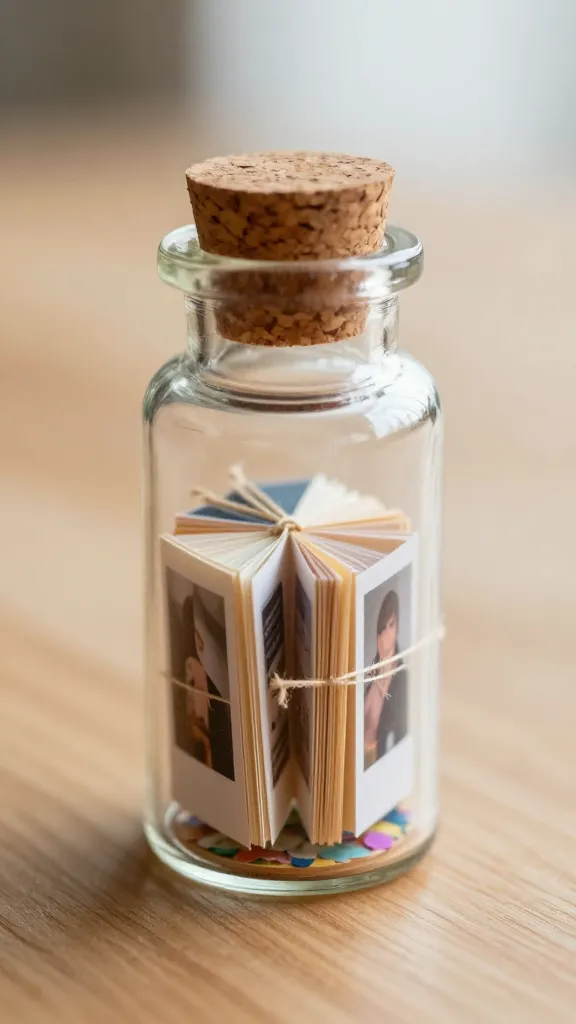
Crystal-clear glass bottle, mini pages, a few printed photos, and a pinch of confetti—this tiny memoir fits in the palm of your hand. It’s a thoughtful birthday gift or a personal keepsake you can stash on a shelf and revisit whenever you crave a quick stroll down memory lane.
Materials Needed
- Clear glass bottle with cork
- Miniature blank pages or folded notecards
- Photos or tiny scanned images
- Ribbon or twine to seal the bottle
How to Make It
- Fold pages into tiny booklets and attach a small photo to each page.
- Roll or stack the pages inside the bottle and seal with cork.
- Decorate the outside with a ribbon and a tiny tag noting the birthday year.
Pro Tips / Styling Ideas
- Leave a page blank for future memories on subsequent birthdays.
- Pair with a small charm that represents a favorite hobby.
- Display on a coffee table as a conversation starter.
Who would love this? Anyone who loves micro-scrapbooks, curious keepsakes, and a dash of whimsy.
Conclusion
These nine first craft ideas birthday keepsake projects are designed to be fun, approachable, and genuinely memorable. Pick one that speaks to you, or tackle a few to build a birthday tradition that lasts. You’ll love how easy it is to create something personal, shareable, and brimming with personality. So, which one will you start first? Go ahead and give it a try—the birthday magic is in the making, and you’ll be amazed at how rewarding these tiny masterpieces feel.