10 3d Craft Ideas for Seniors and Retirees That Spark Joy
Ready to spark creativity with simple, joyful projects? These 10 unique 3D crafts are designed for seniors and retirees who love hands-on fun, a little whimsy, and a dash of nostalgia. Trust me, they’re easy to tackle, gorgeous to display, and wonderfully satisfying to complete.
From memory-filled keepsakes to bright seasonal decor, each idea is crafted to be approachable, low-stress, and high-reward. So grab your favorite scissors, a cup of tea, and let’s dive into a totally doable crafting party.
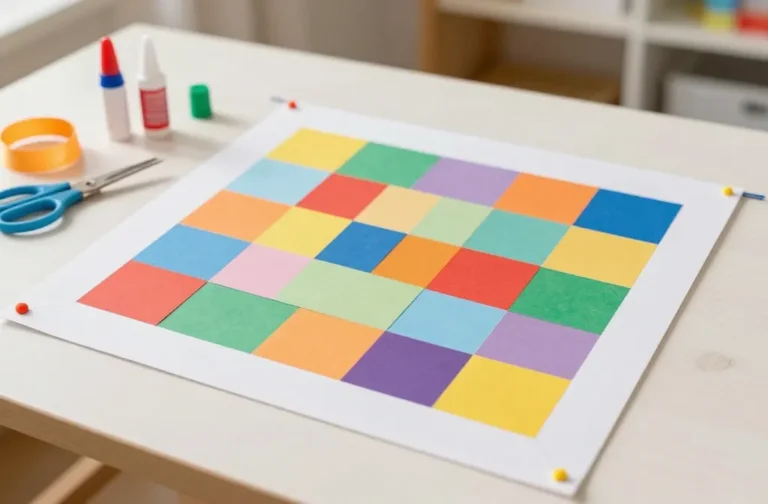
1. Rustic Paper-Port Mosaic Coasters
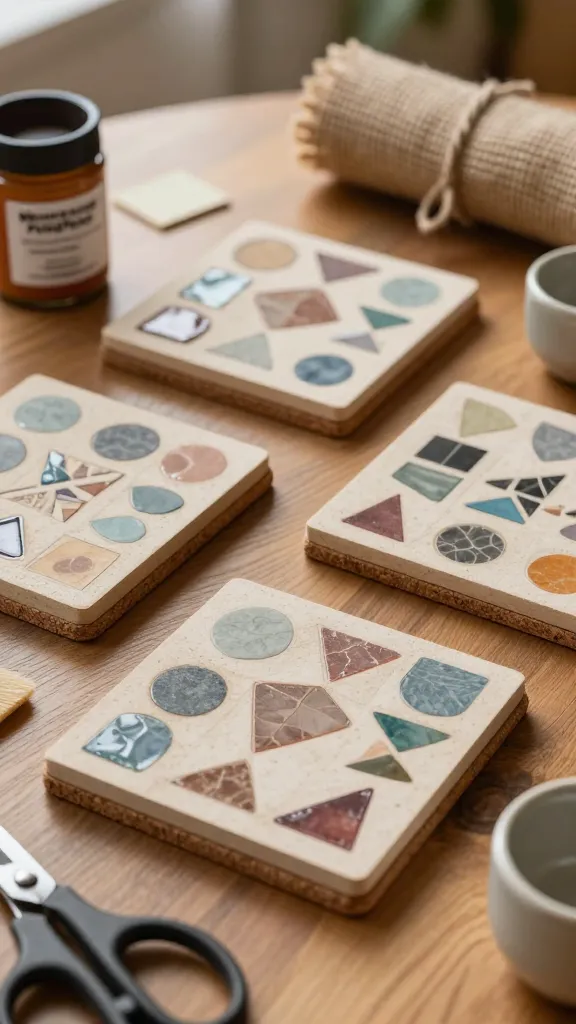
Picture a set of coasters that look handmade by a cozy cottage neighbor—warm, textured, and utterly giftable. 3D elements emerge from layered paper shapes baked into a tactile mosaic that catches light just right.
Materials Needed
- Thick craft paper or cardstock in 4–5 colors
- Cardboard or cork coaster bases
- Mod Podge or white glue
- Foam brush
- Scissors, craft knife
- Clear acrylic sealer
How to Make It
- Cut small geometric shapes (circles, squares, triangles) in your color palette.
- Layer them in a 3D patchwork onto each coaster base, pressing lightly to secure.
- Seal with several coats of Mod Podge for durability, then finish with a clear sealer.
Pro Tips / Styling Ideas
- Use blues and creams for a coastal vibe, or warm reds and ochres for autumn decor.
- Pair with a felted coaster set or a small ceramic tray for a cohesive gift.
End note: This one’s perfect for tea parties with grandkids or a sunny afternoon craft with friends. You’ll love the tactile joy of fabric-like depth on sturdy surfaces.
2. Crafty 3D Paper Flower Wall Hanging
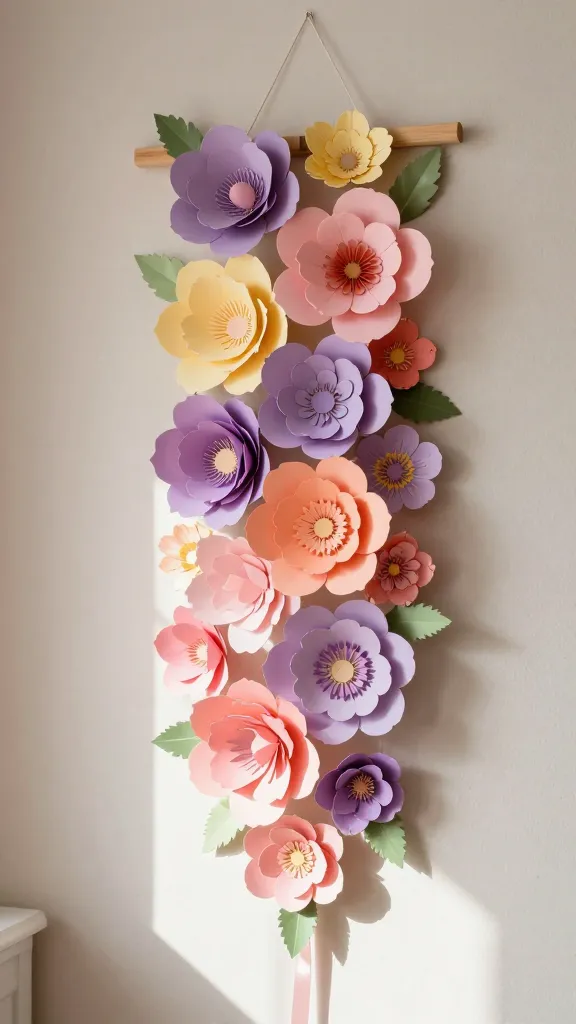
Imagine a vertical garden made of paper blooms that never wilt. These layered 3D flowers, assembled on a wooden dowel, bring color and cheer to any wall—without needing a green thumb.
Materials Needed
- Colored craft paper or thin corrugated cardboard
- Wooden dowel or embroidery hoop
- Hot glue gun and glue sticks
- Ribbon for hanging
- Optional: glitter or metallic accents
How to Make It
- Cut petal shapes in a few sizes; curl edges with your fingers for dimension.
- Glue petals in layers around a central base to form blossoms, then attach to the dowel in a cascading design.
- Finish with a ribbon loop and a tiny seed bead in the centerpiece for sparkle.
Pro Tips / Styling Ideas
- Make a small bouquet for a windowsill, or a long garland for a doorway.
- Incorporate a few metallic petals for a modern gallery feel.
End note: Totally relaxing to craft, and a charming focal point that brightens a room. Your home will feel fresh and friendly—seriously.
3. 3D Photo Banner with Folded Paper Frames
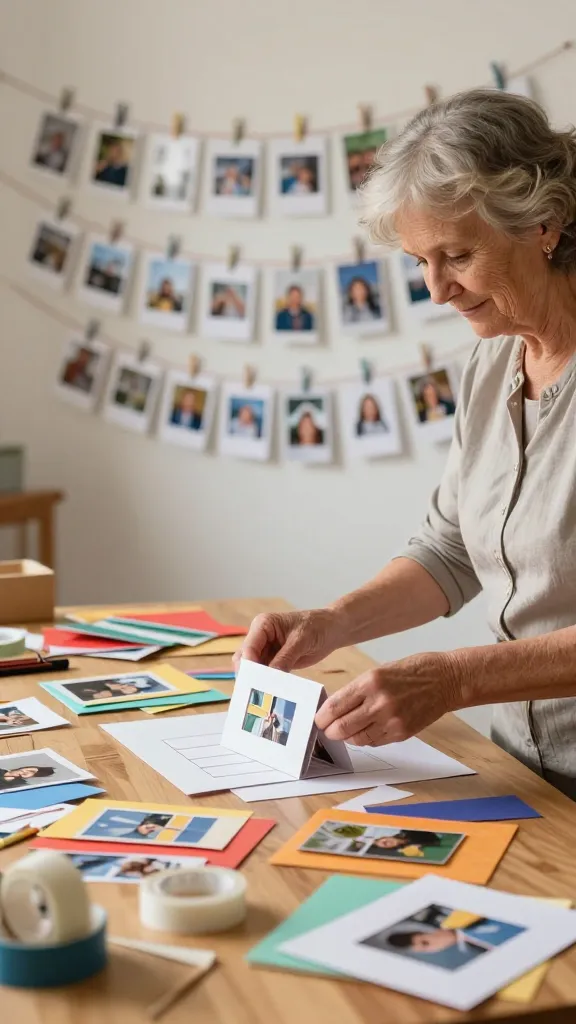
Turn memories into a tactile gallery with a 3D photo banner. Each photo sits in a little folded-paper frame that stands out from a suspended string—your happiest moments in liftable depth.
Materials Needed
- Printed small photos
- Colored cardstock
- Double-sided tape or glue
- String or twine
- Small clothespins or mini binder clips
How to Make It
- Cut tiny frames from cardstock with a small rectangular window for each photo.
- Attach photos behind frames using tape; fold the top edge slightly to create a 3D stand.
- String the frames along a line and clip your photos at intervals.
Pro Tips / Styling Ideas
- Vary frame colors for a lively, collage-like vibe.
- Hang in a hallway or above a desk for daily inspiration.
End note: A heartfelt way to display family memories, conversation starters included. It’s a warm, personal project that earns smiles on every scan-by.
4. 3D Wall Clock Made from Recycled Cardboard
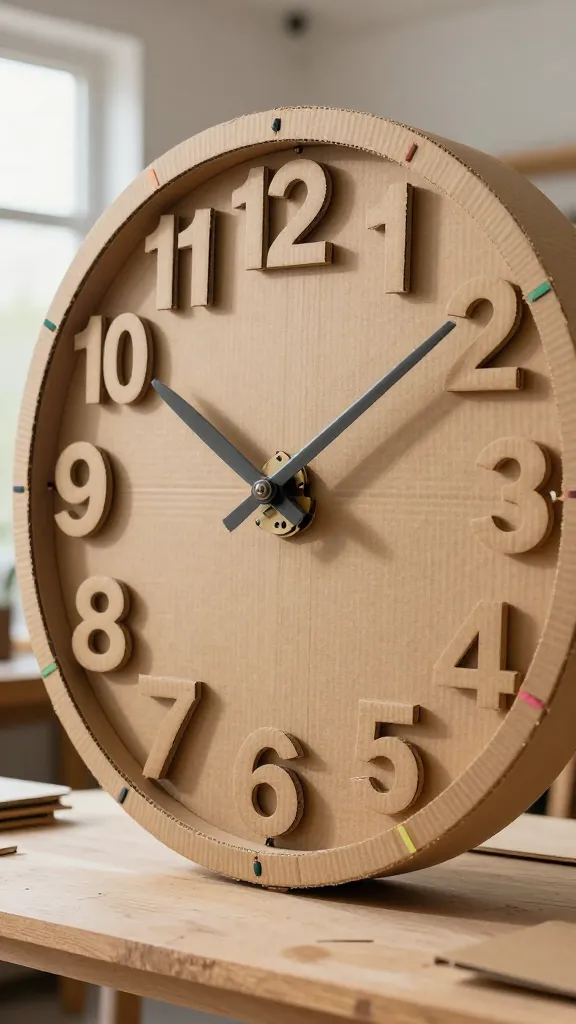
Who knew cardboard could be this stylish? Build a chunky, oversized wall clock with 3D numerals that cast playful shadows, turning a practical piece into a statement work of art.
Materials Needed
- Thick cardboard or foam board
- Clock mechanism kit (with hands)
- Colored paper or paint
- Ruler and craft knife
- Adhesive or hot glue
How to Make It
- Cut a large circle from cardboard; create raised numbers using layered cardboard strips for a 3D effect.
- Attach the clock mechanism in the center and secure the hands.
- Decorate with paint or paper to match your space’s color story.
Pro Tips / Styling Ideas
- Go vintage with muted tones or modern with bold primary colors.
- Pair with a couple of small DIY wood frames for a curated gallery wall.
End note: A bold, functional project that doubles as timeless art. It’s a great way to upcycle and personalize a living room corner.
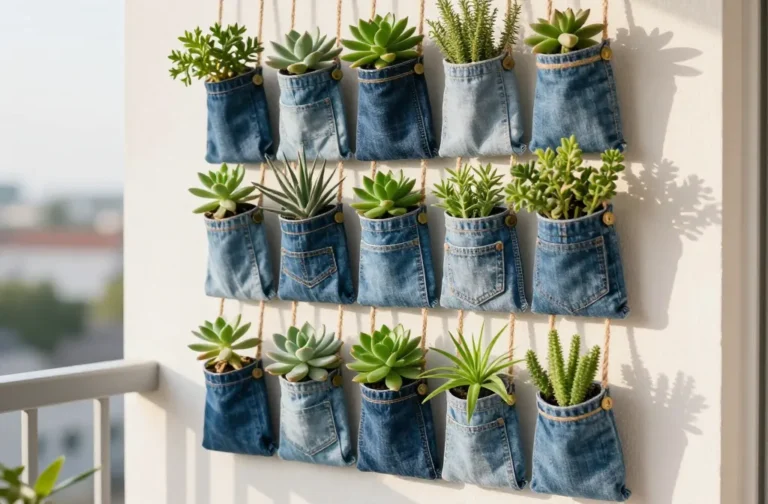
5. 3D Textile Bowls from Recycled T-Shirts
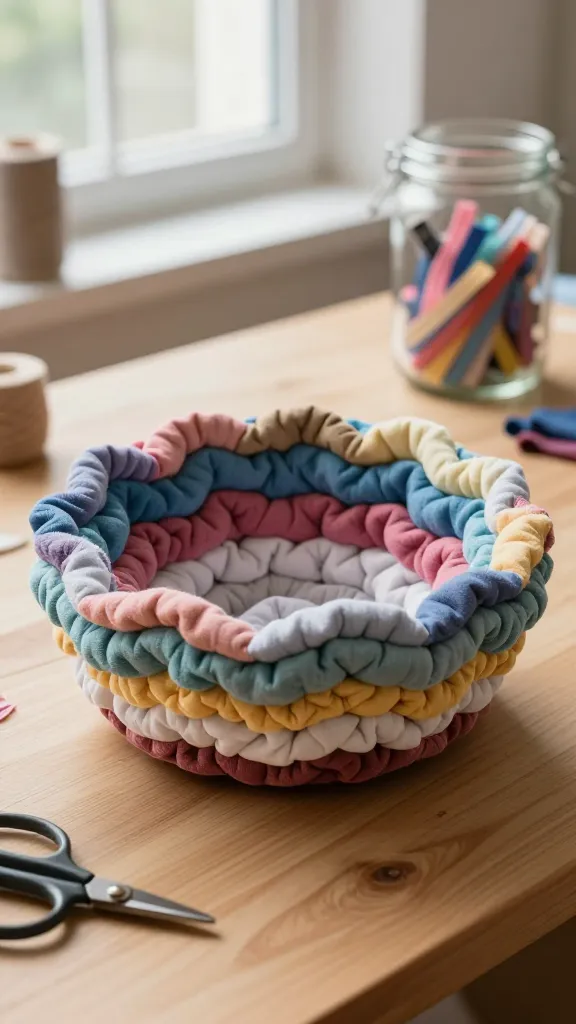
Soft, squishy, and totally usable, these fabric bowls are a tactile delight. Layered fabric strips form a 3D bowl that’s perfect for keys, jewelry, or easy grab-and-go storage.
Materials Needed
- Old t-shirts in various colors
- Scissors
- Needle and thread or fabric glue
- Plastic bowl to mold shape
How to Make It
- Cut strips from the shirts and braid or coil them into a circular base.
- Sew or glue layers on top of the base, building up a soft bowl shape.
- Let it dry completely if using glue; mold around a bowl to hold shape as it sets.
Pro Tips / Styling Ideas
- Combine neutrals with a pop color for a modern kitchen accessory.
- Use as a cute bedside catch-all for jewelry or remotes.
End note: A cozy, upcycled craft that yields immediate, practical payoff. It’s fun to pick complementary color palettes with a friend.
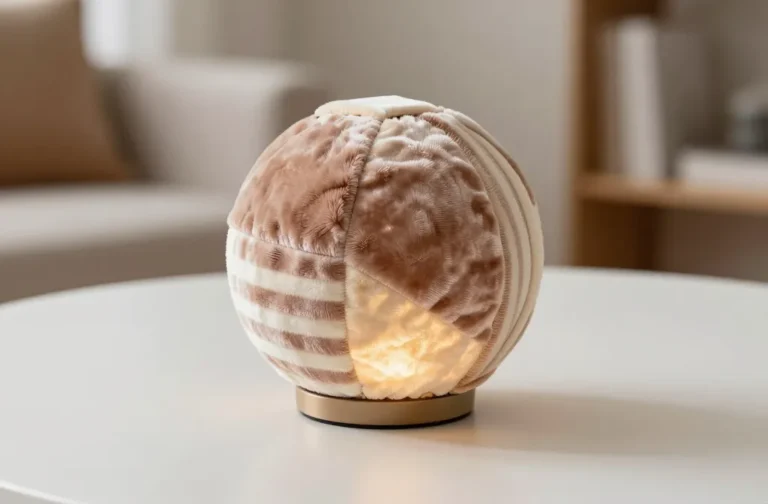
6. 3D Patchwork Candle Centerpiece
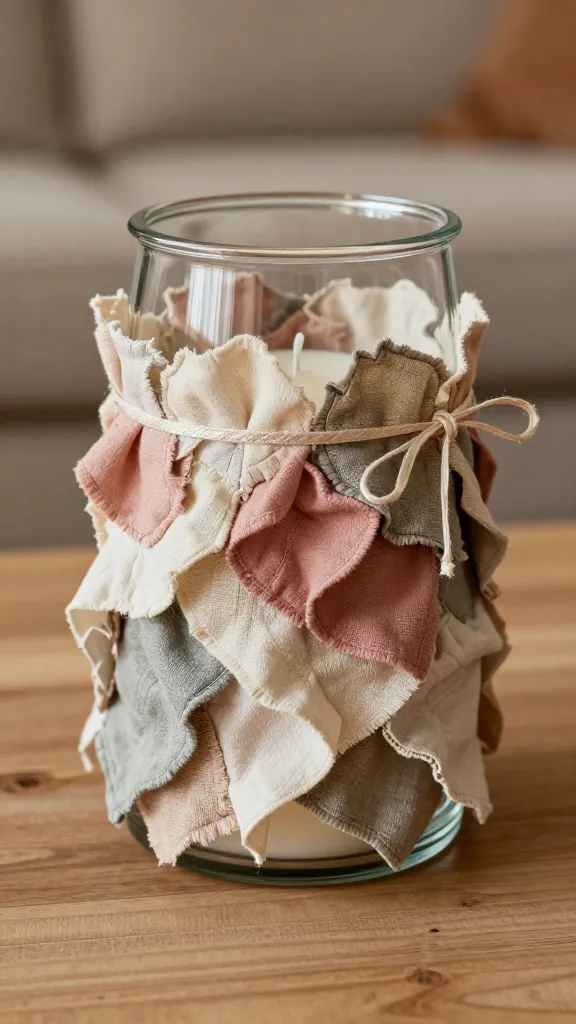
Light up the room with a handmade centerpiece that layers fabric patches into a soft, 3D texture around a glass hurricane. Simple, chic, and surprisingly warm.
Materials Needed
- Glass hurricane candle holder
- Assorted fabric scraps
- Fabric glue or mod podge
- Decorative ribbon or twine
How to Make It
- Cut fabric squares; fold and layer them around the hurricane, creating ruffled 3D petals.
- Glue in place, overlapping for depth; finish with a ribbon wrapped around the top.
Pro Tips / Styling Ideas
- Seasonal color combos work wonders: soft blues and creams for winter, corals for spring.
- Place on a dining table for cozy, ambient lighting at gatherings.
End note: A gentle project with a high-end look. It feels luxurious without being fussy, perfect for gifting or treating yourself.
7. 3D Shadow Box Travel Memories
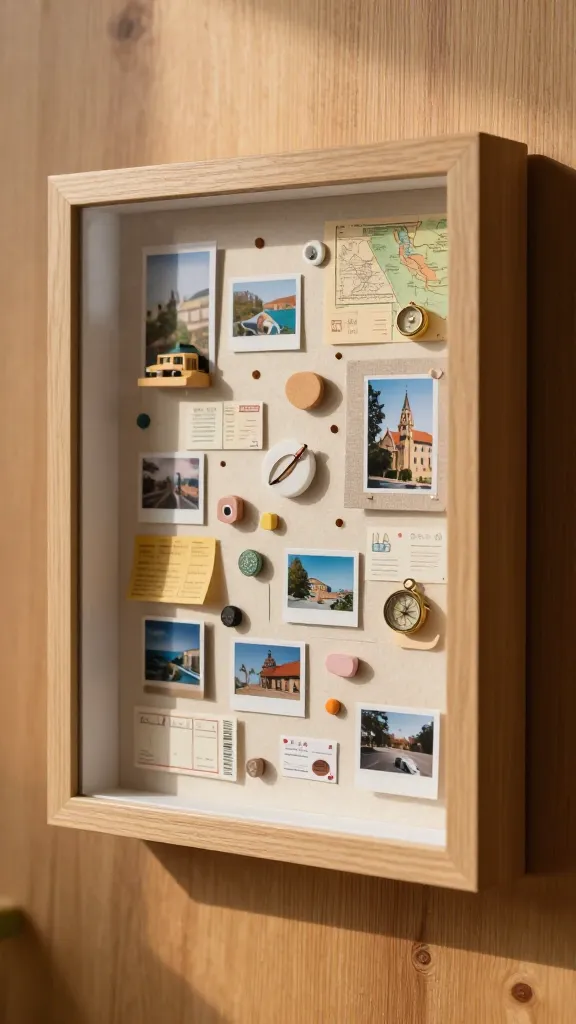
Turn a travel album into a 3D homage with layered keepsakes. A shallow shadow box hosts miniature souvenirs, photos, and paper ephemera that pop in a tiny, personal diorama.
Materials Needed
- Shadow box frame
- Mini souvenirs, photos, ticket stubs
- Colored paper and foam shapes
- Foam adhesive dots
How to Make It
- Plan a layered layout—one depth level per element.
- Attach items with foam dots to build dimension; add a fabric backing for cohesion.
- Seal with a light spray of fixative to keep loose bits in place.
Pro Tips / Styling Ideas
- Focus on a single trip or a mix of adventures for variety.
- Hang near a reading chair to spark stories with visitors.
End note: A soulful, memory-keeping project that invites you to reminisce and share tales. People adore a good story box—especially when it’s 3D.
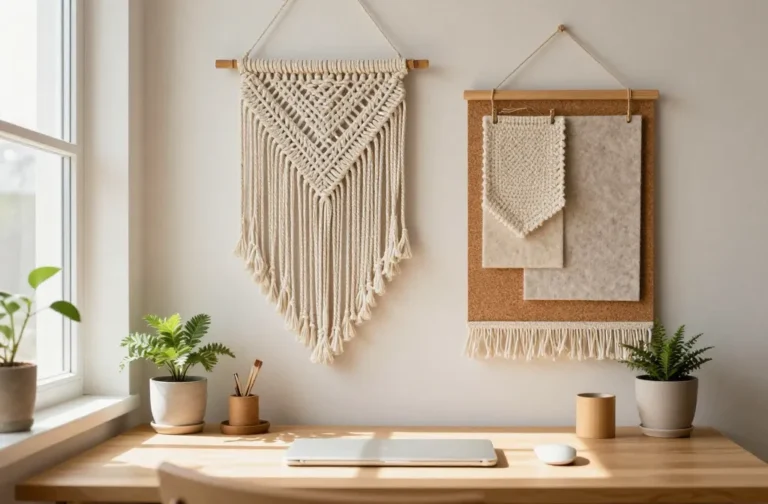
8. 3D Felted Letter Monogram Display
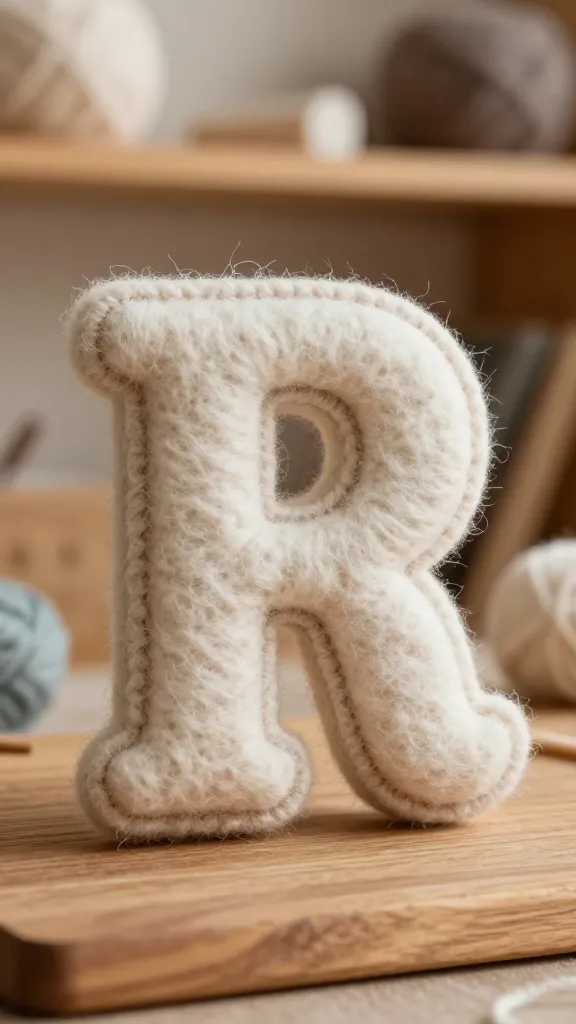
Crafty, plush, and delightfully tactile, this 3D felted letter display brings a personal touch to any room. The raised letters cast soft shadows—trust me, it’s oddly satisfying to stroke the plush edges.
Materials Needed
- Felt sheets in chosen colors
- Fabric stuffing or wool roving for felting
- Needle and thread
- Wooden board or frame for mounting
How to Make It
- Cut large letter shapes from felt; add a second layer for depth and glue or stitch together.
- Stuff lightly, then attach to a backing board with glue or small nails.
- Decorate edges with tiny stitches or a contrasting border if you like.
Pro Tips / Styling Ideas
- Choose family initials for a personalized hall display.
- Pair with a few small, plush mini shapes for a playful vignette.
End note: A cozy, tactile salon piece that sparkles in soft lighting. It’s a gentle nod to handmade charm with big visual impact.
9. 3D Crochet Leaf Garland
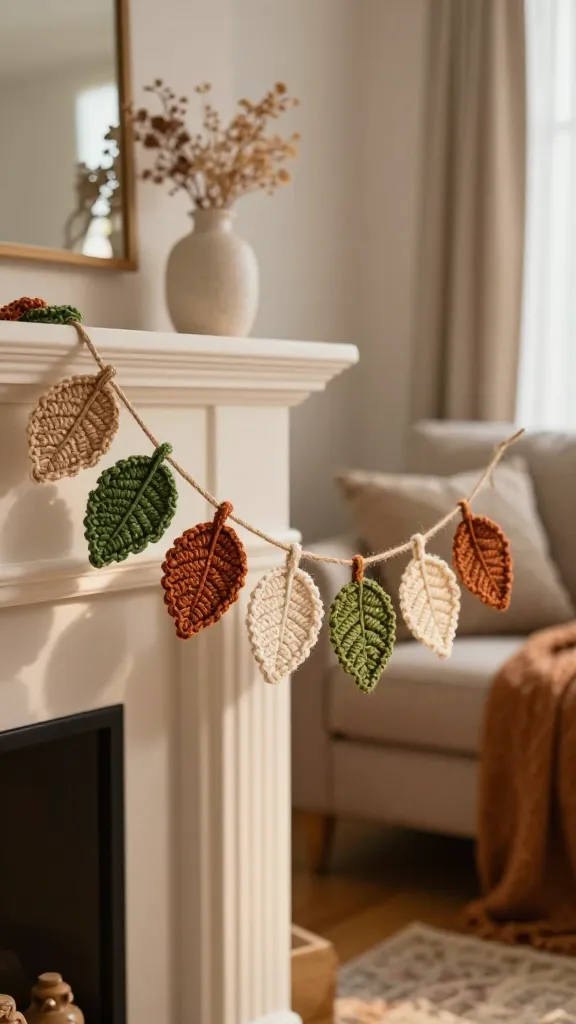
A gentle, nature-inspired garland—each leaf crafted in 3D crochet forms a delicate, autumnal flourish that drapes beautifully over a mantel or sofa.
Materials Needed
- Natural or colored crochet thread
- Size G or H crochet hook
- Rice or stuffing for 3D fullness
- Yarn needle
- Jute or ribbon for stringing
How to Make It
- Crochet small leaf shapes with a tiny bulb in the center to create 3D depth.
- Stuff lightly and stitch edges closed; attach to a string in a gentle diagonal pattern.
Pro Tips / Styling Ideas
- Color blends in olive, cream, and rust scream autumn cozy—great for a living room.
- Swap in pastel greens for a spring-time refresh in a sunroom.
End note: This is your slow-craft joy—palpable texture and a touch of whimsy that elevates any space.
10. 3D Ceramic Mosaic VaseTopper (DIY Upgrade)
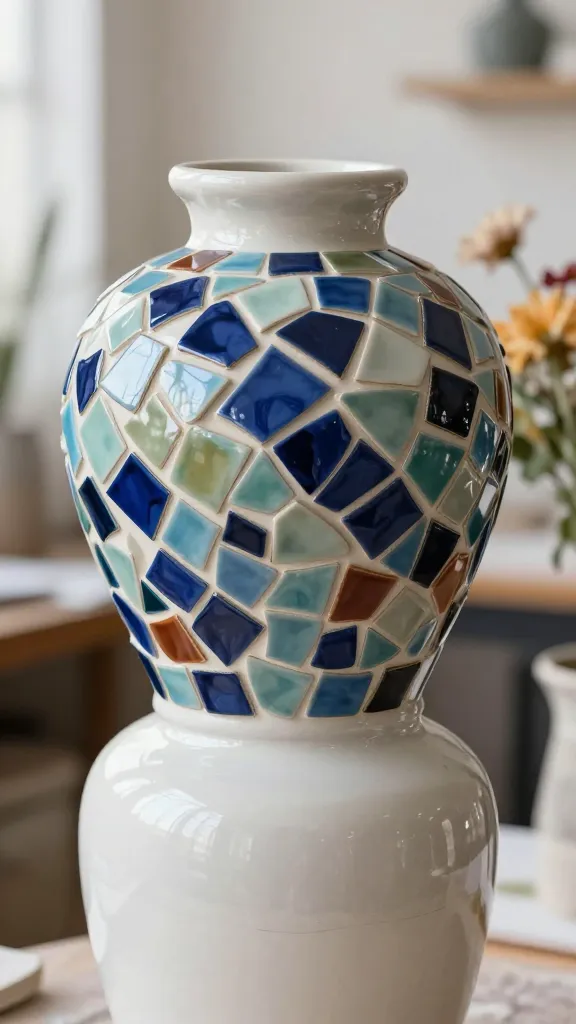
Give a plain vase a 3D makeover with a mosaic cap made from ceramic shards or glossy, thick paper tiles. It’s a small accessory with a big attitude—perfect for fresh or dried blooms.
Materials Needed
- Plain ceramic vase or glass bottle
- Ceramic tiles or glossy paper tiles
- Strong adhesive or mod podge
- Grout (optional for real tiles) or thick glue
- Sealant spray
How to Make It
- Cut or choose small tile shapes and plan a pattern on the vase cap.
- Adhere tiles in a 3D layered arrangement; apply grout or thick glue to create a raised mosaic.
- Seal and let dry; place on top of a vase for an eye-catching crown.
Pro Tips / Styling Ideas
- Use monochrome tones for a chic, modern look, or colorful tiles for a playful vibe.
- Pair with a matching bouquet and a simple ceramic vase for a curated tablescape.
End note: A small project with massive visual payoff. It’s the kind of upgrade that makes you smile every time you reach for a vase.
Conclusion
All ten ideas are designed to be doable, joyful, and beautifully displayable. Grab a friend, pick a favorite, or—why not—tackle them all as a slow-craft marathon. Each project offers a little 3D magic you can touch, display, and cherish for years. Now is the perfect time to start—your creative side is calling, and the results are oh-so-worth it.