6 Easy Summer Vacation DIY Kids Activities for Sunny Days
Ready to turn sunny days into colorful memories? These six totally unique crafts are quick, kid-friendly, and pack a punch of summer magic. trust me, your little creators will brag about them long after the vacation mood fades.
1. Solar-Pelted Color Pom Pom Garden Flags
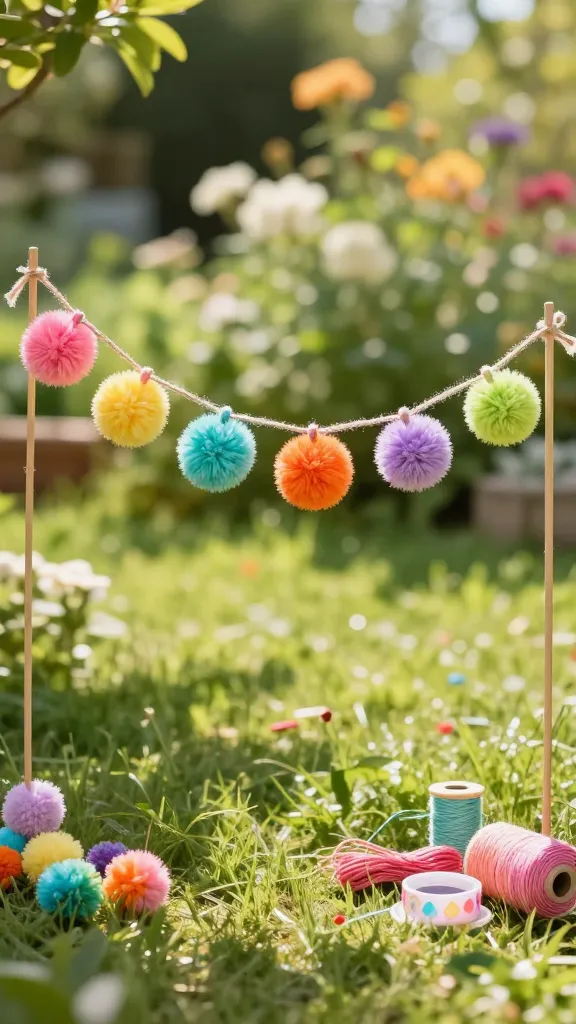
Picture this: a cheerful string of flags fluttering in the breeze, each one a tiny burst of color tied to sunny memories. This project turns ordinary craft pom poms into a sunny garden garland that shouts “summer!” from the yard or balcony. It’s bright, breezy, and perfectly imperfect.
Materials Needed
- Pom poms in multiple colors
- Sashiko thread or embroidery floss
- Sticks or a small length of twine
- Decorative tape or hot glue (optional)
- Sand or pebbles for weight (optional)
How to Make It
- Gather your pom poms and pick a color palette that screams sunshine.
- Thread a length of floss through each pom pom, leaving a little tail to tie.
- Slide the pom poms onto a thin string or twine, spacing them with playful gaps.
- Attach the string to two sticks or stakes, or simply hang the garland from a fence or doorway.
- Optionally secure the ends with a dab of hot glue for extra weatherproofing.
Pro Tips / Styling Ideas
- Mix metallic threads with bright colors for a magical shimmer in the sun.
- Hang along a garden path or balcony railing to catch breezes and smiles.
- Change colors with the seasons—this one doubles as a year-round craft wall feature.
Who will love it / When to use
Ideal for little hands learning to handle strings, or for a backyard party backdrop. This is seriously the cheeriest way to mark a sunny afternoon.
2. DIY Bubble-Wand Rainbow Sculpture
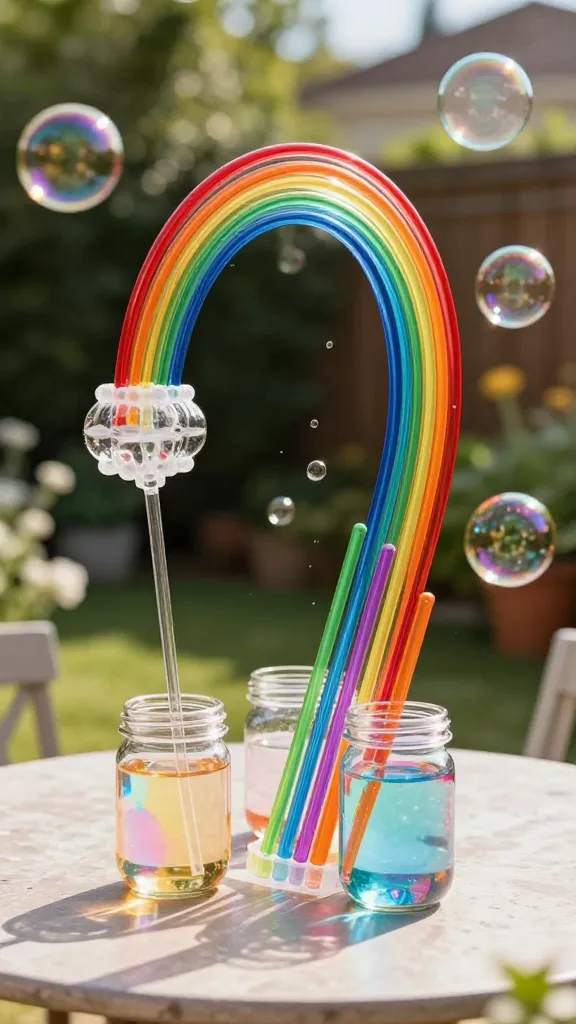
Imagine a gravity-defying sculpture that doubles as a bubble maker. This project turns everyday bubble wands into a miniature rainbow sculpture you can proudly display on a patio table or windowsill. It’s whimsical, science-fun, and totally Instagrammable.
Materials Needed
- Acrylic rods or colorful wooden dowels
- Small glass jars or plastic vials
- Bubble solution
- Colored tape or paint
- Fishing line or thin wire
How to Make It
- Decorate each rod with paint or tape in hues of the rainbow.
- Arrange the rods in a vertical, cascading pattern on a sturdy base (a foam block works well).
- Attach bubble wands to the rods using fishing line so each wand can dip into a jar of bubble solution.
- Fill the jars with bubble solution and secure lids if you’re using multiple jars.
Pro Tips / Styling Ideas
- Place near a sunny window so natural light makes the colors pop.
- Add a small fan nearby for extra bubble breeze to send shimmering orbs into the air.
Who will love it / When to use
Perfect for a rain-or-shine indoor playground moment or a backyard bubble party. It’s a delightfully kinetic centerpiece that doubles as an art piece.
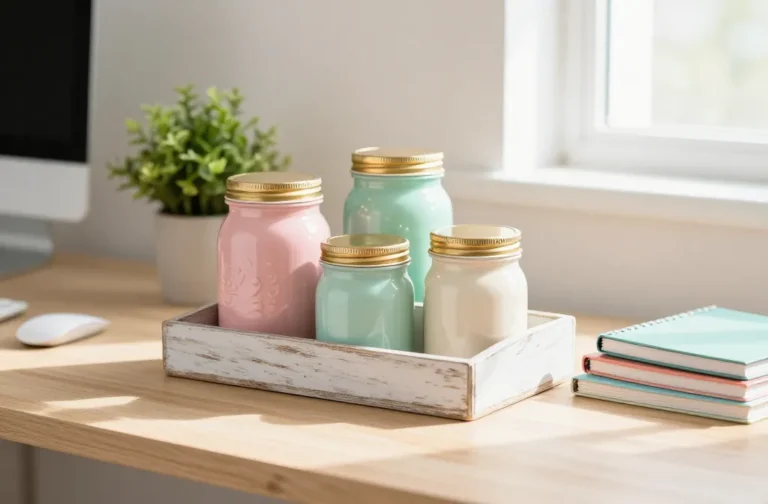
3. Sun-Pugar Garden Tea Party Play Set
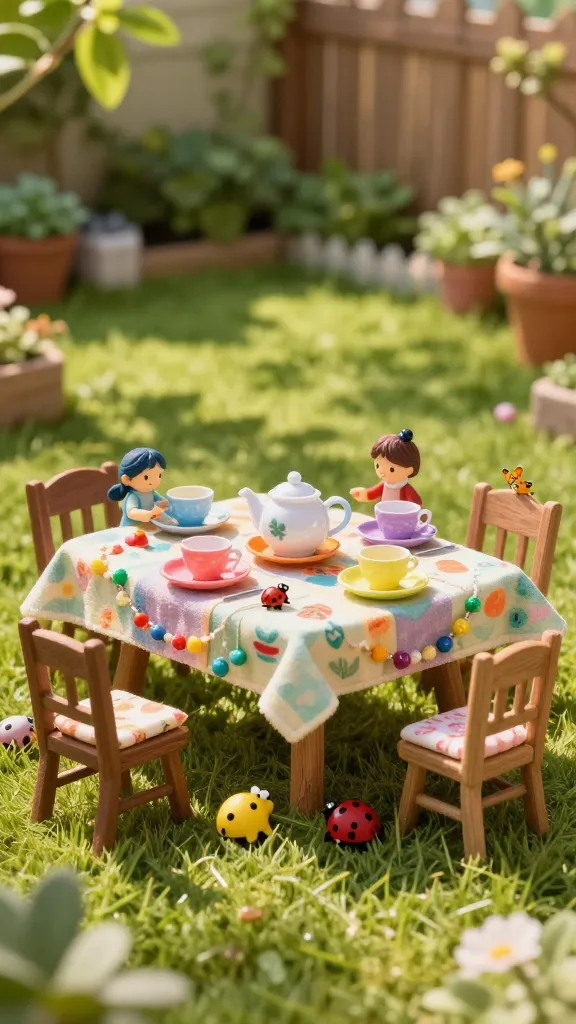
Turn a sunny afternoon into a tiny tea party for your garden creatures and your little hosts. This set uses everyday lunch supplies transformed with simple art to create a charming, imaginative space that invites storytelling and social play. Your kids will love hosting “tiny friends” right in the yard.
Materials Needed
- Cardboard or paper plates, beads, and string
- Paints, markers, and brushes
- Miniature teacups or plastic cups
- Fabric scraps for tablecloth and napkins
How to Make It
- Decorate the plates as saucers and cups with bright patterns and smiling faces.
- Cut a small table from cardboard and cover with a fabric cloth.
- Arrange a tiny tea set and pretend pastries using paper or felt scraps.
- Create a little signboard for “Garden Tea” using wood slices or cardboard.
Pro Tips / Styling Ideas
- Use a tray as the “garden” table to move the party around easily.
- Add felt cookies and fruit puppets for imaginative play prompts.
Who will love it / When to use
Best for creative pretend play, indoor weekends, or a sunlit porch tea time. Fresh, playful, and endlessly adorable.
4. Texture-Explorer Shadow Box Garden
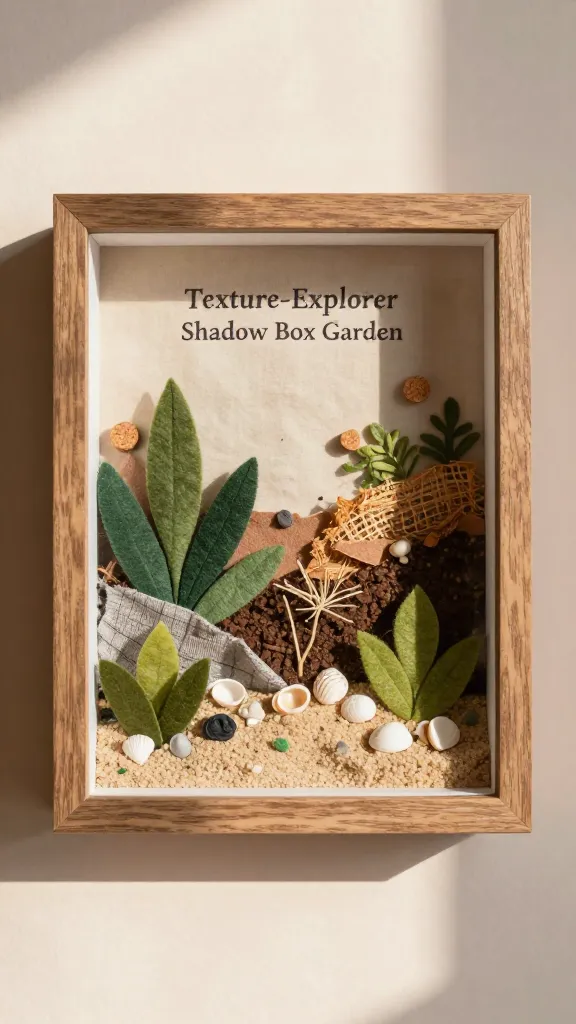
Step into a tiny world where summer textures tell a story. This shadow box project invites kids to collect textures—sand, leaves, fabric scraps, tiny corks—and arrange them into a cohesive mini-scene. It’s tactile, educational, and a wonderful keepsake for a kid’s room.
Materials Needed
- Shadow box frame
- Craft foam, felt, fabric scraps
- Natural textures: sand, small shells, leaves
- Glue, scissors, small figurines or toys
How to Make It
- Line the back of the shadow box with a soft color or fabric.
- Layer textures to create a mini landscape: sand for a beach, greens for a meadow, fabric for water.
- Place tiny figures or creatures to tell a simple summer scene.
- Seal with a light coat of glue to keep everything in place.
Pro Tips / Styling Ideas
- Change the textures with the seasons; rotate for new stories.
- Use a small magnet on the back of figures for interchangeable scenes.
Who will love it / When to use
Great for quiet afternoons, window displays, or a cute “summer memory” gift for family members.
5. DIY Beach-In-A-Bottle Mini Ocean
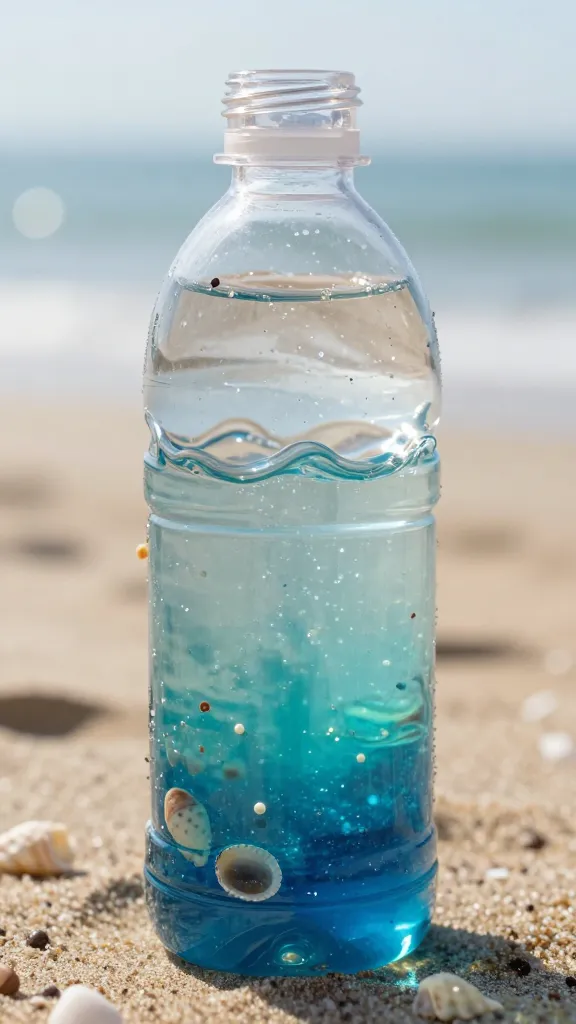
Bring the beach to you in a sealed bottle with this mesmerizing mini ocean. It’s a science-y, mesmerizing project that kids can shake, observe, and claim as their own tiny aqua world. Seriously, it’s magical watching the “waves” settle.
Materials Needed
- Clear plastic bottle with lid
- Blue and teal food coloring or paint
- Glitter, tiny shells, and seed beads
- Mineral oil or baby oil
- Super glue (optional, for lid sealing)
How to Make It
- Fill the bottle about three-quarters with water and a few drops of blue color.
- Layer a small amount of glitter and shells inside for sparkle and texture.
- Pour a thin line of oil to create the “waves,” then seal tightly.
- Shake to watch the ocean come alive, then set it on a shelf to admire.
Pro Tips / Styling Ideas
- Add a drop of glycerin for slower, gentler wave motion.
- Label with a tiny cardstock tag: “Summer Sea.”
Who will love it / When to use
Perfect for a calming corner, a science-inspired discovery station, or a summer bedtime ritual that winds down with drift-friendly visuals.
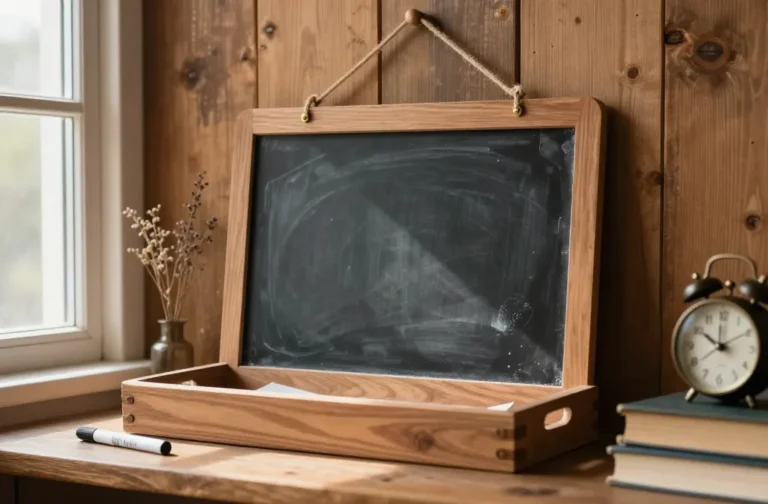
6. Neon Chalk Glow Stick Burst Lights
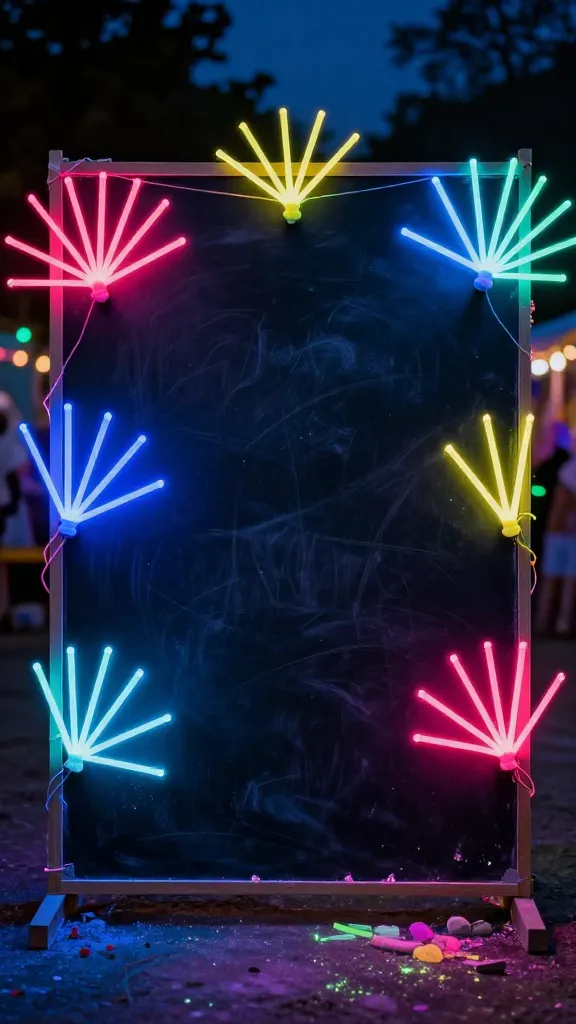
Turn a dark evening into a pop-art playground with these glow-stick bursts mounted on a chalkboard backdrop. It’s a vivid, safe, and surprisingly simple way to extend the sunny vibes after sundown. The glow, color, and chalk textures combine for a dreamy, festival-like mood.
Materials Needed
- Glow sticks (various colors)
- Black or dark blue chalkboard (or black construction paper)
- String or yarn for hanging
- Tape or hot glue
- Scissors
How to Make It
- Cut glow sticks to match the length you want for bursts.
- Affix glow sticks to the chalkboard in a starburst pattern using tape or glue.
- Attach string to create a hanging decoration or arrange on a floor display for a temporary “glow party.”
- Draw white chalk lines to add extra glow paths and depth.
Pro Tips / Styling Ideas
- Hang near the outdoor dining area to extend sunset fun.
- Switch to battery-powered LED sticks for a longer-lasting glow without harsh batteries.
Who will love it / When to use
Ideal for a twilight playdate, a backyard glow party, or a cozy campsite setup in the backyard. It’s seriously magical for grown-up kids too.
Conclusion
Six totally unique, ready-to-try crafts that shine on sunny days and beyond. Each idea is designed to be simple, tactile, and endlessly shareable—pin-worthy, even. Pick one, or dive into all six and turn your summer into a creative, memory-making festival.
So, which one will you start with? Grab your supplies, trust your inner designer, and let the sunshine spark your next DIY adventure. You’ll love how easy and rewarding these projects feel—seriously, they’re as joyful as a perfect summer breeze.