6 Viral Pinterest Craft Ideas You Need to Try
Ready to dive into crafts that look effortlessly chic but feel totally doable? These six unique DIY ideas are tailor-made for Pinterest-worthy glow-ups that you can actually finish on a weekend. Trust me, you’ll love how easy and rewarding each one is.
From cozy home touches to thoughtful gifts, these projects prove that style and simplicity can mingle beautifully. So grab your glue gun, a splash of personality, and let’s get crafting.
1. Rustic Mason Jar Lantern With Fairy Lights
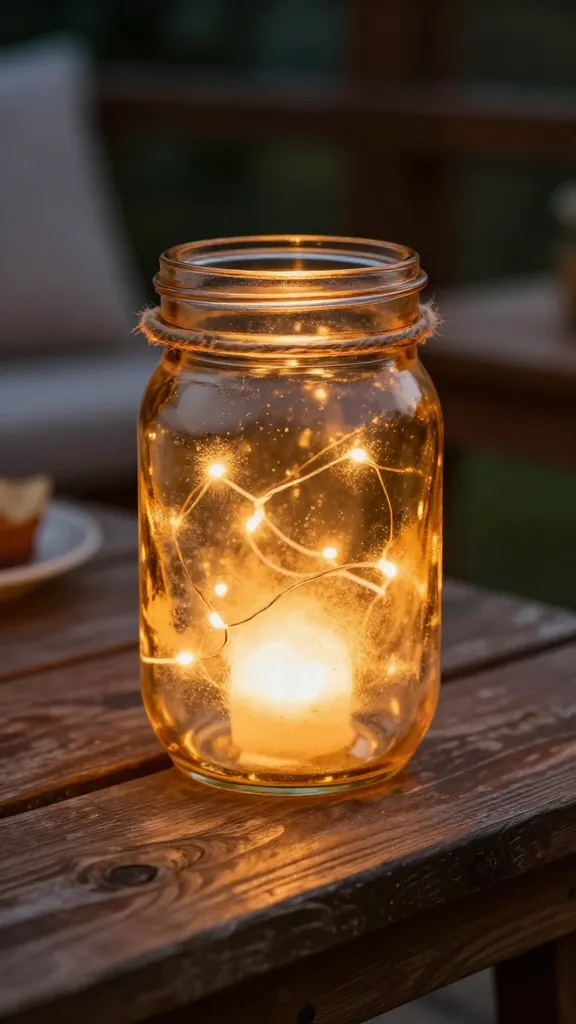
Picture this: a warm, amber glow flickering through frosted glass, resting on a coffee table or porch step. This rustic lantern blends farmhouse charm with a touch of magic, perfect for cozy evenings or outdoor gatherings. It’s simple, stylish, and endlessly reusable.
Materials Needed
- Mason jars (amber-tinted if you have them, or plain, painted with frosted spray)
- Copious amounts of small string fairy lights
- Jute twine or thick rope
- Hot glue gun and glue sticks
- Pliers (optional, for removing lids cleanly)
- Optional: flameless LED tea lights
How to Make It
- Wrap the jar with twine from the bottom to the top, securing every few inches with hot glue. Let tiny gaps show to catch the light just right.
- Sling a strand of fairy lights inside the jar, leaving the battery pack outside for easy access. If you’re using LED tea lights, place one on the bottom for a soft base glow.
- Create a simple hanger with more twine glued around the lid area, then tie a loop for hanging or set it on a table with the lid removed for a lantern silhouette.
Pro Tips / Styling Ideas
- Switch up the twine color to match seasons—cream for winter, sage for spring, burnt orange for fall.
- Group three lanterns of varying sizes on a tray for a dramatic centerpiece.
- FYI: Use battery-powered lights to avoid heat and keep it kid-friendly.
Who would love it: Perfect for patios, living rooms, and those inviting, cozy corners. It’s a gift-ready idea that feels luxe without the fuss.
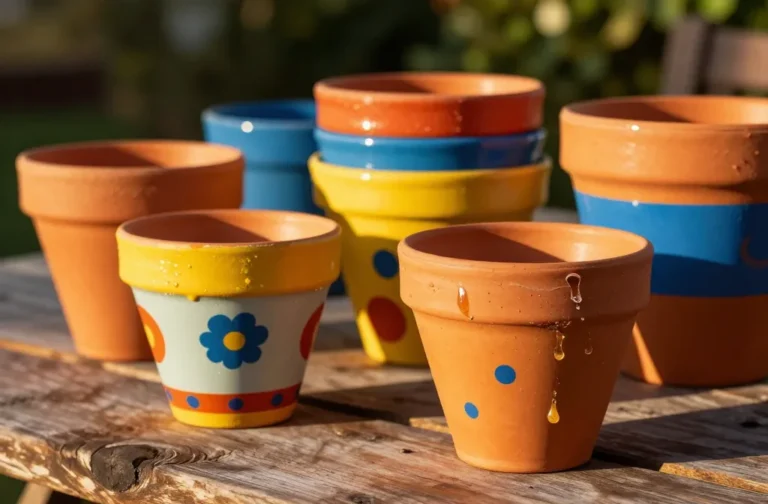
2. Color Blocked Terracotta Planters With Adorable Faces
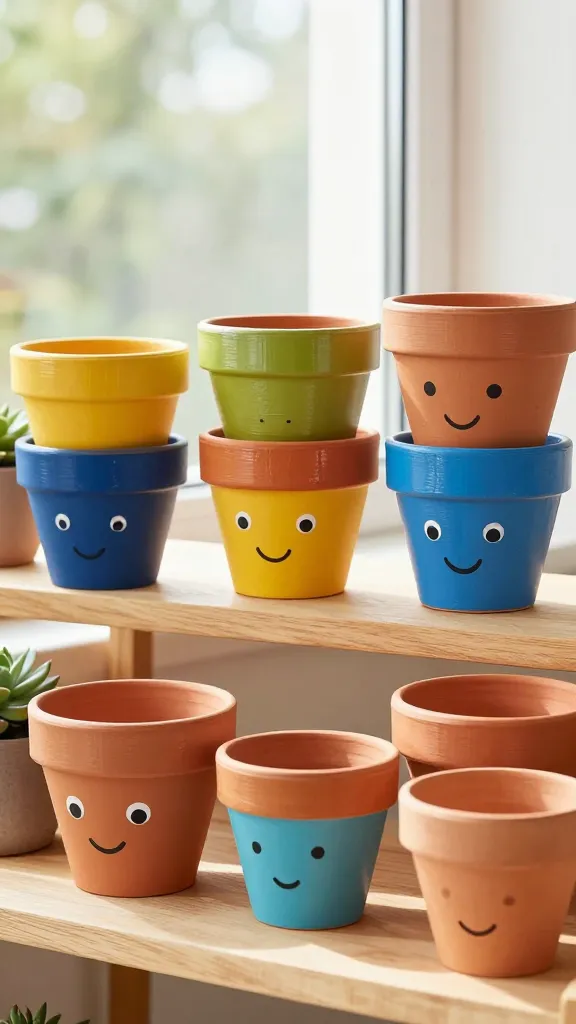
Yes, planters can be personality-packed. This idea takes plain terracotta and turns it into cheerful, color-pop mini-sculptures that brighten shelves and desks. It’s playful, Pinterest-perfect, and surprisingly quick.
Materials Needed
- Terracotta pots (various sizes)
- Acrylic paint in bold, contrasting colors
- Fine brush set and a larger flat brush
- Painter’s tape
- Protective sealer (matte or satin)
How to Make It
- Start with a base color on each pot. Once dry, tape off geometric shapes to create blocks of color on different sides.
- Paint playful facial features or minimalist expressions on the sections—eyes, smiles, tiny cheeks—whatever vibes you want.
- Seal for protection, then pair small and medium pots on a shelf to create a joyful cluster.
Pro Tips / Styling Ideas
- Keep a consistent color family (neons, pastels, or earthy tones) for cohesive display.
- Mix in a few plain pots to balance the bold faces.
- FYI: Use outdoor sealant if you plan to place them on a balcony or window sill exposed to sun.
Who would love it: Great for plant lovers with a goofy bone or anyone who wants to add charm to a desk, window ledge, or bathroom shelf.
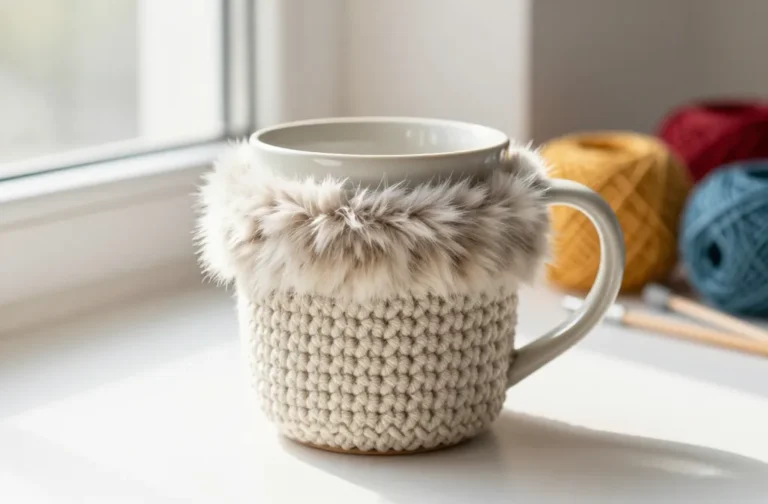
3. Basket-Weave Wall Hanging Made From Recycled T-Shirts
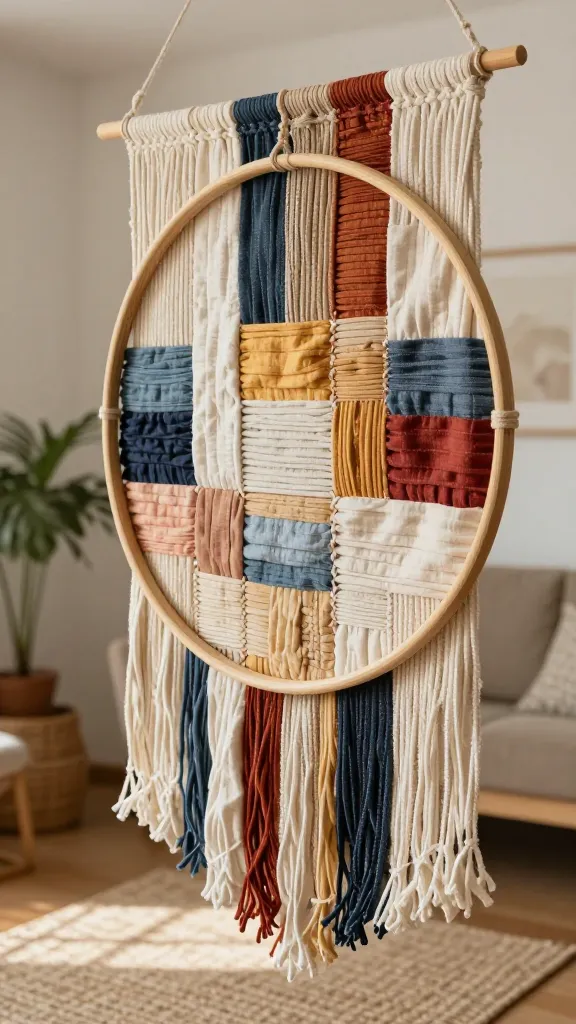
Gone are the days of boring textiles. This wall hanging uses soft fabric scraps to create a tactile, boho piece that hugs light and texture. It’s a delight to make and a delight to display.
Materials Needed
- Old t-shirts in assorted colors
- Scissors or rotary cutter
- Rattan or wooden hoop (large)
- Needle and thread or fabric glue
- Optional: a wooden dowel for hanging
How to Make It
- Cut t-shirts into long strips, then braid or weave them around the hoop in a basket-like pattern.
- Secure each strip with needle and thread or fabric glue as you go to keep the weave tight and neat.
- Let colors spill and blend across the hoops for a playful, sunlit finish.
Pro Tips / Styling Ideas
- Accent with a few metallic threads for a subtle glow when light hits the surface.
- Hang near a window or above a bed to cast soft color reflections across the wall.
- FYI: Switch out strips seasonally for a quick refresh without a full remake.
Who would love it: Ideal for apartment walls, dorm rooms, or a cozy living corner without committing to heavy decor.
4. Marbleized Flower Pots With Metallic Accents
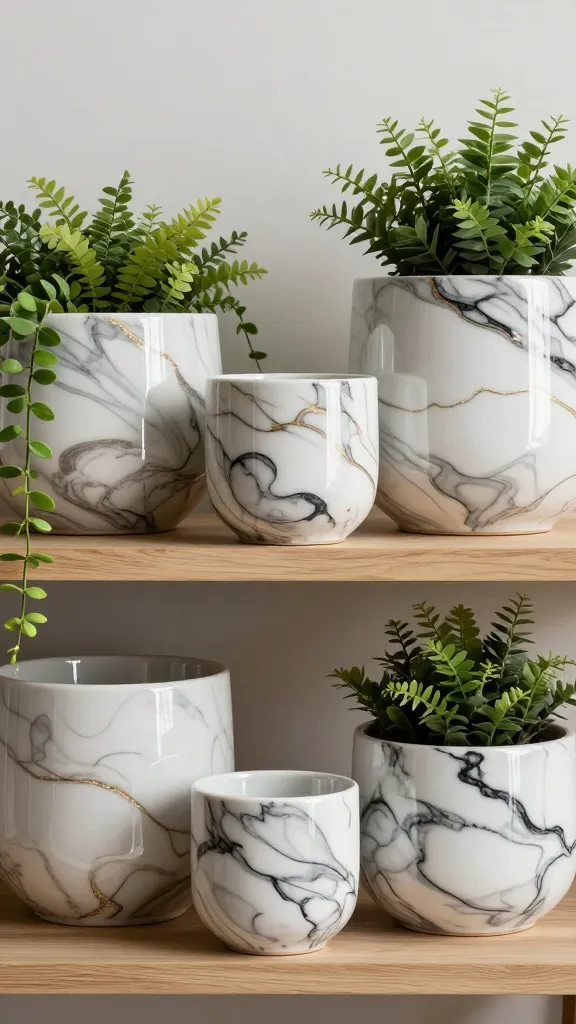
Marble meets metal in a chic, inexpensive upgrade for your greens. This project yields a set of elegant planters that look like a million bucks but are shockingly simple to pull off. It’s modern, luxe, and totally photo-ready.
Materials Needed
- Plain ceramic pots (assorted sizes)
- White paint or acrylic pouring medium
- Black or dark gray paint for marble veining
- Gold or copper metallic paint for accents
- Plastic wrap or cling film
How to Make It
- Create a marble effect by swiping a dab of black paint over a white base and dragging with a toothpick or brush lightly through the surface, then blur with a bit of water or cling wrap for organic veins.
- Spritz a touch of metallic paint along some veins for a luxe gleam in certain angles.
- Allow to dry completely, then seal lightly to preserve the look.
Pro Tips / Styling Ideas
- Group with solid-colored pots to make the veining pop.
- Place on a windowsill or coffee table for a reflective, artful vibe.
- FYI: Use a UV-resistant sealant if they’ll sit in direct sun.
Who would love it: Plant parents who crave a modern gallery feel or anyone wanting a designer touch with minimal effort.
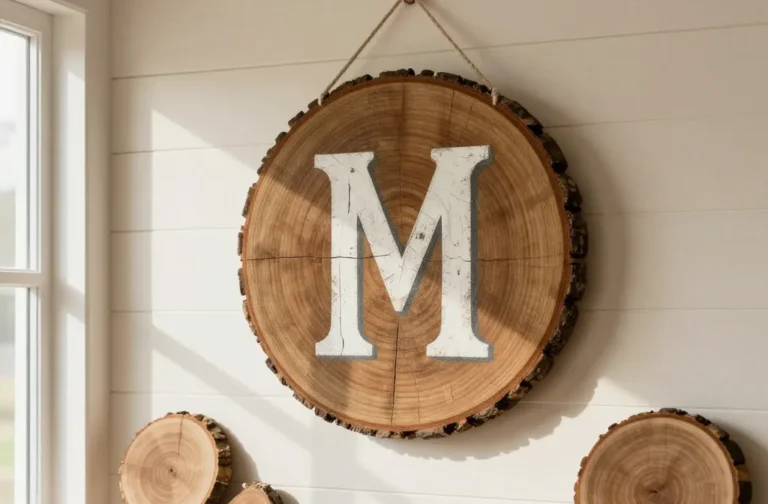
5. Geometric Painted Wooden Coasters With a Personal Monogram
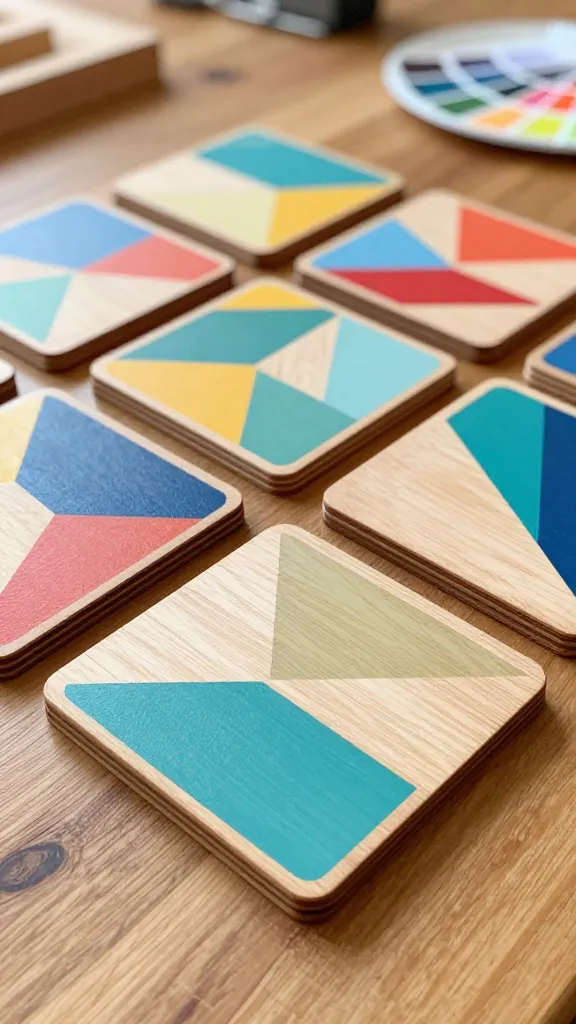
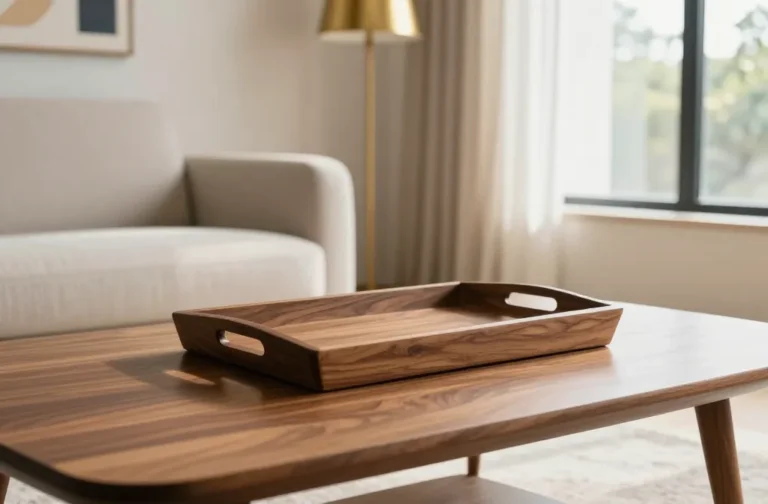
Coasters are practical, but these are frankly art with a purpose. In a few quick steps, you transform basic wood into a set that looks curated, personalized, and ready to gift or keep. It’s a small project with a big style payoff.
Materials Needed
- Birch plywood coasters (or cut your own from scrap wood)
- Acrylic craft paints in 2–3 complementary colors
- Painter’s tape
- Clear sealant or varnish
- Stencil for monogram (or freehand if you’re feeling confident)
How to Make It
- Base-coat each coaster in a light neutral color. Let dry.
- Use painter’s tape to create a geometric pattern—triangles, hexagons, or diagonal stripes.
- Paint the sections with your chosen colors, then once dry, add a monogram in the center using a stencil or freehand script.
Pro Tips / Styling Ideas
- Mix gloss and matte finishes for depth and texture.
- Pair with a matching wooden tray for a cohesive gift set.
- FYI: Apply a stiffener or wood varnish to protect against moisture.
Who would love it: A thoughtful housewarming gift, wedding favor, or personal treat for someone who loves a tailored, chic desk setup.
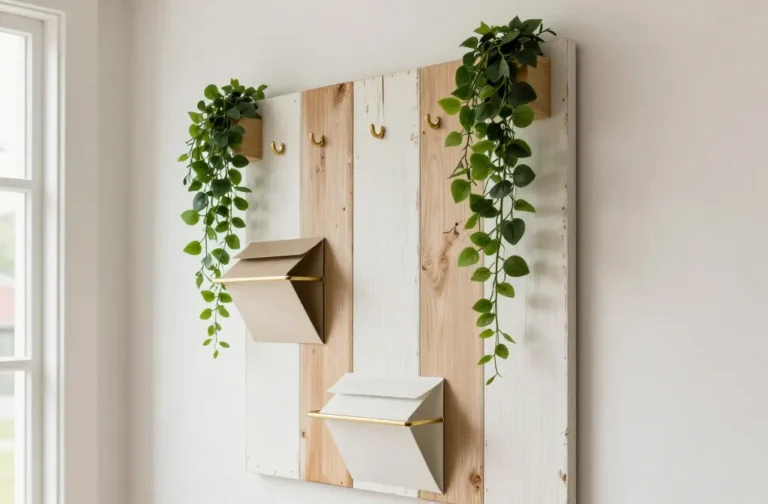
6. Soft Fabric Wall Weave With Pom-Pom Trim
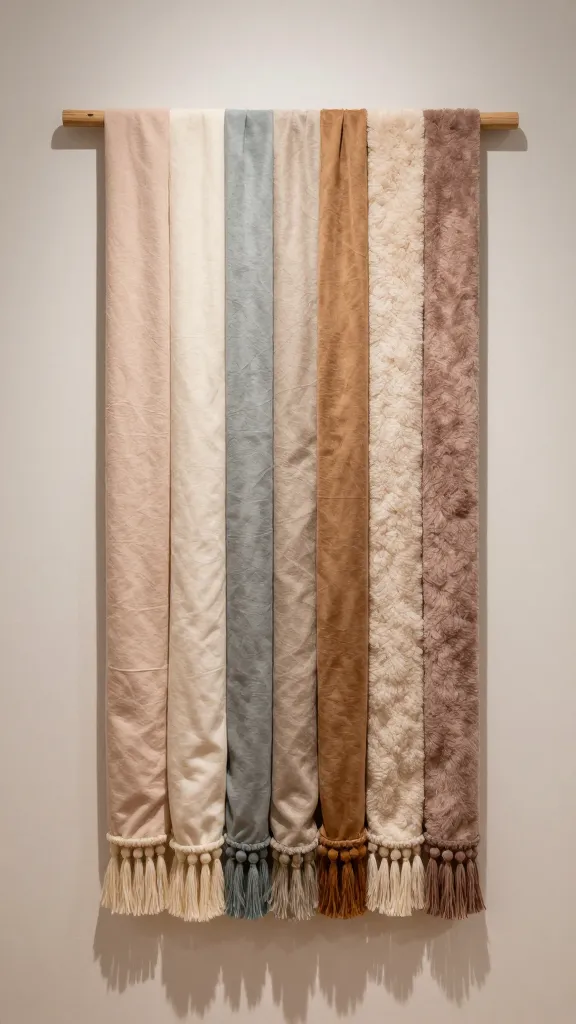
Texture lovers, this one’s for you. A quick weave using soft fabrics and playful pom-pom trim creates a wall piece that’s soft, tactile, and totally gallery-worthy. It’s a tactile statement that invites you to reach out and touch the cozy surface.
Materials Needed
- Wood dowel or small wooden frame
- Fabric strips or slices (old clothing, scarves, or thrifted fabrics)
- Pom-pom trim or tassels
- Glue gun and glue sticks
- Scissors
How to Make It
- Attach the fabric strips to the dowel or frame in a vertical weave, layering strips for depth and color variation.
- Finish edges with pom-pom trim to add whimsy and movement.
- Hang on a wall using a simple nail or removable adhesive hook.
Pro Tips / Styling Ideas
- Choose a color palette that matches your room’s vibe—cool blues, warm blush tones, or earthy neutrals all work well.
- Mix scales: add a few longer fabric strips for a flexible, dynamic look.
- FYI: Use fabric that’s washable if you want this to be a frequently refreshed piece.
Who would love it: Textile lovers, boho stylists, or anyone wanting a soft, tactile focal point on a wall.
Conclusion
These six craft ideas are more than projects—they’re small acts of creative joy you can pin, share, and actually complete. Each one brings a distinct vibe to a space, plus they’re incredibly beginner-friendly with room to personalize. Pick one, or dare to try them all this season—your home (and your feed) will thank you.
Ready to start? Grab a project that speaks to you, set aside a crafty afternoon, and unleash your inner Pinterest star. You’ll love the process, the end results, and the little moment of pride when someone asks, “Where did you get that?”