How to Organize DIY Kids Activities
I love DIY kid activities because chaos becomes creativity when you’re organized enough to ride the wave. You want activities that spark imagination, not a scavenger hunt of missing supplies. So here’s the game plan: quick setup, big payoff, minimal mess, and maximum giggles. No fluff, just practical vibes you can actually pull off. Ready to turn your kitchen table into a playground of ideas? Let’s dive in.
Set the Stage: Simple Framework for Quick Wins
You don’t need a studio full of fancy gear to run great activities. Build a tiny system that fits on your kitchen counter and in your brain at the same time. Here’s the core framework:
– Pick a theme or skill you want to foster (fine motor, curiosity, problem solving, or just silly fun).
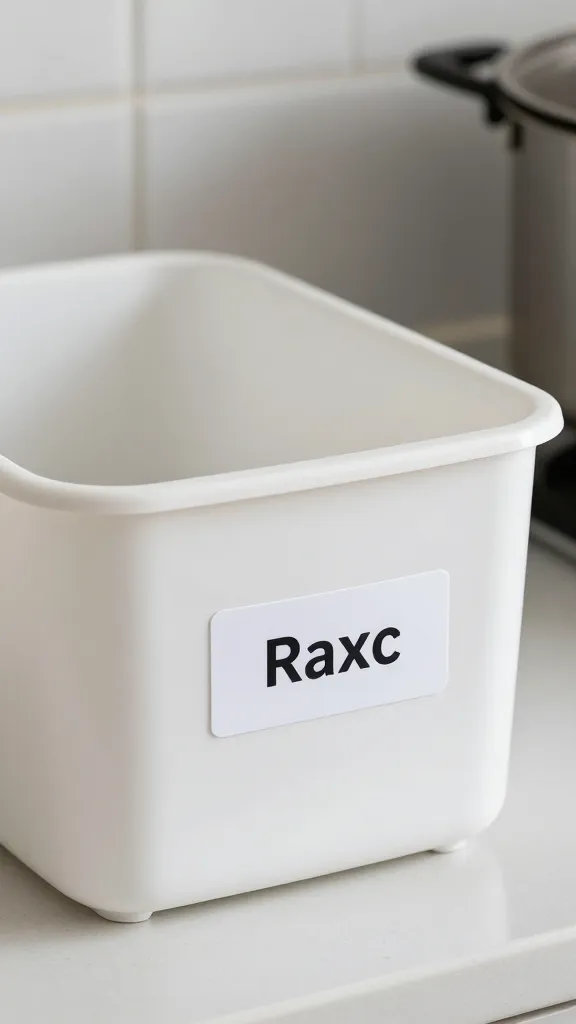
– Gather a small, labeled materials bin with essentials you reuse often.
– Set a time window that creates urgency without stress.
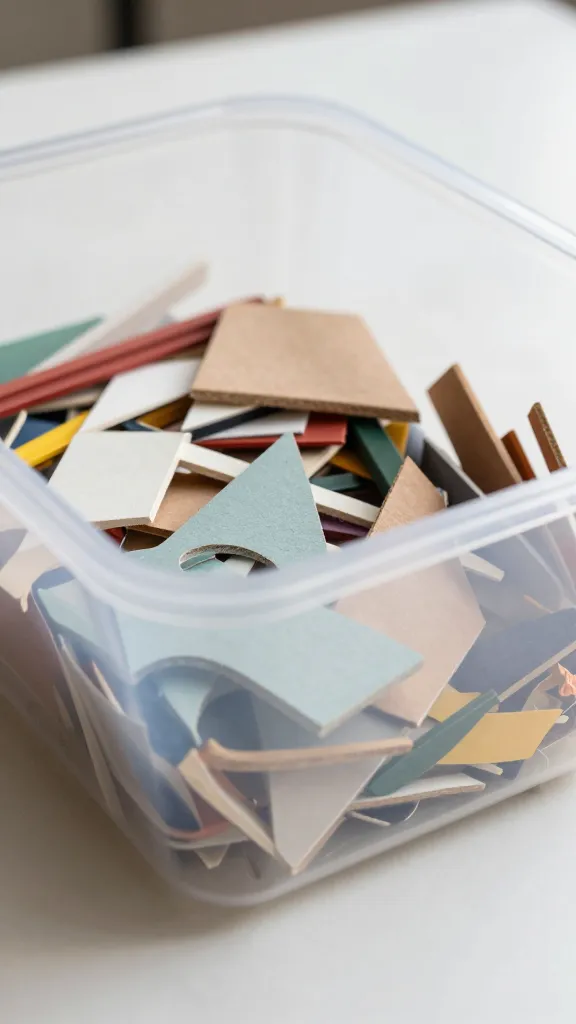
– Store leftovers in clear bins so you actually reuse them.
Ask yourself: what’s the simplest version of this activity that still feels special? If the answer is “a piece of paper and tape,” you’re already winning the day.
Material Magic: Stocking a Ready-to-Go Kit
One of the biggest drag-posts is hunting for supplies mid-activity. Do a little prep so you spend more time creating and less time rummaging.
– Create a standing supply stash: a labeled tote with markers, scissors, glue, tape, scrap paper, coffee-stir sticks, stickers, yarn, and recyclables.
– Build a “dirty bin” for messy ventures: paint, glue, glitter—seal it and keep the lids on tight.
– Include a “burst mode” box: a handful of quick-start items for spontaneous play (popsicle sticks, Play-Doh, rubber bands, paper tubes).
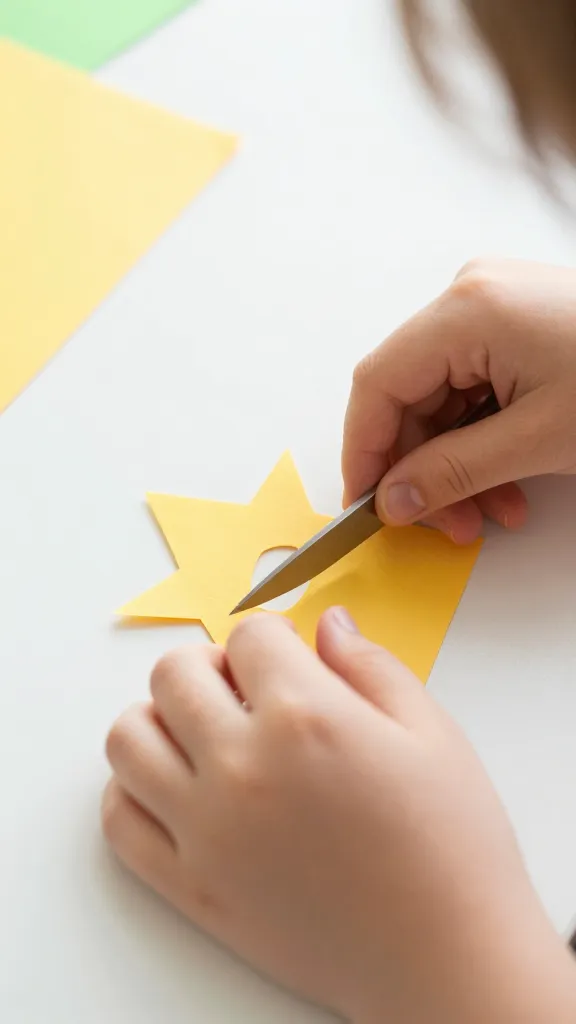
– Don’t forget safety: kid-safe scissors, non-toxic paints, and aprons or old shirts to protect clothing.
Pro tip: rotate the contents every couple of weeks so it feels fresh without buying new stuff constantly. FYI, kids love rediscovering the same bin with new possibilities.
Rotation Station: 5-Week Activity Schedule
If you’re juggling work, naps, snacks, and the occasional meltdown, a loose schedule helps. Not a jail sentence—just a map.
– Week 1: Build and test. Simple engineering or construction play (block towers, cardboard forts).
– Week 2: Create and decorate. Art projects that double as gifts or room decor.
– Week 3: Pods and puzzles. Scavenger hunts, treasure maps, or logic games.
– Week 4: Science quickies. Easy experiments with household items.
– Week 5: Movement and music. Obstacle courses or dance-along mini-shows.
Keep it flexible: if one week runs long, skip ahead. The goal is momentum, not rigidity.
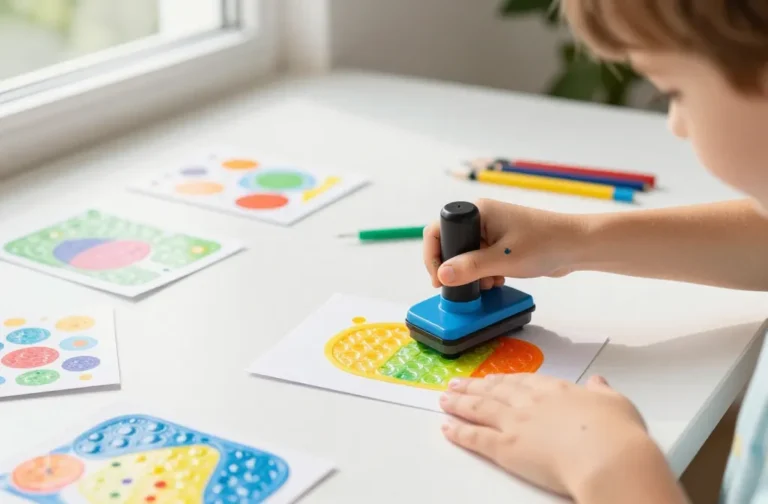
Mini-Activities, Big Payoffs: 15-Minute Ideas
Short bursts beat long, drawn-out sessions when you’re balancing busy days. Here are activities that fit into a coffee break and still feel magical.
– Paper airplane race with a twist: decorate, then race; award silly points like “most dramatic dive.”
– Sensory treasure hunt: hide small objects in a tray of rice or sand for discovery.
– Cardboard sculpture challenge: give kids a pile of boxes and supplies; set a silly theme.
– Sticker storytelling: kids pick a sticker, create a tiny story around it, and narrate it to you.
– No-mook prompt art: a single prompt (draw your dream tree, or paint with only three colors) sparks big creativity.
- Keep it quick: aim for 10-15 minutes tops.
- Offer choices: “Would you like to color or collage?” improves buy-in.
- Close with a mini-show: quick display or telling moment to seal the experience.
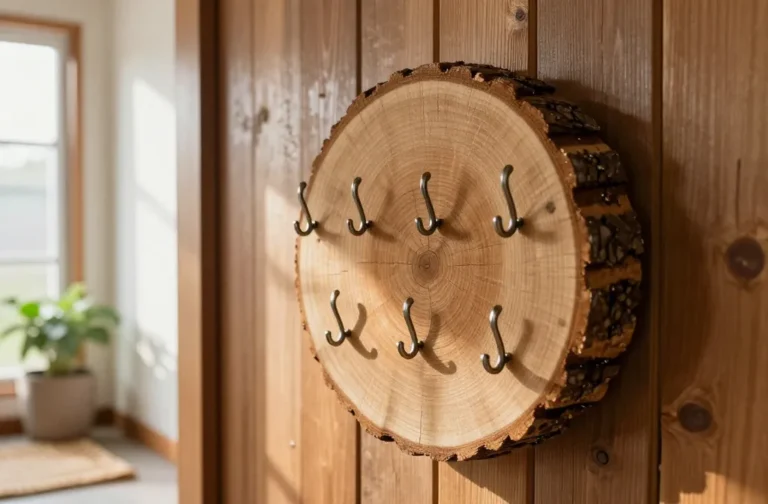
Deep Dive: Themed Weeks for Momentum
If you crave more structure, anchor each week around a theme and collect tiny, related activities. For example:
– Week of Building: cardboard, tape, string, rubber bands.
– Week of Nature: leaves, twigs, rocks, water color paints.
– Week of Storytelling: puppets, felt boards, printable story prompts.
Themes give kids something to anticipate and reuse materials without reinventing the wheel every day.
Cleanup Without Tears: Gentle Systems That Actually Work
Mess is part of the magic, but chaos isn’t the vibe we’re aiming for. Make cleanup a game, not a lecture.
– Set a 5-minute cleanup timer with a silly song.
– Have a “return station” for each type of material so everything lands in the same bin.
– Use labeled drawers or color-coded bins for quick sorting.
– Reward effort with a tiny dance party or sticker for a job well done.
If you turn cleanup into a cheerfully competitive sport, kids happily contribute more, and you avoid the dread that comes with a messy end.
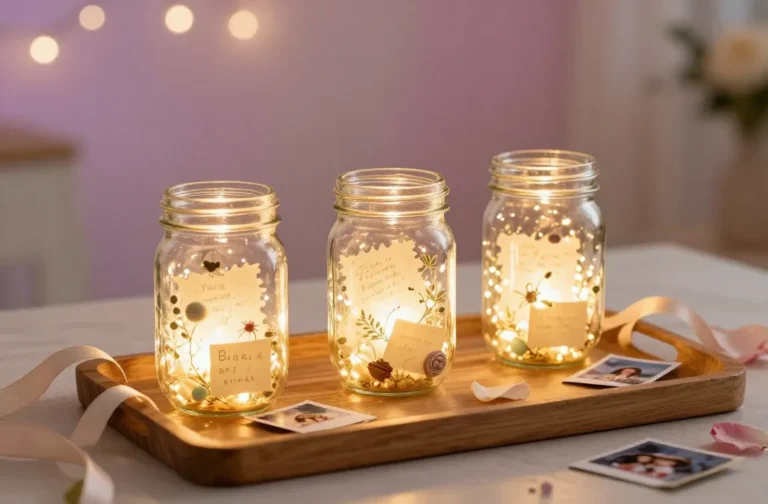
Documentation & Keepsakes: Capture the Fun
You don’t need a scrapbook army to preserve memories. A few simple habits keep the magic alive.
– Take one goofy photo per activity and one “process shot” of the mess.
– Create a monthly “show and tell” slide or board where kids explain their favorite part.
– Save a few standout projects as a mini gallery—rotate every few weeks.
– When in doubt, ask kids which moment they want kept and why.
This isn’t hoarding; it’s making sure the joy isn’t forgotten when the next season of activities rolls in.
Involving the Team: Grown-Ups, Siblings, and Friends
DIY is more fun with backup. Here’s how to collaborate without stepping on toes.
– Role assign: one kid chooses the activity, another acts as the “materials manager,” and a third narrates the “show.”
– Siblings share responsibilities with clear boundaries and rotating turns.
– Friends can rotate into short, supervised playdates with a “theme passport” that stamps after each activity.
If you’re hesitant about messy play, designate a mess-friendly zone, and be honest about the expectations: “We’re playing with mud today; we’ll clean up together.” Kids appreciate the clarity and the sense of agency.
Subsection: Safety Wins
– Always supervise active play, especially with small parts and hot glue or cutters.
– Check supplies for choking hazards and non-toxicity.
– Use water-based paints and sealants when little ones are involved.
Conclusion
Organizing DIY kids activities isn’t about turning your house into a lab. It’s about building a flexible system that sparks curiosity and reduces the stress that often comes with “Mom, I’m bored.” With a ready-to-go kit, a light rotation of themes, quick-hit activities, and a sane cleanup plan, you can turn ordinary days into memorable bursts of creativity. IMO, the simplest setups tend to be the most powerful—they invite spontaneous play without demanding a full afternoon commitment. So stock a little, plan a little, and let the imagination do the heavy lifting.
FAQ
What’s the best age for starter DIY activities?
Start as soon as kids can handle simple tools safely, usually around 2-3 years old with supervision. Choose activities with age-appropriate materials and clear, short steps. The point is to build confidence and curiosity, not to chase perfection.
How can I keep activities affordable?
Reuse recyclables, borrow from neighbors, and shop the dollar store for basic supplies. Also, repurpose everyday items (paper rolls, cardboard boxes) into craft materials. FYI, the less you buy, the more creative you must be—and that’s where the fun hides.
What if my kid loses interest quickly?
Offer choices and short “micro-versions” of activities. Break longer ideas into 10-minute chunks and let them pick the next option. Sometimes the best cure is a quick shift to a different, equally engaging activity.
How do I manage mess without losing my sanity?
Set a visible cleanup plan and celebrate completing it. A timer and a catchy cleanup song help. Also, designate a dedicated mess zone and provide easy access to wipes or a washable mat. Remember: tidy space, tidy mind (mostly).
Can I involve my kids in planning?
Absolutely. Ask them to pick a theme, gather favorite materials, or create a mini schedule. Giving kids ownership turns DIY into a collaborative adventure and boosts their enthusiasm.