11 Batik Craft For Kids
11 Batik Craft For Kids
Batik is the traditional art of wax-resist dyeing.
The word “batiks” is an Indonesian word that originated from the Javanese word for “to paint.” Batik is often confused with tie-dye or other resist-dying techniques, but there are some key differences:
Batik Art for Kids
Batik is a wax-resist dyeing technique that has been used since the 9th century. It’s a great way to teach your kids about art, history, science, and recycling!
How to Make Batik Art for Kids.
Print out this batik craft template (click here). You can use any paper you have lying around the house or buy some inexpensive cardstock at an art supply store like Michaels or Hobby Lobby. If you don’t have access to a printer, there are many free printable templates online including this one by PBS Parents and this one on Pinterest by Crafts By Amanda.
Cut out squares of fabric approximately 3×3 inches each (or slightly smaller if your child’s hands are small) using sharp scissors with rounded tips so he or she won’t poke himself accidentally while cutting them out (safety first!).
3×3 inches is just right for little fingers; larger sizes may be more difficult for young children because they may get frustrated when trying to hold onto pieces of fabric that are too big for their little hands! You can also buy precut squares from any craft store like Hobby Lobby if you do not want to cut them yourself but instead would rather spend time having fun doing other things together such as playing games or reading stories together )
Batik Art With Wax And Crayons
Batik is a technique of waxing and then dyeing fabric. When you apply wax to the fabric, it protects the areas you don’t want to be dyed from being dye.
Then when you apply dye over that waxed area, the color won’t take. So it creates these beautiful artworks where only certain parts of the piece are colored in while others stay white or are left out altogether.
This batik craft for kids is a fun way to get your child used to create their designs with this method and will help them learn how to think spatially as they work on their project!
To create a batik with crayons and wax.
Draw whatever design you want on paper first so that it can be traced onto your cloth later (this step isn’t necessary but makes life much easier). You can make large or small pieces depending on your preference; if making small ones then just trace around fingers instead of an entire hand since fingers won’t fit into the jar anyway).
Butterfly Tote Bag
- What you need
- Batik fabrics in blue and yellow
- Ruler
- Pencil or pen
- Scissors, needle, and thread (for sewing)
- How to make the bag:
Lay out one of your batik fabrics on a flat surface. Use a ruler to draw lines for where you want your butterfly pattern. Add about 1/4 inch on all sides. Cut out the shape using scissors, then cut along all four sides so that it has an open bottom edge.
Repeat this process with the second fabric, making sure they are both the same size when they are finished. Then iron them flat so they don’t crumple up while you work with them later! Next, lay out your first piece face down so that its right side faces up toward you — this is where we will start drawing our beautiful butterfly design! With either pencil or pen (whichever works best),
trace along each line until it becomes clear what kind of pattern will look good here – maybe something like flowers? Leaves? Stems? Or even words!? Whatever sounds fun might be best at this point because once everything has been drawn onto paper there won’t be any turning back
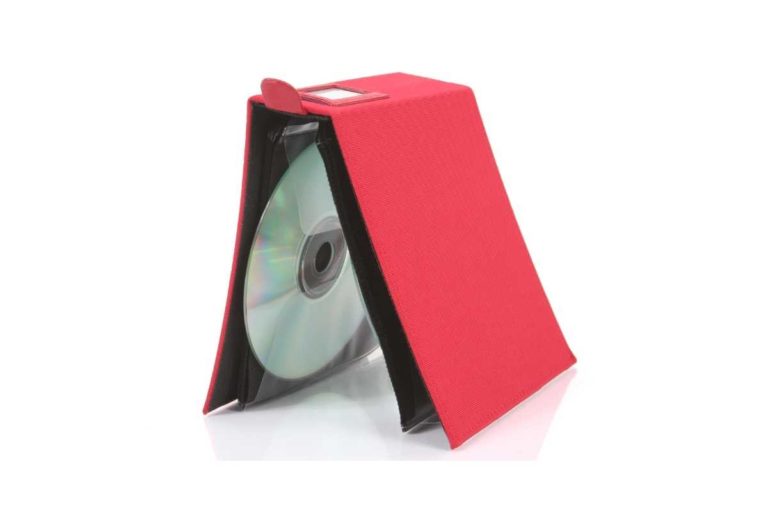
Solar System Mobile (DIY)
- You will need.
- A frame (can be bought at your local craft store)
- Acrylic paint and paint brushes (1-2 different colors, I used pink and purple)
- Black construction paper or black cardstock
Now that you’ve gathered everything you need, it’s time to start making! In this step, we’ll be painting our mobile frames so they match how we want them to look when they’re hanging up in the air. This is also where we decide what color background we want our picture frame or CD case to have on it. We are going with pink because who doesn’t love pink? Not me!
DIY Butterfly Fabric Wall Art
- Use a butterfly stencil to create the butterfly shape.
- Use a paintbrush to apply the fabric paint or fabric dye on your butterfly stencil, being careful not to get it on your hands or clothes.
- Let dry completely, then remove the stencil carefully so as not to leave any smudges in the design of your new piece of art!
11+ Ways To Dye Fabric Naturally – The Art Of Batik
Batik is a wax-resist dyeing technique used on textiles and other materials. The word “batik” comes from the Javanese language, which means “wax on, wax off”.
In this art form, cloth or other materials are patterned by application of wax resist to leave areas clear for dyes that cannot penetrate the wax film; then dye is applied and either absorbed or repelled by the underlying material, depending on its color and how much water it contains (this reaction is known as penetration).
After dyeing, batiks are also often hand-painted with additional natural dyes made from plants such as indigo or madder; this process of combining dyes in different ways makes each piece unique.
Batik designs can be simple or complex—they can include images from nature like animals or flowers; pictures related to myths and legends; geometric patterns based on those found in traditional Indonesian textiles; abstract shapes created using only two colors (for example red/white); abstract compositions using many different colors but no specific theme (called “freestyle”).
Traditional batik designs usually have bright colors that look luminous against dark brown backgrounds but they’re not limited to these combinations – you could try creating your design based on one color scheme instead!
There Are Many Ways To Create Beautiful Artistic Batiks.
Batik is an ancient art form that dates back to the 10th century. It was discovered in Indonesia and was used to create intricate designs on fabric using wax and dye.
Batik has been around for such a long time because it’s a dying art form, which means you have to be careful when working with it or else your work will be ruined. If you make mistakes while creating batik, there’s no way to fix them!
Batik has become so popular all over the world because it’s not only beautiful but fun as well! You can learn how to do this craft in your own home, even if you’re not very artistic (which I wasn’t). You don’t even need any special tools or materials; just grab some fabric and we’ll get started right away!
What Are The Materials Needed For Batik?
To make batik, you will need a piece of fabric, a batik pen or tjanting tool, a canting bowl, and batik wax.
The fabric can be any kind of natural fiber fabric, such as cotton, linen, or silk. The batik pen is used to draw your design onto the fabric, and the canting bowl is used to hold the hot wax.
The batik wax is made from a mixture of beeswax and paraffin wax and is used to resist the dye when you are ready to color your fabric.
How Do You Make Simple Batik?
A batik is a traditional form of Indonesian fabric dyeing that uses wax resistance to create patterns.
Simple batik can be made by drawing a design on fabric with a pencil, then using a small paintbrush to apply melted wax to the lines of the design. Once the wax has cooled and hardened, the fabric is dyed. The dyed fabric is then placed in boiling water to remove the wax, revealing the final batik design.
What Is Batik Craft?
Batik craft is a form of Indonesian art that involves using a wax resist to create patterns on fabric.
This wax resist is applied to the fabric using a tjanting tool, and the fabric is then dyed. The dyed fabric is then boiled, and the wax is removed, revealing the beautiful patterns that have been created.
Conclusion
I hope that you have enjoyed these batik art ideas for kids. They are fun and easy ways for children to learn about the world around them while creating something beautiful at the same time. The best part is that they will look great on your wall once they’re done!