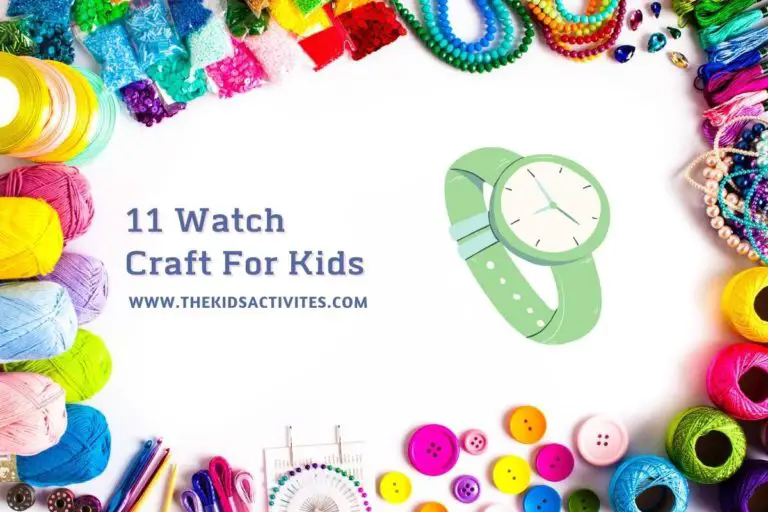
11 Craft For Kids Step By Step
11 Craft For Kids Step By Step
Craft for kids is not always easy. However, if you are looking for something that will occupy your child’s attention and give.
her a sense of accomplishment at the same time (and maybe even teach some life lessons), you can try doing some fun crafts together with her.
Here are some great ideas for easy crafts for kids to make themselves:
Sandpaper Butterflies
You will need
- Sandpaper
- A pencil
- A ruler
Step 1
Draw a butterfly on your piece of sandpaper. You can use any type of butterfly you like, but I suggest making one with big wings and lots of colors! Remember that the bigger you draw it, the smaller it’ll look when you’re done.
Paper Cup Snowman
Materials needed
- 1 paper cup (the one you drink your coffee or tea from)
- Scissors
- Glue stick and/or tape
Instructions
Cut the bottom of a paper cup off and make sure it is completely flat on the bottom so that you can stand it up on its own.
Glue a small piece of cardboard to the back of the cup to make it sturdier and easier to hold.
Cut out two circles for the eyes, nose, and mouth with scissors or a hole-puncher in different colors than your paper cups (you can use black construction paper or any other scrapbooking supplies).
Draw an oval shape for his hat as well as two rectangles for his arms with tape or glue stick on another sheet of cardstock cut into small pieces about 5cm x 4cm(2in x 2in). Cut them out when done drawing them so they’re easier to handle! Use either a blue crayon or marker pen to draw details such as buttons on his coat etc…
DIY Handprint Necklace
In this project, you’ll create a necklace from your child’s handprint. This is a great way to show off their personality and can be used as a creative keepsake.
Materials.
- paper plate, or another circular object that can be cut in half
- by pencil or pen (if drawing directly on the plate)
- scissors
Directions. First, cut the plate in half with scissors so that it looks like a donut. Next, trace around your child’s hand on cardboard with a pencil or pen and cut out the traced shape.
Then glue this piece onto one side of the plate and then glue another piece of cardboard over the top of it to make it thicker and more sturdy before cutting it out again! Finally, use some string/yarn/ribbon, etc…to hang it up!
Bumblebees From Socks
- Materials
- Socks
- Colored pencils, scissors, and glue (or a stapler)
- Steps
Cut the sock into a shape that resembles the bumblebee’s body. If you have white socks, you can use them as-is for waxing over with color later!
Draw on stripes of yellow, black, and brown to resemble the bee’s body parts; this will help establish where to glue on wings later. You may also want to draw some eyes on your bee at this time—you can choose from lots of different kinds of eyes if you’d like!
Fold up one leg into the shape of an antenna and tape it in place with masking tape or something similar so that it stays upright while drying (this is optional).
Greeting Cards For Mother’s Day For Children With Own Hands
You will need
- a white card or paper (if you want, you can make your own greeting card)
- scissors, glue, pencil, and ruler.
Step 1
Draw the pattern of the butterfly on a piece of paper. The pattern should consist of five shapes that are connected by dotted lines. For example, here is my sketch:
Step 2
Cut out all the pieces according to your pattern using scissors. If necessary, do it several times so that all parts fit together smoothly without gaps or overlapping each other when glued together later.
You should also check for symmetry by comparing each side with one another before gluing them together and cutting out small additional pieces if necessary if something does not match up correctly!
Origami Swan
Origami swan instructions, video, and step-by-step diagram. Learn to make an origami swan with these free instructions including templates, tutorials, pictures, and more.
In this craft, you will learn how to make an Origami Swan. This is a great beginner-level project that can be completed in under 15 minutes!
The materials required are paper plates and tape. There is no need for glue or scissors – just follow the steps below!
Sheep Felt Crafts – An Easy Handmade Gift Idea for Kids to Make For Easter
If you’re looking for a simple craft that’s fun to make, this sheep felt craft is perfect.
You can use felt to make a sheep or a lamb, or even both! You can also use felt to make an entire farm of animals.
sheep, lamb, and cow; sheep, lamb, and pig; or even all three!
Paper Plate Rainbow Craft
Materials needed
- Paper plate
- Colored tissue paper/construction paper (different colors)
- Glue, scissors, and tape.
How to make it
Take the paper plate and cut it into thin strips. You can use any type of cutter you have at home, like a pizza cutter or even just a pair of scissors will do the job. Then glue them together one by one until you end up with a circle shape made out of all those paper strips glued together side by side.
If needed you can use double-sided tape to stick everything in place while drying. You can also cut out small stars or other shapes from different colored tissue papers or construction paper if that’s what you have available at home and glue them on top of your rainbow shape as decoration pieces but they won’t be part of the main structure so don’t worry about how many there are just get creative!
Now take two pieces from each color spectrum and glue them together until they form another ring around where your first layer was glued on top of itself (you should now have three layers total). Repeat this step again so now we have four rings with alternating colors from red through violet!
Now add some extra details like maybe adding more stripes around each ring using smaller strips from other colored materials such as green leaves for example could look really nice here too!
Finally, once everything has dried properly cut off any excess material which might interfere with folding back onto itself neatly like those little flaps sticking out along edges because these could get caught up inside when trying fold over onto themselves.”You don’t need special tools but if available try using an X-acto knife instead since it will make cutting easier without risking messing up any fingers alongside while working.”
Children’s drawing technique
Sandpaper picture with a butterfly theme. Children’s drawing techniques. Master class step-by-step
Here is the craft
- Let your child use a colorful felt-tip pen to draw a butterfly on the sandpaper.
- Let your child put two pieces of sandpaper together and then cut out the butterfly using scissors.
- Have your child decorate the butterfly with sequins and beads, glue feathers or sequins onto it, etc., then hang it in an indoor plant holder or outside on their window sill to enjoy!
Ladybird Finger Puppet
This craft for kids is super easy to make and can be done in a couple of minutes. It also makes a fun gift for your loved ones. The ladybird finger puppet can be used as a puppet or simply as decoration.
This craft will make one ladybird finger puppet, but you can double it so that you have enough for everyone!
Butterfly Handmade
Paper dragonfly step-by-step master class. Spring origami toy for kids. Children’s drawing technique. Insect toys from paper. Butterfly handmade
In this art project, you will learn how to make a paper dragonfly. It is a quick and easy craft for kids. The materials needed are:
- paper (any color or pattern)
- scissors or paper cutter
- glue stick
Butterfly From Buttons
Spring crafts for children. Crafts of the spring season with their own hands for preschool children. Step-by-step master class
Butterfly from buttons. Spring crafts for children. Crafts of the spring season with their own hands for preschool children. Step-by-step master class
Materials:
- buttons (of different colors)
- stickers (you can find them in the store)
- a piece of cardboard or low paper box
Easy Crafts Kids Can Make Themselves
Crafts for kids to make themselves. This is the best way to make sure that your little one really gets into the art of crafting.
If you let them do it themselves, they will not only be proud of their creation but also understand how to use different materials and tools in order to create something beautiful.
You can start with simple crafts like a paper plate flower or an origami ball. These are great projects which require minimal effort on your part but will keep your child entertained while they learn some basic concepts about making things with their own hands.
Here are some easy crafts for kids that you can try out at home:
- Paper Plate Flower (see picture below)
- Origami Ball (see picture below)
Conclusion
Let your child’s imagination soar by bringing his or her favorite toys to life. These crafts are great for any age and will help your child develop their fine motor skills as well as strengthen their sense of creativity.