11 Hanging Craft For Kids
11 Hanging Craft For Kids
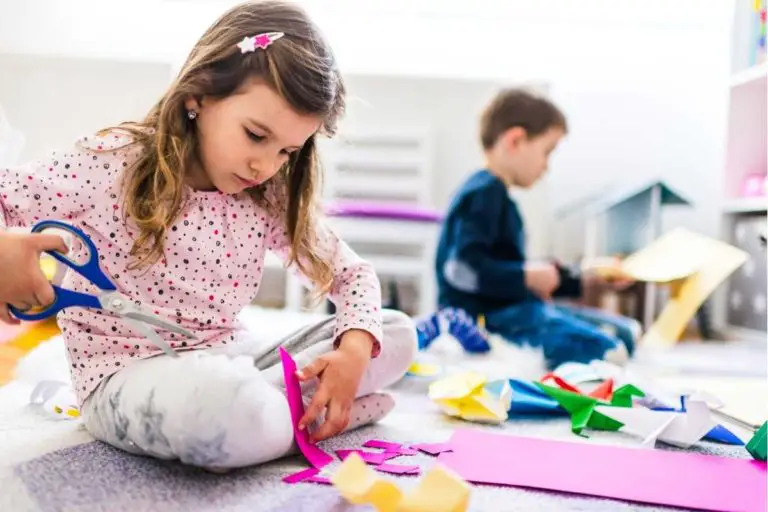
When you want to keep your kids entertained for hours, try hanging a craft for them to work on. Hanging crafts are great for indoor play and can be taken outside if it’s sunny.
These 11 hanging craft ideas will keep your kids busy and create beautiful decorations that they’ll enjoy looking at every day!
Dreamy Cloud Suncatcher
Materials needed.
- A glass or clear plastic jar with a lid (make sure that the jar is big enough for your suncatcher)
- Construction paper in various colors and patterns
- A hole puncher (optional)
How to make it.
Cut out shapes of clouds, stars, and moons from the construction paper. You can even add a smiley face to your suncatcher if you want!
Stick them on the outside of the glass jar using tape or glue as desired. Make sure they are completely secure so they will not fall off when hanging up later on!
Once all decorations are attached, take some double-sided tape or glue and apply it around where you would like to hang up this dreamy cloud suncatcher in your home!
Soaring Bird Suncatchers
Materials needed.
- Clear glass vase or jar (see note below)
- Green tissue paper or crepe paper streamers
- How to make it.
Cut the bottoms off of several pieces of green tissue paper. Make each piece at least 2 inches longer than your vase is tall. This will allow you to wrap them around the top, creating a hanging loop where they all meet when you’re finished.
Assemble a bunch of these tubes inside your chosen vase, so that it looks like a giant birdcage with lots of fluttering wings! You can add more bodies if desired by sticking some other small objects into the gaps between each layer. We used feathers and pinecones for ours!
What to do with it.
Hang it from its loop in an area where birds fly through often (like outside), and watch as they try their best not to get tangled up in there while trying not to get distracted from flying towards their next meal source!
Rainbow Star Mobile
You will need.
- Cardboard, 6 to 8 sheets thick.
- Color the cardboard with markers or paint if you want to.
- Glue glitter on top of the cardboard.
- Attach ribbon and decorative paper with glue or tape as desired.
Cut out large star cutouts and small star cutouts from construction paper, cardstock, or other materials of your choice (we recommend using at least three different colors).
Use these to make a mobile by poking a needle through each of the small stars so that they hang like fringe in front of a window when hung up; then thread the large stars onto the string and hang them behind them.[ENDWRITE]
Pom Pom Ladybugs
What you need.
a. Black pom poms (you’ll need about 50 black ones)
b. Red, orange, yellow and white yarn (I used 2 strands of each color)
c. Yarn needle or crochet hook to weave in your ends (if you don’t have one, that’s okay too.)
d. Scissors for cutting the yarn
e. Craft glue or hot glue gun with glue sticks if you want to hang them on something like the wall instead of making a mobile from them! If hot gluing them together, be careful not to burn yourself ) Sometimes I use both types depending on what kind of project I’m doing.”
Hanging Rope Tied Yarn Ball
Materials needed.
- Yarn (color of your choice)
- Scissors (for cutting the yarn)
- Salt, spices, or baking soda (to keep insects away)
Instructions.
Tie a loop at the end of each piece of yarn and use them like a clothesline to tie around a pencil. Let go so it hangs down in front of you.
2. Tie another loop at the other end of each piece of yarn, but this time make sure that it’s loose enough for you to slip both hands through easily when they chime together as they hang from your arms!
3. Grab one side with one hand while holding onto the other side with your other hand; then do it again so that both loops are being held by two different sets of fingers on either hand (see photo below if necessary). When done correctly this should create two knots next to each other on top which look like bunny ears when viewed from above
Butterfly Wall Hangings
Materials.
- Cardboard or paper bag
- Pins and thick yarn (optional)
Directions: First, fold your piece of cardboard in half. Cut a slit about 2 inches wide along the fold, then unfold it. Repeat this process on the other side so that you have two slits facing each other from an unfolded piece of cardstock or paper bag.
Next, take your yarn and string it through both openings in your cardstock/paper bag to create two hanging loops on each side. Hang by placing a thumb tack into any location on your wall where you want to display your butterfly decoration!
Beaded Rainbow Wind Chimes
Materials
- 4 different colors of craft beads (or use one color, if you’re feeling super lazy)
- 1-2 feet of string for each wind chime (you can get this at the craft store)
- Four pieces of cardboard or light wood (about 4” long) for the base of your wind chimes. You can use anything that has a hole in it to hang it from. I used 3/4″ thick dowels.
Instructions
Cut off about 4″ pieces for each wind chime and glue them onto the end of your strings. The end will be where the beads are glued on, so if you have 16 beads, then cut off 16 lengths of string and glue them all together!
This is important.
Make sure that there aren’t any knots or kinks in your bead-covered strings before they’re glued together! It’ll make things complicated later on if there are any twists or tangles because then it won’t slide through easily when we start making our wind chimes later on!
Glue two strings together using E6000 glue-like before until they’re long enough to go around both sides with excess hanging off one side so it matches up with itself later on when we hang these bad boys outside.
D Put some weight on top while they dry overnight—I used some rocks but anything heavy would work fine here–this helps prevent air bubbles from forming under all those beaded strands.
Hanging Plate Flowers
You will need.
- Plastic plates.
You can use any kind of plastic plate for this craft, but the thicker the better. The most common choice is a styrofoam plate, which you can find at craft stores or in your kitchen cabinets (if you have kids).
- Glue gun and glue sticks.
A hot glue gun is an essential tool when working with children because they’re easy to use and doesn’t require any special skills like scissors or cutting things into pieces. Any basic glue stick will work as well—they’re available in all shapes and sizes, so if you know what size your child needs just pick one up!
- Glitter (or other colorful materials).
One thing I love about hanging crafts is that they allow me to sneak some extra fun into the mix by adding lots of colors! When working with glittery materials like this one, make sure it’s non-toxic so no one gets sick after touching it accidentally )
Beaded Raindrops Suncatchers
Materials.
- 1 or 2 plastic eggs
- Craft glue or super glue
- Small beads and sequins (blue, yellow, and white)
- Thin wire or string for hanging the suncatcher
How to Make a Beaded Raindrop Suncatcher.
Use your craft glue or super glue to attach the small beads and sequins to the plastic egg. You can use other colors as well if you want! You can also make two raindrops by using two separate eggs instead of gluing them together at their bases like I did here.
Once everything is securely attached, tie some thin wire around one end with a knot so that you have something sturdy enough to hang from once it’s finished drying. Let it dry completely before hanging up outside; otherwise, it could fall off when wet weather hits again!
Flower and Butterfly Mobile
You can make this mobile with your child by following the steps below.
- Collect various types of flowers and butterflies
- Decide which colors you want to use and whether or not you will be making a butterfly mobile or a flower mobile (you will need more than one if it is a butterfly mobile)
- Find two matching pieces of paper for each flower or butterfly, plus two extra pieces for the base and top of your mobile
- Cut out all flowers/butterflies except one set that will be used as a template for cutting out all other pieces together at once (the template piece should have some extra space around it so that when you cut out another copy, it won’t stick to the first one)
Wind Chime Mobile with Bells and Whistles
Materials.
- Bells of varying sizes, shapes, and colors.
- A wind chime with a long tail (this will be the main component of your mobile).
- Wood glue or super glue to hold everything together.
- Wire cutters for snipping the wire.
Instructions.
Begin by gluing each bell onto one side of your wind chime piece, leaving space between them so that they hang freely when you hang it up later on. If you have smaller bells then use these first as they need more space than larger ones to swing properly in the breeze.
Once all bells are glued on, glue on any other decorations such as pinecones or feathers (not shown here). Let dry overnight before continuing with step 2 below!
Your Kids Will Love These 11 Hanging Crafts For Kids.
Hanging crafts are a great way to decorate your home or classroom. These hanging crafts are great for kids of all ages and are easy to make.
If you have any leftover craft supplies, this is the perfect time to use them!
Hanging crafts for kids will make your child’s room more beautiful and add some color to it. You can also use these hanging crafts as gifts for friends, family members, or even teachers. These hanging crafts also have multiple uses. indoor decoration, outdoor decoration, or as a gift for someone who loves nature, animals, gardening/etc.
Conclusion
We hope we’ve inspired you to try one of these hanging crafts for kids in your home. With so many amazing options to choose from, the hardest part will be deciding which one is right for your little ones!