11 Mouth Craft For Kids
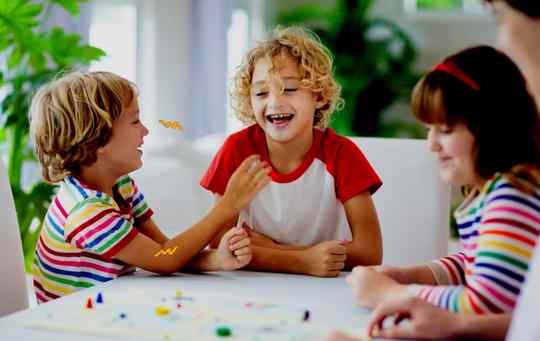
11 Mouth Craft For Kids Sometimes, kids just need a little push to get creative.
The following ideas will help you inspire your child’s creativity and keep them busy while they’re waiting for dinner or watching TV.
Monster Mouth
Cut a large piece of paper into a mouth shape and have your child draw it on the back of the paper (the blank side).
Draw teeth, gums, and tongue with markers or crayons on the front of the paper in an appropriate color scheme for monster mouths (usually greenish-yellowish-red).
Have your child put their hands over their face as if they are wearing an extremely wide smile; encourage them to laugh as hard as possible while still covering their eyes with their hands. If possible, try to get some video footage of this process!
Rabbit Mouth
- Use a piece of paper as a mouth
- Draw teeth with a marker
- Draw tongue with a marker
- Draw lips with a marker
Cookie Monster
Use a cookie cutter to cut out a mouth shape from a piece of foam.
Use a marker to draw the mouth.
Using hot glue, attach a piece of felt to the back of the foam because Cookie Monster has fur on his lips!
Big Shark Mouth
Fill the shark’s mouth with water.
- Put a white marker into the water.
- Take it out and put in the color you want.
- Repeat this step until you have filled his mouth with all of your markers!
Dinosaur Mouth
If you’re crafty, you can make your own dinosaur mouth to put over the top of a plastic container.
You can also buy a plastic dinosaur, and then use it as a mouth that goes over the top of a plastic container.
Or you can buy another plastic dinosaur and use that one as the mouth for your original plastic dinosaur’s mouth (this might sound confusing, but keep reading).
Cow Mouth
You will need.
- A piece of cardboard or a large piece of paper
- Glue stick
- Marker
- String to hang your cow mouth from the ceiling
To make your cow mouth, you will first need to cut out a cow’s mouth shape from either cardboard or paper.
Next, use a glue stick to attach the paper to the cardboard (or vice versa). To make sure it stays in place, place some heavy objects on top of it for about five minutes until there is no more glue sticking out and it can be easily removed from your fingers without ripping them off in the process!
Now that you have created your own personal piece of art work, draw on some eyes and ears with markers before hanging it up on some string above their heads!
Wild Bear Mouth
Use a large piece of paper to draw a bear’s mouth.
It should be as tall as the child’s arm span and wide enough to fit over the child’s head (and it doesn’t need to be perfectly circular).
Cut out the mouth and color it in. Cut out teeth from construction paper or card stock, then glue them onto the mouth.
Little Red Riding Hood’s Wolf’s Mouth
- Use a red marker or lipstick to draw the mouth.
- Use a mirror for the mouth, then use it to help your child draw the mouth. This is especially useful if you are using a picture of a wolf as reference material — simply hold up the mirror and encourage them to copy what they see!
- Turn off all lights in the room except one small flashlight when drawing on teeth (you’ll need this for later). While it might seem silly now, this trick will help make sure their teeth are drawn at night — when Little Red Riding Hood visits her good friend, who lives by himself in his house down by the woods…
Funny Frog’s Mouth
- You will need a green crayon
- You will need a red crayon
- You will need a blue crayon
- You will need a yellow crayon
- You will need a black crayon
- You will need a white crayon
- You will need a brown crayon
Big Bad Wolf’s Mouth
For this craft, you will need:
- A paper plate
- Red marker or paintbrush
- Red crayon or pencil (these are great because they’re easy to clean off)
- Red pen
Sometimes, kids just need a little push to get creative.
You can’t expect kids to be creative if you don’t provide them with the tools, encouragement, and space for creativity. But sometimes all it takes is a little push to get kids started. Here are some ways to get your child thinking creatively:
- Play with Play-Doh or clay (or anything similar). Kids love this stuff and they’re great at exploring new shapes and textures—and they don’t even realize they’re learning!
- Encourage drawing with colored pencils on white paper instead of plain paper so you get a nice contrast. This makes it easier for kids to see what they want to draw better than when everything looks grayish-brownish-greenish. It also allows them more freedom to try out different shades without worrying about making mistakes because that only makes their drawings look better in the end anyway! * If there aren’t any snacks nearby then try cutting up some apples into slices instead; this will give them something delicious while also encouraging creativity later on down the road!
Conclusion
We hope that these ideas will give you a few more tools to get your kids excited about making crafts and learning new skills. If you’re looking for even more ideas, check ou