11 New Art And Crafts For Kids
11 New Art And Crafts For Kids
You’ve probably seen some of the amazing things art classes can do for kids, but did you know that with just a few supplies and creativity, you can create your own art at home?
Whether it’s painting with pudding or making a giant floor puzzle of your child’s favorite character, these projects are easy enough for little ones to do themselves.
Try A Stacker
If you have a stacker, let your kids go wild in it! They can use plastic cups and water to make their own mini-waterfalls.
Then they can use food coloring in the cups to make them different colors and paintbrush handle to create rainbows. Finally, have them paint on top of the painted cups!
Finger-paint With Pudding
Pudding is an easy medium for finger-painting and a fun way to explore shapes, patterns, and pictures.
Children can use their fingers or paintbrushes to create designs on paper or large pieces of construction paper.
A bowl of pudding makes cleanup a breeze!
Tape Resist Watercolor Painting
Tape resist watercolor painting is a fun way to get messy with your toddler.
Simply cover the areas you don’t want to paint with tape, then apply a watery mixture of paint and water onto the paper.
Remove the tape and let it dry, then use a wet brush to wipe away some of the paint (and reveal your design). To clean off any remaining color, use a dry brush!
Bubble Wrap Printing
Prepare the paper by cutting it into the right size.
Put the paper on the bubble wrap, then paint on the bubble wrap with a paintbrush.
Remove the paper and you have a print! You can use different colors and patterns for different prints.
Build A City From Cardboard Boxes
Use different types of boxes: try to find a box that has a lid, and then cut holes in the top and bottom so you can put your building inside.
Use different colors: paint some buildings pink, others blue, some grey.
Use other materials to make it more realistic: use toy cars or people to add to your city scene. You could even add trees by cutting the tops off toilet paper rolls and gluing them onto toothpicks!
Use the city as a diorama: turn your city into a diorama by placing it inside of another box with windows cut out so you can see through them!
Kitchen Sink Science Experiments
Kitchen sink science is a fantastic way to teach kids about chemistry and physics. It’s also a great way to give your child a sense of wonder and excitement about science.
To start, you’ll need.
- A glass bottle with a stopper (plastic or glass)
- Water
- Lemon juice
- Vinegar (preferably apple cider vinegar)
Design And Make A Marble Run
A marble run is a fun and creative construction that you can make using different types of materials.
It’s also a great way to teach kids about physics.
What you need, Marbles (or any small round object)
A container such as an empty ice cream container or tin can with a lid (this will serve as the “run”)
Different types of balls, tubes, ramps, and other objects that are small enough to fit inside the container but big enough for marbles to roll down them easily
Create Your Own Movie With Stop Motion
Stop motion is a type of animation that involves taking photos of an object or scene and then changing the positions slightly.
You can create stop motion using any digital camera, but it’s easier to do if you have a phone with video capability because it allows you to see what your image looks like instantly.
If you’re using a phone, take pictures at regular intervals while moving something very slightly between each shot. For example, move your finger across a tabletop or rotate an object like a flower clockwise as it sits on its surface.
This might take several tries before getting the hang of how much movement works best for different effects! You can also use other objects such as playdough or construction paper shapes cut out into various shapes like triangles and squares for more interest in your film creations!
To create great sound effects for stop motion videos, try tapping on things with different kinds of utensils (spoons vs forks vs knives) or clapping hands together loudly near where the camera is recording so that folks watching hear something besides silence!
If possible record these sounds when filming since they won’t be picked up well by microphones plugged into computers which aren’t far enough away from where people are filming at times due to limitations imposed upon them by time constraints sometimes imposed by parents who don’t want kids wasting precious hours playing video games instead!”
Blow Up A Balloon, Paint On It, And Pop It To Create An Action Painting!
- Buy a bunch of balloons
- Paint them in any color you’d like
- When the paint dries, pop ’em and watch them explode into art!
This method is easy to pull off with kids because it doesn’t require any special materials or complicated instructions. Plus, you can always reuse the balloons by blowing them up again when you’re done painting or have another kid who wants to do some artwork too.
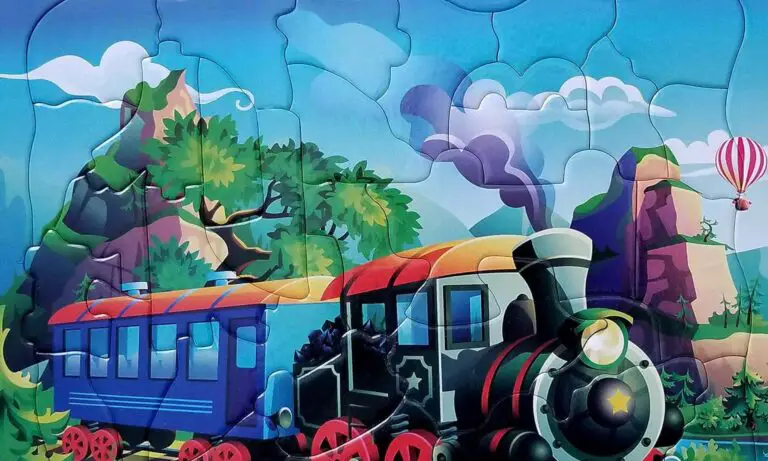
Child’s Favorite Character
Make a giant floor puzzle of your child’s favorite character or an image of their favorite animal or car (or whatever they like).
A giant floor puzzle can be made with almost any type of base. You can use a piece of cardboard, fabric, wood, or foam as your base. If you have some corrugated cardboard lying around the house (you do, right?), that’s another great option!
The size of the final puzzle will depend on how much space you have in which to work and how big your materials are. Think about whether or not you want it to be portable–if so, make sure to choose materials that are easy for kids to handle and transport.
To create a giant floor puzzle:
Draw a picture on paper using graphite pencils or markers – don’t worry about precision at this point because it will be cut down later! We used four colors for our picture: blue for sky and water; green for trees; brown/beige for grass; and white for clouds (and snow). You could also totally use stencils if that’s easier for you!
Take Paper Plates, Paint Them in Different Bright Colors, And Then Use Them To Make A Paper Plate Clock!
This project is simple, but it will look so cool when you’re done. All you need are paper plates, paint, and an eye for art!
The paper plate clock can be easily customized with multiple colors on each plate or even just one color.
Start by painting the paper plates the bright colors you want to use in your clock face. This can be done with acrylic paints or tempera paints. Allow each layer of paint to dry before applying another layer of paint.
Once all of your plates have dried from being painted, lay them out on a flat surface (like a table) and arrange them in the order that they should go together to create a complete circle/square shape depending on how big or small you want your finished product to be once it’s assembled together using tape or glue.”
With The Right Supplies And Creativity, You Can Make Anything Into Art!
With the right supplies and creativity, you can make anything into art! You don’t need an expensive art kit or artists’ materials to get started.
You don’t even have to be talented or experienced in making anything. With a little bit of inspiration, anyone can use their imagination to create a masterpiece.
Here are some fun ideas for creating with your kids (or just on your own).
- Use buttons as stamps on paper or canvas boards
- Use markers on wood blocks and cut them out into shapes using cookie cutters
- Collect rocks outside and glue them onto a piece of cardboard with hot glue sticks (this works especially well if you want to paint over it later)
With friends.
- Make short videos together using stop-motion animation (here’s an example).
Conclusion
We hope you’ve enjoyed these fun ideas for creating art and crafts with your kids. If you do try any of them out, let us know how they go!