11 Quick 3d Craft Ideas You Can Finish in 30 Minutes: 11 Fast 3d Crafts
1. Vintage Button Wall Clock That Feels Retro Chic
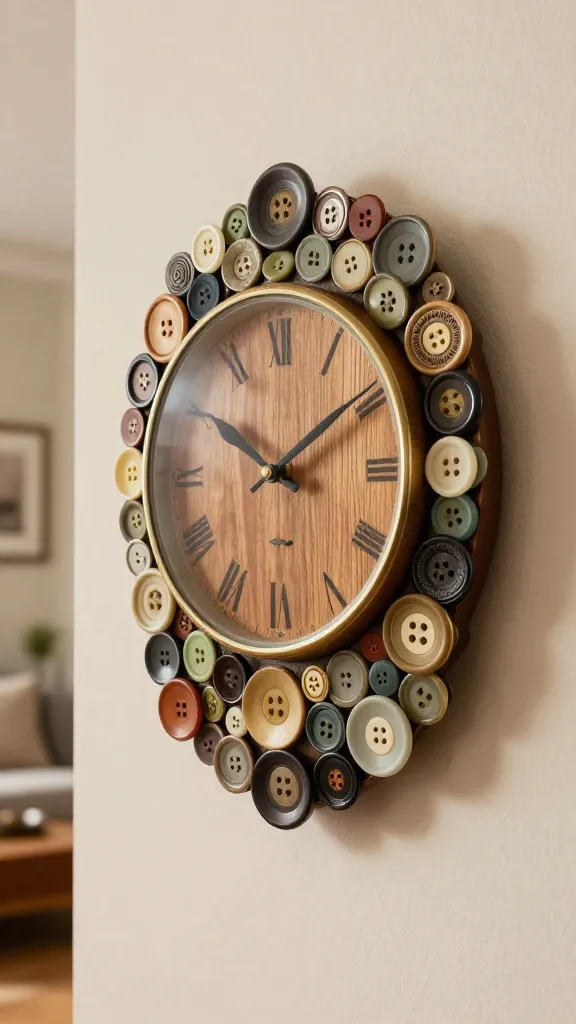
Picture a wall piece that looks like a museum exhibit made for your living room. This button-based wall clock has dimension, texture, and a wink of whimsy—perfect for a quick room refresh.
Finish in a flash, but the payoff feels special. The mix of old buttons and a simple clock mechanism creates a tactile, nostalgic vibe you’ll love.
Materials Needed
- Plain wooden clock face or circular board
- Assorted vintage buttons (various sizes and colors)
- Strong craft glue
- Clock mechanism with hands (1 or 2 microns of accuracy preferred)
- Parchment paper or cardboard for backing
How to Make It
- Arrange buttons in a circular pattern around where the clock numbers would be.
- Glue buttons onto the board, leaving center clear for the clock mechanism.
- Attach the clock mechanism from the back and secure with glue or screws.
- Attach hands once the glue is dry and set the time.
Pro Tips / Styling Ideas
- Use a monochrome button palette for a modern matte look, or go bright for a playful vibe.
- Add a light wood frame to anchor the piece in a minimalist space.
Who would love this? Anyone craving a conversation-starting wall feature with a dash of vintage charm.
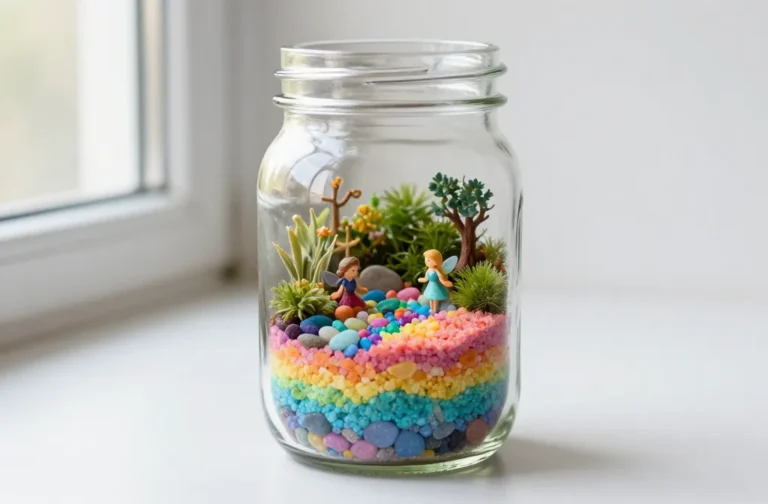
2. Papercut Globe Tiny Plant Hanger
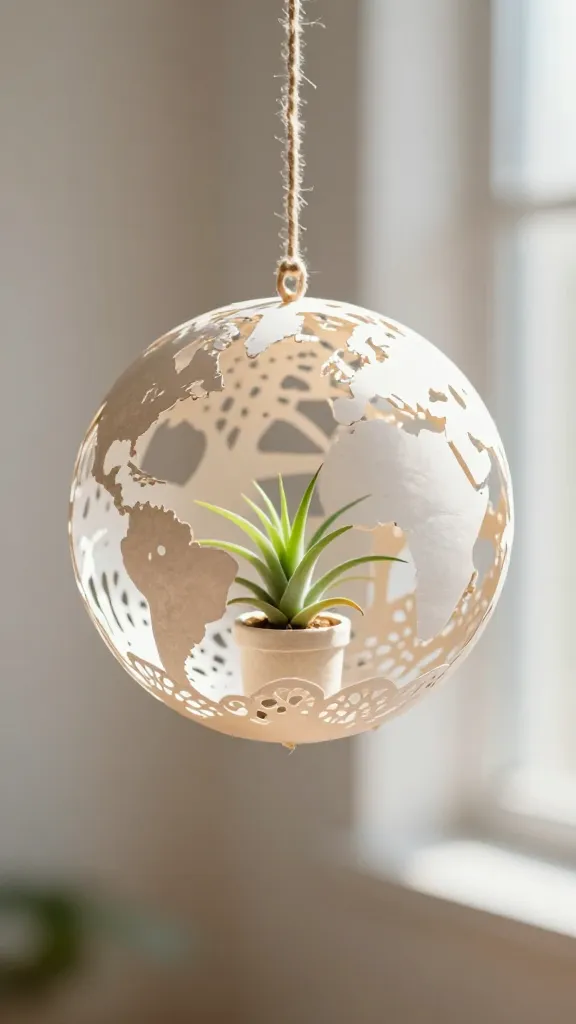
Imagine a delicate papercut globe that cradles a tiny plant. It’s airy, whimsical, and unbelievably quick to assemble—a perfect micro-green statement.
Trust me, this little globe feels magical when hung in a sunny corner.
Materials Needed
- Thin decorative paper or cardstock
- Scissors or craft knife
- Twine or fine jute string
- Small air plant or succulent and a tiny pot or holder
How to Make It
- Fold and cut a spherical papercut pattern on the paper, leaving a hollow center.
- Glue edges to form a lightweight globe shape.
- Thread string through the top to hang, and nestle the plant inside.
Pro Tips / Styling Ideas
- Use metallic or iridescent paper for a futuristic twist.
- Balance one hanging globe among several mini planters at varying heights for an artful cluster.
Who would love this? Anyone renting or short on space who wants green life in a tiny, gorgeous package.
3. Concrete Cube Mini Planter with Gold Edges
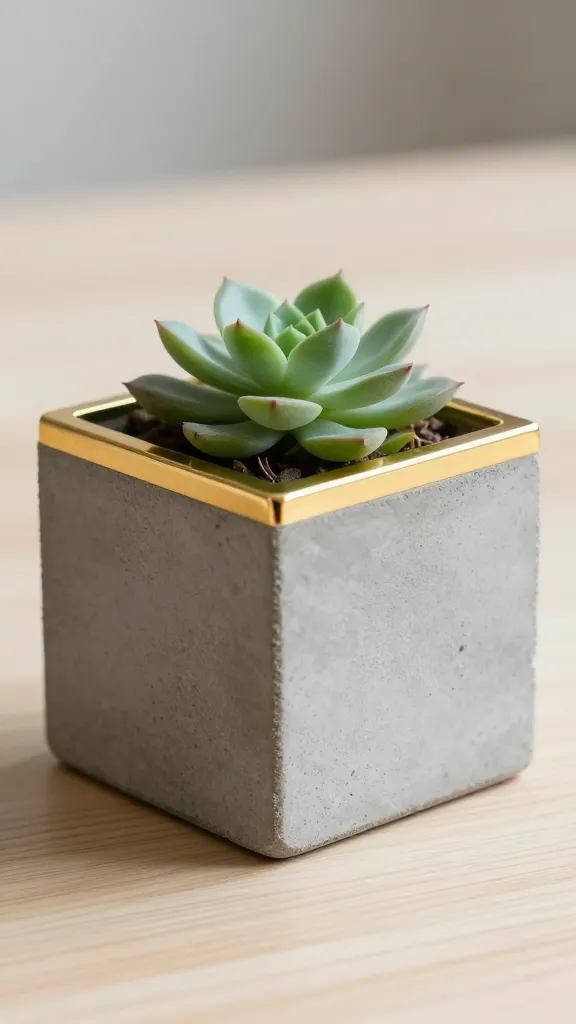
Solid, industrial, and surprisingly delicate at the same time, this tiny concrete cube brings architectural charm to desks, shelves, or coffee tables.
The gold edge detail adds a touch of glam you didn’t know you were missing.
Materials Needed
- Small silicone mold for a cube
- Concrete mix
- Gold metallic paint or gold leaf
- Sealant spray
- Succulent or tiny air plant
How to Make It
- Mix and pour concrete into the cube mold; let cure as directed.
- Pop out, sand edges lightly, and paint or leaf the edges gold.
- Seal to protect and place a small plant inside.
Pro Tips / Styling Ideas
- Pair with a neutral tray setup or a row of similar cubes in varying heights.
Who would love this? Fans of minimal, modern decor and tactile textures on a coffee table or desk.
4. Felt Ball Garland in Sunset Shades
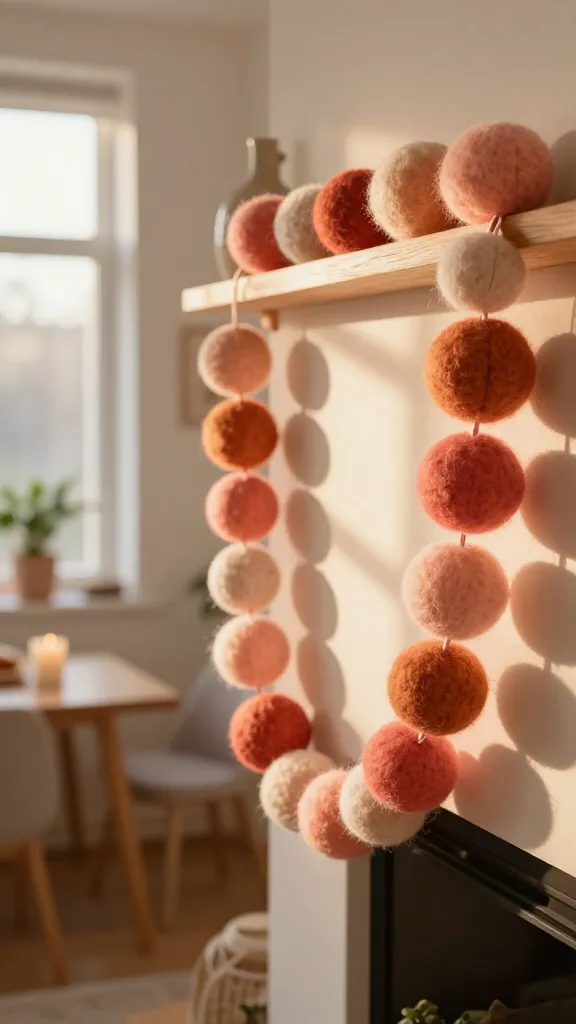
A soft, colorful garland that brings warmth to any space in minutes. Layer it on a mantel, shelf, or behind a dining nook for instant personality.
We’re talking plush texture, sunny colors, and a playful vibe you’ll want to show off.
Materials Needed
- Colored felt balls (various sizes)
- Fishing line or clear beading thread
- Needle for threading
How to Make It
- Thread balls in a gradient sequence from light to dark or warm sunset hues.
- Space evenly and secure knots at the ends.
Pro Tips / Styling Ideas
- Use different thread thicknesses for texture variety.
- Center a focal bead in the middle of the garland for a charming twist.
Who would love this? Color lovers and anyone wanting a quick, cozy mood booster in a hallway or living room.
5. Mini Gallery Shadowbox with Tiny Scenes
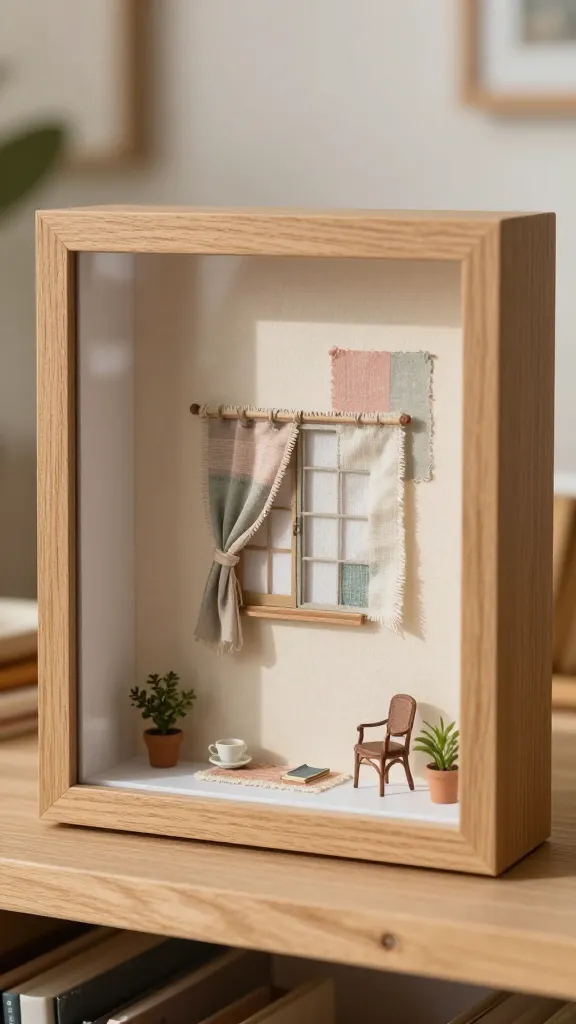
Think of a tiny world you can curate in a shallow box. It’s storytelling, color-blocking, and totally doable in half an hour.
Your finished piece becomes a delightful gift or a sparkly shelf centerpiece.
Materials Needed
- Shadowbox or small wooden frame
- Cardstock, small fabric scraps, and found miniatures
- Glue or double-sided tape
How to Make It
- Create a mini backdrop using cardstock or fabric.
- Arrange tiny items to form a scene; glue in place.
- Seal and display with pride.
Pro Tips / Styling Ideas
- Change the scene with seasons by swapping fabrics and colors.
- Use several frames at eye level for a mini gallery wall.
Who would love this? Gift-givers and lovers of storytelling in decorative form.
6. Textured Rope Coiled Planter
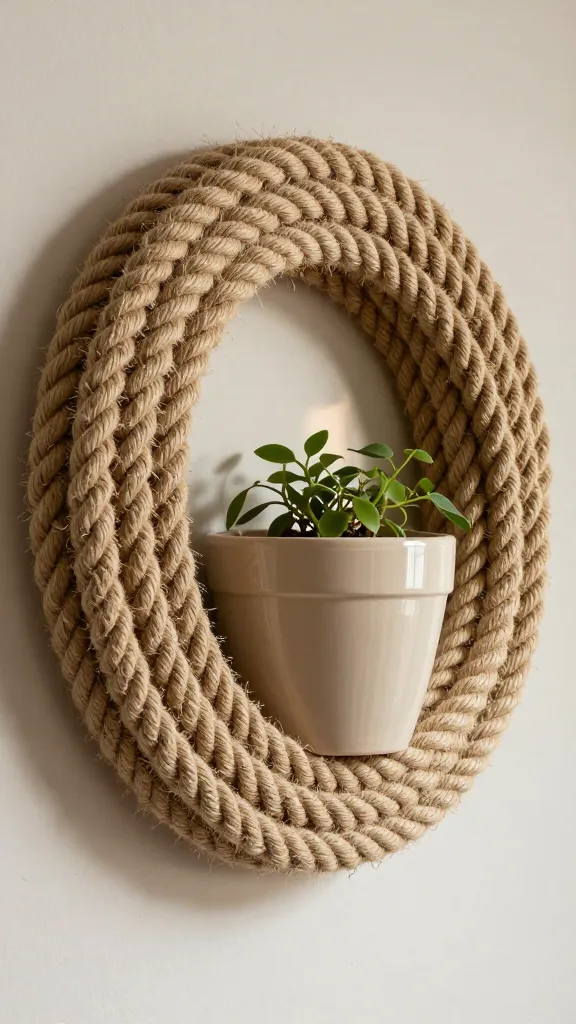
A sculptural, practical piece that doubles as wall art and a plant holder. The rope’s texture catches light and eye at once.
It’s bold, coastal, and surprisingly simple to coil into a perfect, flat-based planter.
Materials Needed
- Rope (adjust length to planter size)
- Plastic or ceramic pot as insert
- Hot glue gun
- Decorative paint or dye (optional)
How to Make It
- Coil rope around the pot, gluing as you go to secure each ring.
- Finish with a coat of paint or clear sealant for durability.
Pro Tips / Styling Ideas
- Mount on a wall as a circular, woven sculpture when not in use as a planter.
- Pair with a plant that has cascading leaves for a lush look.
Who would love this? Creatives seeking a bold, tactile piece with a touch of nautical charm.
7. Ice Cream Cone Desk Organizer
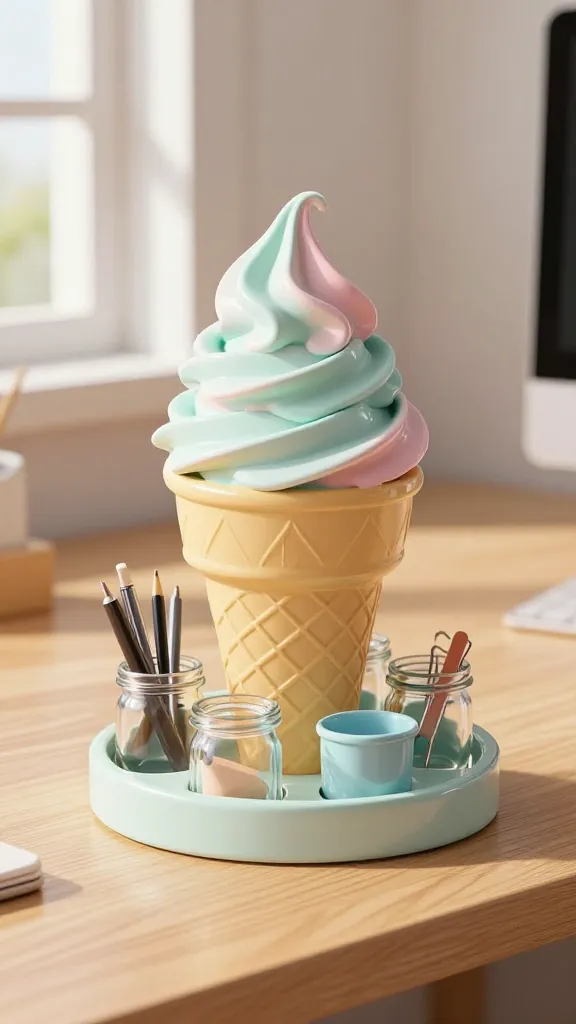
Sweet-to-the-sight and practical to boot. This little desk organizer looks like a playful dessert but holds pens, clips, and more.
Fast to assemble, and it doubles as a cheerful desk mascot.
Materials Needed
- Cardboard cone cutout or thrifted paper cone
- Paints or colored paper
- Glue, scissors
- Small jars or cups for compartments
How to Make It
- Decorate the cone with paint or paper to resemble an ice cream swirl.
- Attach small jars to the cone’s base to hold items.
- Fill with everyday desk supplies for a cute, functional piece.
Pro Tips / Styling Ideas
- Use pastel tones for a soft, retro vibe or vibrant colors for a hero desk piece.
- Put a small succulent on top for a touch of green.
Who would love this? Students, home offices, or anyone who wants a whimsical organizer that sparks joy.
8. Marbleized Clay Coasters With Metallic Rim
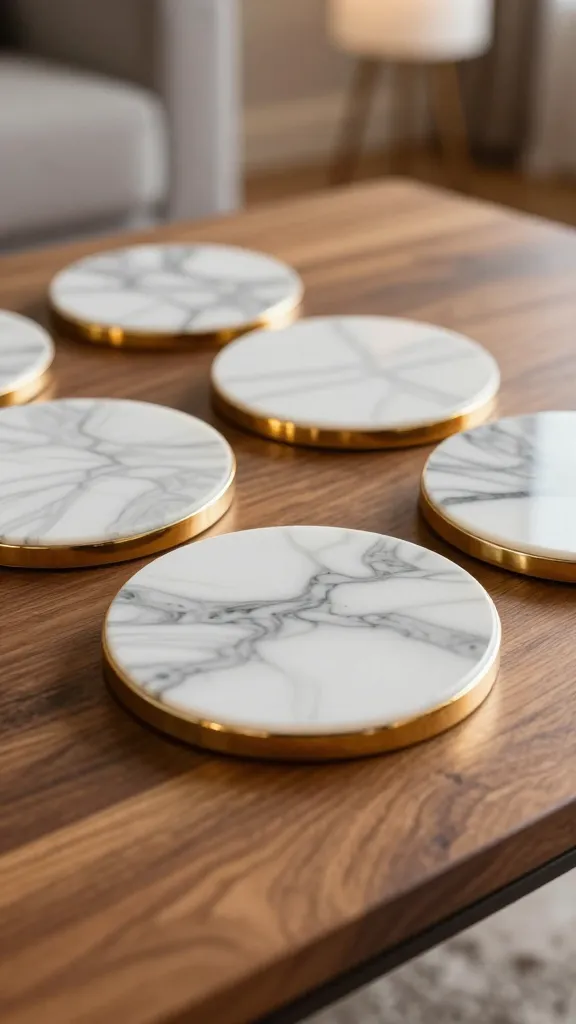
Coasters that look luxe but are delightfully simple. Marble patterns meet a refined metallic edge for a polished finish.
These coasters protect surfaces while elevating coffee-table aesthetics.
Materials Needed
- Air-dry clay in white and gray marbling colors
- Gold or silver metallic paint
- Sealant spray
How to Make It
- Knead clay to create marble swirls; roll into discs.
- Once dry, edge with metallic paint for a lift.
Pro Tips / Styling Ideas
- Match the metallic edge to your lighting fixtures for cohesion.
Who would love this? Anyone who loves coffee, clean lines, and a touch of luxe in everyday objects.
9. Mini Felt Flower Wall Art
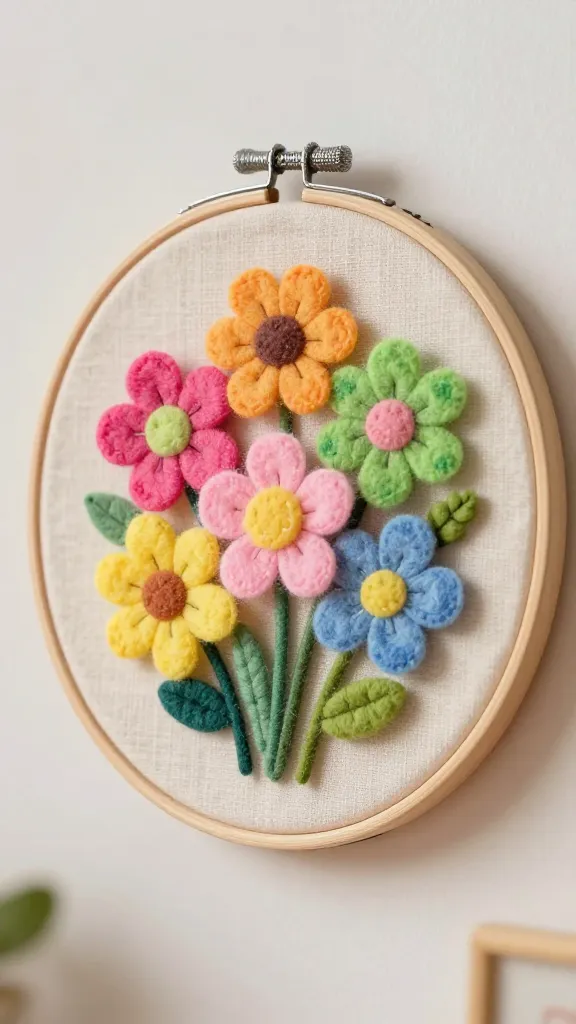
Bright, tactile, and cheerful, this miniature wall piece uses felt to create a blooming bouquet you can hang anywhere.
It’s a pocket-sized celebration of color and craft.
Materials Needed
- Assorted felt sheets
- Embroidery hoop or frame
- Needle and thread
How to Make It
- Cut petal shapes and layer them to form flowers.
- Stitch onto a fabric backing pinned inside the hoop.
Pro Tips / Styling Ideas
- Choose a color palette that echoes your room or season.
- Create a small bouquet with multiple hoops for a mini gallery wall.
Who would love this? Color lovers and those who adore handmade botanical vibes in compact spaces.
10. Painted Cereal Box Desk Organizer
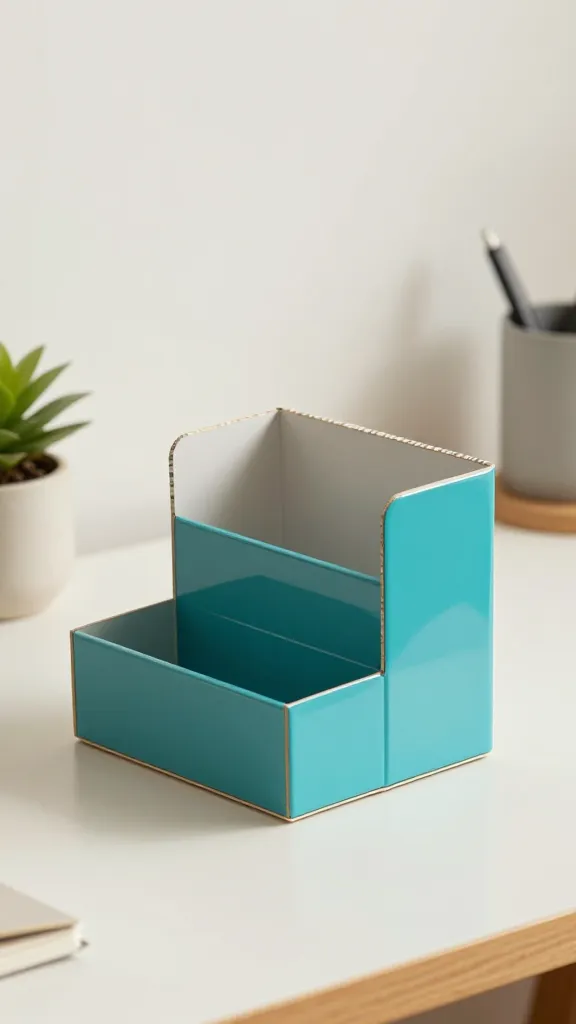
Repurpose a cereal box into a chic, painted desk organizer. It’s thrifty, eco-friendly, and instantly stylish.
Your workspace gets a budget-friendly upgrade in minutes.
Materials Needed
- Empty cereal box
- Acrylic paints
- Brushes, ruler, and craft glue
- Decorative washi or masking tape (optional)
How to Make It
- Flatten and cut the box to desired height; glue inside and out for sturdiness.
- Paint in a bold color or create color-block sections; add tape patterns for flair.
Pro Tips / Styling Ideas
- Use small bins inside for pencils, clips, and scissors.
- Line the bottom with decorative paper for a finished look.
Who would love this? Minimalists seeking practical, pretty organization with a twist.
11. Geometric Glitter Frame Ornaments
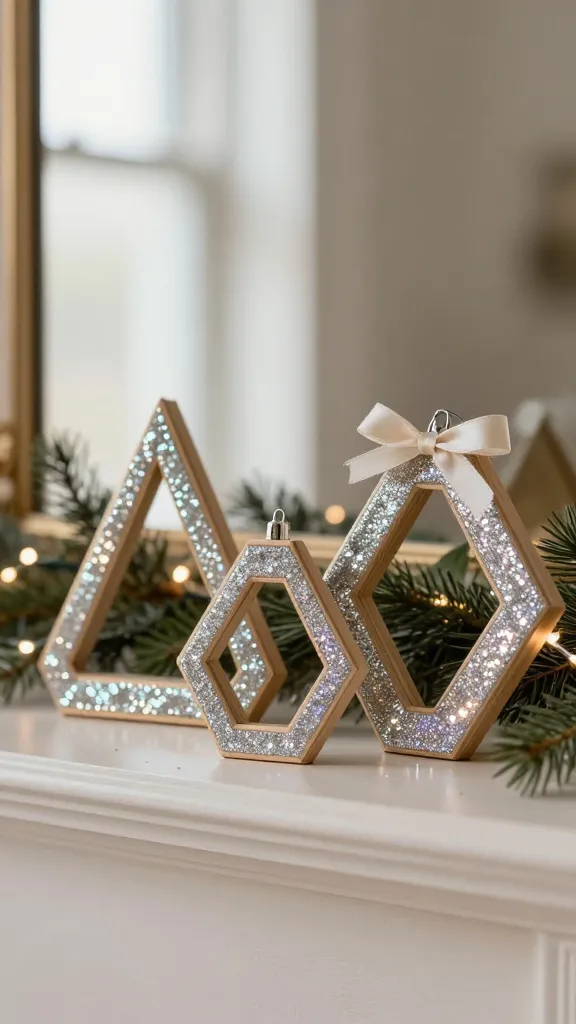
Shiny, geometric frames filled with a surprise glittery pop. They glow on mantels, shelves, or as a party décor spark.
Easy, fast, and irresistibly festive.
Materials Needed
- Wooden or cardboard geometric frame shapes
- Clear glue and fine glitter
- Ribbon or string for hanging
How to Make It
- Spread glue inside frame edges and dust with glitter.
- Shake off excess and seal with a light spray of clear sealant.
Pro Tips / Styling Ideas
- Create a set of three frames in varying sizes for a dynamic display.
- Hang in a doorway or window for catching light and sparkle.
Who would love this? Party planners, decorators, and anyone who loves a little nighttime shimmer.
Conclusion
Ready to dive in? Each of these 11 quick 3d craft ideas finishes in about 30 minutes, and many can be personalized to fit your space. Save, pin, and start with your favorite—you’ll be surprised how fast you can create something that feels totally you.
Try one tonight or assemble a mini DIY weekend project lineup. The fun is in the process, and the payoff is beautifully crafted pieces you’ll actually use and adore.