8 Quick Crafts Ideas Under 5 Dollars
Ready to spark some creativity without emptying your wallet? These 8 quick crafts ideas under 5 dollars each prove you can go chic on a budget. Trust me, your Pinterest boards will thank you—and your living space will too.
1. Rustic Mason Jar Lantern With Fairy Lights
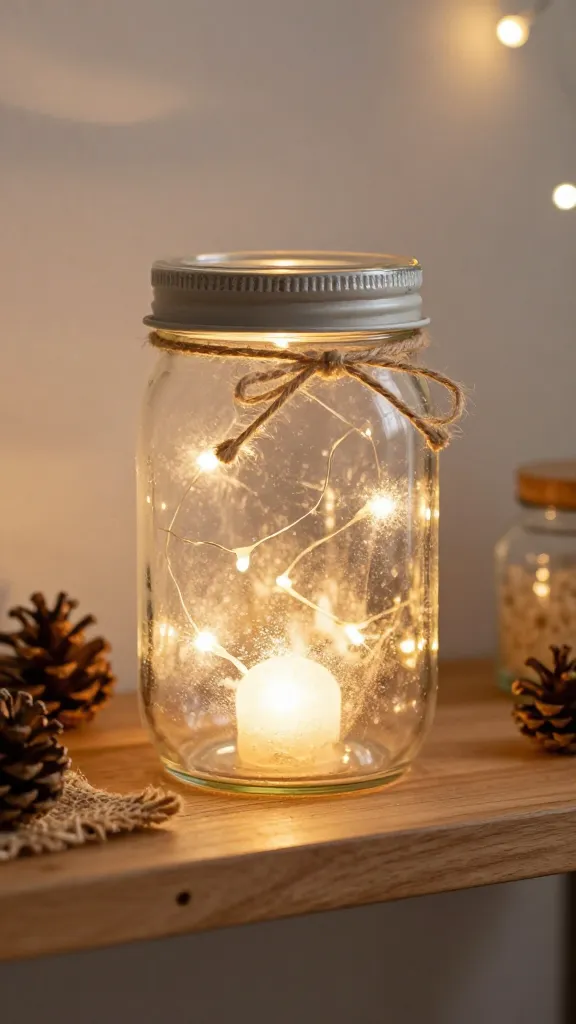
Imagine a cozy glow that turns any shelf into a little hygge haven. This mason jar lantern is simple, charming, and totally upgradeable with a few thrift-store finds.
- Materials
- Old mason jar, fairy lights, ribbon or jute, tea light or LED candle, optional twine
- Spray paint (optional), sandpaper (optional)
- How to Make It
- Wrap the fairy lights around the inside of the jar, leaving a little cord to reach a plug or battery pack.
- Decorate the outside with ribbon, twine, or a dash of spray paint for a vintage glow.
- Place a tea light or LED candle inside and you’re done.
- Styling/Pro Tips
- Pair with a small potted plant or stack with a few books for a layered look.
- Use in a centerpiece or as a bedside nightlight.
Who’d love it: cozy nester, dorm dweller, or anyone who wants warm vibes without the cost. Seriously, it’s a mood booster.
2. 5-Minute Painted Canvas Tote Bag
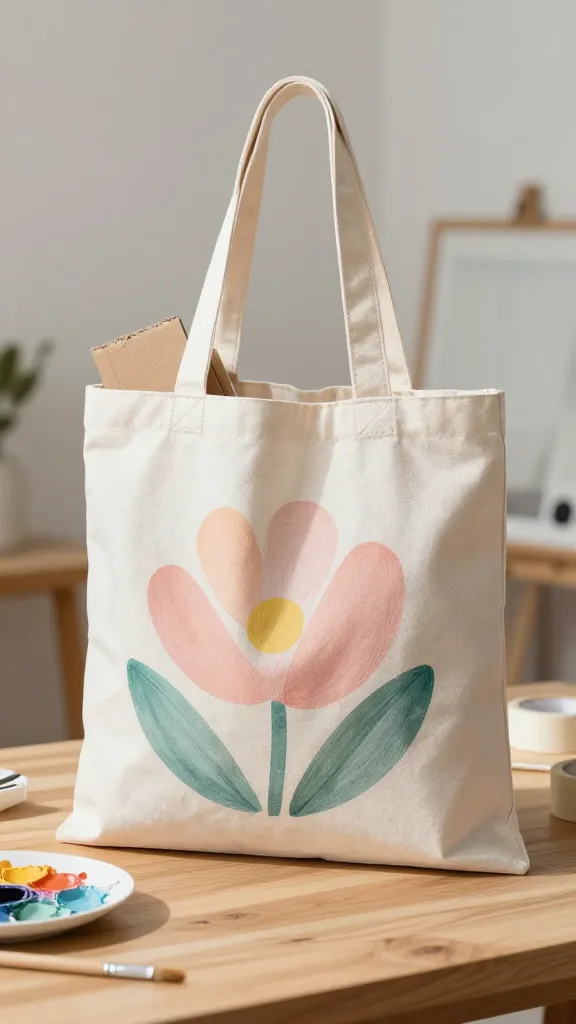
Turn a plain tote into a brag-worthy accessory with a simple painted design. It’s a canvas you can carry anywhere—store, market, or a sunny day out.
- Materials
- White or light-colored tote bag, fabric paint or acrylic mixed with fabric medium, stencil or tape, cardboard to protect the table
- How to Make It
- Place cardboard inside the bag to prevent bleed-through.
- Use tape or a stencil to create a geometric or floral pattern.
- Paint, let dry, and add a second coat if needed.
- Styling/Pro Tips
- Keep it bold with high-contrast colors or go soft with pastel gradients.
- Gift it personalized with a name or a favorite quote.
Who’d love it: students, weekend shoppers, or anyone who wants a personalized carryall on a budget. You’ll love how fast this comes together.
3. Whimsical Scrappy Magnets From Bottle Caps
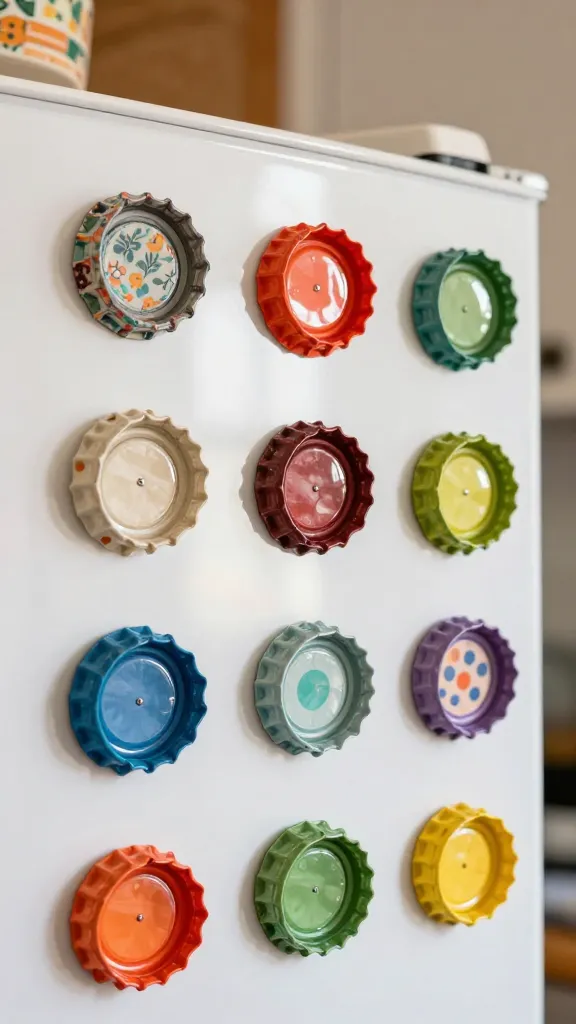
Turn guilt-free scraps into adorable fridge art. These bottle-cap magnets are quirky, colorful, and a perfect weekend project.
- Materials
- Clean bottle caps, hot glue, tiny magnets, decorative paper or fabric scraps, Mod Podge or clear sealant
- How to Make It
- Cut circles from paper or fabric to fit inside each cap.
- Glue the paper into the cap, seal with Mod Podge, and attach a magnet on the back after it dries.
- Styling/Pro Tips
- Mix patterns for a playful collage effect.
- Seal with a gloss for extra shine and durability.
Who’d love it: crafty kids, teens, or anyone who loves a touch of whimsy on the fridge. You’ll smile every time you reach for the coffee.
4. Textile Pom-Pom Garland With Free Leftover Yarn
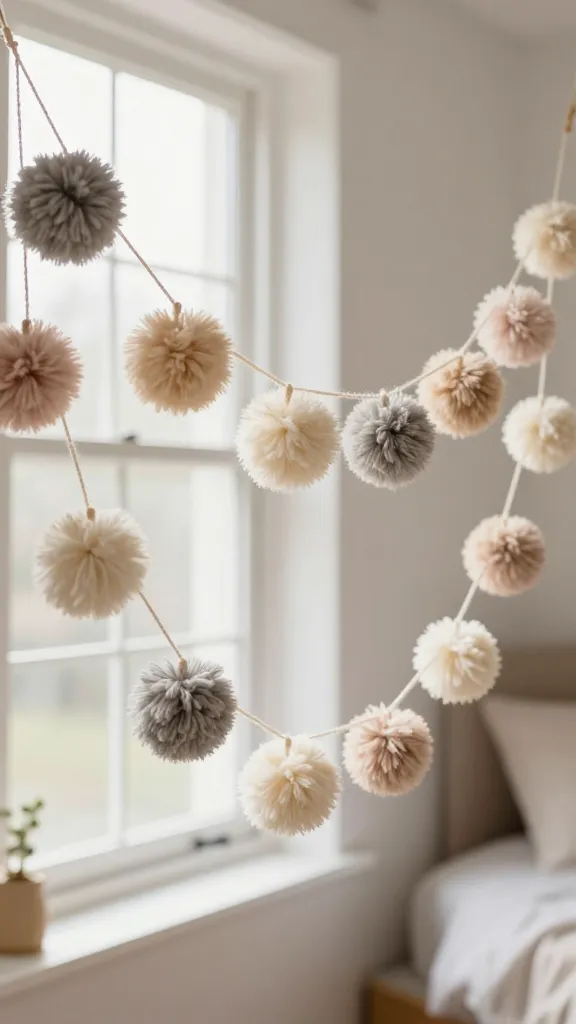
Cheerful, soft, and celebratory, this pom-pom garland uses leftovers to create a party-ready decor piece that’s anything but pricey.
- Materials
- Leftover yarn scraps, cardboard for pom-pom template, thread or fishing line, scissors
- How to Make It
- Wrap yarn around a cardboard cutout, tie off, and fluff into a pom-pom.
- Repeat to create a string of pom-poms and tie to a length of thread or fishing line.
- Styling/Pro Tips
- Vary sizes for a more dynamic look; hang across a window or bed headboard.
- Choose colors to match season or mood—soft neutrals or bold primaries.
Who’d love it: renter-friendly decor, kids’ room vibes, or anyone who loves handmade softness. It’s seriously charming.
5. Upcycled Tin Can Planters With Colored Sand

A little metal, a little color, a lot of charm. These planters are durable, reusable, and downright adorable on a balcony or windowsill.
- Materials
- Empty tin cans (washed), acrylic paint, small succulents or herbs, optional decorative rope
- How to Make It
- Paint the outside of the can with your chosen color; let dry.
- Plant a small succulent or herb inside and top with a bit of decorative sand for a splash of color.
- Styling/Pro Tips
- Group in a row on a sunny ledge or hang from the balcony railing with rope.
- Add a tiny tag with the plant name for a cute, journal-worthy display.
Who’d love it: balcony garden lovers, city dwellers with limited space, or anyone who wants greenery that’s budget-friendly. You’ll be surprised how much charm a can can hold.
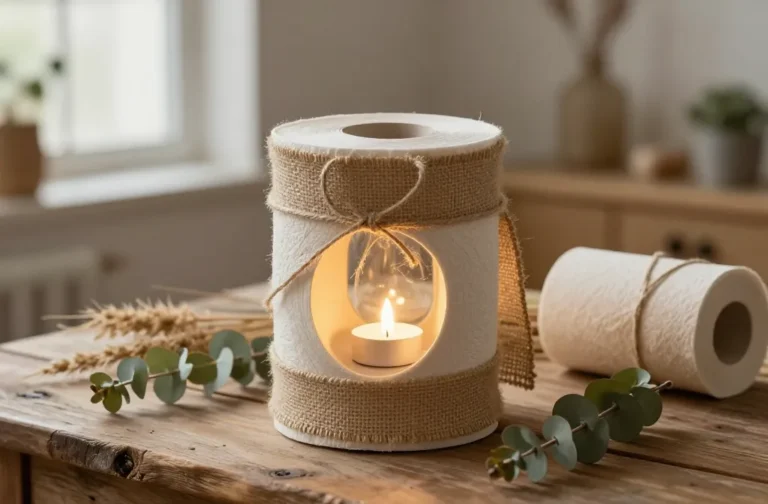
6. Frosted Mason Jar Candle Holders
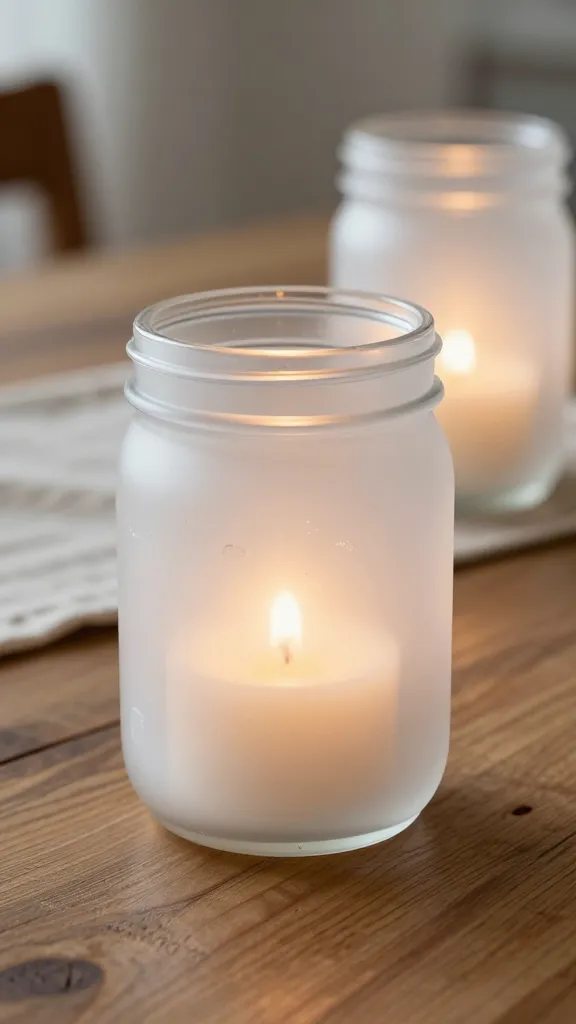
Soft, frosted edges and candle glow—these holders bring a touch of wintery elegance to any table or shelf, minus the chill on your wallet.
- Materials
- Jar, white or pale paint, painter’s tape, sandpaper for texture, tea light or votive
- Rub the jar with a bit of paint in random patches to mimic frosted glass, or use tape to create geometric frosted blocks.
- Light the candle for a gentle glow; switch to LED if you prefer.
- Place on a dining table with a runner to create a soft, romantic look.
- Pair with greenery for a winter patio vibe.
Who’d love it: cozy host vibes, romantic dinners, or anyone who loves a serene glow. FYI, they’re surprisingly calming to gaze at.
7. Hand-Stenciled Journal Covers
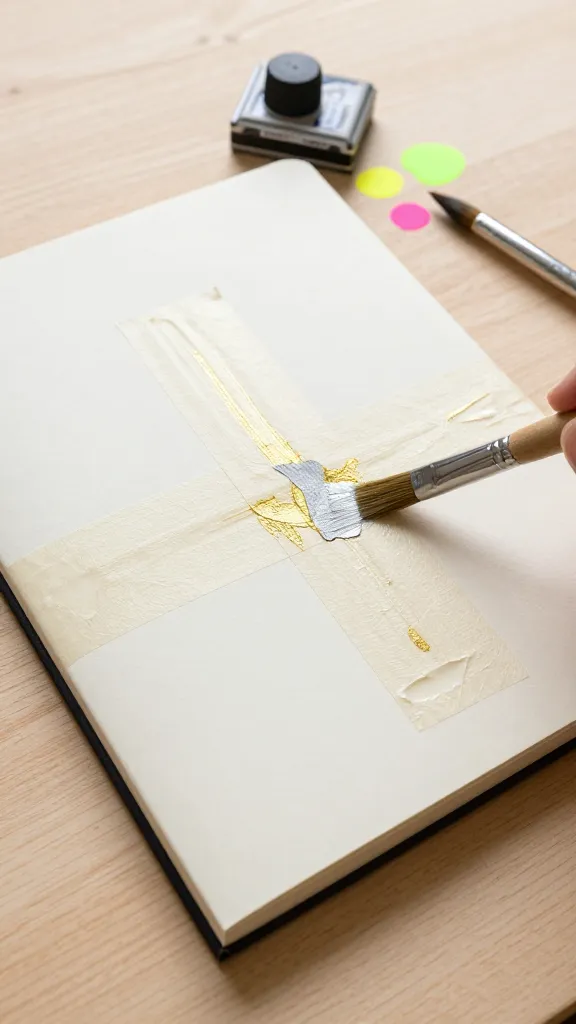
Transform a basic notebook into a personal statement piece. This one is easy, fast, and endlessly customizable.
- Materials
- Plain notebook or journal, acrylic paint or ink, fine brush or stamp set, tape for clean lines
- How to Make It
- Mask off sections with tape to create clean shapes, then paint or stamp your design.
- Peel off tape and let dry completely before use.
- Styling/Pro Tips
- Use metallic accents for a chic look or go bold with neon colors.
- Gift with a personalized note tucked inside.
Who’d love it: students, writers, planners, or anyone who wants a daily reminder to stay inspired. It’s your brain’s little fashion front page.
8. Mini Felted Ball Garland On a Dowel
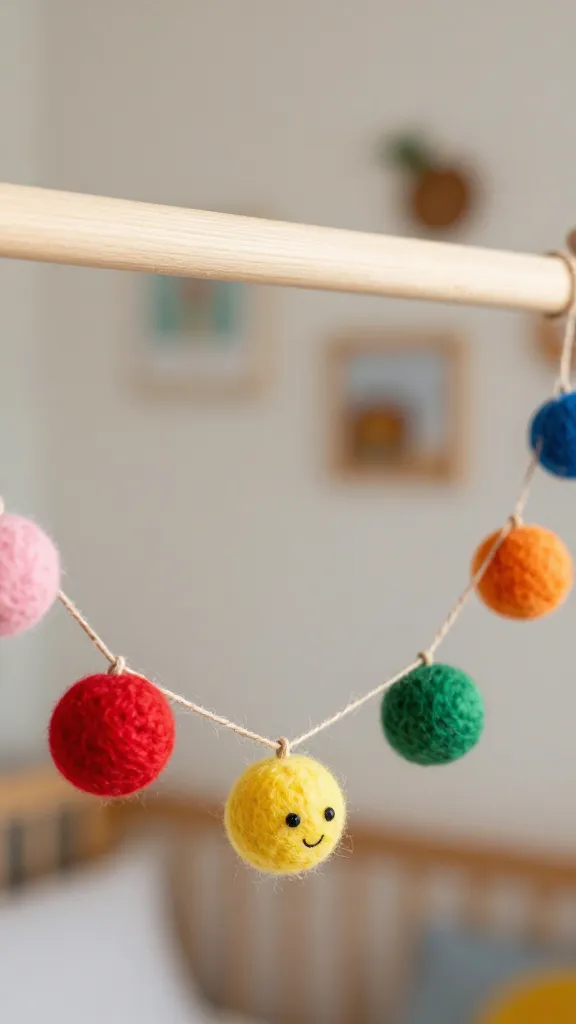
Colorful felted balls strung on a dowel create a cheerful banner that’s perfect for a party corner or a cozy nursery display.
- Materials
- Assorted felt, thread and needle or hot glue, wooden dowel, twine for hanging
How to Make It
- Cut felt into small disks and sew or glue into compact felt balls.
- Thread balls onto twine and secure to a short dowel on each end for hanging.
- Styling/Pro Tips
- Hang above a reading nook or photo wall for a playful splash of color.
- Mix sizes and colors for a festival-ready vibe.
Who’d love it: kids’ spaces, baby nurseries, or anyone who loves bright, handmade decor. You’ll adore how instantly festive it feels.
Conclusion
These 8 craft ideas under 5 dollars prove you don’t need a big budget to create show-stopping, personal touches for your home. Pick one (or all) and start crafting today—your space (and your social feeds) will thank you. Happy crafting!