How to Make Handmade Paper: Quick, Cozy Style Discovery
Making handmade paper is one of those cozy, satisfying skills that feels like a small rebellion against mass production. You don’t need a fancy studio or a giant budget—just a few basic supplies, some patience, and a knack for turning pulp into usable sheets. Ready to dive in? Let’s get your hands wet and your paper pulpy.
What you’ll need to start a paper-making session
First things first: gather your supplies. You can jazz this up with recycled scraps or keep it simple with fresh materials. Either way, you’ll want:
- Old paper scraps or shredded office paper (or plant fibers like cotton, linen, or jute for nicer texture)
- A blender or food processor
- A large tub or basin
- A mold and deckle (or improvise with a fine mesh screen and a frame)
- Rolling pin or sponge to press excess water
- Water
- A spray bottle for keeping the pulp supple
- Optional add-ins: dried flower petals, coffee grounds for texture, or natural dyes
FYI: you don’t need to invest in a fancy kit right away. A DIY mold made from an old picture frame and a window screen works surprisingly well. And yes, you’ll get pulp on your clothes. Embrace it.
Turning scraps into fiber: pulping basics
Your paper starts as pulp, and the magic happens in the blender. Here’s the clean, no-nonsense method:
- Rip the scraps into smaller pieces. Smaller bits blend faster and more evenly.
- Soak if you’re using thicker fibers. A few hours can help, especially with coffee-stained or glossy paper.
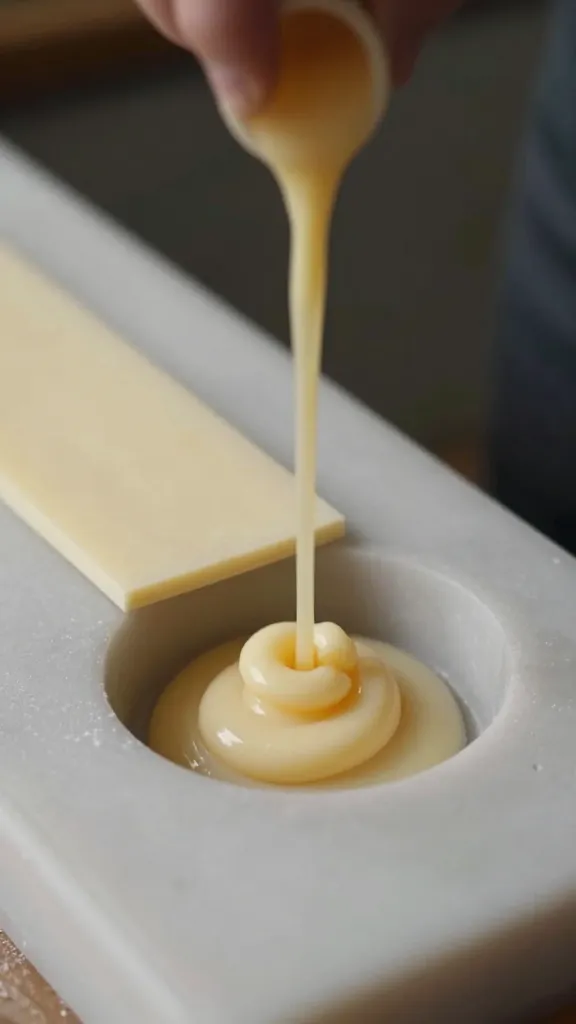
- Blend with water until you get a smooth, porridgelike consistency. If it feels chunky, give it another quick whirl.
- Pour the slurry into your tub. Add more water until it’s the consistency of loose soup. You want it thin enough to spread, but not so thin that it disappears in the mold.
Why go through the soaking step? It helps break down fibers and avoids harsh clumps. Also, it makes cleanup easier—your blender will thank you later.
Crafting your mold and deckle: the pivotal setup
The mold and deckle shape your sheets, so a decent setup boosts quality a lot.
DIY options that actually work
– Use a shallow frame and staple a fine mesh screen to one side. Secure it with painter’s tape along the edges so it doesn’t wobble.
– If you’ve got a second frame, cut a piece of screen to fit and mount it on top as the deckle.
Pro tips for a smoother pour
– Keep the frame level. Gravity is your friend here.
– Dip and lift slowly to avoid tearing the pulp film.
– If the pulp looks rough, add a splash of water and stir gently.
That first sheet is going to be experimental. Patience pays off as you learn how your setup behaves.
Forming sheets: the art of the pour
This is the moment of truth. You’ll turn that cloudy slurry into a tangible sheet of paper.
- Lower your mold into the tub so the pulp covers the screen evenly. A few quick taps on the frame help settle the fibers.
- Raise smoothly, letting excess water drain. Don’t rush—you want a uniform thickness, not a soggy pancake.
- Flip the deckle away and leave the sheet to rest on the mold for a moment. This helps it set before it transfers to the drying surface.
- Repeat to make multiple sheets. Layering pulp lightly between sheets prevents sticking when you move them later.
A good trick: keep a light, even touch. If you press too hard, you squeeze out too much water and you’ll end up with rigid, stiff sheets. Gentle hands, happy paper.
Drying and finishing touches
Drying is where your sheets become real. You can dry them flat on a rack, a clean towel, or even over a broom handle if you’re feeling adventurous.
- Lay each sheet flat or hang to dry, depending on your space.
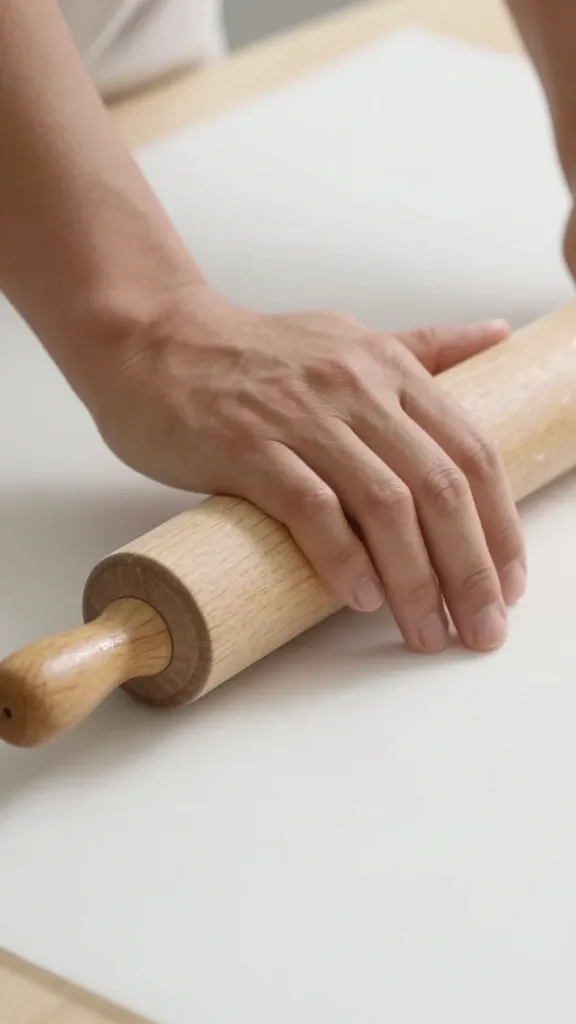
- Press the sheets with a rolling pin or a clean sponge to remove extra water and smooth the surface.
- Apply a light weight once they’re mostly dry to flatten warps and help edges stay neat.
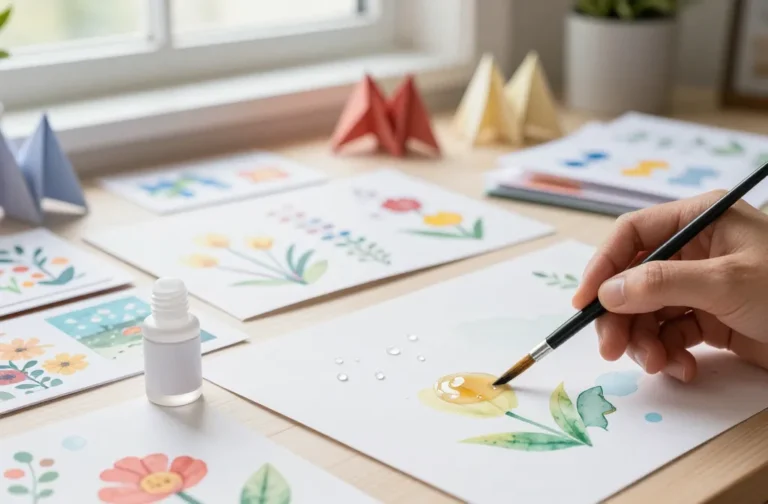
Optional enhancements that elevate the look and feel:
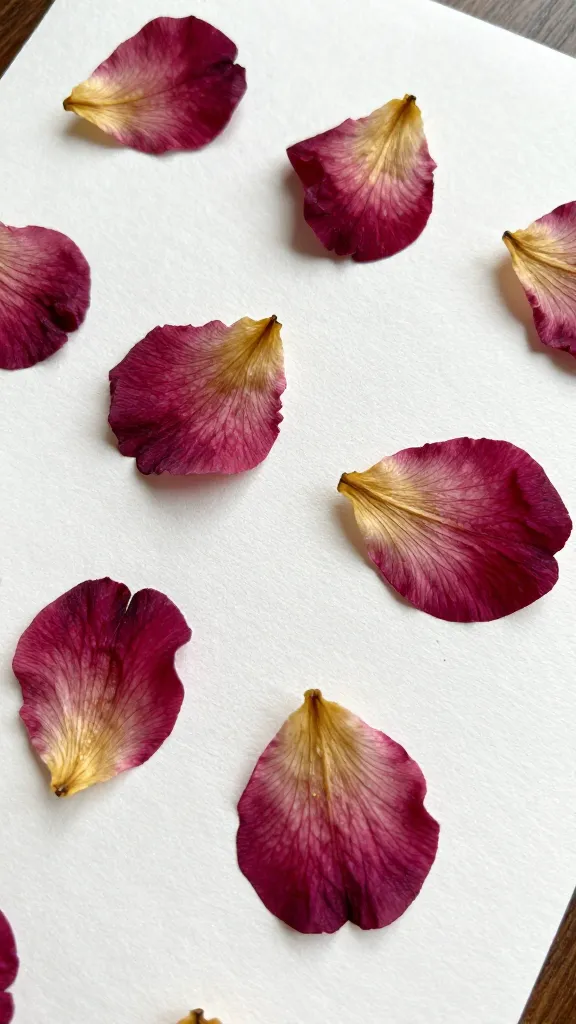
- Texture add-ins: sprinkle petals, threads, or small bits of colored pulp onto the surface before drying for an artisanal look.
- Watermark: leave a simple pattern on the mold or deckle, or press a cutout shape into the surface while still wet to create a watermark effect.
- Experiment with colors: blend small amounts of natural dyes into the pulp for tinted sheets. Start with pastel hues to avoid overpowering the fiber.
Tips for smoother drying:
– If you’re in a humid place, set sheets near a fan or a gentle heater. Don’t point heat directly at the sheets; you’ll curl them.
– Flip every few hours if you’re drying on a rack to prevent curling on one side.
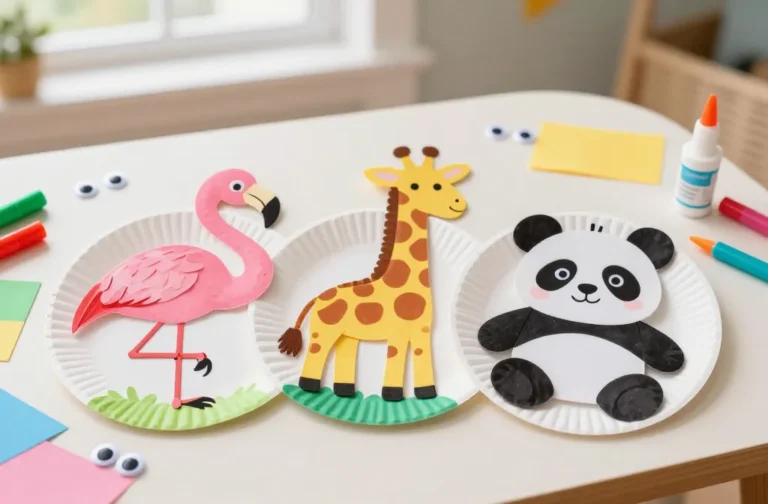
Ways to customize and upcycle with handmade paper
Handmade paper isn’t just for letters. It’s a playground for creativity.
Card stock and stationery
Cut larger sheets into cards or folded greeting cards. Use a heavier pulp for sturdier card stock, and add a seed mix to the pulp so recipients can plant the card later.
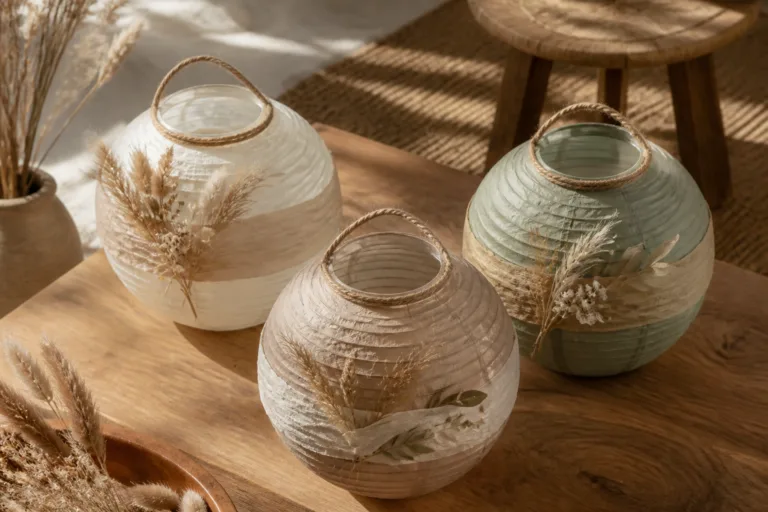
Wrap and packaging
Thin, strong sheets make excellent eco-friendly wrapping paper. Embellish with stamps or pressed flowers for a personal touch.
Art paper and journaling
If you’re into sketching or watercolors, try a heavier blend with cotton fibers. The texture is delightful for charcoal and pencil work, and watercolor sits nicely on the surface if you don’t push too much pigment.
FAQs: common hiccups and smart fixes
What should I do if the sheet tears easily?
Tearing usually means the pulp was too thin or not evenly distributed. Add a little more pulp to the next batch and pour a bit thicker. Gentle, even tapping helps pack fibers without making it hard.
Why are my sheets wrinkled after drying?
Wrinkles come from uneven thickness or letting the sheet dry too quickly. Try a flatter drying surface, and press with a light weight as they dry. You can also dampen slightly and re-press to smooth out wrinkles.
Can I use only recycled paper for pulp?
Absolutely. Recycled paper is great for beginners. Soak, blend, and use. It might take a few extra cycles to get fine fibers, but you’ll learn a lot in the process.
How long does it take to make a batch of sheets?
From setup to finished sheets, plan for a couple of hours for a small batch. The first run will feel slow, but you’ll speed up as you get the hang of it. FYI, cleanup adds up, so keep a little time set aside for washing up.
Is hand-pulled paper stronger than store-bought?
Often, yes. Handmade sheets can be sturdier because you control the fiber content and pressing. The downside is they might be more variable in thickness. It’s all part of the charm.
Conclusion
If you’ve stuck with me this far, you’re basically halfway to your own mini-paper mill. Handmade paper is not just a craft—it’s a way to slow down, repurpose, and create something uniquely yours. Don’t worry about perfection; the charm is in the quirks: a watermark you didn’t plan, a line of petals you pressed into the surface, the soft texture that only comes from real fiber and real water. So grab a frame, pull the first sheet, and brag to your friends about your new skill. You’ve got this.
Frequently asked at the neighborhood craft table (aka the FAQ)
Is this really a beginner-friendly project?
Yep. Start with simple scraps and a DIY mold. The more you practice, the better your sheets will look, and you’ll pick up tricks along the way.
How long does a finished sheet last?
With proper drying and storage, handmade paper from quality fibers can last for years. Keep it away from excessive moisture and direct sunlight to prevent warping and fading.
Can I make colored paper without dyes?
Naturally yes. Try adding plant matter like beet juice, turmeric, or spinach to tint the pulp. You’ll get earthy tones and you’ll feel like a scientist, which is always fun.
What’s the best way to store my finished sheets?
Stack flat between clean sheets of blotting paper or tissue to prevent sticking. Store in a cool, dry place, away from moisture and direct sun. If you’re worried about pests, zip-lock or wrap loosely in a breathable bag.
Any quick hacks to speed things up?
Limit batch size, keep a clean workspace, and prep your mold in advance. A quick rinse to keep the pulp from drying on the mesh speeds things up in later rounds. And FYI, listen to music—paper-making pairs surprisingly well with a good playlist.