How to Make 3d Paper Art You’Ll Love in Minutes
Give paper art a shot and you’ll see how wildly satisfying it is to turn a simple sheet into something that feels magical. You don’t need a fancy studio or a laser cutter—just paper, a few basic supplies, and a bit of imagination. Let’s dive into how to make 3D paper art that actually pops.
What 3D paper art really is (and why you’ll love it)
– Paper can exist in more than two dimensions, obviously. When you fold, cut, and layer, you create depth, shadows, and tiny sculptures that live on your desk.
– It’s forgiving for beginners. Mistakes can be taped over, trimmed, or repurposed into “oops-sculpts” that still look cool.
– It’s incredibly portable. A wallet-friendly toolkit fits in a drawer, and you can work anywhere you like.
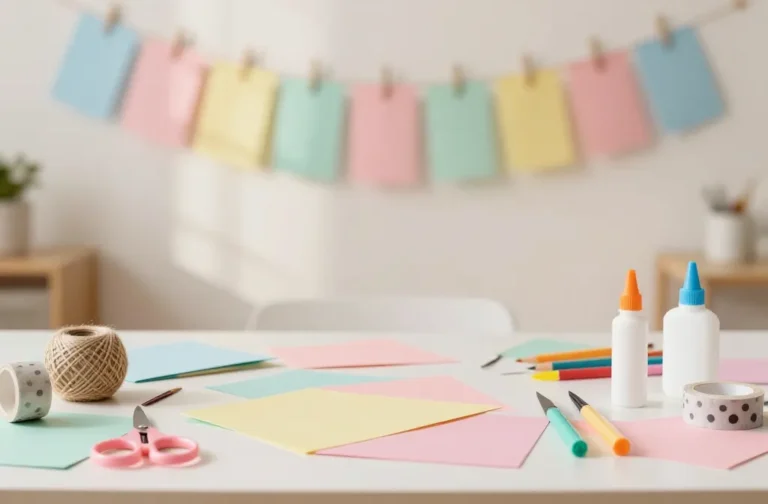
Tools and materials you actually need

– Paper: start with sturdy paper or cardstock in colors you love. If you’re planning to paint or add ink, pick a surface that won’t warp easily.
– Craft knife or precision scissors: sharp blades save your fingers and give clean cuts.
– Cutting mat: saves your table and your blades.
– Ruler, bone folder or a blunt scoring tool: for crisp folds.
– Glue: a fine-tipped liquid glue works wonders, or double-sided tape for cleaner edges.
– Optional extras: tweezers for tiny pieces, a pencil for guidelines, and a hobby knife for delicate details.
Do you really need a fancy printer? Not at all. A good hand-cut approach or simple laser-cut templates you print at home can be plenty. FYI, if you do want to print textures or intricate shapes, a high-quality print will behave best on heavier stock.
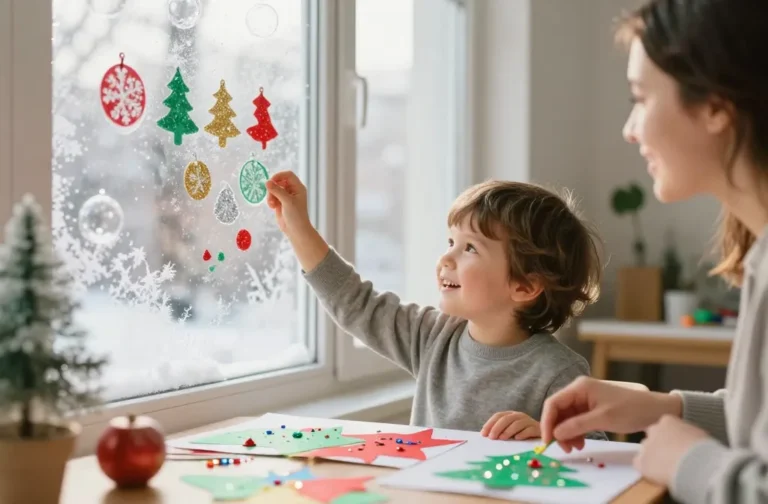
Start small: pick a simple project to dial in your technique
– Choose a design with larger pieces and clear layering. Think a single flower with three petals at different depths, not a sprawling cityscape right away.
– Learn with a template. You can find printable templates or use a grid approach to design your own. The more you practice folds and joins, the more confident you’ll feel.
– Practice your folds. Valley folds (folds that go inward) and mountain folds (folds that pop outward) form the backbone of most 3D pieces. Your future self will thank you for mastering those.
Subsection: How to score and fold like a pro
– Score lightly along the fold line so the paper doesn’t crack. A bone folder makes it tidy.
– Fold slowly and align edges precisely. Tiny misalignments stack up fast when you’re layering several pieces.
– Use a little glue at joints, then press flat until it dries. Don’t glue everything at once—build in stages.
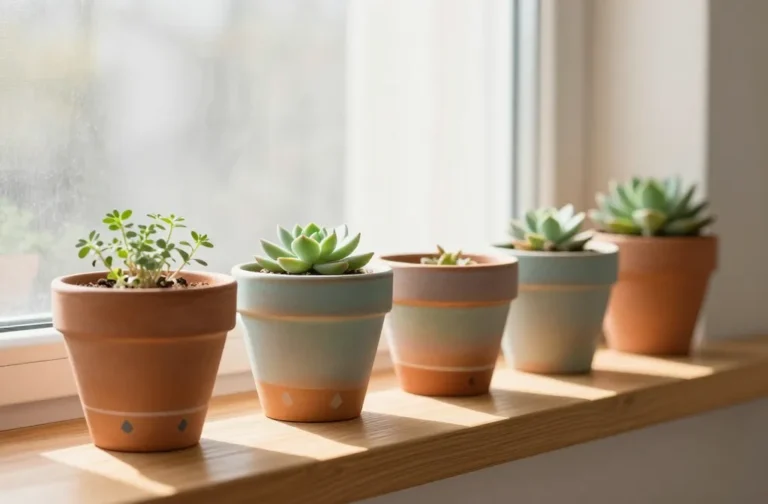
Layered florals: a friendly gateway project
– Cut several petal shapes, then stack them with tiny spacers (like folded scraps or tiny foam dots) to create depth.
– Use a central bud piece as the anchor and attach petals at varying angles for a natural look.
– Add a dab of color at the tips or along the edges for dimension. A gradient of ink or watercolor can look lush on white paper.
Subsection: Making the stems and leaves behave
– For stems, roll a thin strip of paper or coil a wire with paper around it for stability.
– Leaves shine when they’re gently curved, not perfectly flat. A light crease along the center and a couple of side folds give realism.
– Attach leaves with small bits of glue at the base so they float just a bit above the stem.
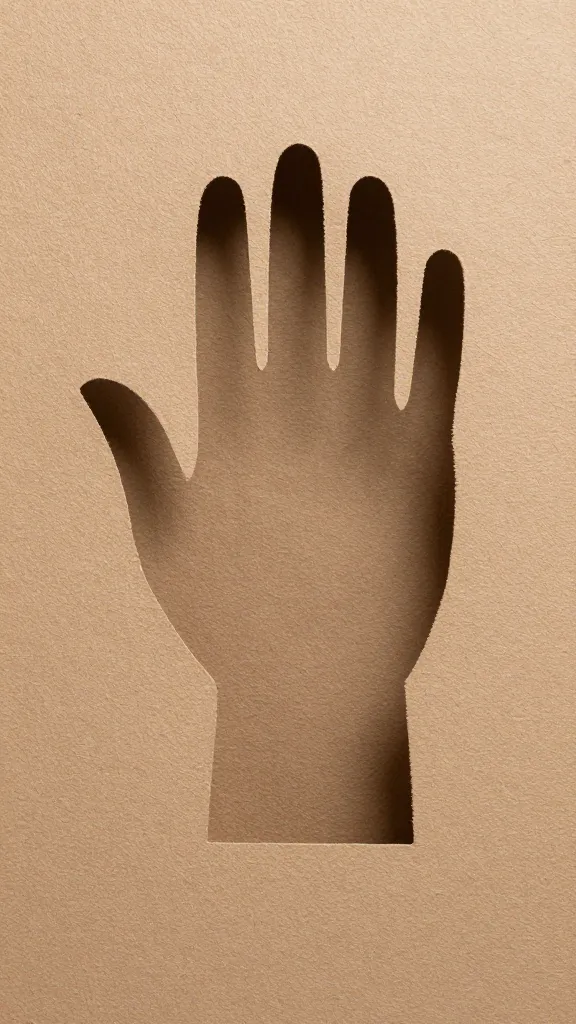
Animals, architecture, and abstract tweaks
– Animals: build a layered silhouette or a pop-up-style model by splitting the body into front and back planes. Use shading with markers to add texture.
– Architecture: think windows, balconies, and tiny roofs. Use insets and overlaps to simulate depth—this is where your precision bits earn their keep.
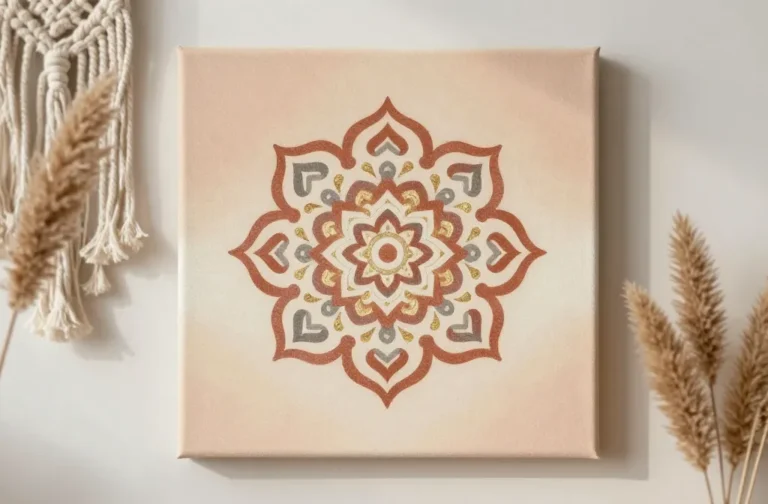
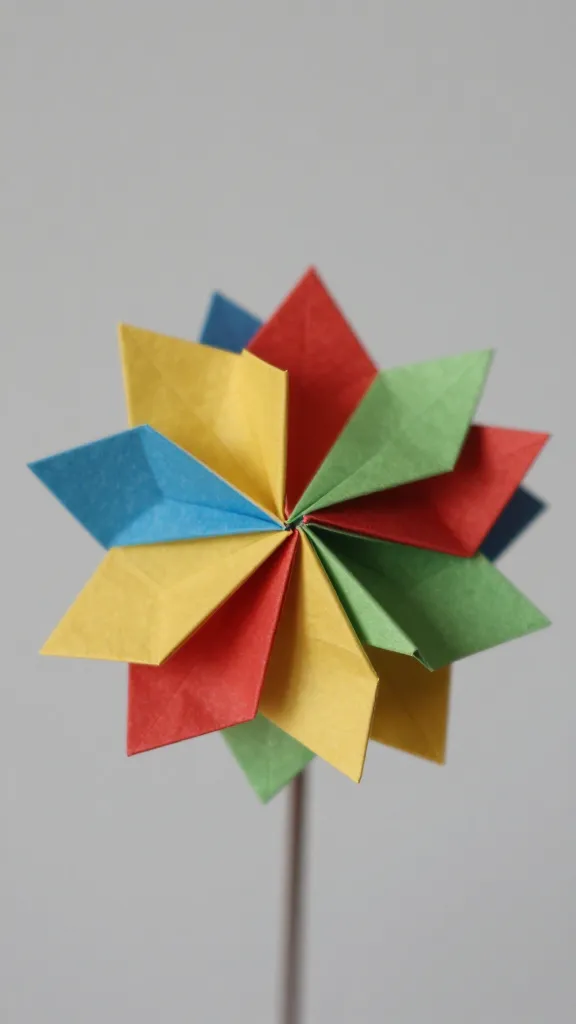
– Abstract shapes: stack geometric forms with varying thicknesses and angles. It’s great for wall art or desk decor.
Subsection: shadow play—making depth with lighting
– Place a small light behind or to the side to cast gorgeous shadows that enhance dimensionality.
– Darken or shade edges with a soft pencil or a touch of ink to push certain planes forward and let others recede.
– Experiment with different paper colors; white on white can be dramatic, while colored layers create a bold, vibrant feel.
Color, texture, and finishing touches
– Color choices change the vibe. Soft pastels feel delicate; bold contrast reads graphic and modern.
– Texture adds interest. Corrugated paper, vellum, or metallic sheets bring a different personality to each piece.
– Finishing coats: a light spray of matte fixative seals edges and reduces chipping if you plan to handle it a lot. Just spray in a well-ventilated area.
Subsection: Inking and painting tips
– If you want to color by hand, use water-based markers or paints and let dry between layers to avoid warping.
– Ink the edges after cutting for a sharp, defined look. It helps separate each layer visually.
– Don’t soak the paper. A little color goes a long way, and warp is not your friend.
Display ideas so your art actually gets noticed
– Mount on a simple shadow box frame to give depth and gravity. A deep frame makes the layers pop and keeps them safe.
– Create a small, portable display stand for desks or shelves. A few folded stands can turn a piece into a sculpture.
– Group a few pieces with a common color palette. A cohesive wall gallery elevates your craftsmanship and looks seriously gallery-worthy.
DIY safety and troubleshooting hacks
– Always cut away from your body and keep blades sharp. Dull blades force you to press harder and cause slips.
– If a piece tears, don’t panic. Glue and tape can mend most mistakes, and you can repurpose the fragment into a new layer.
– Warping is a real thing. If your paper cups under the weight, weigh your project down with a clean book while it dries or press with a heavy object wrapped in parchment.
Conclusion
Three-dimensional paper art is a playful mix of precision, patience, and imagination. Start with something simple, learn the folds, and gradually stack layers like you’re building a tiny sculpture. Before you know it, you’ll be sharing pieces that look wicked cool on a desk or gallery wall. IMO, the joy isn’t in finishing—it’s in the small “aha” moments along the way.
FAQ
What’s the easiest project to start with?
Try a layered flower or simple animal silhouette. They teach you layering, folding, and attaching without overwhelming you with too many pieces. You’ll build confidence fast, and the result feels instantly satisfying.
Do I need fancy tools to begin?
Nope. A sharp craft knife, a cutting mat, a ruler, a bone folder, and basic glue will do. As you grow, you can add tweezers, a craft punch, or a scoring tool, but you’ll survive the early days with the essentials.
How can I avoid warping when I cut or glue?
Use sturdy cardstock, score folds instead of tearing, and don’t soak the paper with glue. Let pieces dry flat, ideally under a small weight. If you see warping starting, switch to a lighter glue and thinner layers.
What’s the best way to mount finished pieces?
A shadow box or a depth-friendly frame is perfect. You can also mount on a stiff backing with a few foam spacers to create that floating, gallery-like effect. Presentation matters as much as the craft itself.
How do I find or create templates?
Start with free printable templates online, then tweak them to fit your style. You can also design your own by drawing simple shapes on grid paper and translating them into layered components. Practice makes templates less stressful.
Any quick tips to sound smart when showing friends?
Describe your piece in layers: “I built this from three layers of cardstock, each cut and curled to create a petal-like depth.” It sounds fancy, but it helps people see the craft behind the cutouts. And FYI, bragging softly is allowed.