How to Make Paper Flowers That Wow Your Feed
If you can fold a piece of paper, you can make paper flowers that look gorgeous without any fancy tools. No secret museum hacks here—just vibes, a bit of patience, and a dash of DIY magic. Grab your scissors, a glue stick, and a cup of tea, and let’s bloom.
Why paper flowers beat real ones sometimes
They don’t wilt mid-photos, they don’t need watering, and they never know when it’s Monday. Paper flowers hold color better than a summer selfie and last for ages with minimal care. Plus, you can create any color you crave, any size you dream up, and pair them with ribbons or strings for instant, Instagram-worthy vibes. Ready to dive in? Let’s go.
Choosing your materials (no mystery box required)
– Paper: Start with knowns. Printer paper works, but better results come from craft paper, crepe paper, or specialty tissue. Each has a vibe: crepe for texture, tissue for delicate layers, craft paper for sturdy stems.
– Scissors: Sharp is better, but not deadly sharp. You’ll thank me when you’re not fighting ragged edges.
– Glue: White glue works, but hot glue speeds things up if you’re patient-witty and don’t burn your fingertips.
– Floral wire or pipe cleaners: For stems that actually stand up to a cat, a breeze, or gravity.
– Optional embellishments: A touch of glitter, pen details, or a dab of paint to add shading.
- Start with simple shapes: round petals, teardrop petals, or squares that you’ll curl into petals.
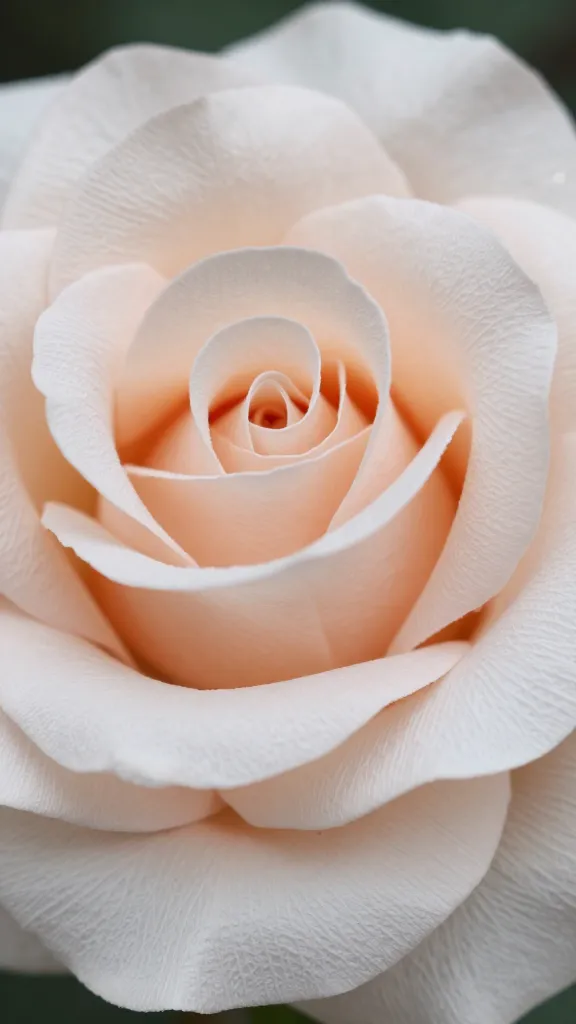
- Color in layers: pale centers and darker edges give depth, even with basic paper.
- Practice makes petals: don’t expect a bouquet on the first try. Try a small flower first, then scale up.
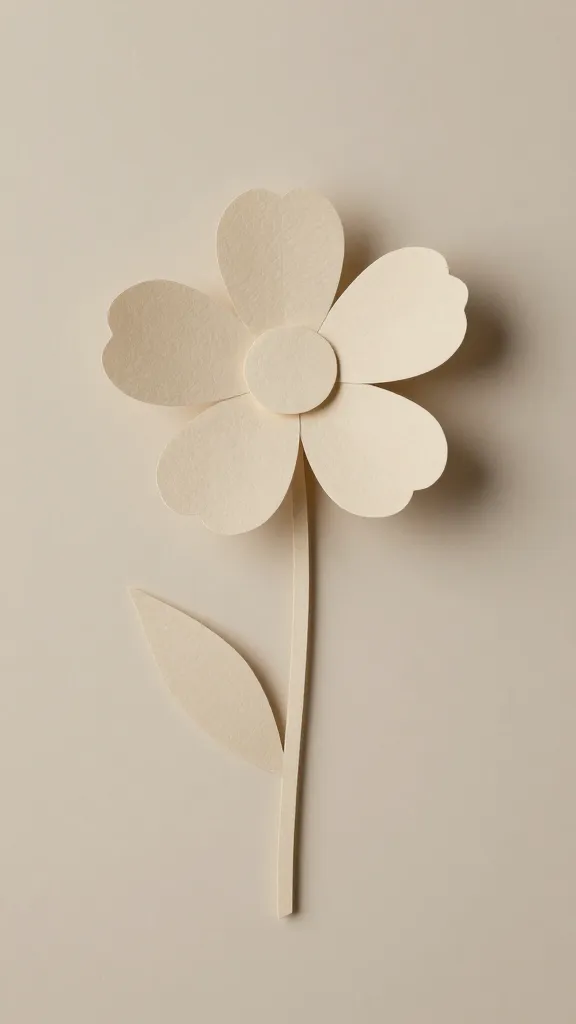
Simple petals, big impact: your first flower
A classic five-petal bloom is perfect for beginners. It looks cute, photographs well, and teaches you the basics without drowning you in steps.
Step-by-step quick build
- Cut five teardrop-shaped petals from colored paper.
- Glue them around a small circle of paper or a bead base for a defined center.
- Attach a length of floral wire or a pipe cleaner as the stem.
- Wrap the base with a bit of green paper or tape to hide the joint.
Aftercare for your first bloom
– Hold it up and pretend you’re in a field of flowers. FYI, it’s still cute indoors.
– If the petals look flat, give them a gentle curl with a pencil or the edge of scissors. This adds life and movement.
– Store flat or hang to avoid creases. It’s not a crime to mist with a light spray if you want a dewy look—just keep it minimal.
Layered petals and texture: building depth
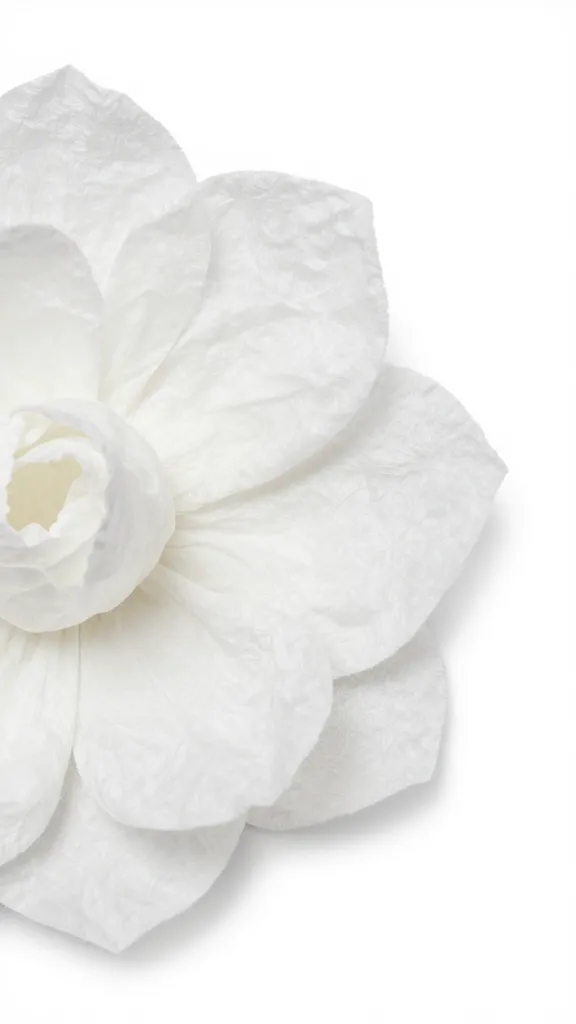
Once you’ve nailed a single bloom, you can start layering petals to create more realistic flowers. Texture is what sells the look.
Techniques that make flowers feel real
- Curl the petal edges inward or outward to simulate natural curling as flowers age.
- Glue petals staggered along a circular base for a full bloom, not a flat pancake.
- Use different paper weights for petals and centers to mimic tension and color variation.
Center details that matter
– Add a small bead, a rolled piece of paper, or a punched circle with a dot of black marker to mimic an anther or pistil.
– A pinch of glue in the center helps hold everything in place and adds a craft-store-worthy finish.
Creative shapes: beyond the classic round bloom
Don’t limit yourself to traditional flower shapes. You can craft dahlias, peonies, ranunculus, or wild garden blooms with a few clever folds.
Peony-inspired fullness
– Use a dozen or more small, rounded petals slightly layered and offset to create a lush, peony-like head.
– Start with a small base and radiate outward, tucking each petal into the previous one for volume.
Dahlia and ranunculus tips
– For dahlias, cut petals into slightly curved wedges and stack in concentric rings.
– For ranunculus, use tightly rolled narrow petals around a central core to mimic that tight, layered look.
Stems, leaves, and arrangements: bringing it to life
Your flowers deserve stems that can stand up to a sunny windowsill or a hanging display. The real magic happens when you pair blooms with sturdy, flexible stems and a few leaves to fill out the bouquet.
Stems that actually stand up
– Use floral wire inside a paper tube or wrap a pipe cleaner with green paper to disguise the structure.
– Add a dab of hot glue at the base to secure the bloom if needed, but avoid overheating the paper.
Leaves and greenery for balance
– Cut simple leaf shapes from green paper and lightly curl the edges for a natural look.
– Place leaves around the blooms to frame the flowers and give a full, lush feel.
Arranging like a pro (almost)
– Start with a focal bloom, then add secondary blooms at varying heights and angles.
– Balance color by grouping similar tones or alternating light and dark petals.
– Consider a grid or foam block base if you’re making a long-lasting centerpiece.
Finishing touches: color, shade, and lifespan
Small details can elevate your paper flowers from cute to wow.
Color tricks that give depth
– Use two shades of the same color for petals: a lighter base and a darker edge.
– Add subtle speckles with a fine-tip pen to mimic pollen specks or natural flecks.
Sealing and preservation
– A light spray of clear acrylic or clear craft sealant can help protect the color and prevent tearing if you’re using delicate papers.
– Store in a dry spot and avoid crushing. Paper dislikes squashing almost as much as you do.
Projects you can try next to level up
– Wall blooms: Create a quick bouquet wall display by mounting several flowers on a large cardboard backing or directly on a wall using removable adhesive.
– Paper flower garlands: String together multiple blooms for party décor or a whimsical backdrop.
– Seasonal bouquets: Switch color schemes with holidays or seasons—pastels for spring, warm tones for autumn, icy blues for winter.
Conclusion
Paper flowers are a vibe: satisfying to make, endlessly customizable, and surprisingly sturdy. With a little practice, you’ll be cranking out bouquets that look like they came from a boutique shop—without breaking the bank or your back. So grab a stack of colored paper and start folding. FYI, your future self will thank you for the calm, crafty moment.
FAQ
Can I really use printer paper or should I buy craft paper?
Printer paper works for simple blooms, but craft paper or tissue gives richer color and better hold. If you’re just starting, printer paper is a fine way to learn your folds and glue timing without investing too much.
Do I need special scissors?
Not really. Sharp scissors help for clean cuts, but blunt or kid-safe scissors work if you’re careful. The key is steady hands and clean edges, not weapon-grade tools.
What glue works best for paper flowers?
White craft glue is reliable, dries clear, and is easy to control. If you’re in a rush, hot glue forms quick bonds, but you’ll burn fingers if you’re not careful. Use low-temperature hot glue if possible.
How long do paper flowers last?
With proper storage, they can last months to years. Keep them away from moisture and direct sunlight to prevent fading or warping. A light sealant can extend their life even more.
Can I personalize paper flowers for gifts?
Absolutely. Swap colors to match the recipient’s vibe, add initials in the center, or create a bouquet shaped into a heart. It’s the thought—and the handmade charm—that really counts.
What’s the quickest flower I can make?
A five-petal bloom is your fastest win. It teaches core concepts quickly and still looks adorable in a small bouquet or as a single stem in a vase.