How to Start Paper Quilling: Quick Wins for Beginners
It only takes a few strips of paper to unlock a whole world of color, curls, and tiny masterpieces. If you’ve ever looked at a rolled zigzag and thought, “I could probably do that,” you’re in the right place. Let’s dive into paper quilling without the drama.
What is paper quilling, exactly—and why should you care?
Quilling is basically winding strips of paper into shapes and sticking them together to make pictures, ornaments, or cards. It sounds fancy, but you’ll catch on fast. The real magic? You can start with scraps and a few basic tools, and your projects scale from tiny earrings to wall art.
– It’s affordable: most kits are basically a starter set and some luck.
– It’s portable: pop a few strips and a tool into a bag and you’re good to go.
– It’s incredibly forgiving: if a coil comes out wonky, squish it into a leaf or flower and pretend you meant to do that.
FYI, you don’t need to go all-in on studio-level gear. A few simple supplies and your favorite playlist are enough to get you hooked.
Tools and materials you actually need (and a few you can skip for now)
Start simple, then level up as you fall in love with the process.
Essential starter kit
- Quilling paper strips (thin, usually 1/8″ to 1/4″ wide)
- Quilling tool or a small needle tool
- Glue (PVA white glue works fine; a glue pen is convenient)
- Tweezers for precision
- Fine-tip scissors or a craft knife
- A micro-roller or the back of a pen to shape coils
- Finished project base (cardstock or a small canvas)
Nice-to-have extras
- Quilling comb for fringed effects
- Templates or dies for consistent shapes
- Sealant spray to protect pieces
- Colored paper packs for variety
What you can skip for now
- Expensive specialist shop equipment
- High-tech nesting tools—stick with the basics until you know what you love
First shapes to master (and why they matter)
Before you chase a masterpiece, practice a few shapes. They are the building blocks, like alphabet letters for a tiny paper language.
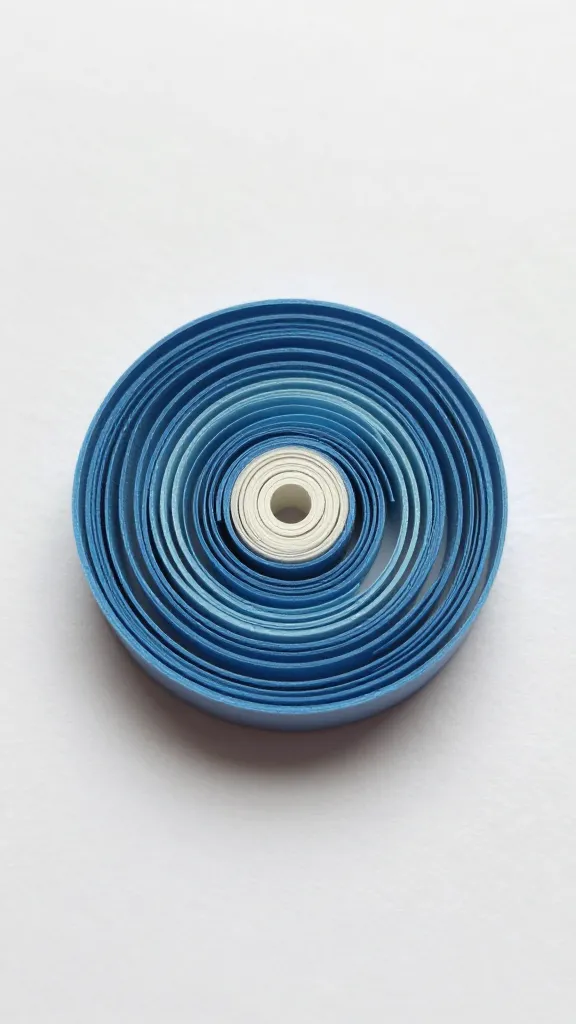
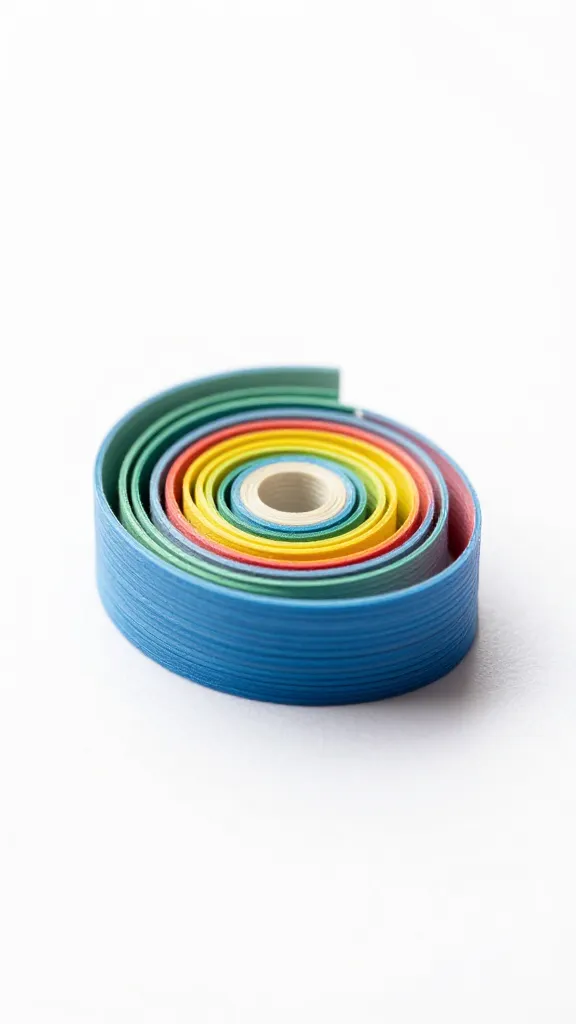
Coils and relaxings
Roll tight coils, then loosen them to form loose circles. Those little rings become petals, eyes, or borders. If a coil sticks flat, curl the edge with a needle to “relax” it into a gentle loop.
Teardrops and marquise shapes
These are your versatile basics. Teardrops make petals, hearts, and outlines. Marquises (pointed oval shapes) are great for leaves and abstract curves. Practice consistent pressure to keep shapes even.
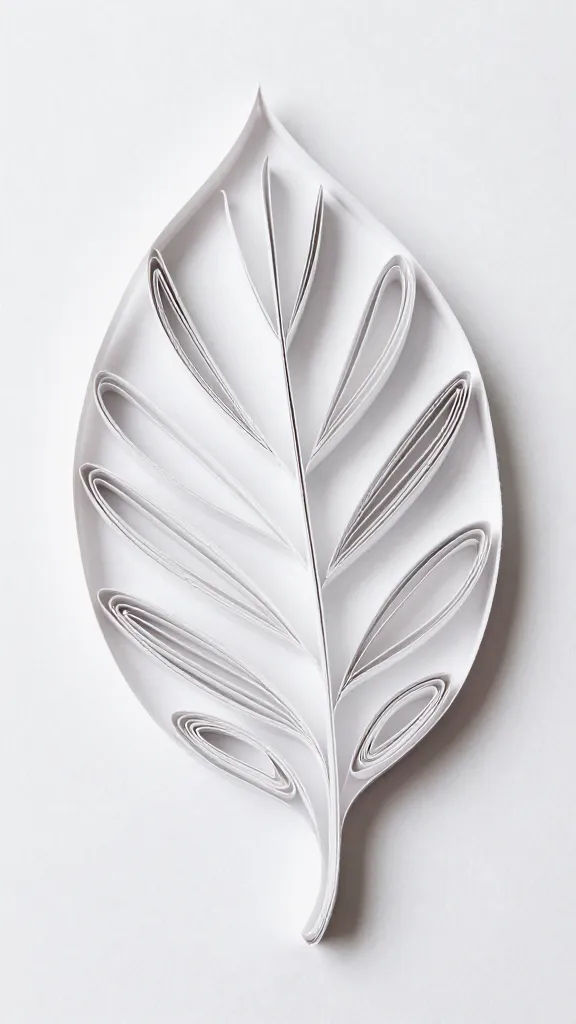
Leaves and petals
Shape a teardrop, then attach a narrow coil at the base. You’ll see the botanical vibe come through quickly. Remember: symmetry is optional, but it helps when you’re aiming for a floral bouquet.
Step-by-step: your first tiny project
Let’s keep this friendly and doable. You’ll finish something tangible in a single session, and that momentum will suck you in.
- Choose a simple motif: a flower, a butterfly, or a heart. Pick 3–5 colors you love.
- Cut paper strips to your chosen widths. If you’re unsure, go with 1/8″ for a classic look.
- Roll a few tight coils for centers, then relax a coil for a circle border.
- Arrange shapes on cardstock in a pleasing layout before gluing. This is your “preview” moment.
- Glue shapes in place one by one. Wipe excess glue quickly so it doesn’t blob.
- Let it dry and admire your first tiny triumph.
Optional pro-tip: sketch your design lightly with a pencil on the card, so you know where to place each piece. It cuts down on “Oops, that goes there?” moments.
Smart ways to learn fast without burning out
If you’re the “learn by doing” type, these tips will help you upgrade without frustration.
Watch and imitate
– Look for quick tutorials online and pause to replicate each step.
– Pause a video at the moment you see a tricky twist, then try it on your own.
Practice with a plan
– Set a tiny, doable goal for each session (e.g., “make 6 teardrops and 3 petals”).
– Keep a little project log: color combos, coil sizes, and what glue you used.
Stay organized
– Pre-cut a batch of strips in a few colors to grab and go.
– Use a magnetic sheet or a shallow tray to keep shapes from rolling away.
Common mistakes (and how to dodge them)
We’ve all been there. Here are the classic snafus and quick fixes.
Too much glue — It makes pieces slide and the paper warp. Apply a thin line or dab with a toothpick. Less is more.
Warped sheets — If your base paper gets wavy, switch to thicker cardstock or flatten with a book under a weight while it dries.
Uneven coils — If coils aren’t tight enough or too loose, adjust your pressure and practice on a few spare strips until you nail consistency.
Frayed edges — Cut cleanly and avoid rough edges. If fraying happens, trim the end and start with a new strip.
How to level up your projects (without turning quilling into a full-time job)
You’ve got the basics; now the fun really starts.
Blend textures and finishes
– Combine matte and metallic papers for a statement piece.
– Layer shapes to create depth—think a flower with a 3D bloom.
Play with scale
– Create a mix of tiny coils and large teardrops in one piece. The contrast is visually satisfying.
Mix in other crafts
– Glue quilled shapes onto fabric, wood, or ceramic for mixed-media art.
– Incorporate beads or tiny gemstones for a touch of sparkle.
Display ideas that actually spark joy
What’s the point of all this if you can’t show it off? Here are simple, stylish ways to showcase your quilling.
- Greeting cards: hand-drawn backgrounds with a quilled focal point.
- Wall art: mount on a wooden plaque and seal with a light spray.
- Ornaments: small shapes combined into a festive ball or hanging motif.
- Bookmarks: a slim strip with a flower cluster is surprisingly cute and functional.
Conclusion
Quilling is the kind of craft that rewards curiosity and a light touch. Start with the basics, play around with shapes, and you’ll find your signature style before you know it. FYI, there’s no finish line—just more beautiful coils to chase and more color to play with. Grab your strips, and let’s swirl some paper magic.
FAQ
Do I need expensive tools to start?
Not at all. A basic quilling tool, a few strips, glue, and tweezers will get you started. You can upgrade later, but don’t wait for perfection to begin.
What kind of paper should I buy?
Look for quilling paper or lightweight arts paper cut into strips. Start with a mix of colors and textures, then branch out as you get inspired.
How long does a typical project take?
Simple pieces can take 15–45 minutes once you’re in the groove. More complex designs might need a couple of sessions. No pressure—enjoy the process.
Can I seal my finished quilling piece?
Yes. A light spray sealant can protect your work, especially if you’re planning to hang it or gift it. Test on a scrap first to make sure you like the finish.
What should I do if my shapes keep popping off?
Double-check your glue application and let pieces dry fully before moving them. A tiny dab of glue at the base can help anchor coils, and a clear-drying glue tends to work best for most papers.