How to Make Craft Ideas Birthday Decorations: Quick Diy Party Magic
If you’re throwing a birthday bash, why not turn the party into a crafty celebration? DIY decorations set the mood, save you money, and give you bragging rights for weeks. You’ll blink and the cake will be cut, but the table will still sparkle with your handiwork. Let’s get those ideas rolling and make the vibes unforgettable.
Gather a quick stash of supplies and inspo
Want to avoid a full-on craft store sprint? Start with a simple list and a clear color vibe. Pick 2–3 colors that match the party theme and grab these basics:
- Cardstock or kraft paper
- String, twine, or ribbon
- Scissors, glue, tape, and some double-sided adhesive
- Markers, stickers, and washi tape
- Paper cups, napkins, and balloons you can customize
Before you shop, collect a few inspiration pics. A quick Pinterest board or a screenshot folder keeps you from going off the rails—trust me, you’ll thank yourself later. FYI, you don’t need to replicate a pinterest-perfect setup; it’s about vibes, not photo-perfect precision.
DIY decor ideas you can actually pull off
Here are some crowd-pleasing, beginner-friendly ideas you can mix and match.
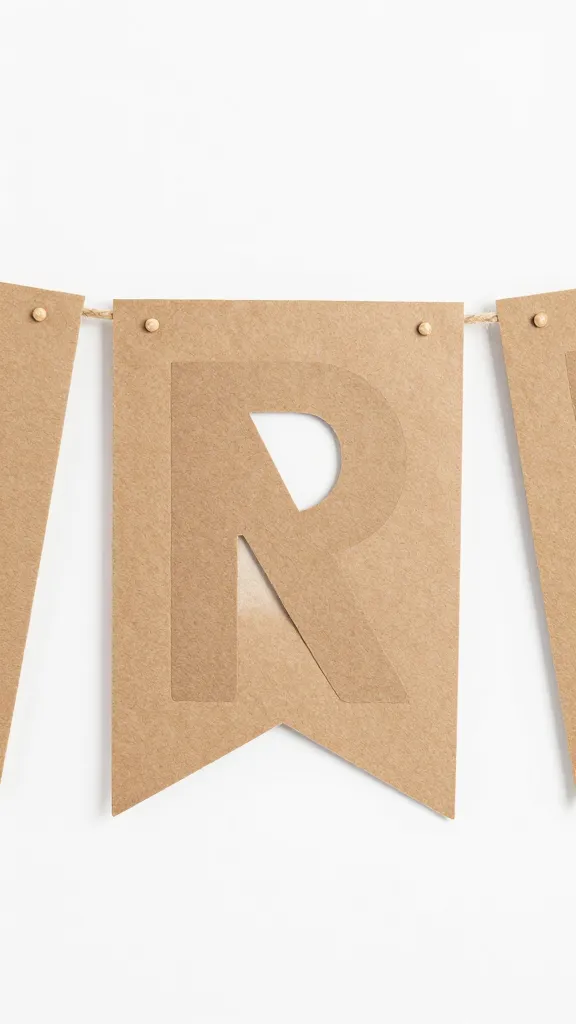
Paper garlands that wow without breaking your back
Cut simple shapes—banners, circles, pennants—from colorful paper. String them up across a wall, doorway, or table edge. Pro tricks:
- Use alternating colors for a gradient effect.
- Punch holes in shapes and thread with yarn for a breezy look.
- Dust off a corner with metallic Sharpies to add subtle shine.
Want something a touch fancier? Try a layered tissue paper fringe garland. It’s chic, cheap, and surprisingly sturdy.
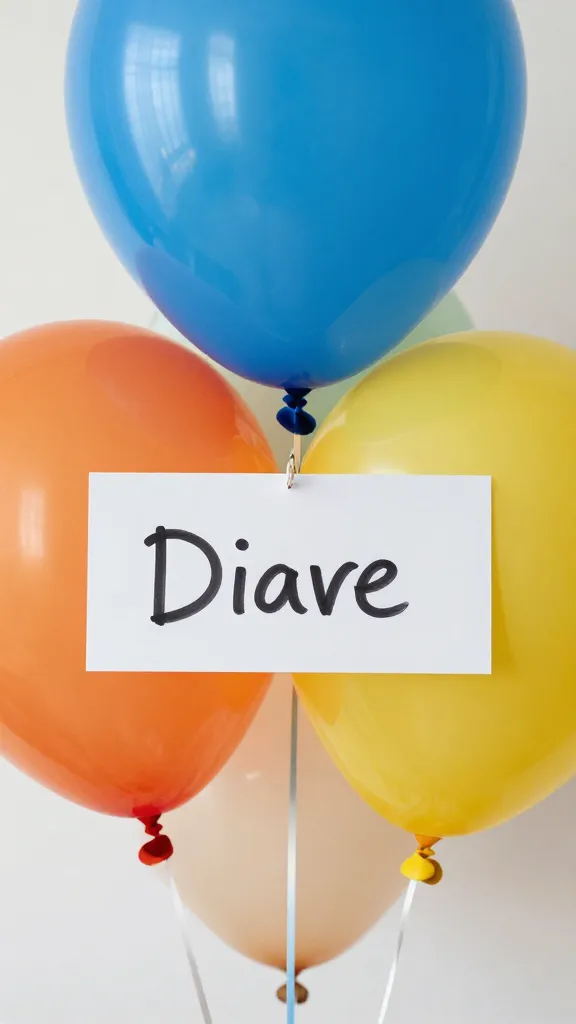
Statement balloons that don’t require a balloon artist
Balloons are party magic, and you don’t need an expert to nail it. Create clusters in the corners or frame a backdrop wall.
- Mix matte balloons with a few metallics for depth.
- Inflate some to different sizes for a dimensional look.
- Add a DIY tassel fringe made from ribbon or streamers for extra flair.
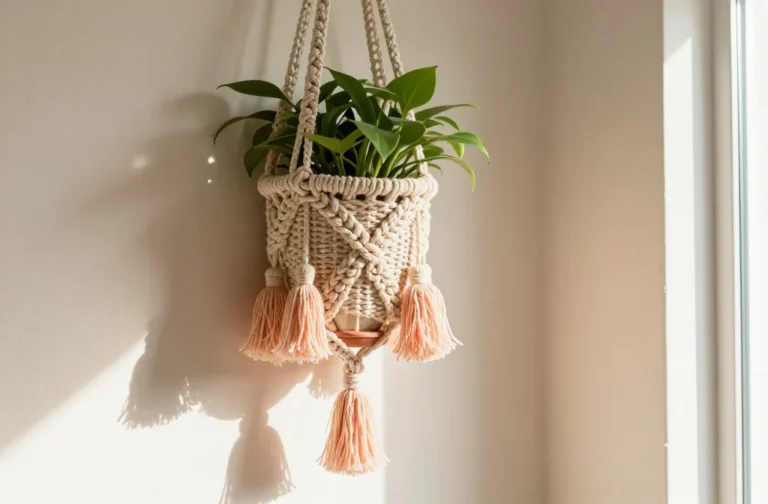
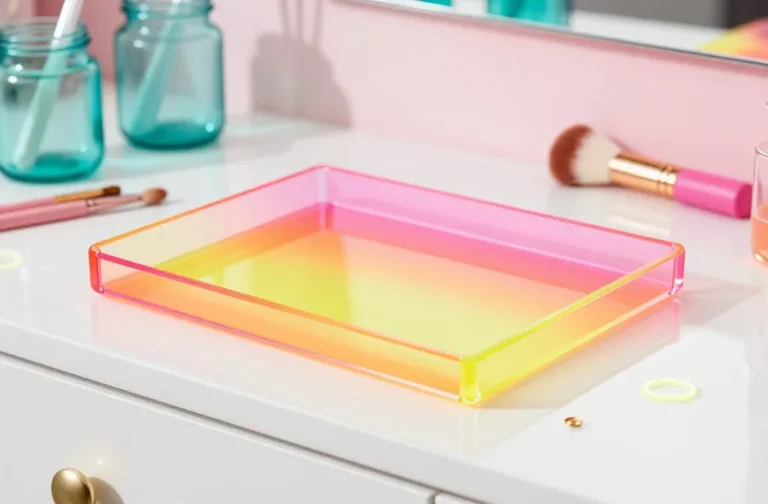
Centerpieces that whisper “you did this”
Grab a few glass jars or bottles, fill with colored water or marbles, and top with a simple greenery sprig or feather. For a kid-friendly twist, pot mini succulents or fill jars with candy that matches your color scheme. Easy, charming, and reusable.
Personal touches that feel special
Personalization elevates your DIY game from cute to memorable.
Photo bunting that tells a story
Hang a string of mini photos from birthdays past or snapshots of the guest of honor. Clip photos with tiny clothes pins or attach them with washi tape to a ribbon. It’s like a time capsule on the wall.
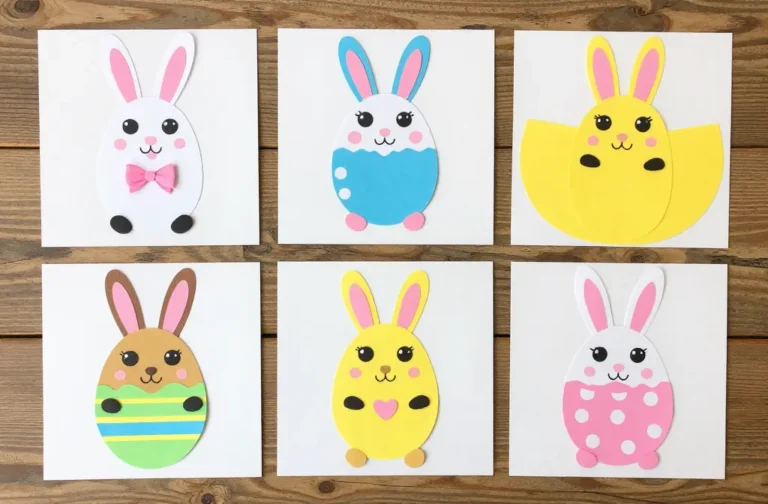
Custom cupcake toppers in minutes
Cut shapes from cardstock, punch a small hole, and mount them on toothpicks. Personalize with the guest’s nickname or a silly inside joke. FYI, you don’t need a printer to look pro—handwritten doodles have character.
Budget-smart tips to stretch your crafts
You can go stylish without emptying your wallet. Try these tricks.
Repurpose, don’t reinvent
Look around your home for craft-worthy items: fabric scraps, glass jars, spare ribbons. Turn old party plates into kaleidoscope-style wall art with a coat of paint. It’s sustainable, and it feels satisfying to reuse.
Shop smart, shop smartly
Hit the dollar store or craft clearance for bulk basics. Choose versatile pieces that you can repurpose for future parties. It may feel like a small win, but trust me, it adds up by birthday season.
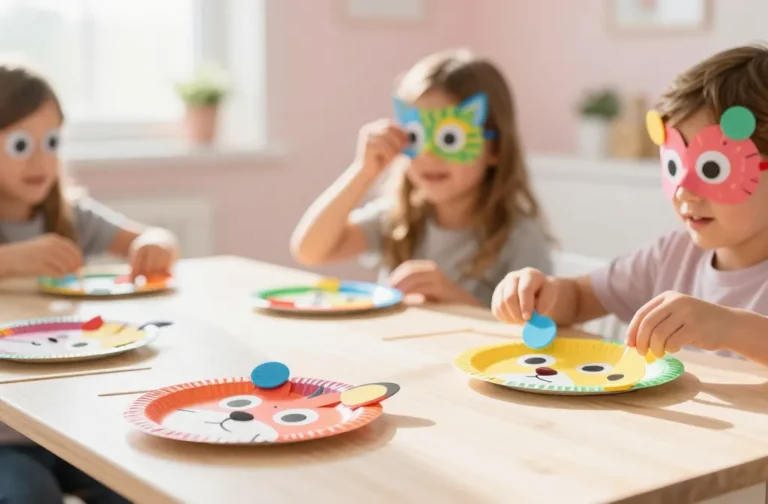
Crafting with kids (and grownups who act like kids)
If kids are involved, keep things simple, tactile, and fast-paced. Quick projects reduce the risk of meltdowns and mess.
Easy kids’ corner activities
Set up a mini craft station with pre-cut shapes, stickers, and a few markers. Let them make a mini banner, decorate goodie bags, or personalize confetti tubes. Quick wins keep the energy high.
Grownups get in on the fun too
Turn a corner into a DIY station for adults: lets them customize napkin rings or design their own name tags. It’s surprising how much joy a simple personalization brings, and it doubles as a party souvenir.
Putting it all together: the flow from setup to party
Think of the decor as a story arc: entrance, table, focal wall, and photo corner.
- Entrance: greet guests with a bold welcome banner or balloon arch (even a simple balloon arch DIY kit works).
- Table: layer different heights using stacked boxes, jars, and a runner in your color scheme.
- Focal wall: a curated collage or the photo bunting acts as the “wow” moment for photos.
- Photo corner: a small backdrop with props keeps people smiling and sharing pics.
Finishing touches that seal the deal
A few smart finishes pull everything together.
Lighting matters
String lights, LED candles, or a few lanterns create warmth. You don’t need fancy bulbs—soft lighting makes everything look better in photos and in real life.
Texture adds depth
Layer paper, fabric, and natural elements like pinecones or leaves. Texture makes your space feel thoughtful rather than thrown together.
Conclusion
Crafty birthday decor isn’t about burning the midnight oil and stressing over perfection. It’s about fun, a pinch of chaos, and a dash of personal flair that says, “this party was made with love.” Start with a simple color idea, gather a few cheap supplies, and let your creativity roam. Before you know it, your space will be buzzing with creator-level vibes—and you’ll have a stash of props you can reuse for the next celebration. IMO, that’s the sweet spot.
FAQ
What if I don’t have a big craft budget?
You don’t need a big budget to wow guests. Use free printables, recycle materials you already own, and lean on simple shapes and color blocks. DIY decor thrives on clever substitutions and a pinch of imagination.
How can I involve guests without turning the party into a full workshop?
Set up a quick, self-serve station with a couple of easy projects and clear instructions. Leave markers, stickers, and pre-cut shapes handy. Guests can join in if they want, or just enjoy the party and contribute later in tiny ways.
Any tips for outdoor birthdays?
Weather-proof decor is key: use laminated paper shapes, fabric banners, and balloons tied with weights. Bring in a few more natural textures like greenery or potted plants, and have a backup plan for wind or rain.
Which decorations have the best photo appeal?
Backdrop walls, photo bunting, and a well-lit table centerpiece steal the show in photos. Keep at least one focal point well-lit and generous in scale so it shines in pictures.
Can I reuse these decorations for future events?
Absolutely. Choose flexible colors and designs that aren’t tied to a single theme, and store pieces flat or in labeled containers. You’ll be delighted how many times your creations still bring the party to life.