How to Make Toilet Paper Roll Crafts
If you’ve ever stared at a pile of empty toilet paper rolls and thought, “There has to be a crafts project in here,” you’re not alone. Welcome to the world of tiny tubes, big ideas. You don’t need fancy supplies or a fancy workshop—just a little imagination and a willingness to get a bit messy. FYI, this hobby is surprisingly calming and oddly satisfying. Let’s turn those rolls into real-deal masterpieces you’ll actually want to display.
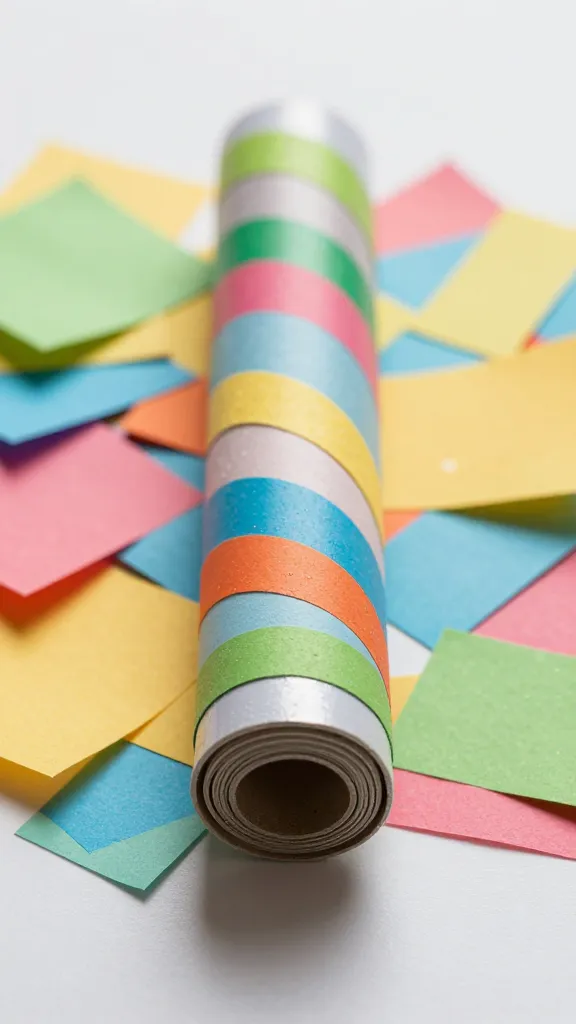
Why toilet paper roll crafts are secretly the MVP of DIY
They’re cheap, accessible, and endlessly remixable. You can make animals, seasonal decor, organizers, or mini galleries, all in one afternoon. The best part? You recycle as you create, which feels gloriously virtuous. Feels good, right? So grab your scissors, a glue stick, and that bag of scraps you’ve been saving “for a project someday.” Today is that day.
Get started: the absolute basics you need
Every craft day benefits from a quick setup. Here’s your starter kit:
- Empty toilet paper rolls
- Scissors (child-safe or adult-grade, depending on who’s crafting)
- Non-toxic glue or a glue gun (glue guns are speedy, yes, but be careful)
- Paints, markers, colored paper, and some brushes
- Optional decorative bits: beads, yarn, googly eyes, washi tape
- Old magazines or scrap paper for collages
Do a quick clean-up of your workspace first. It’s amazing how much easier it is to stay focused when you aren’t chasing stray bits of paper across the kitchen table. Ask me how I know.
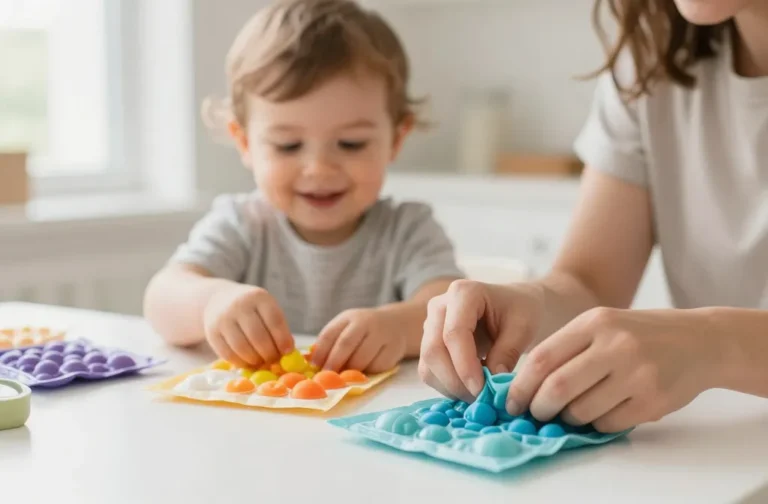
From simple shapes to cute creatures: toddler-friendly ideas
If you’re crafting with kiddos, start here. Simple shapes + a splash of color = instant win.
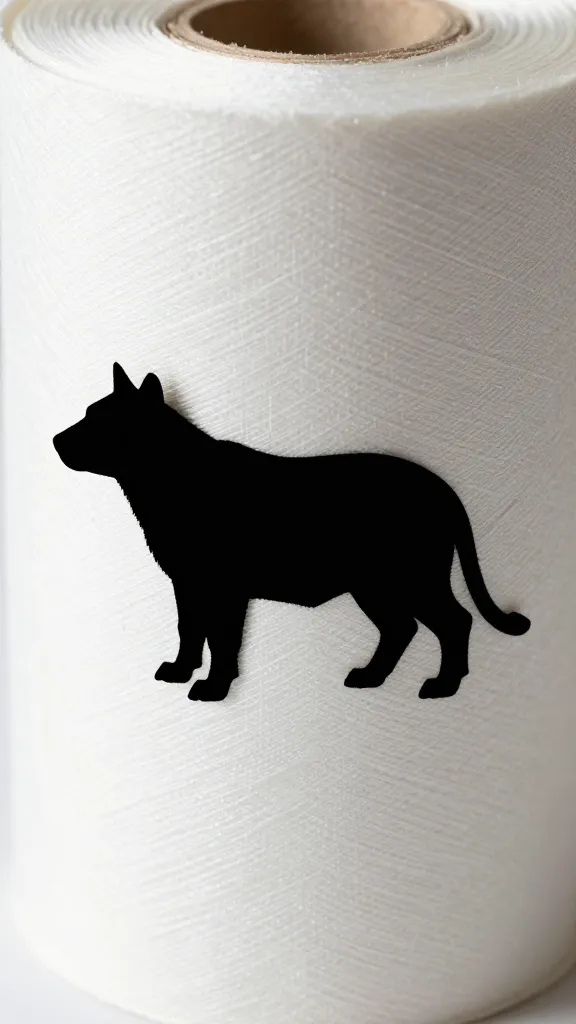
- Mini animal friends: Cut rolls into rings or short tubes, paint, and glue on ears or eyes. A freckled mouse, a sleepy owl, or a tiny fox mascot—easy and adorable.
- Bird feeders: Coat a roll with peanut butter and roll in birdseed. Hang with string and watch the park visitors arrive. FYI, this one draws birds, not your neighbor’s cat.
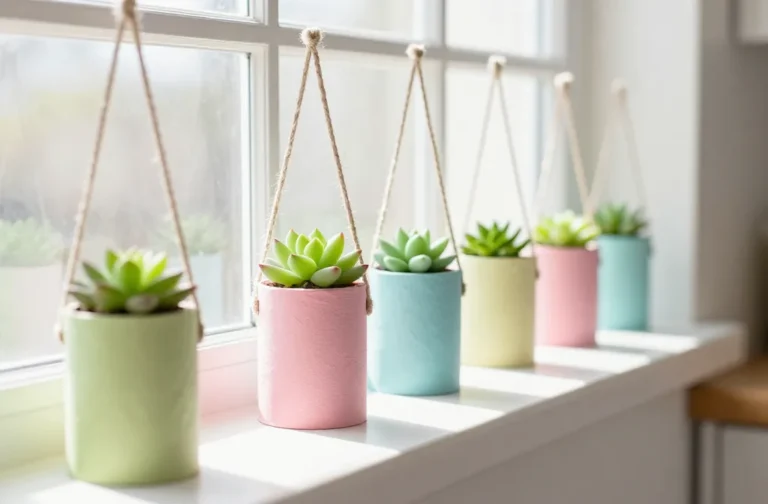
- Herb planters: Flatten a roll into a pot shape, poke a few holes for drainage, and tuck in a seed or two. Cute and surprisingly sturdy for windowsills.
Technique tip: makeshift collage roots
If you’ve got scraps, you’ve got material. Glue on torn paper pieces to create textured surfaces. It’s basically DIY mixed media without the messy paint everywhere.
Seasonal and themed projects that actually wow
Holidays are the perfect excuse to go big, or at least a little extra. Let your imagination run with the calendar.
- Winter wonderland garland: Dip rolls in white paint, sprinkle with glitter, and string them together with twine. Add tiny snowflakes cut from paper for a frosty touch.
- Spring florals: Cover rolls with pastel paper, top with tissue paper petals, and create stems with pipe cleaners. Instant mini bouquets you can scatter around the house.
- Halloween lanterns: Draw faces on painted rolls, slip a battery-operated tea light inside, and hang along the porch. Spooky and cute, not scary-icky.
Reuse-a-roll: turning scraps into décor
Keep a small bin of “leftovers” for quick bursts of creativity. A few scraps of ribbon, a button or two, and a dab of glue can transform a plain roll into something charming in under ten minutes.
Functional crafts: organizers and storage with style
Crafting isn’t all fun and games; you can also build neat storage solutions with a pinch of cleverness.
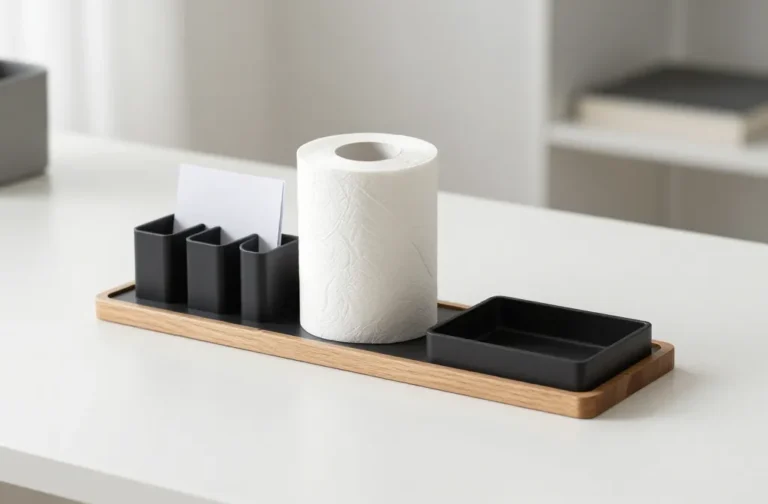
- Desk organizers: Cut rolls into segments, glue side-by-side on a base, and wrap with decorative paper. Voila—tiny compartments for pens, clips, and USBs.
- Battery and cable tidy: Mount a stack of rolls on a board and label each one. Say goodbye to the tangle monster under your desk.
- Art display stand: Stand rolls on their ends and glue popsicle sticks across the top to clip art. Your wall suddenly becomes a mini gallery.
Tips for clean finishing and durable results
A few practical moves keep things neat and sturdy.
- Seal with a clear coat: A light spray of matte sealer helps paint last longer and resists smudges. Don’t overspray—nobody loves crunchy glitter.
- Use the right glue for the job: White glue is great for paper and light decorations; hot glue works well for heavier pieces. If you’ve got kids, supervise the glue gun usage or skip it entirely.
- Layer for strength: Glue two rolls together back-to-back for sturdier builds. Think of it as a tiny architectural upgrade.
Advanced twists: turning rolls into sophisticated art
If you’ve already mastered the basics, push your craft a notch higher.
- Multi-material sculptures: Combine rolls with wood beads, fabric scraps, and metal washers to create kinetic sculptures that actually stand on their own.
- Mini canvases: Flatten a roll, coat with gesso (or white paint), and use as a tiny painting surface. Perfect for a wall of little masterpieces.
- Terrariums (mini vibe): Cut a roll into a shallow tray, fill with sand and tiny faux plants. It’s not a real terrarium, but it has serious charm.
Color theory on a budget
No need to buy fancy paints. Mix primary colors to get the shades you want. If you’re feeling fancy, paint a few rolls with complementary colors and arrange them in a repeating pattern. It’s surprisingly satisfying to see a little color rhythm in your space.
Common mistakes (and how to dodge them)
You’re not aiming for perfection—just avoid these little traps.
- Overloading glue: Too much glue can squash the roll and ruin paint. Apply a thin line and press gently.
- Skimping on dry time: Let paint and glue dry fully before moving on. Patience pays in glitter and less mess later.
- Leaving sharp edges: Sand down rough ends with a bit of sandpaper or tape over rough bits. Safety first, tiny fingers second.
Getting social: sharing your finished masterpieces
Turn your hobby into a mini social event or content moment.
- Host a craft night: Invite a few friends, crank some tunes, sip something tasty, and go roll-crazy together. Laughter is the best glue, honestly.
- Photo diary: Take before-and-after pics, post a quick Reel or photo carousel, and tag a few craft communities. IMO, sharing is half the joy.
- Giftable bundles: Tie a few small roll crafts with ribbon and give them as handmade gifts. People love a personal touch—even if it’s a tiny sculpture of a mushroom.
Conclusion
Toilet paper roll crafts aren’t just a procrastination-friendly hobby; they’re a surprisingly versatile toolkit. With a little imagination, you transform everyday scraps into décor, gifts, and practical organizers. The best part? You can dip in and out as your schedule allows, no pressure, lots of potential. So go ahead—crack open a roll, and start something unexpectedly delightful.
FAQ
Are toilet paper roll crafts really durable enough for daily use?
Yes, with the right glue and a sealant, many projects hold up well. If you plan on heavy handling, go for stronger joints and a protective finish. FYI, durability improves with a touch of patience during drying time.
What if I don’t have a lot of supplies?
You don’t need a full craft closet. Use what you have: scraps of paper, leftover fabric, buttons, and old magazines work wonders. Think low-cost, high-creativity. IMO, imagination beats fancy materials any day.
Can kids participate without making a mess?
Absolutely. Set up a dedicated craft zone, use washable paints, and lay down a protective sheet. Short bursts of activity + clear cleanup routines make it fun for little hands and parents alike.
What’s the easiest project to start with?
Try the mini animal friends or the desk organizer. They’re quick, satisfying, and you can finish with a neat, functional result in under an afternoon.
How can I make my roll crafts look professional?
Focus on clean edges, even paint coats, and a simple finish like a matte sealant. Coordinate colors and keep a consistent style across pieces. A little polish goes a long way, even for humble rolls.