How to make air dry clay whimsical crafts
I’m obsessed with air dry clay because you can whip up whimsy in minutes, no kiln required. You grab a ball, a pinch, a sprinkle of glitter, and boom—tiny dream creatures appear. The best part? You don’t need fancy tools or a dedicated studio to pull off charming stuff. Let’s dive into playful, easy ways to make air dry clay crafts that feel magical, not fussy.
What makes air dry clay so singable?
Air dry clay is lightweight, forgiving, and dries on its own. No oven, no curing chamber, just time and a fan breeze. It handles textures like a champ, so you can press in patterns with any household object. Do you want a clay creature with personality or a delicate ornament that looks carved from bone? It can be both, with minimal effort.
Getting started: the essential toolkit you actually need
– Clay basics: pick a brand that’s labeled air dry and stay consistent with one until you know how it behaves.
– Priming supplies: a clean workspace, a little corn starch or baby powder to stop sticking, and a smooth surface to roll on.
– Shaping tools: a craft knife, a silicone spatula, a toothpick for details, and a rolling pin or even a clean bottle works in a pinch.
– Finishing touches: acrylic paints, brushes, a sealant (matte or glossy), and optional decorative bits like fabric scraps or tiny googly eyes.
– Protective steps: a drying rack or flat tray, and a space with decent airflow so you don’t turn your studio into a humidity swamp.
From blob to brag: shaping tips that actually work
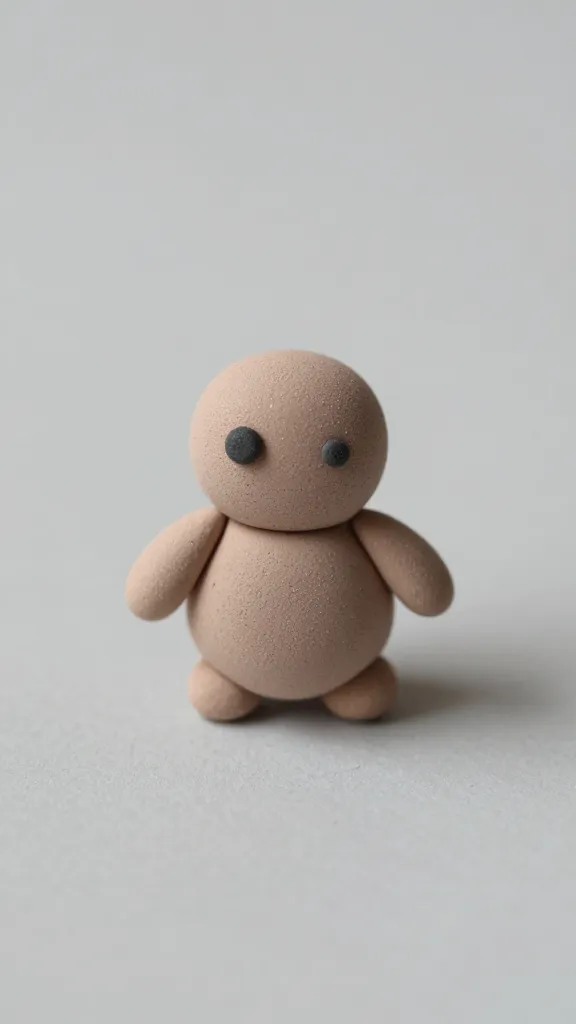
– Start simple: pinch pots, small animals, and flat petals are great warm-ups.
– Bring life with layers: form a rough core, then add limbs or ears to avoid cracking.
– Use templates: cut out shapes with stencils to keep angles clean.
– Don’t overwork the clay: knead just enough to smooth, not to melt into a single blob.
– Texture tricks: press leaves, lace, or corrugated cardboard for instant character.
Surface control: how to avoid cracks and warps
Cracks are a little drama, but easily tamed. Keep pieces evenly thick—about 3-6 millimeters works well for most projects. If you’re adding appendages, score and slip (lightly scratch and brush on a bit of wet clay) to help them bond. For larger pieces, build in stages and let each layer set a bit before adding the next. FYI: a slow, steady dry beats a dramatic crack right out of the oven—okay, no oven, but you get the vibe.
Whimsical ideas you can actually finish this weekend
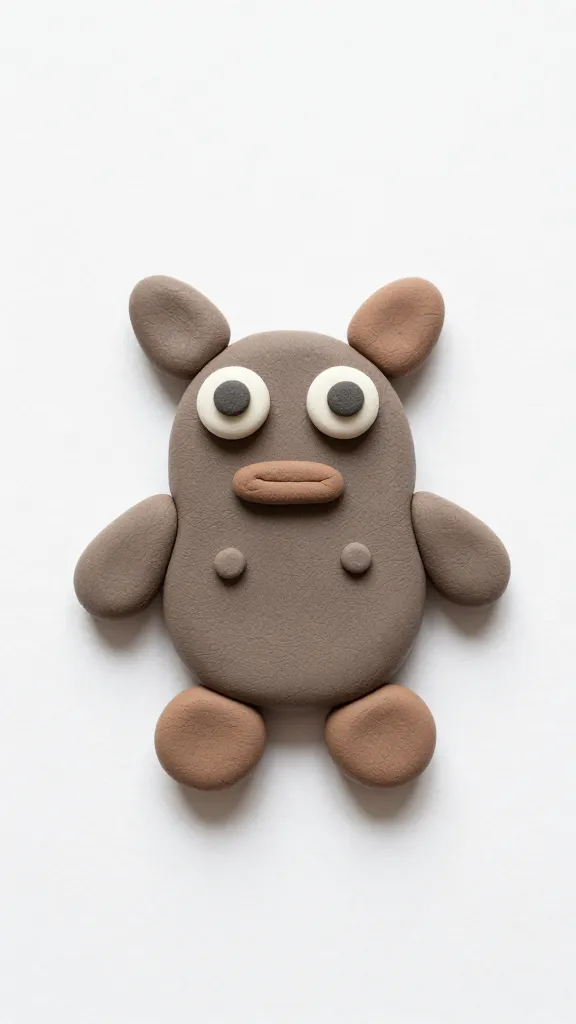
– Tiny magical creatures: create a forest of mini fairies, goblins, or moonlit owls. Paint with bright colors, seal, and pop on a string for a charm bracelet.
– Whimsical planters: sculpt little face pots or animal-shaped planters. They make succulents look extra cheeky.
– Dreamy jewelry: charms, beads, and pendants with quirky eyes or little hats. Let paint dry before stringing.
– Seasonal garlands: snowflakes, pumpkins, or autumn leaves—pair with ribbon to hang on walls or mantels.
– Desk buddies: cute clay critters that sit on a plant pot or mouse on a teacup—perfect for adding personality to your workspace.
DIY templates you can copy-paste into your project journal
– Pinch pot + face: a small pot with a smiling face peeking over the rim.
– Leaf press charm: flat leaf shape with lines pressed in for texture.
– Cloud and star garland: alternating shapes with gaps for stringing.
Painting and sealing: bringing color to life without wrecking it
– Paint after fully drying: give the clay at least 24 hours to dry before painting to avoid smudges.
– Acrylics win: they dry fast, cover well, and come in every color under the sun.
– Light coats are key: multiple thin layers create a smoother finish than one thick coat.
– Sealing: choose a clear sealant to protect against moisture and dust. Matte gives a soft look; gloss pops little details.
– Pro tip: seal the underside too—projects tend to collect dust on all sides, not just the top.
Color combos that feel magical
– Soft pastels with tiny metallic accents for a celestial vibe.
– Jewel tones on a neutral base for bold, whimsical creatures.
– Monochrome with a splash of neon for a modern fairy-tolk vibe.
Storing, drying, and keeping your whimsy alive
– Drying time varies: weather matters. In a warm room, pieces can dry in 24-48 hours; in a damp space, expect slower drying.
– Flat is best: keep pieces flat on a piece of parchment until fully dry to avoid warping.
– Turn pieces occasionally: let air reach all sides for an even dry.
– Storing extras: keep unused clay wrapped to prevent skin from drying out, and store sealed away from direct sunlight.
– Maintenance: dust gently with a soft brush or cloth; avoid water on sealed pieces to prolong life.
Troubleshooting like a pro (without freaking out)
– If it’s cracking: slow your drying, add a thin layer of fresh clay over the crack, and blend edges. Let dry again slowly.
– If it’s curling: ensure even thickness and unzip the drying area so air can circulate. Give it more time in a cooler, breezier spot.
– If paint won’t stick: clean the surface, sand lightly, or use a primer before painting. FYI, sometimes a stain from the clay itself adds character—embrace the quirks.
– If it’s sticky: prop it somewhere dry and give it extra air time. Sometimes a dusting of cornstarch helps during shaping.
Sharing your whimsy: display and gift ideas
– Gallery wall: anchor a few clay pieces with hooks or a thin ledge for a quirky mini-exhibit.
– Gift toppers: small creatures perched on wrapped presents steal the show.
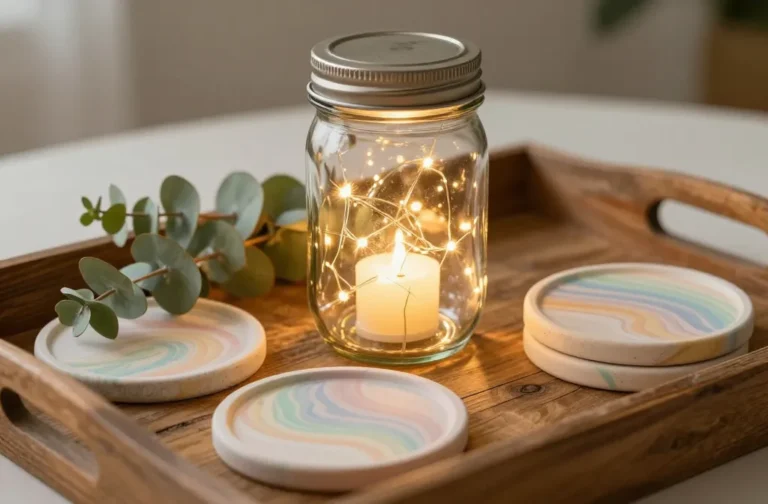
– Desk arrangements: set a few characters on a tray with tiny props for a whimsical vignette.
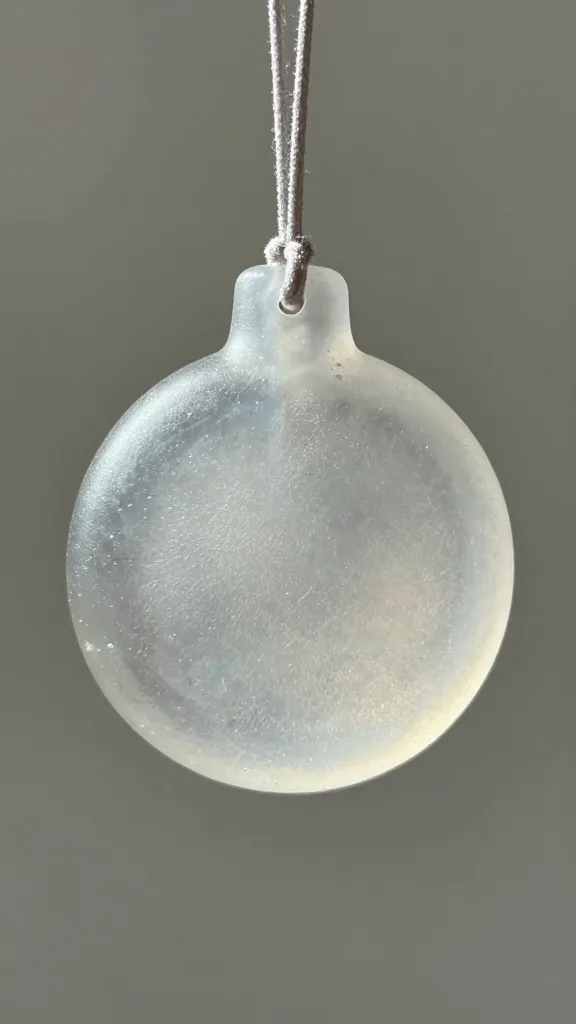
– Custom ornaments: add loops before drying for holiday ornaments that tell a tiny story.
Conclusion
Air dry clay is your fast-pass to tangible whimsy without heavy prep or loud tools. The magic hides in tiny details: a smile, a patch of texture, a bold pop of color. You don’t need to be a seasoned sculptor to enjoy it—just curious, patient, and a little fearless about making something wonderfully imperfect. So grab a lump of clay, and start turning plain days into charming miniature worlds. IMO you’ll be surprised how quickly your space fills with personality.
FAQ
Do I need a kiln or oven for air dry clay?
Nope. Air dry clay dries on its own in open air, with time and a bit of patience. It’s meant to stay un-fired, making it super beginner-friendly.
How long does air dry clay take to fully dry?
Drying times vary with thickness and humidity. Flat pieces can dry in 24-48 hours in a dry room; thicker pieces or damp spaces may take longer. Plan ahead if you want to add paint or finish.
Can I paint clay after it dries?
Absolutely. Paint after it’s fully dry, then seal to protect the finish. Layer thin coats for smooth color, and let each layer dry before adding the next.
What should I seal air dry clay with?
A clear acrylic sealant works well. Choose matte for a soft look or gloss for a lively sheen. Sealant helps protect against moisture and dust.
What are some beginner-friendly projects to start with?
Try pinch pots, small animal figures, leaf or flower shapes, and simple ornaments. Keep thickness even, dry gradually, and have fun with textures and paints.