8 Fun April Craft Ideas for Springtime
Spring has sprung, and so have the craft ideas that fit like a fresh bloom into your home. You’ll love how each project feels doable, cute, and totally Instagram-ready. FYI: these aren’t just pretty—they’re share-worthy and surprisingly practical.
1. Floating Terrarium Orbs: Mini Gardens in Glass Orbs

Imagine a glass orb that holds a tiny, sunlit garden you can place on a bookshelf or coffee table. These little worlds feel magical but are simple enough for a weekend project. The finished piece has a clean, modern vibe with a whisper of whimsy.
Materials Needed
- Clear glass orbs with removable tops
- Small pebbles or gravel
- Activated charcoal (optional, for drainage)
- Mini succulents or air plants
- Moss sheets (preserved or live, based on your preference)
- Fine gardening soil (potting mix)
- Mini figurines or shells for accents
- Ribbon or twine for hanging
How to Make It
- Layer pebbles, charcoal (optional), soil, and a little moss inside the orb.
- Gently place a tiny succulent or air plant into the soil.
- Top with moss and a tiny decorative accent if you like.
- Seal the top and add a ribbon or twine for hanging.
Pro Tips / Styling Ideas
- Group a few in varying heights for a mini desktop garden.
- Use glass orbs in different sizes for a layered effect on a mantle.
- Keep watering minimal—these are low-maintenance little worlds.
Who will love it? Plant lovers and design nerds alike—an elegant touch for a bright living room or a sunlit windowsill.
2. Painted Terracotta Plant Markers With a Modern Twist
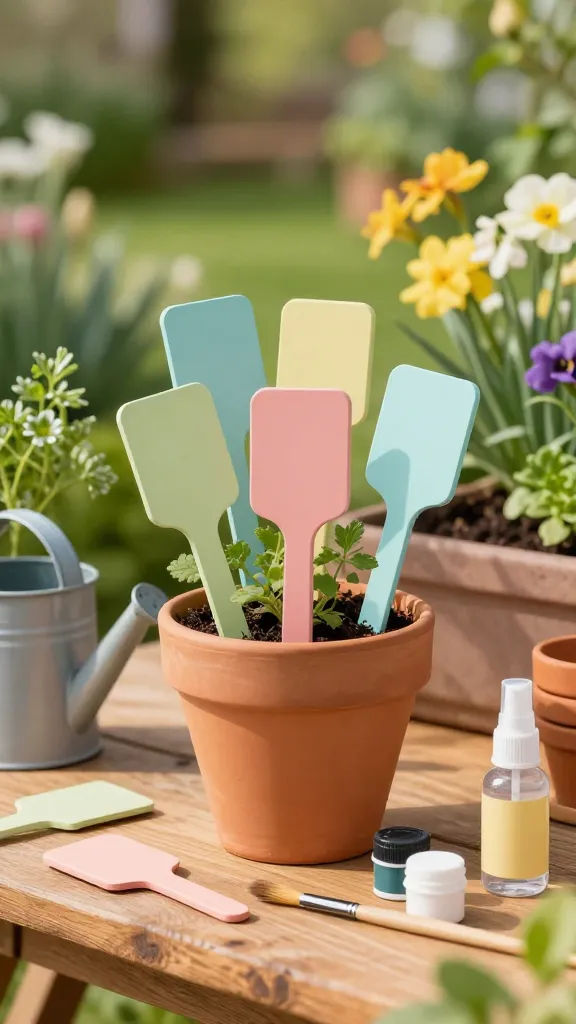
Turn plain terracotta into chic garden-friendly signs that scream spring joy. These markers are cute, durable, and endlessly customizable—perfect for herb pots or a raised bed. Seriously, they’re tiny works of art you’ll actually reach for each season.
Materials Needed
- Terracotta plant markers or blank wooden stakes
- Acrylic paints in pastel or bold spring tones
- Fine brush set
- Clear sealant spray
- Permanent marker for lettering
How to Make It
- Paint the markers in your chosen colors and let dry.
- Use a permanent marker to write plant names or fun icons.
- Seal with a clear spray to protect from moisture.
Pro Tips / Styling Ideas
- Go minimalist with white lettering on pastel markers for a clean look.
- Bundle markers by color family for a cohesive pot display.
Who would adore this? Garden buffs, kitchen herb lovers, and anyone who wants a polished, plant-forward corner on the patio or windowsill.
3. Upcycled Book Page Constellation Wall Art
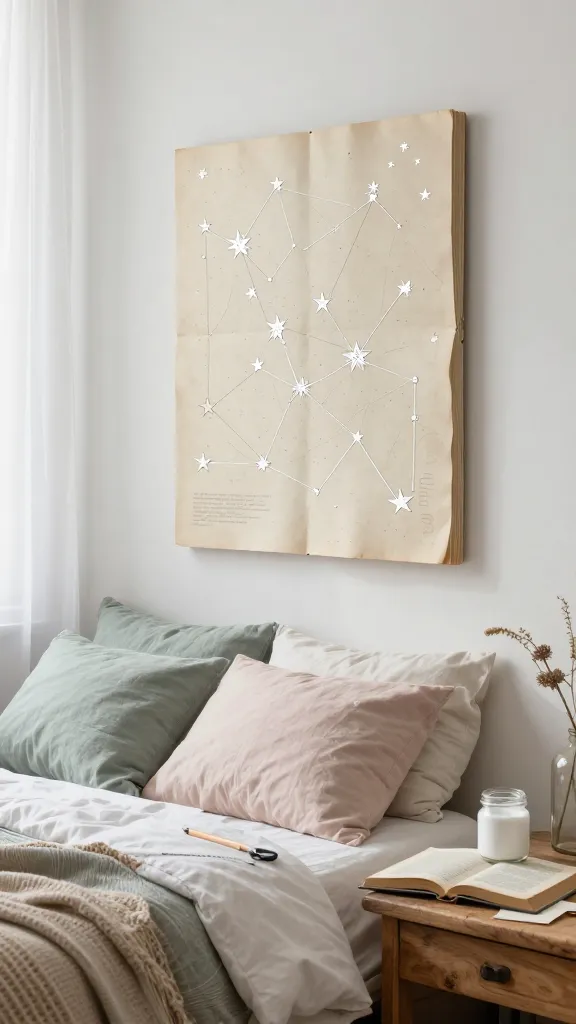
Turn old or thrifted books into a dreamy constellation map you can hang above a bed or reading nook. It’s literature-meets-night-sky chic—perfect for a boho-inspired spring refresh. Trust me, this is the kind of DIY that feels luxe without the cost.
Materials Needed
- Old book with sizable pages
- Cardboard or foam board for backing
- White acrylic paint or chalk paint
- Stencils for star shapes
- Ruler, pencil, and scissors or a craft knife
- Mounting hardware or adhesive
How to Make It
- Sketch a rough constellation layout on the backing board.
- Cut out page strips and layer them behind the board for texture.
- Paint the page areas white, revealing the text as a subtle backdrop.
- Glue on star shapes in a sprinkle pattern to mimic a night sky.
Pro Tips / Styling Ideas
- Frame with a light wood or keep it raw for a vintage vibe.
- Pair with a small string of warm fairy lights for twilight glow.
Who would love it? Bookworms, astronomy fans, and anyone who wants a cozy, cerebral focal point in a living room or hallway.
4. Soft Botanical Wall Hanging With Dried Florals
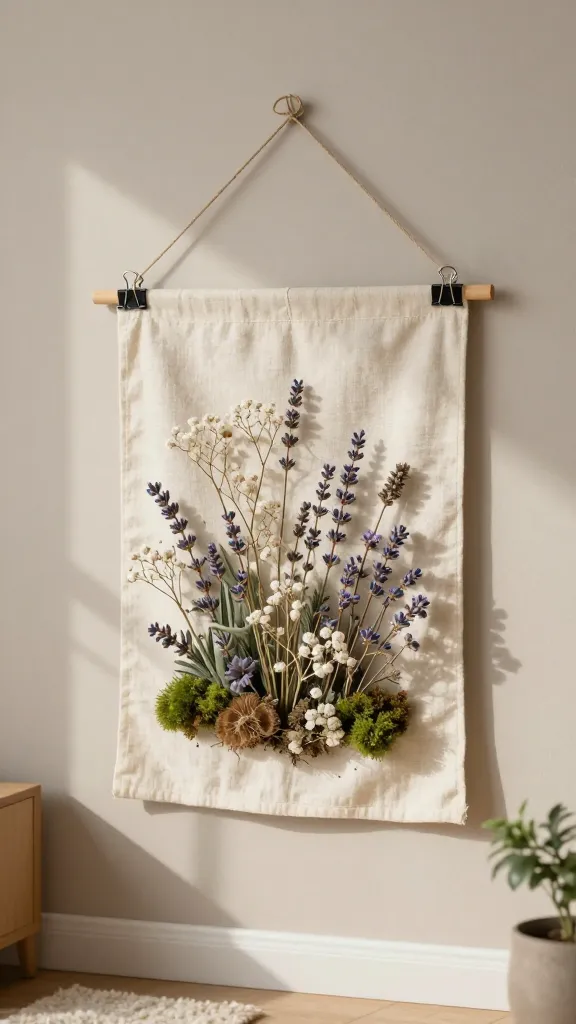
This is a gentle, tactile piece that brings spring inside without needing care. A fabric backing, tied stems, and a splash of dried florals create a textural, nature-inspired wall tapestry that feels both calming and chic.
Materials Needed
- Small wooden hoop or a wooden dowel
- Canvas or linen fabric cut to size
- Preserved moss or greenery accents
- Dried florals (baby’s breath, lavender, statice)
- Jute twine and binder clips
How to Make It
- Wrap the fabric around the hoop or dowel and secure at the back.
- Artfully arrange dried florals and tuck stems into the fabric or glue lightly.
- Tie a loop of twine for hanging and add a small moss accent for texture.
Pro Tips / Styling Ideas
- Choose a color story (soft creams with sage greens, or blush tones with ivory).
- Hang near a sunny window to catch light and highlight the textures.
Who will love it? Cozy home decorators, anyone seeking a soft spring accent, and gifting fans who appreciate natural materials.
5. DIY Apron Bouquet: Sewn Fabric Floral Bouquets
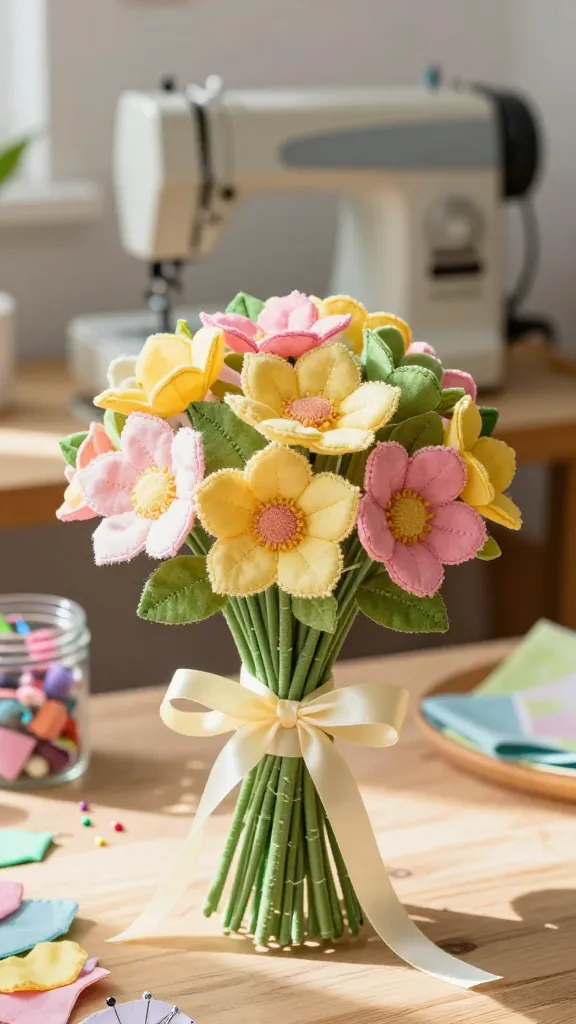
Make cheerful fabric bouquets that never wilt. Sewn from bright fabrics and tied with ribbon, these little “flowers” are perfect for brightening a kitchen, craft room, or porch table. It’s a garden party in fabric form, and it’s surprisingly quick.
Materials Needed
- Assorted scrap fabrics in spring colors
- Thread and sewing needle or a sewing machine
- Filling (polyfill or scrap fabric scraps)
- Floral wire or pipe cleaners for stems
- Ribbon for tying bouquets
How to Make It
- Cut fabric into petal-like shapes and stitch into small flower motifs.
- Stuff lightly and wrap onto floral stems with wire or pipe cleaners.
- Tie into small bouquets and wrap with ribbon.
Pro Tips / Styling Ideas
- Group several bouquets in a vase for a playful tablescape.
- Use as a sunlit porch décor or as a year-round kitchen display.
Who would love it? Crafters who enjoy sewing, DIY gifting ideas, and anyone who wants a cheerful, maintenance-free floral display.
6. Rainbow Confetti Clay Coasters
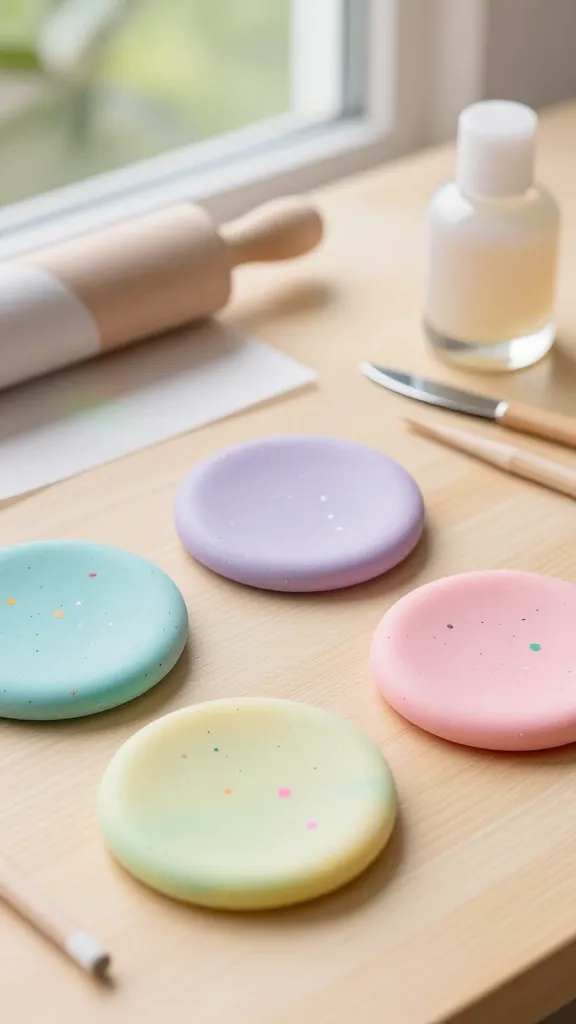
Colorful, wipe-clean, and perfectly spring-ready, these clay coasters bring a playful pop to coffee tables. They’re small, satisfying to sculpt, and make a fantastic gift set with matching placemats. Seriously, they’re the kind of tiny project that sparks joy.
Materials Needed
- Polymer clay in pastel colors
- Rolling pin or cylindrical object
- Tools for shaping (knife, toothpick)
- Glaze or clear resin (optional for durability)
- Sealing spray (if using air-dry clay)
How to Make It
- Knead colors until pliable, then roll into small spheres or discs.
- Flatten into round coasters, adding specks of color as desired.
- Arrange in a tray and bake or air-dry according to clay type; seal if needed.
Pro Tips / Styling Ideas
- Seal with a clear resin to protect from moisture.
- Stack a few on a decorative plate for a bright coffee table display.
Who would love it? Hostesses, new homeowners, and anyone who appreciates a dash of whimsy in everyday objects.
7. Fluttery Spring Doily Garland
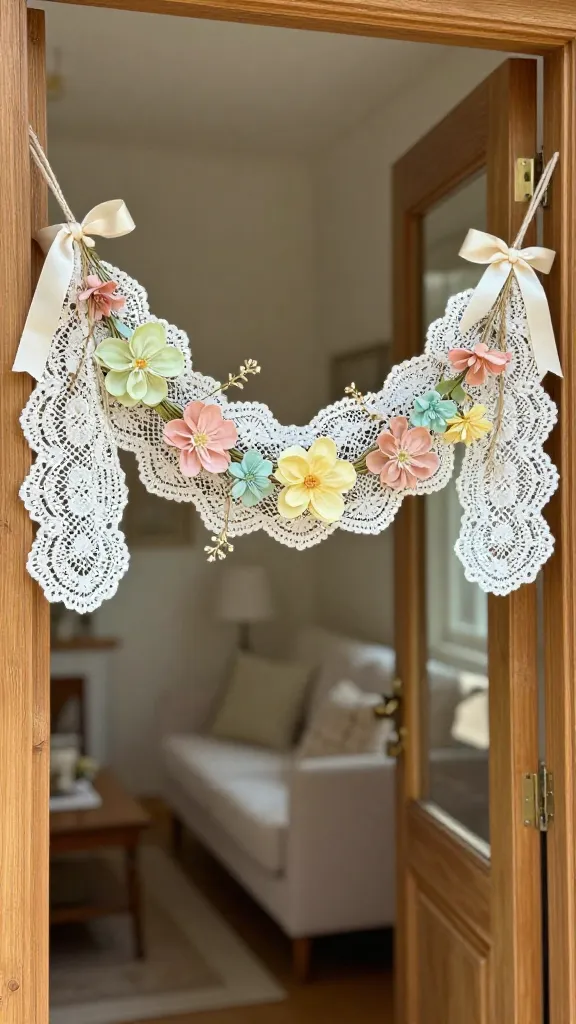
A delicate, airy garland made from vintage-style doilies and spring flowers adds instant charm to doorways or mantels. It’s light, tactile, and endlessly customizable with colors you love. Trust me, it looks so much more expensive than it actually is.
Materials Needed
- Doilies in various sizes
- Spring faux florals or dried stems
- Satin ribbon or twine
- Hot glue or needle and thread
How to Make It
- Lay out doilies along a length of ribbon or twine.
- Attach florals between doilies with a dot of hot glue or stitch them on.
- Space evenly and hang in a doorway or along a wall.
Pro Tips / Styling Ideas
- Use a gradient color scheme—from soft pinks to sunlit yellows—for a cohesive look.
- Layer over a contrasting wall color to make the white doilies pop.
Who would love it? Fans of vintage charm, DIY decor lovers, and anyone wanting a touch of spring breeze indoors.
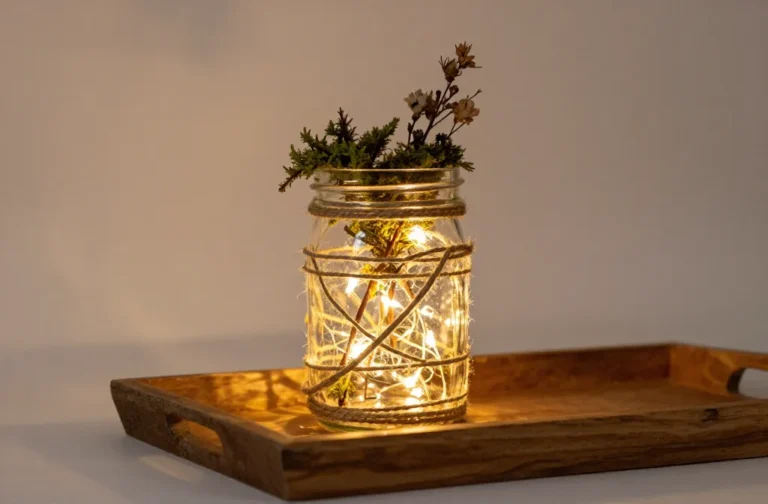
8. Citrus-Scented Soy Candles in Mini Jars
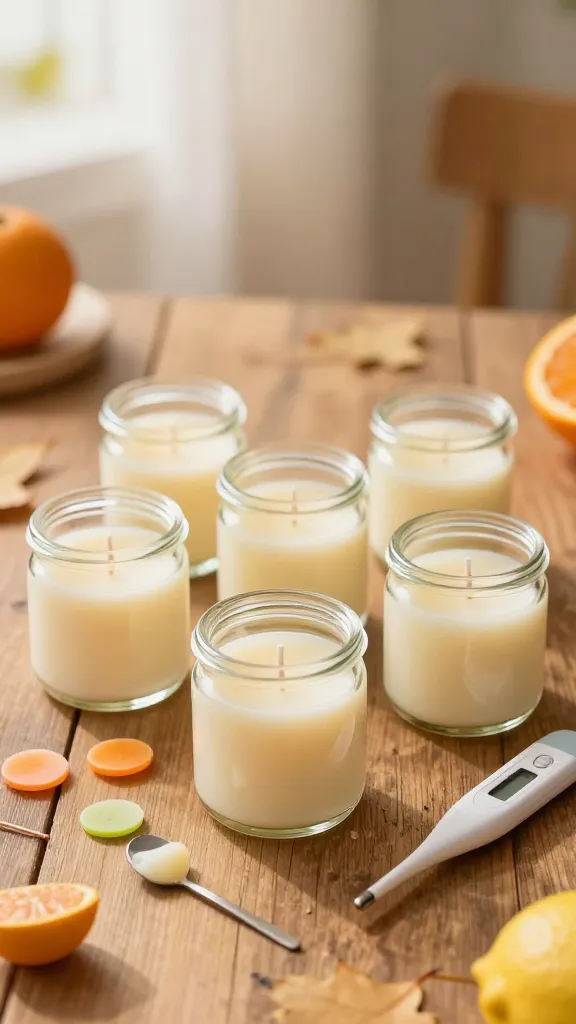
Light, uplifting, and perfect for gifting, these tiny soy candles smell like a sunlit orchard. A quick melt-and-pour or kit-based approach makes this ideal for a first-time candle maker who wants to dip their toes into the world of cozy aromatics. You’ll adore the warm glow and zesty scent to brighten evenings.
Materials Needed
- Mini glass jars with lids
- Soy wax flakes
- Cine oil or essential oils (orange, lemon, or lime)
- DIY candle wick with sustainer
- Thermometer (optional but helpful)
- Color chips (optional for a sunny hue)
How to Make It
- Melt the soy wax in a double boiler until fully liquid.
- Stir in citrus essential oil and color if using; let cool slightly.
- Set wick in the jar, then pour in the wax and allow to solidify.
- Trim wick and cap with a lid for a clean finish.
Pro Tips / Styling Ideas
- Label with a handwritten scent note for a personal touch.
- Pair in a set of three different citrus scents for a sunny trio.
Who would love it? Gift-givers, candle enthusiasts, and anyone who enjoys a bright, fresh home aroma.
Conclusion:
April is proof that spring is a season of light, color, and quick, joyful projects. Each idea above is designed to be approachable, unique, and seriously Pinterest-worthy. Pick one (or go wild and try all eight) and watch your space bloom with personality and charm. You’ll love how easy it is to transform everyday materials into something you’re excited to display and share.