Easy Craft Ideas Meaning in Marathi (Simple Guide)
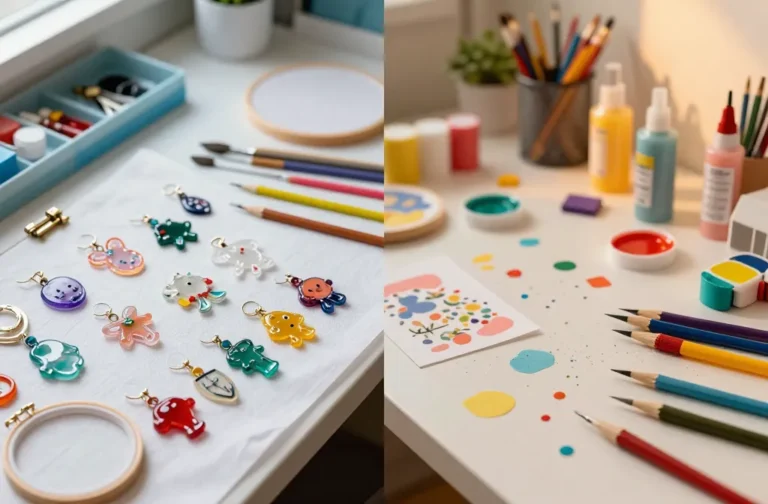
Ready to dive into crafty bliss? If you’ve been scrolling for simple, cute projects you can actually finish in a weekend, you’re in the right place. These five ideas are easy, visually stylish, and perfect for sharing with friends or brightening your space.
Let’s make something delightful today—no perfection required, just plenty of charm. FYI, you’ll appreciate how quick these come together and how good they feel when you hold up your finished piece.
1. Rustic Mason Jar Lantern With Fairy Lights
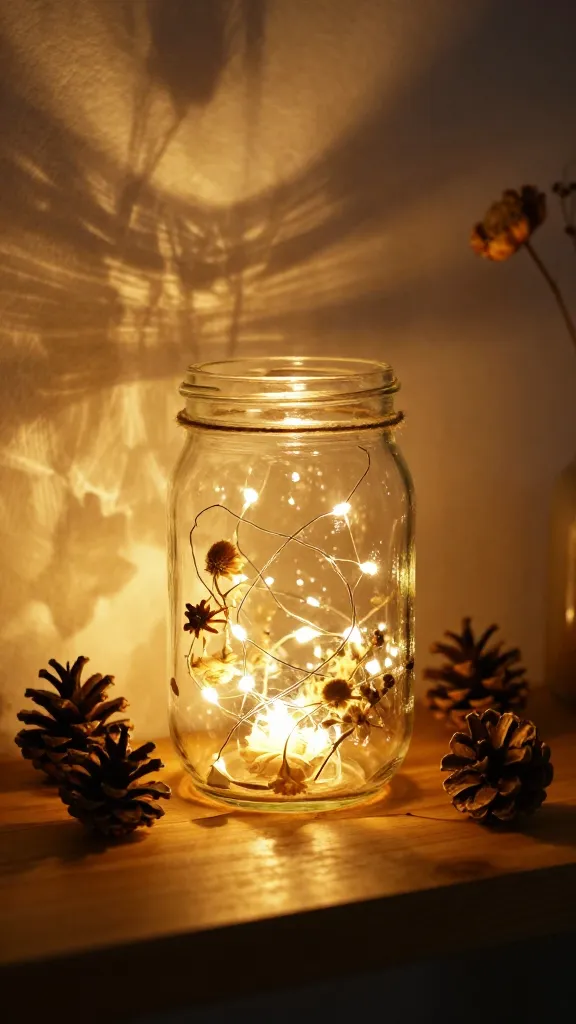
Picture this: a warm glow from a mason jar, twinkling fairy lights, and a touch of rustic charm casting cozy shadows on your walls. This lantern is simple, mood-enhancing, and endlessly versatile—great for shelves, dinners, or patio nights.
Materials Needed
- Clear mason jar (any size)
- Battery-operated fairy lights
- Jute twine or rustic ribbon
- Small pine cones or dried flowers (optional)
- Hot glue gun or craft glue
- Scissors
How to Make It
- Wrap a length of twine around the jar neck and tie a knot for a simple handle.
- Carefully tuck the fairy lights inside the jar so the battery pack sits outside, hidden behind the lid.
- Decorate the exterior with pine cones or dried flowers using a dab of glue for extra texture.
- Turn on the lights and enjoy the warm, ambient glow.
Pro Tips / Styling Ideas
- Switch to scented candles when you want a cozier vibe—just be mindful of heat near decorations.
- Place a few lanterns along a table or hang them from a coat rack for a dreamy vignette.
- Paint the lid in a soft matte color (sage, cream, or blush) to customize the look.
Who would love it: Perfect for host gifts, wedding decor, or adding a touch of autumnal glow to your living room. You’ll love this if you adore cozy, lived-in vibes.
2. Marbled Painted Plant Pots With a Modern Twist
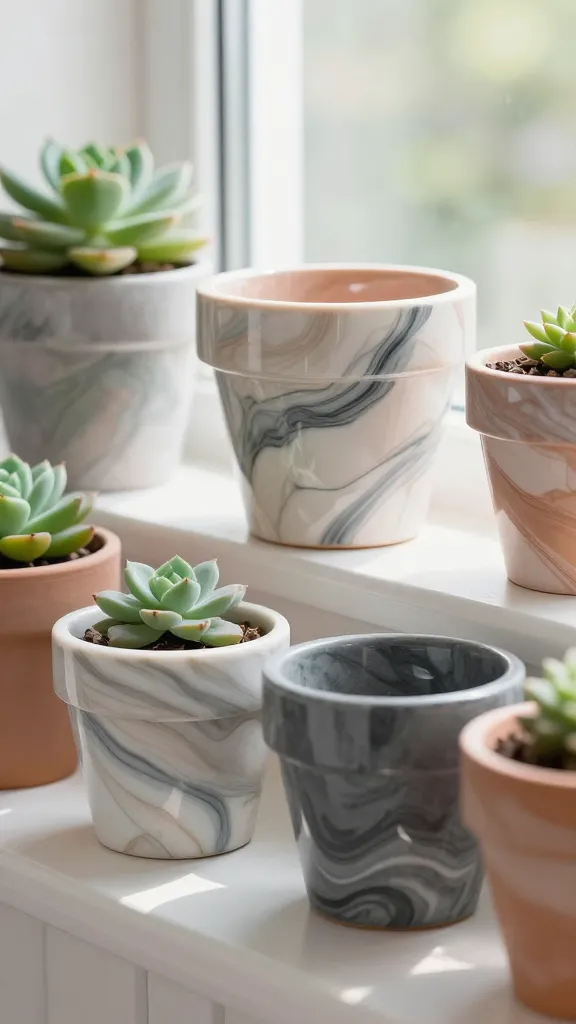
Who says plant pots can’t be art? A quick marbling technique creates one-of-a-kind planters that look chic on a windowsill or desk. It’s not messy—promise—yet the finish feels luxe and gallery-worthy.
Materials Needed
- Terracotta pots (various sizes) or ceramic planters
- Acrylic paints (two or three colors)
- Water and a shallow tray
- Gloves and paper towels
- Sealer spray (optional)
How to Make It
- Fill a shallow tray with water and drip a few colors onto the surface to create a swirl pattern.
- Dip the pot’s surface into the water briefly to capture the marble design, then lift straight up.
- Repeat with different color combos on other sides for variation.
- Let dry completely, then seal if you like extra protection.
Pro Tips / Styling Ideas
- Use metallic accents (gold or copper) to elevate the look.
- Pair with a few succulents or herbs for a fresh, modern display.
- Matte finishes read as more contemporary; glossy paints feel bold and fun.
Who would love it: Great for apartment decor, gifts, or a quick family project. You’ll love this if you enjoy color play and a clean, modern aesthetic.
3. Feather-Accented Wall Banner With Hand-Lainted Letters

Imagine a lightweight, airy banner that brings a soft boho vibe to any room. This craft blends texture with a personal touch—hand-painted letters plus delicate feathers for movement and charm.
Materials Needed
- Lightweight fabric strip or canvas banner material
- Acrylic paints or fabric markers
- Small craft feathers or feather-shaped cutouts
- String, twine, or ribbon
- Scissors, hot glue gun
How to Make It
- Cut the fabric into a long strip and fold or hem the edges for a neat finish.
- Paint a short, bold message or initials on the banner using contrasting colors.
- Attach feathers along the bottom edge with glue for a fluttery look.
- String up the banner and hang where you want a soft, whimsical touch.
Pro Tips / Styling Ideas
- Use earthy tones for a grounded vibe, or pastel hues for a light, airy feel.
- Add tiny tassels at intervals for extra texture and movement when you walk by.
- In a kid’s room, personalize with their name or favorite shapes for a cheerful centerpiece.
Who would love it: A festive wall feature for living rooms, nurseries, or reading nooks. You’ll love this if you adore handmade textiles and playful typography.
4. Magnetic Kitchen Tray Organizer From Reused Tin Cans

Turn everyday recycling into a practical kitchen hero. A magnetic tray organizer keeps spices, tea, or coffee sachets lined up and within reach. It’s minimalist, budget-friendly, and surprisingly chic.
Materials Needed
- Empty tin cans (cleaned and dried)
- Magnetic strips or small magnets
- Cork or washi tape for decorative bands
- Hot glue or sturdy glue
- Metal tray or magnetic whiteboard sheet (for mounting)
How to Make It
- Wrap a decorative band around each can using cork or washi tape.
- Attach magnets to the back of each can with glue, ensuring they’re strong enough to hold contents.
- Mount the metal tray or magnetic sheet on wall or fridge and arrange the cans in a neat row.
- Label with a fine-tip marker or printable stickers for quick identification.
Pro Tips / Styling Ideas
- Color-code by category (spices, tea, coffee) for instant organization.
- Seal cans inside with a light spray to prevent rust and keep surfaces smooth.
- Use a slim, modern tray to maintain a clean, cafe-inspired look.
Who would love it: Perfect for small kitchens, dorm rooms, or office coffee corners. You’ll love this if you crave practical, stylish organization with a tiny DIY footprint.
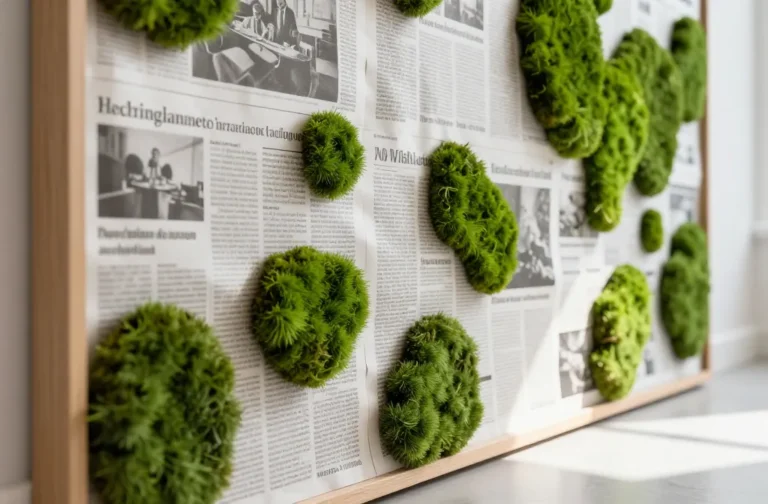
5. Upcycled Book Page Wall Art With Botanical Silhouettes
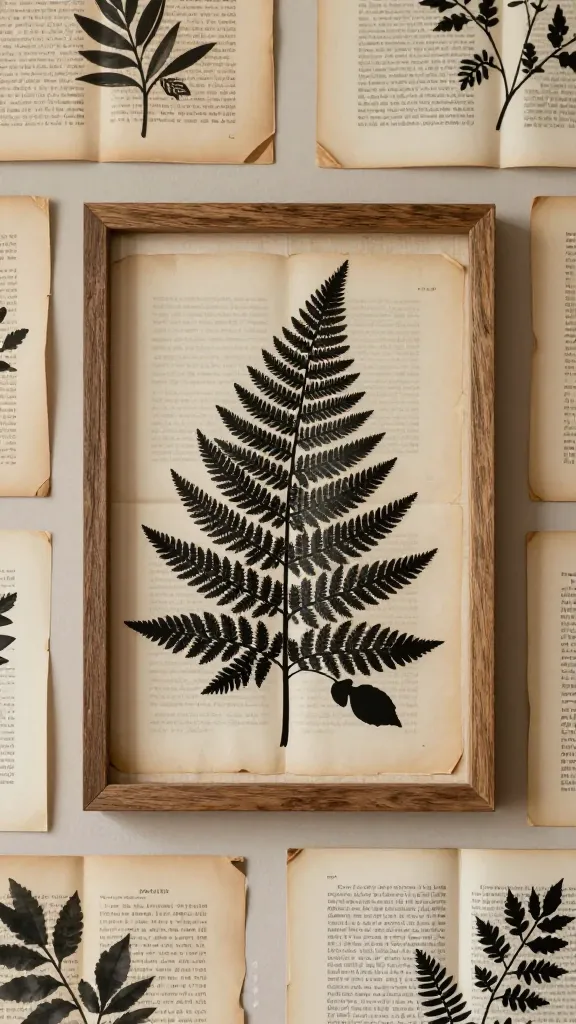
Turn old books into a botanical dream. This wall art blends vintage charm with nature-inspired silhouettes for a soft, refined focal point in any room. It’s like a quick gallery upgrade you can proudly claim as handmade.
Materials Needed
- Old book pages or sheet music
- Sturdy cardboard or a wooden frame backing
- Black craft paint or marker for silhouettes
- Template shapes (fern leaves, branches, or leafy silhouettes)
- Glue or double-sided tape
How to Make It
- Flatten and trim book pages to fit your backing; layer 2–3 pages for texture.
- Sketch or trace botanical silhouettes onto the pages and fill in with black paint or marker.
- Arrange silhouettes in a pleasing composition, then mount onto the backing with glue.
- Frame or hang as a standalone piece for a literary-meets-nature vibe.
Pro Tips / Styling Ideas
- Create a small gallery wall using several silhouettes in different sizes.
- Mix with framed pressed flowers for added depth and texture.
- Use a warm, amber-toned light to highlight the paper texture at night.
Who would love it: For book lovers, art lovers, and anyone who enjoys a soft, vintage-inspired space. You’ll love this if you want a quiet, sophisticated wall statement.
Conclusion
These five crafts prove that easy, stylish DIY ideas can come together in no time—without breaking the bank. Pick one project to start, or try all five for a cohesive home refresh. Trust me, the joy of making something with your own hands is seriously addictive, and your space will thank you.
So grab a glue gun, dust off the paints, and get crafty. Which idea are you trying first?