12 Diy Room Decor Craft Ideas for College Dorms That Slay
Brace yourself for dorm room glow-ups that fit a student budget and a busy schedule. These ideas are quick, chic, and totally Pinterest-worthy. Trust me, you’ll love how easy they are to personalize and how big a vibe they deliver.
Let’s dive into 12 completely unique projects that will transform bland dorm walls and desks into cozy, expressive spaces you’re excited to call home.
1. Neon Tape Wall Grid: Minimalist Pop Art That Stays Put
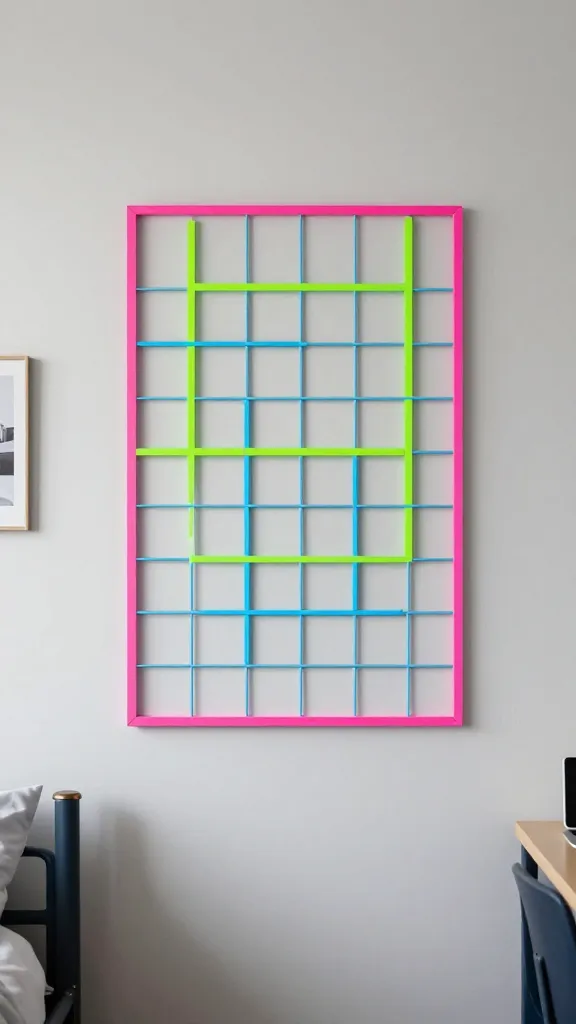
Picture a crisp grid of bold neon tape creating modern art on a dorm wall. It looks gallery-chic and won’t damage paint or plaster. This is the kind of light, graphic decor that makes your space feel intentional and bright.
Materials
- Painter’s tape in 2–3 bold colors
- Ruler or straight edge
- Masking or painter’s tape for clean edges
- Scissors
- Optional: small clips or pins to attach photos
How to Make It
- Mark a symmetrical grid on the wall with light pencil lines or removable tape guidelines.
- Apply neon tape along the lines, keeping edges crisp and corners square.
- Seal with a second pass for brighter color and cleaner lines.
- Hang mini memories with clips at intersections for a personal touch.
Pro Tips / Styling Ideas
- Choose colors that match your bedding or campus colors for cohesion.
- Switch out photos seasonally; the grid grows with you.
Who would love it: A minimalista who wants a punch of color without clutter. Perfect for a small, modern dorm corner.
2. Fabric Pocket Wall Organizer With Colorful Tassels
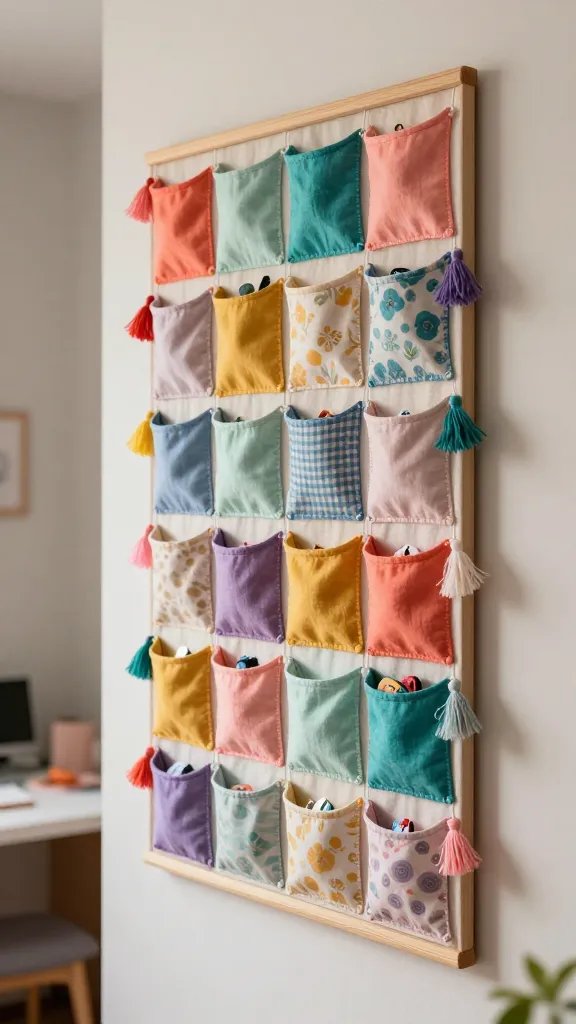
Think organized chaos—cute fabric pockets stitched onto a lightweight frame that holds pens, reminders, and tiny goodies. It’s a playful way to keep essentials in view without filling up your desk drawer.
Materials
- Stretchy cork board or lightweight wood frame
- Colored fabric squares (or upcycled fabric scraps)
- Needle and thread or hot glue
- Ribbon tassels or yarn for fringe
How to Make It
- Cut fabric pockets in varying sizes and stitch or glue onto the frame in a grid pattern.
- Attach tassels along the bottom edge for whimsy and texture.
- Use thumbtacks to hang the organizer on your wall.
Pro Tips / Styling Ideas
- Color-block pockets for a modern look; opt for prints you love.
- Label each pocket with tiny vinyl letters for quick finding.
Who would love it: The “stuff in sight, stuff in reach” student who loves tactile, tactilely cozy decor.
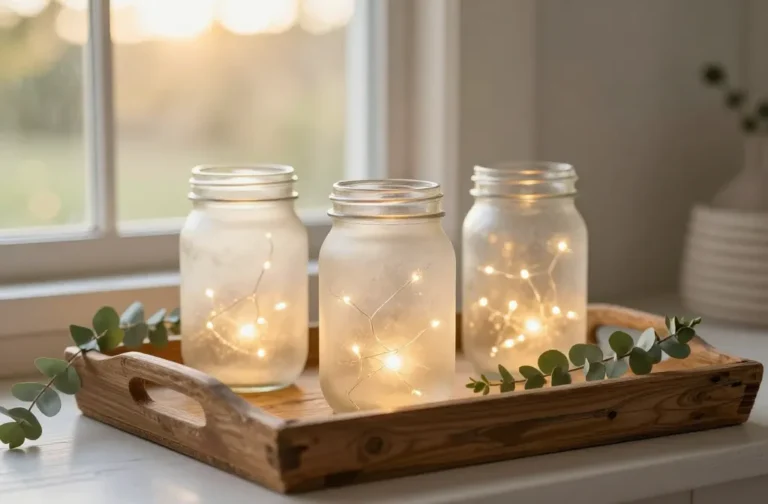
3. Floating Desk Plant Islands in Mini Glass Jars
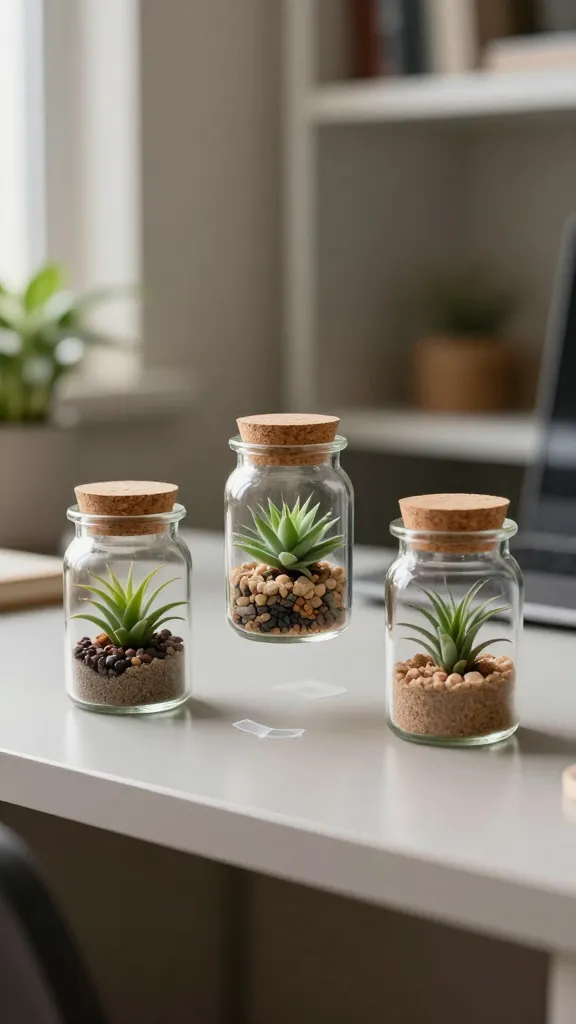
Bring nature into the dorm with tiny plant jars that float above your desk like mini islands. They’re surprisingly simple, and the greenery instantly softens a harsh fluorescent light.
Materials
- Small glass vases or jars with cork stoppers
- Assorted succulents or air plants
- Colored sand or decorative pebbles
- Thin double-sided tape or strong adhesive
How to Make It
- Fill each jar with a bit of sand or pebbles for stability.
- Plant the succulents securely, then seal with a cork or cap if possible.
- Affix the jars with removable adhesive to a shelf or wall ledge at varying heights.
Pro Tips / Styling Ideas
- Group in a staggered row for visual interest.
- Rotate plants to keep them thriving in the dorm’s light.
Who would love it: A nature-forward creator who wants life without taking up table real estate. It’s a tiny garden with major charm.
4. Upcycled Book Page Wall Clock

A timeless piece with a literary vibe, this wall clock uses old pages to create a warm, bookish texture. It’s functional art that gives your wall character and a story to tell.
Materials
- Old hardcover book (or several pages from one)
- Round wooden clock face or a DIY cardboard circle
- Clock mechanism with hands
- Mod Podge or clear-drying glue
How to Make It
- Cut a circle from the book pages and collage onto the clock face in a radiating pattern.
- Seal with Mod Podge for durability and a soft, matte finish.
- Attach the clock mechanism and set the time.
Pro Tips / Styling Ideas
- Leave area around the center free for easy reading of numbers.
- Dust lightly to keep the pages vibrant and readable.
Who would love it: The bookish roommate who loves a warm, vintage-inspired vibe with a touch of whimsy.
5. Tassel String Gallery Banner With Seasonal Switch-Outs
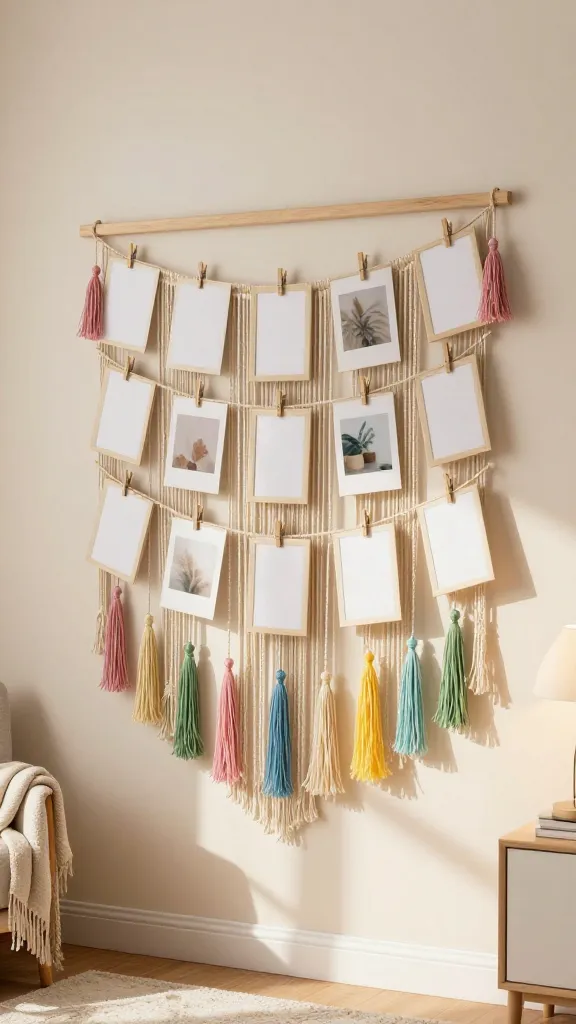
A lightweight, flexible wall banner made from strings, tassels, and mini frames that you can switch with seasons or moods. It’s affordable, adaptable, and seriously pretty.
Materials
- Jute or twine string
- Miniature frames or clothespins
- Colored tassels or yarn
- Small photos or quotes printables
How to Make It
- Attach several strings to a base board or directly to the wall.
- Clip or frame small pieces of art, photos, or quotes along the strings.
- Hang seasonal tassels to refresh the look.
Pro Tips / Styling Ideas
- Coordinate tassel colors with your bedding for a cohesive look.
- Use lightweight frames to avoid wall damage.
Who would love it: The visual storyteller who loves rotating art and a bright, airy mood on their wall.
6. DIY Washi Tape Floor Circle Rug
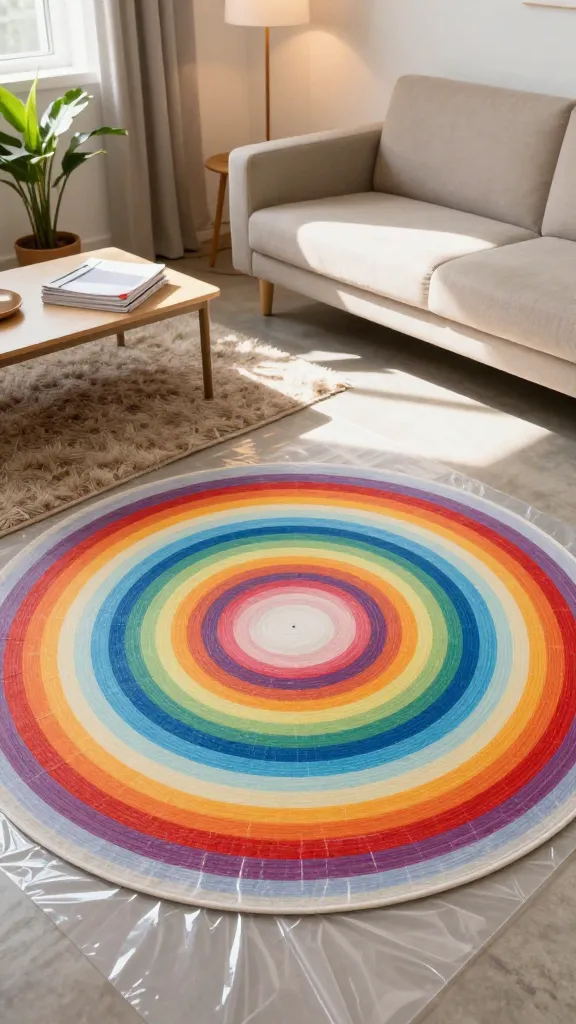
Yes, you can craft a statement rug with just washi tape and a bit of creativity. Create a big, bold floor circle that anchors your seating area without committing to heavy textiles.
Materials
- Colorful washi tape in 2–3 complementary colors
- Clear vinyl sheeting or lightweight rug backing
- Measuring tape and scissors
How to Make It
- Lay out a concentric circle pattern on the vinyl or rug backing.
- Apply washi tape along the lines, making sure to press firmly for longevity.
- Seal edges with a thin layer of transparent tape if desired.
Pro Tips / Styling Ideas
- Place under a small coffee table or near a desk for a cozy zone.
- Switch colors for seasonal vibes (pastels in spring, warm tones in fall).
Who would love it: Anyone who wants a big impact with minimal investment and easy removal.
7. Light-Emitting Photo Grid With Clip-On Lanterns
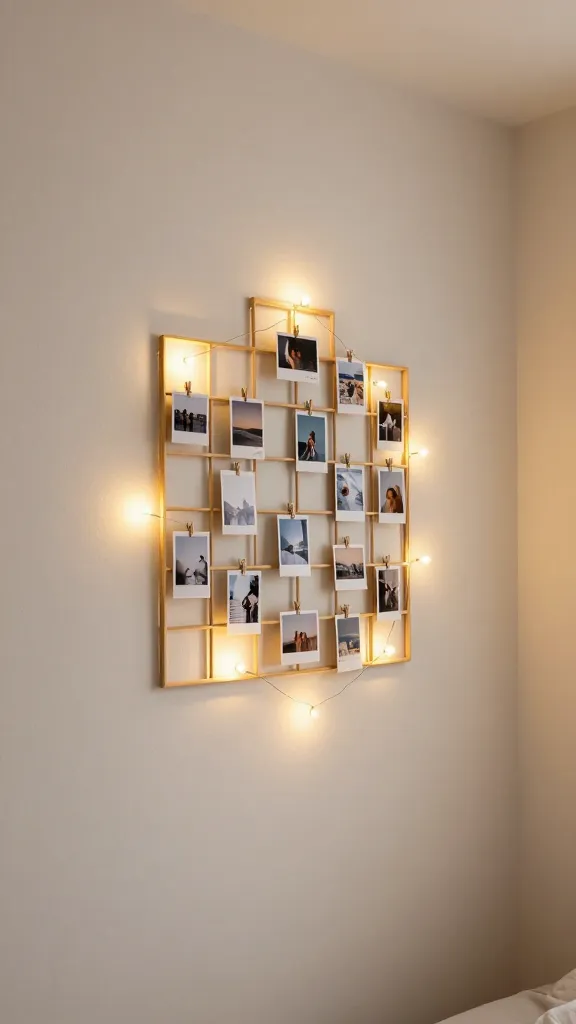
A wall grid that doubles as a photo display and a soft ambient light source. It’s a functional focal point that changes as your memories grow.
Materials
- Wooden craft grid or wire grid panel
- Mini clothespins or clips
- Fairy lights or battery-operated LED string lights
- Photos or small prints
How to Make It
- Attach the grid to the wall in a pleasing shape (square, diamond, or irregular cluster).
- Weave the lights behind the grid so bulbs peek through at intervals.
- Clip photos and prints onto the grid, rotating as you like.
Pro Tips / Styling Ideas
- Use a warm white light to keep the mood cozy.
- Leave space for new memories over the semester.
Who would love it: The memory-keeper who wants a light, flexible way to display photos without nail holes.
8. Soft-Fabric Wall Toppers: Pillow-Topper Frames
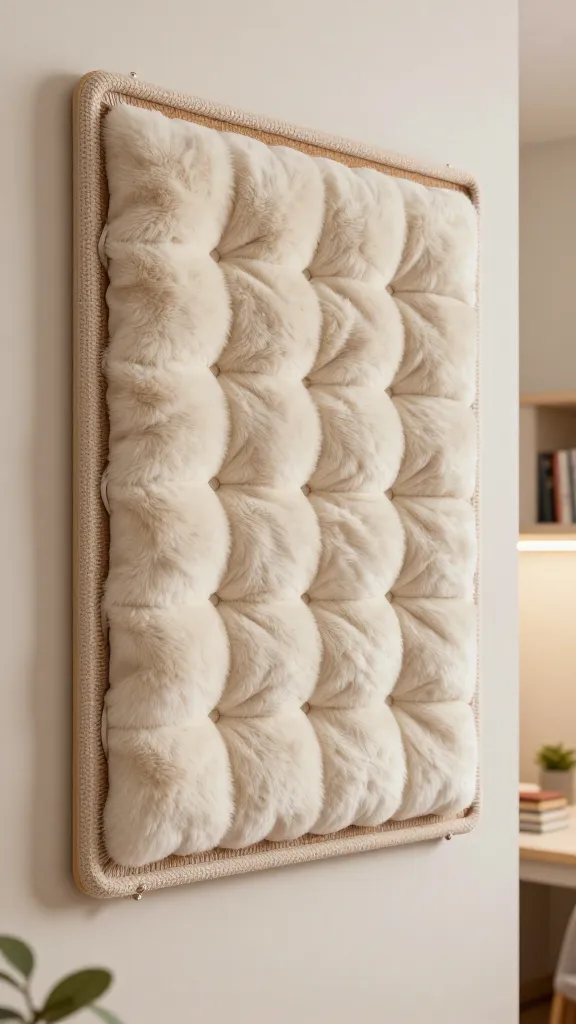
Turn plain canvas or cork boards into plush, tactile wall art with fabric overlays and soft trim. It’s texture-forward and instantly cozy for late-night study sessions.
Materials
- Cork boards or thin canvas panels
- Faux fur, velvet, or chunky knit fabric scraps
- Needle and thread or fabric glue
- Ribbon or piping for edges
How to Make It
- Sew or glue fabric onto the board, leaving a tufted or gathered center.
- Finish edges with ribbon or piping for a polished look.
- Hang in a grouping with other textiles for a layered vibe.
Pro Tips / Styling Ideas
- Mix textures for depth—faux fur with satin or velvet.
- Rotate fabrics by season to refresh the room quickly.
Who would love it: The tactile lover who wants warmth and dimension on a flat wall.
9. Magnetic Wall Chalkboard With Monthly Planner
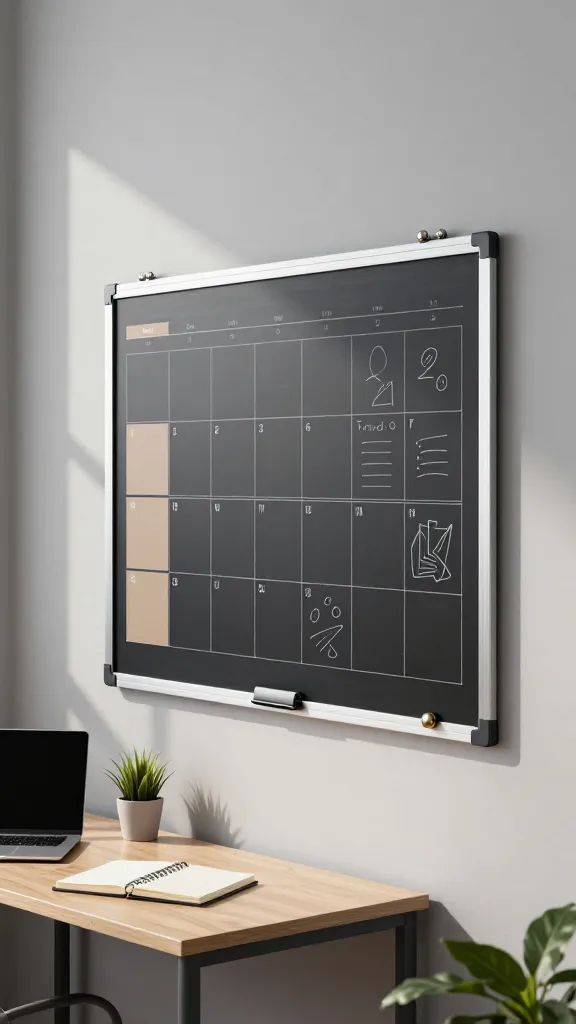
Combine practicality and art with a magnetic chalkboard panel that doubles as a monthly planner. It’s ideal for keeping deadlines visible without clutter.
Materials
- Magnetic chalkboard sheet or paint
- Metallic magnets
- Whiteboard markers or chalk
- Ruler and tape for neat divisions
How to Make It
- Apply magnetic chalkboard to a wall space or frame a sheet for a clean boundary.
- Divide into calendar blocks with light markers, and add magnets for events.
- Write weekly goals and doodle little reminders for joy.
Pro Tips / Styling Ideas
- Use color-coding for classes, social events, and meals.
- Keep a small cloth nearby for quick erases and updates.
Who would love it: The organized planner who wants flexibility and a creative outlet in one spot.
10. DIY Marbleized Desk Organizer Set
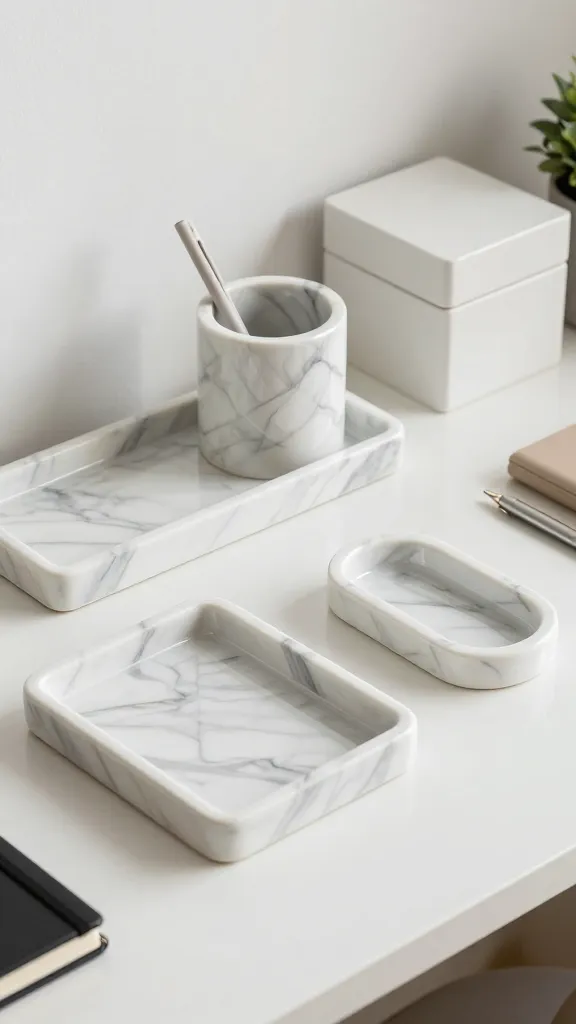
Upgrade your desk with a set of marbleized organizers—trays, pen cups, and a small tray for jewelry or keys. It’s luxe-looking without the price tag.
Materials
- Plain ceramic or wood boxes, cups, and trays
- Marble contact paper or DIY marble nail polish technique
- Clear adhesive or Mod Podge
How to Make It
- Wrap or paint pieces with marble pattern; seal with a clear coat.
- Arrange in eye-catching clusters on your desk for a cohesive look.
Pro Tips / Styling Ideas
- Keep the color palette cohesive with your laptop or notebook colors.
- Use the smallest pieces for rings and desk accessories; larger ones for papers.
Who would love it: The desk aestheticist who craves a refined, boutique-desk vibe.
11. Woven Cord Light Shade Hack
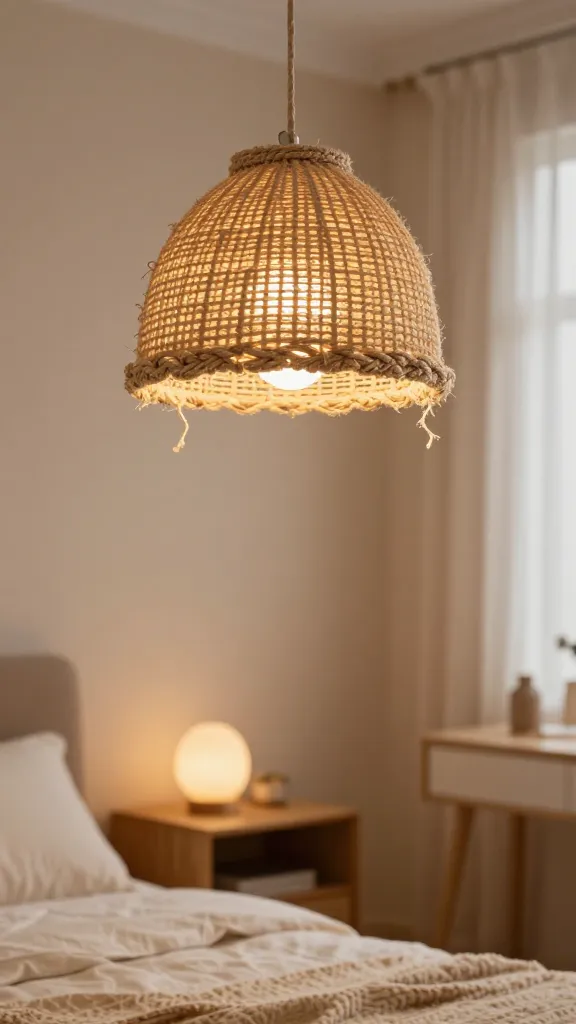
A cozy, soft light fixture that adds texture and warmth to overhead lighting. A simple weave around a basic lampshade makes a big difference in mood.
Materials
- Plain lampshade (fabric or plastic)
- Curly cord or thin jute cord
- Hot glue or fabric adhesive
How to Make It
- Wrap the shade evenly with cords, securing with glue at the ends.
- Keep the weave loose for a boho texture or tighter for a dramatic look.
Pro Tips / Styling Ideas
- Pair with warm-white bulbs for a soft, cozy glow.
- Hang the lamp in a corner to create a snug reading nook.
Who would love it: The texture hunter who wants a handmade glow with minimal effort.
12. DIY Postcard Pattern Wall Panels
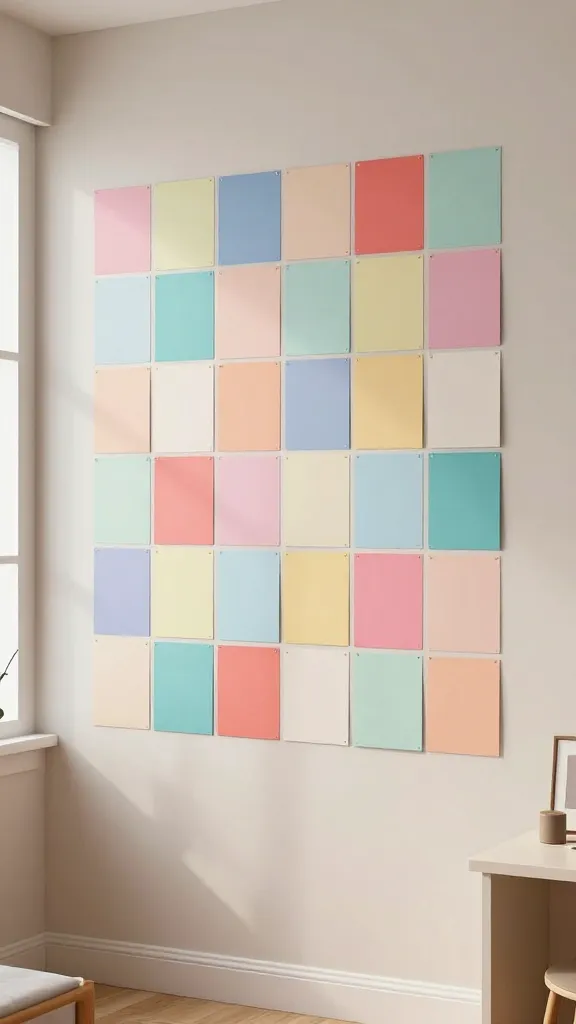
Create a large, graphic wall statement with a panel of postcard-sized prints arranged in a bold pattern. It’s a playful, affordable gallery stretch that can be tailored to any style.
Materials
- Cardstock or photo paper postcards (you can print your own or collect from friends)
- Adhesive putty or removable mounting squares
- Optional: a lightweight frame or backing board
How to Make It
- Lay out cards on the floor to plan the pattern (grid or staggered).
- Attach to a backing board or directly to the wall with mounting squares.
- Frame the edges with a slim frame or paint the backing for a finished look.
Pro Tips / Styling Ideas
- Choose a color family (blues, pinks, neutrals) to maintain harmony.
- Update the postcards each season to keep the wall fresh.
Who would love it: The social butterfly who loves travel vibes and a vivid, story-telling wall.
Conclusion
These 12 DIY room decor ideas are designed to be fun, affordable, and easily customizable for college dorm life. Pick one to start your transformation, or mix and match a few to build a space that truly feels like you. Grab the smallest project first—then show off the rest as you grow your dorm’s personality. You’ll love how doable and rewarding these little creative wins are.