9 3d Craft Ideas for Kids at Home: Sparkling Diy Fun
Ready to unlock a world of playful, hands-on creativity? These 9 completely unique DIY crafts for kids at home are simple, satisfying, and totally Pinterest-worthy. Trust me, your little makers will beg to start another project by bedtime.
From puff-paint to cardboard jungle gyms, each idea sparks imagination while keeping things manageable. Grab a snack, gather supplies, and let’s dive into nine standout, kid-friendly crafts that feel like magic but are totally doable.
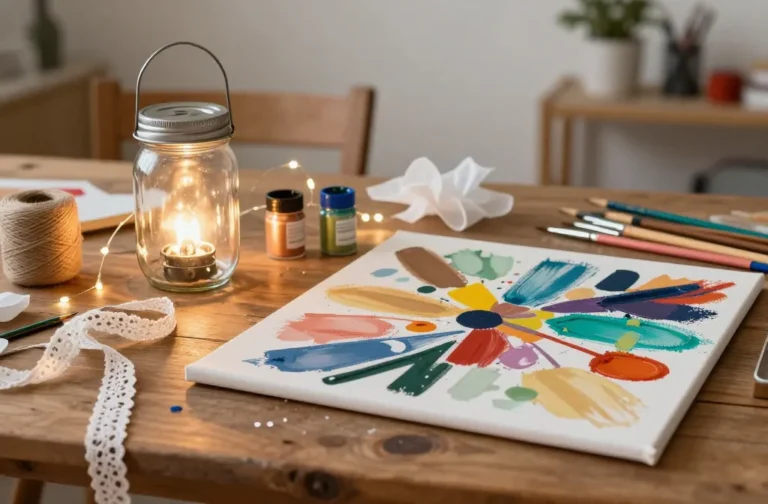
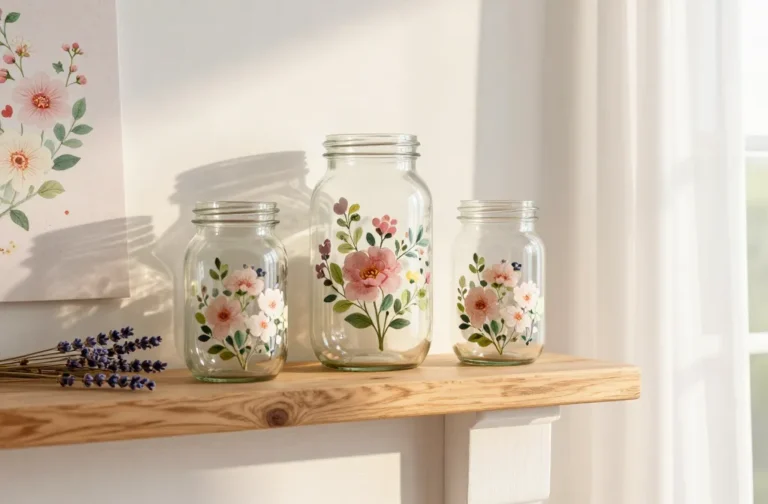
1. Floating Paper Garden in a Jar

Imagine a tiny, magical garden that floats inside a glass jar. This 3D paper bouquet stays buoyant with clear glue and a splash of color, making a whimsical desk companion or gift topper. It’s bright, delicate, and oh-so-shareable.
Materials Needed
- Small glass jars with lids
- Colored tissue paper or origami paper
- Clear-drying glue or Mod Podge
- Water, if using a mini water setup inside
- Fine twine or ribbon for decorating
- Scissors
How to Make It
- Cut tissue paper into flower shapes and leaves.
- Layer pieces to form 3D blossoms and press them into the jar with a dab of glue.
- Pour a tiny amount of glue on the lid’s inner rim to create a floating effect when closed.
- Optionally add a transparent “water” layer by filling with a thin layer of glue and a few glass beads for sparkle.
- Seal the jar with the lid and finish with ribbon tied around the neck.
Pro Tips
- Use a clear-drying glue for minimal visibility and maximum “glass garden” effect.
- Match color families (pastels for a dreamy vibe, bold primaries for playful energy).
Who loves it: Perfect for a calming corner, teacher appreciation gifts, or a whimsical nightstand piece. It’s light, bright, and totally adorable.
2. Cardboard Creature City Wall Collage
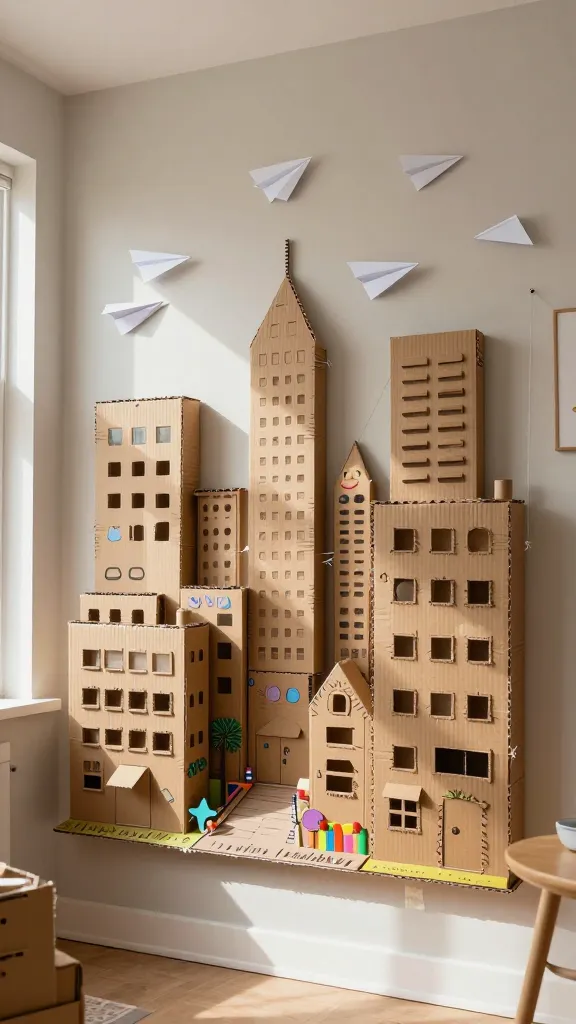
Transform scraps of cardboard into a bustling miniature metropolis. Layered 3D buildings, tiny alleyways, and a sky filled with paper airplanes create a playful wall mural that grows with imagination. It’s eco-friendly, budget-friendly, and endlessly creative.
Materials Needed
- Cardboard sheets (various thickness)
- Colored paper, markers, sticker bits
- Foam or cardboard shapes for windows and doors
- Double-stick tape or glue
- Scissors, craft knife (adult help)
- String or thread for hanging elements
How to Make It
- Sketch a simple city layout on the wall or a large cardboard panel.
- Cut different building shapes from cardboard and decorate with paper details.
- Layer buildings in varying heights to create a 3D skyline.
- Hang on the wall using double-stick tape, staggering pieces for depth.
Pro Tips
- Encourage kids to name each building and invent tiny storefronts for a story-driven mural.
- Paint the back panels in a soft sky color to make the 3D elements pop.
Who loves it: Great for a shared art wall in a playroom or a collaborative school project that doubles as home decor.
3. Felt Animal Tea Party Puppets

Soft, cuddly, and ready for pretend play, these felt animals host a cozy tea party on a sunlit afternoon. Simple shapes, bright colors, and a dash of sewing (or no-sew with fabric glue) make this a classic that kids will adore acting out.
Materials Needed
- Felt sheets in assorted colors
- Needle and thread or fabric glue
- Googly eyes or safety eyes
- Small buttons, felt scraps for accessories
- Wooden sticks or popsicle sticks for puppet handles
How to Make It
- Cut simple animal shapes (bear, bunny, fox, etc.) from felt.
- Attach eyes and details with glue or stitching.
- Glue or sew a small pocket for a teatime “cup” and a stick to hold as a puppeteer handle.
- Dress with tiny felt scarves or hats for character.
Pro Tips
- Use double-sided felt to avoid rough edges showing on the backside.
- Stitching adds texture—kids can practice simple running stitches for a satisfying result.
Who loves it: Ideal for imaginative play corners, storytelling sessions, or a quick, tactile craft hour.
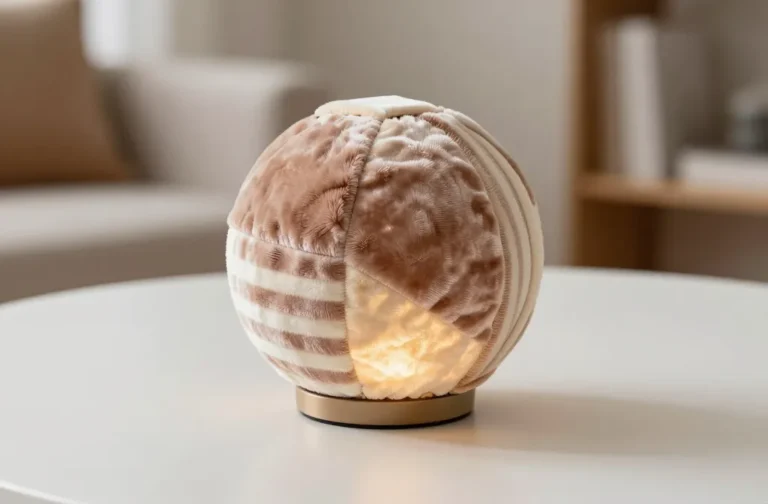
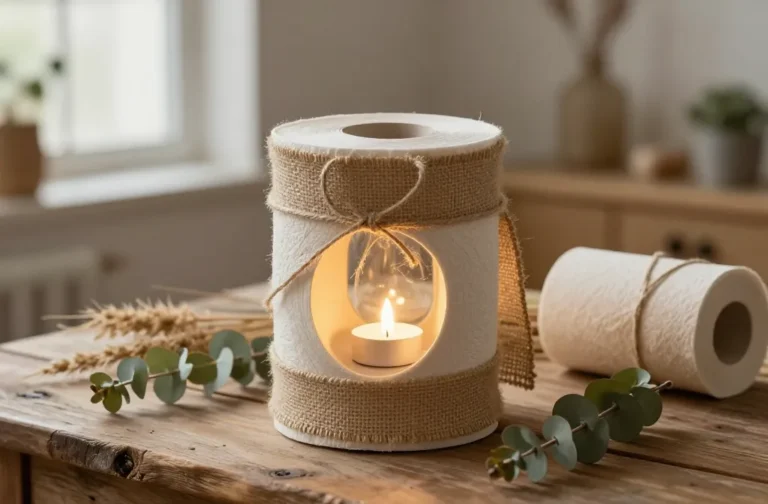
4. Melted Crayon Glow Dots Night Light Jar
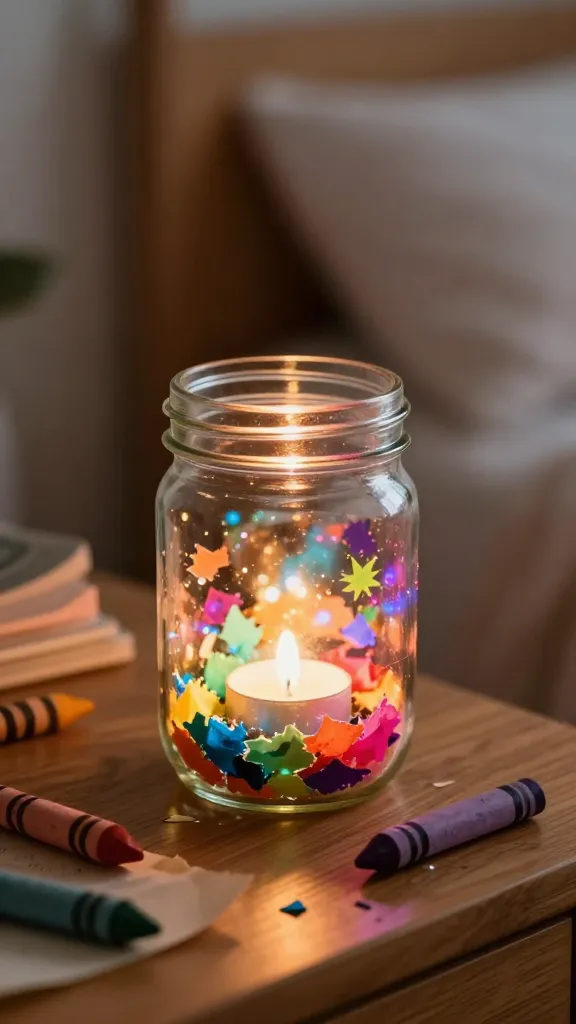
Turn a plain jar into a warm, glowing night light with a playful crayon mosaic. The melted crayon effect creates a dreamy, starlit vibe perfect for bedside tables or a kid’s reading nook. It’s colorful, cozy, and surprisingly easy.
Materials Needed
- Clear glass jar with lid
- Crayons in assorted colors
- Hot glue gun and glue sticks
- Battery-operated tea light
- Newspaper or parchment paper for messy setup
How to Make It
- Remove paper wrappers from crayons and break into small pieces.
- Glue crayon shavings onto the outside of the jar in a mosaic pattern.
- Heat the jar in a low oven (250°F/120°C) for a few minutes until crayons melt and fuse to the glass edge—cool completely.
- Place a tea light inside and switch on for a gentle glow.
Pro Tips
- Use warm tones for a cozy vibe or cool tones for a calming glow.
- Wrap the lid with decorative washi tape for a finished look.
Who loves it: A bedtime buddy, a party favor, or a colorful gift for grandparents who adore handmade treats.
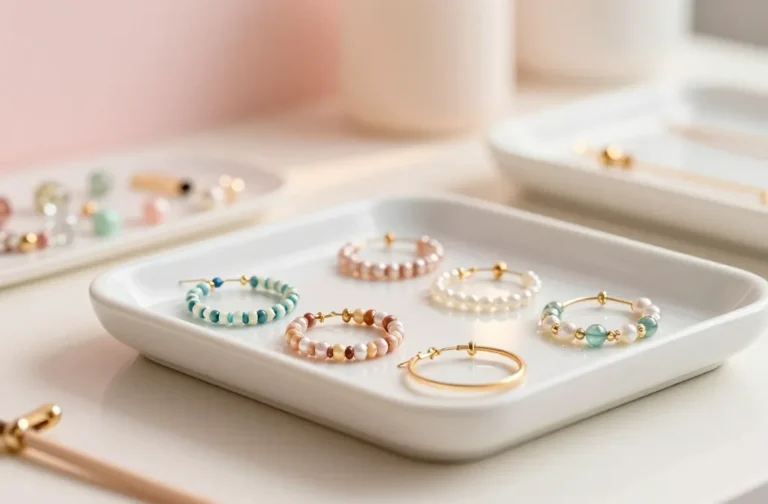
5. DIY Sea-Glass Window Embellishments
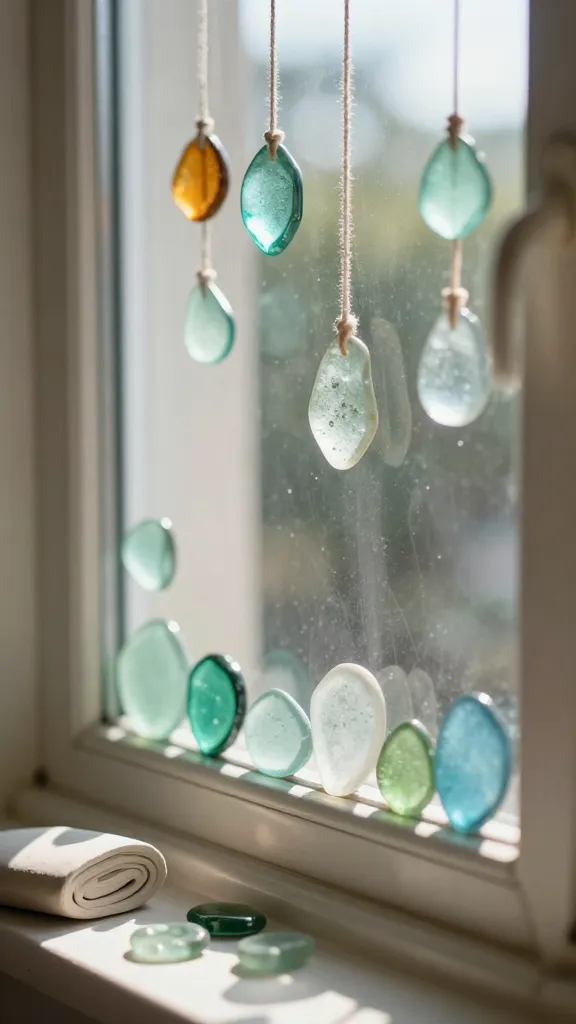
Capture seaside sparkle with shimmering “sea glass” made from colored translucent clay or melted plastic. Create window clings, sun catchers, or cabinet decor that catches light and adds a breezy, ocean-inspired vibe.
Materials Needed
- Self-hardening clay or translucent crafting clay
- Colored transparent plastic or stained glass paints
- Wax paper, rolling pin
- Hole punch or small drill for hanging
How to Make It
- Roll clay into chunky, irregular shapes resembling sea glass.
- If using plastic, cut shapes and bake according to material instructions until firm.
- Poke holes for hanging and let dry
- Seal with a light glaze to increase translucence
Pro Tips
- Mix in a touch of glitter for extra sparkle, but keep it subtle so light passes through nicely.
- Hang in a sunny window for a captivating prism effect.
Who loves it: Great for a beachy bathroom theme, kitchen window accents, or gift-ready sun catchers.
6. Potato Stamp Comic Cards
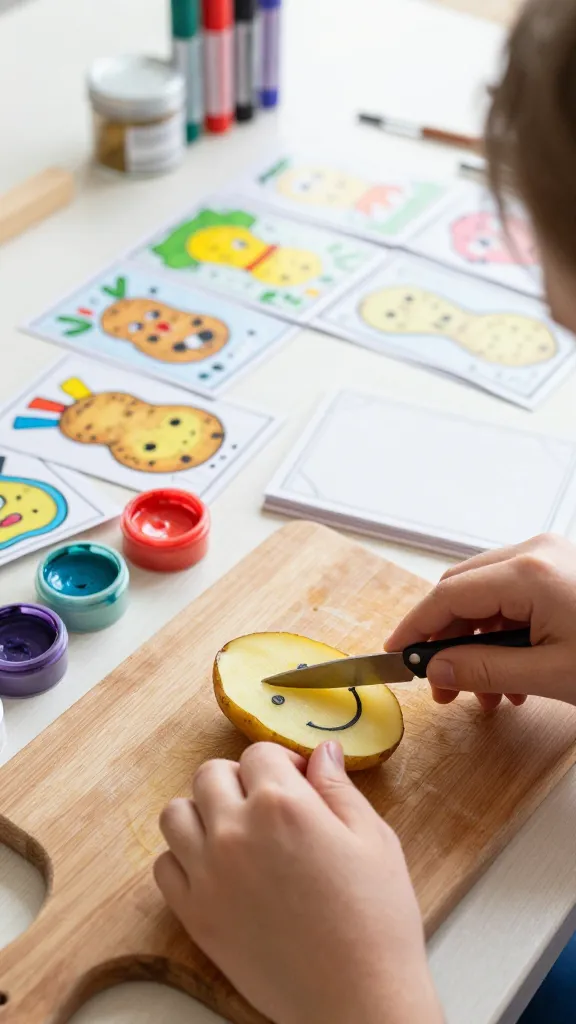
Old-school stamping gets a modern twist with quirky mini comic cards made from potato stamps. This is a fantastic way to blend art with storytelling, producing a stack of unique, silly greetings that family and friends will adore.
Materials Needed
- Potatoes (extra for slices)
- Sharp knife (adult help)
- Acrylic paint or ink pads
- Cardstock or greeting cards
- Colored markers for finishing touches
How to Make It
- Cut a potato in half and carve a simple shape with a small design, like a smiley face or star.
- Dip in paint and stamp onto cards to create a mini comic strip layout.
- Finish with speech bubbles drawn with markers for a punchy message.
Pro Tips
- Experiment with layered stamps to create characters with mood.
- Use a mix of bold and pastel colors for a vibrant set.
Who loves it: A charming way to make personalized notes, party invitations, or a kids’ handwriting practice activity.
7. Collapsible Shadow Box Theatre
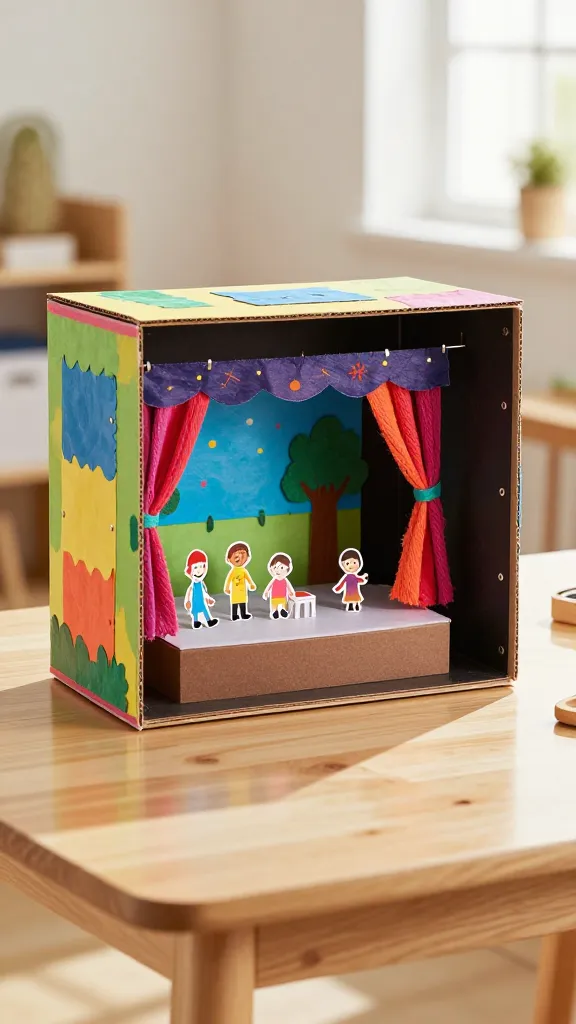
Bring plays to life inside a compact, foldable shadow box theatre. Kids design characters, scenic backdrops, and a tiny stage that folds flat for easy storage. It’s dramatic, interactive, and incredibly shareable on social!
Materials Needed
- Cardboard box or photo frame with a deep lip
- Black poster board or paint for the interior
- Colored paper, fabric scraps, yarn
- Brads or small hinges for a simple, foldable stage
- Miniature characters or printable cutouts
How to Make It
- Line the interior with black paper to create a stage illusion.
- Cut scenery pieces and characters from colored paper; attach with brads so they can pivot.
- Fold or hinge parts to create depth, using string to simulate stage curtains.
Pro Tips
- Let kids script a short play—performing becomes part of the craft!
- Use sheer fabric for curtains and tiny LED lights for extra drama.
Who loves it: Theater lovers, storytelling moments, and a clever shelf-worthy display piece that doubles as a toy.
8. Marbleized Paper Desk Organizer
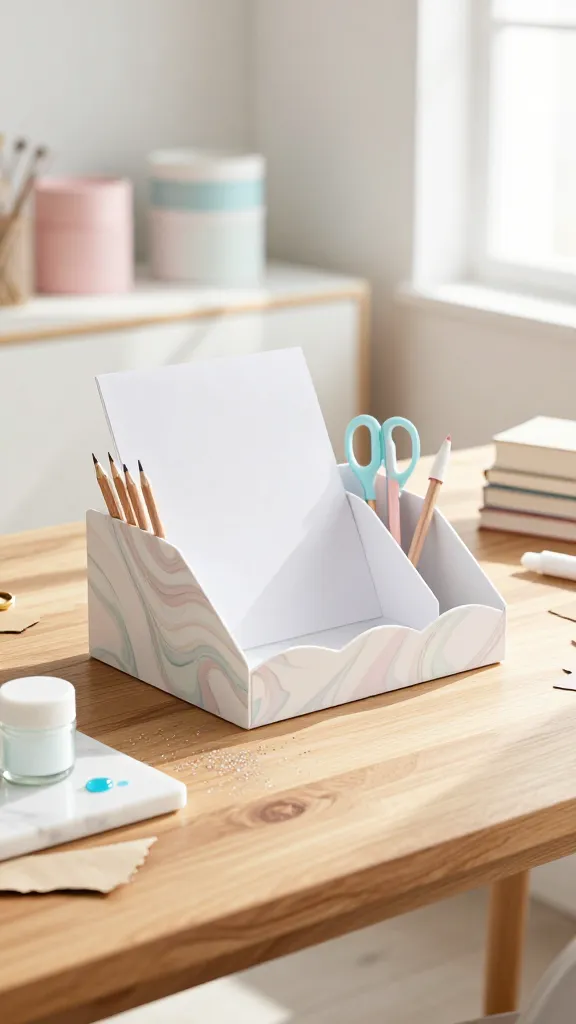
Soft, swirling marbles on paper morph into a chic desk organizer. This project merges art with utility, giving kids a practical, decorative item for pencils, scissors, and doodads. It’s stylish, functional, and seriously satisfying to craft.
Materials Needed
- White cardstock or kraft paper
- Shaving cream or foam with food coloring drops
- Glitter (optional)
- Cardboard or corrugated pieces for compartments
- Glue or double-stick tape
How to Make It
- Swirl food coloring into shaving cream to create a marbled pattern.
- Lay paper on top, press gently, then lift and lay flat to dry—peel away the cream.
- Cut into organizers and glue into a simple tray or labeled compartments.
Pro Tips
- Seal with a light spray of clear glue to keep colors from fading.
- Personalize with initials or a favorite color palette for a customized look.
Who loves it: A sleek beginner-friendly craft for the study nook, homeschool desks, or a clever gift idea for teens.
9. Plush Pop-Up Mini Treats Pillow Cards
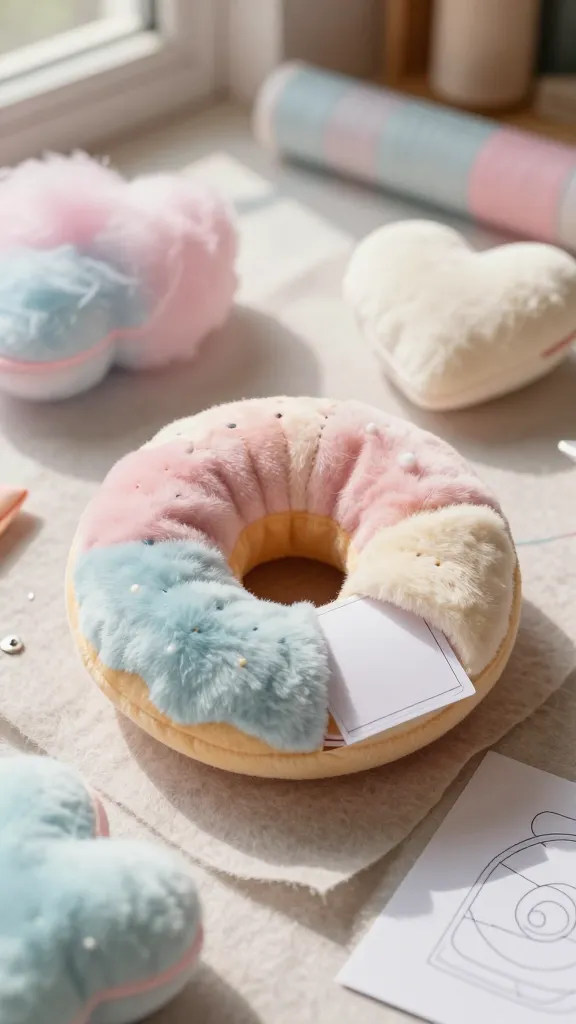
Soft, squishy cushion cards that unfold into tiny plush “treats” make adorable, tactile surprise gifts. Think mini pillow donuts, cotton candy clouds, and marshmallow hearts—perfect for birthdays or “just because” moments.
Materials Needed
- Fleece or felt for plush layers
- Fiberfill stuffing
- Needle and thread or fabric glue
- Printable card stock for greeting cards
- Pattern templates for shapes
How to Make It
- Cut two identical shapes for each plush, stitch or glue around the edges, leaving a small opening.
- Stuff with fiberfill and close the opening securely.
- Attach plush shapes to a folded card that pops up when opened.
Pro Tips
- Use a tiny bead for a “sprinkle” accent on donuts or cupcakes.
- Choose bold, contrasting colors for maximal cuteness on camera.
Who loves it: Gift-worthy cards that double as small plush décor, ideal for birthdays, holidays, or thank-you notes.
Conclusion
There you have it—nine completely unique 3D craft ideas for kids at home, each with its own vibe and wow factor. Pick one project to start, or challenge yourself to try them all over a month-long craft spree. The point is simple: have fun, experiment, and enjoy the tiny miracles that bloom when imagination meets hands-on making.
Ready to dive in? Gather your supplies, rally a buddy, and pick a favorite to begin. Your kid’s next favorite pastime—and a batch of totally shareable keepsakes—awaits. Happy crafting!