10 Rustic 3d Craft Ideas for Farmhouse Decor That Wow
Hey there, farmhouse dreamer! If you’re hunting for quick, cozy projects that add warm texture and a little 3D wow, you’re in the right place. These 10 ideas are intentionally unique, totally doable, and crafted to look stunning in any rustic space.
Ready to roll up your sleeves? Trust me, these crafts are addictive in the best way—fun to make, easier to style, and endlessly shareable on your feed.
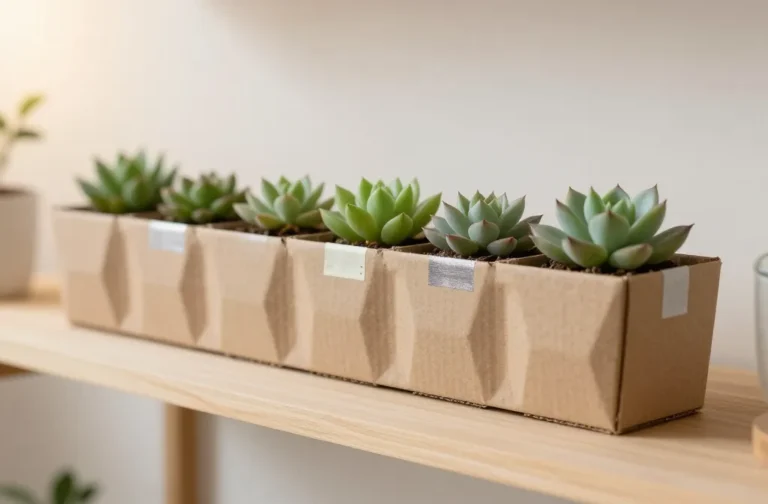
1. Rustic Pallet Wall Box Garden Orbs
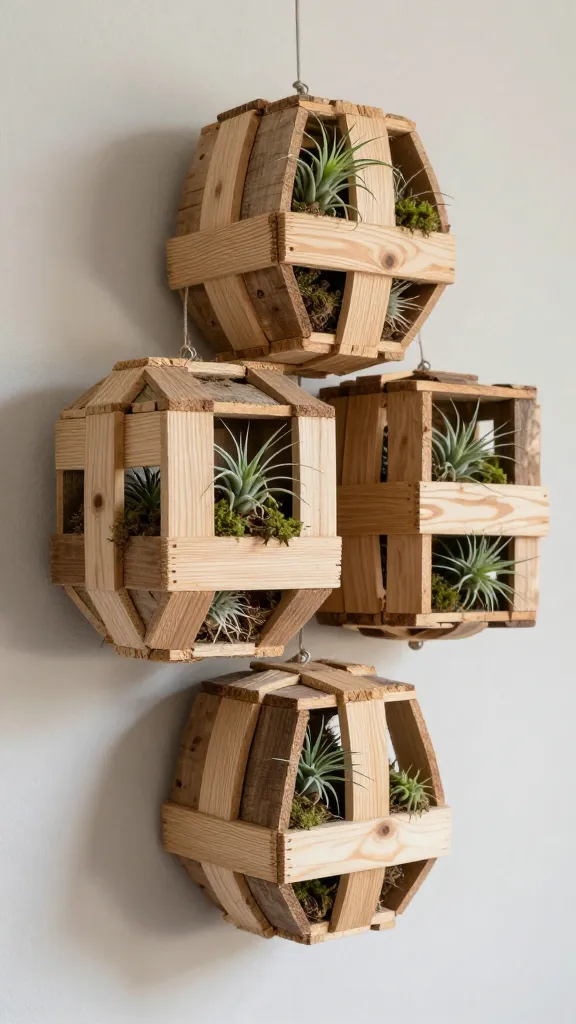
Imagine small wood boxes glued into three-dimensional orbs hanging on a wall, each containing a tiny air plant or dried botanicals. The natural grain and imperfect edges give that coveted farmhouse charm with a modern sculpture vibe.
Materials
- Reclaimed pallet boards or lightweight wood slats
- Wood glue, nails, or a small drill
- Twine or metal string for hanging
- Air plants or preserved moss
How to Make It
- Cut wood into small panel sizes and assemble them into shallow, cube-like boxes—think three-dimensional tessellations.
- Sand edges smooth, then stain lightly to bring out the grain.
- Glue sides into a loose, geometric orb shape, allowing a bit of negative space.
- Fill with air plants or preserved moss; string together for a wall installation.
Pro Tips / Styling Ideas
- Hang in clusters at eye level for maximum impact.
- Pair with a few metal accents or warm white fairy lights for cozy evenings.
Who’ll love it? Anyone who adores botanical textures without a huge commitment to real plants.
2. Miniature Rustic Barn Door Photo Frames (3D Flip Frames)
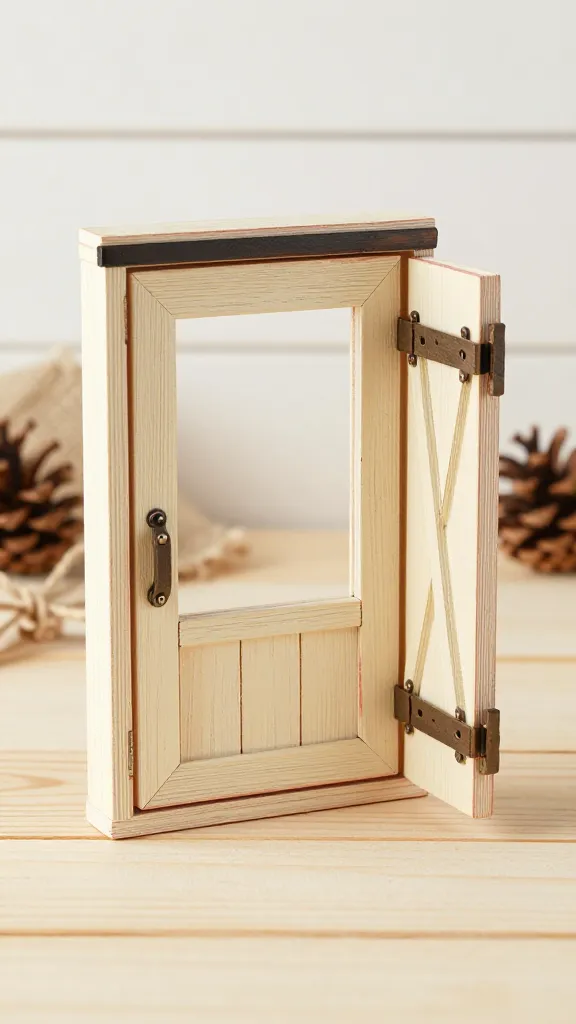
These little frames look like tiny barn doors hinging open to reveal a favorite photo. The 3D aspect comes from the door panels that actually swing on small magnets or hinges—adorable, nostalgic, and surprisingly sturdy.
Materials
- Wood scraps (thin boards work best)
- Small hinges or strong magnets
- Plywood backing for the photo slot
- Paint in creamy white, barn red, and a touch of black
How to Make It
- Cut two small panels and attach them with hinges to create a “door” that opens to a photo slot.
- Paint and distress edges for farmhouse authenticity.
- Glue a photo to the backing and finish with a rustic stand or wall mount.
Pro Tips / Styling Ideas
- Use sepia-toned or black-and-white photos for cohesion with rustic finishes.
- Create a wall display with several doors at varying depths.
Who’ll love it? Picture lovers who want a personalized, tactile frame that doubles as a conversation piece.
3. 3D Burlap Monogram Letters with Natural Accents
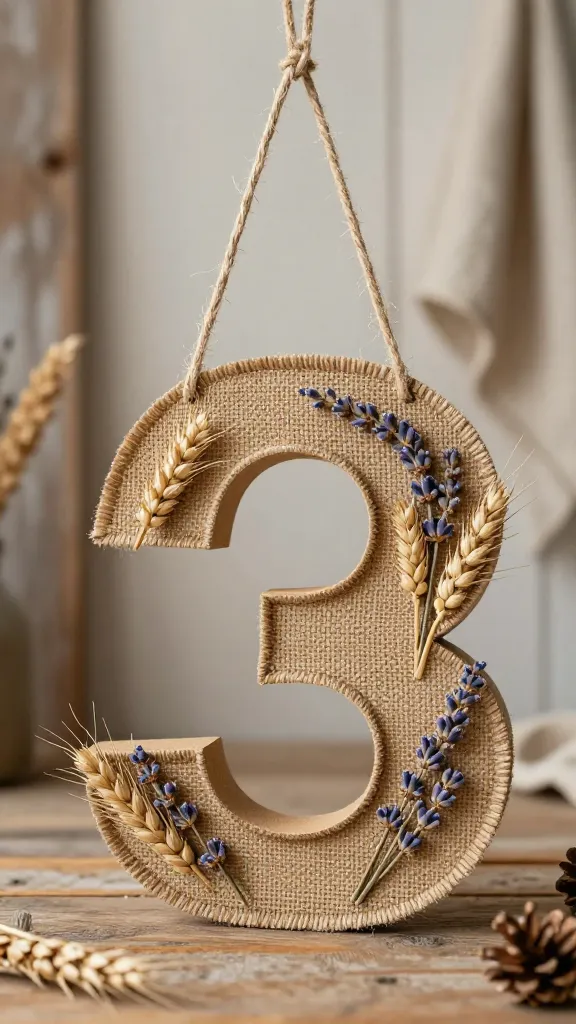
Channel farmhouse signage with bold, dimensional letters wrapped in burlap and accented with dried botanicals. The texture contrast between rough burlap and crisp dried flowers is utterly chic.
Materials
- Cardboard or lightweight wood letters
- Burlap fabric, hot glue
- Dried wheat, lavender, or small pinecones
- Jute twine for hanging
How to Make It
- Cut letters from cardboard or thin wood and build up a 3D thickness with extra layers.
- Wrap letters in burlap, glueing ends neatly.
- Glue dried accents at the corners and along the edges.
Pro Tips / Styling Ideas
- Place on a mantle with a few neutral candles for a classic look.
- Experiment with different foliage colors—creams and muted greens feel especially farmhouse.
Who’ll love it? Craft lovers who want a bold, tactile focal point on shelves or doors.
4. 3D Distressed Wood Slice Gallery Orbs
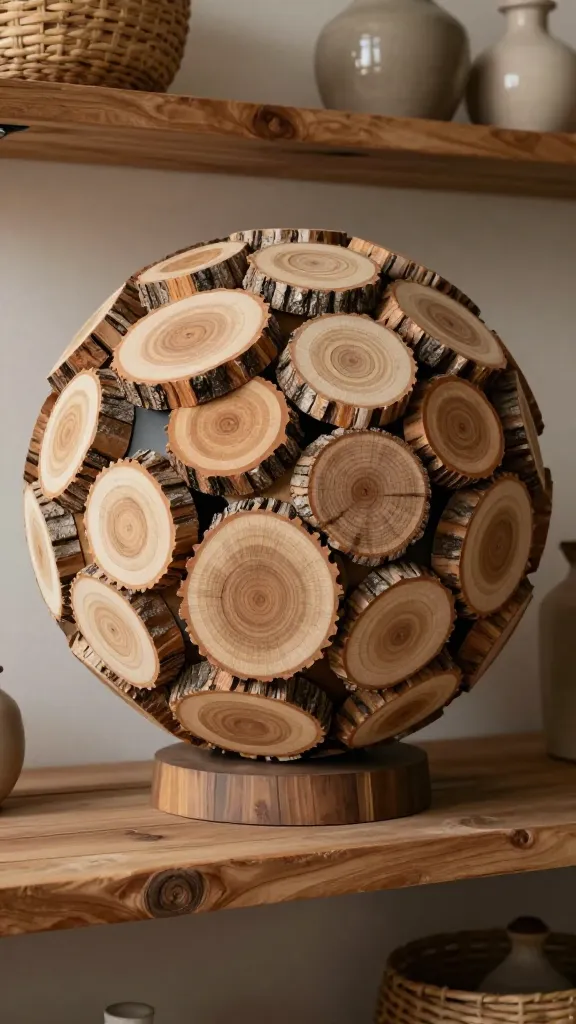
Turn rustic wood slices into three-dimensional orbs by layering slices and attaching them in stepped tiers. The result is organic, textural, and surprisingly versatile for shelf styling or wall display.
Materials
- Thin wood slices (natural edges preferred)
- Wood glue, hot glue gun
- Optional: light stain or whitewash
How to Make It
- Arrange wood slices in a spherical cluster, offsetting sizes for depth.
- Glue slices in layers to create a 3D ball, letting some pieces protrude more than others.
- Finish with a light stain or whitewash to unify tones.
Pro Tips / Styling Ideas
- Hang on a wall with a single anchor for drama.
- Place on a coffee table with a few ceramic pumpkins for seasonal appeal.
Who’ll love it? Fans of organic forms and warm wood tones who want a statement piece that also feels handmade.
5. Farmhouse Gilded Wire Star Constellation Ornaments
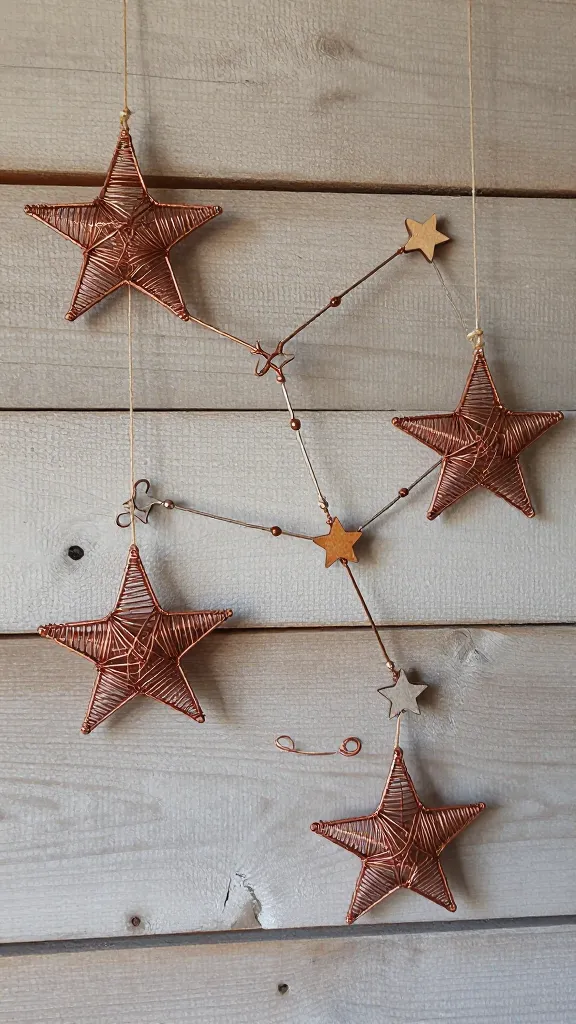
Craft delicate 3D stars from galvanized copper or painted wire, then group them into a constellation-inspired wall or garland. The metallic sheen brings a hint of glam without breaking the rustic vibe.
Materials
- Copper or galvanized craft wires
- Wire cutters, pliers
- Small beads or wooden stars for accents
- Jute string or fishing line for hanging
How to Make It
- Bend wires into five-pointed stars, twist to secure joints, and twist tails into a tiny loop.
- Twist in beads or attach small wooden stars for texture.
- Hang individually or string into a garland with spaces between stars.
Pro Tips / Styling Ideas
- Display in a cluster on a wall or over a kitchen island for a subtle celestial touch.
- Mix with eucalyptus stems for a fresh, fragrant vibe.
Who’ll love it? Star lovers and minimalist gilded accents fans who want a delicate, airy decor piece.
6. 3D Quilt Patch Pillows with Layered Fabric Panels
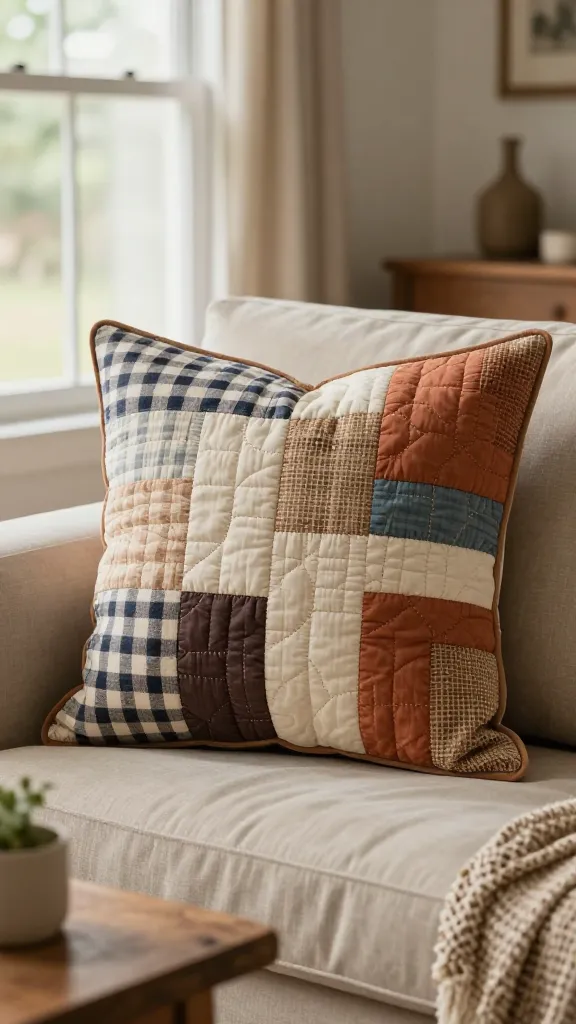
Layered fabric panels stitched into a pillow create a 3D quilted look without sewing a full quilt. Think chunky textures, warm colors, and soft geometry you can plop on a sofa in minutes.
Materials
- Canvas or cotton pillow cover
- Assorted fabric scraps (plaid, solids, burlap accents)
- Needle, thread, fabric glue
- Polyfill for plushness
How to Make It
- Cut fabric into varying-sized squares and rectangles.
- Layer and glue or stitch them onto the pillow cover in a staggered, 3D overlapping pattern.
- Stuff full and seal edges with a hidden seam or zipper.
Pro Tips / Styling Ideas
- Use a warm, earthy palette for maximum farmhouse coziness.
- Pair with a chunky knit throw for a nest-like vignette.
Who’ll love it? Cozy textile lovers who want a tactile, one-of-a-kind cushion.
7. 3D Burlap Roll Top Lanterns
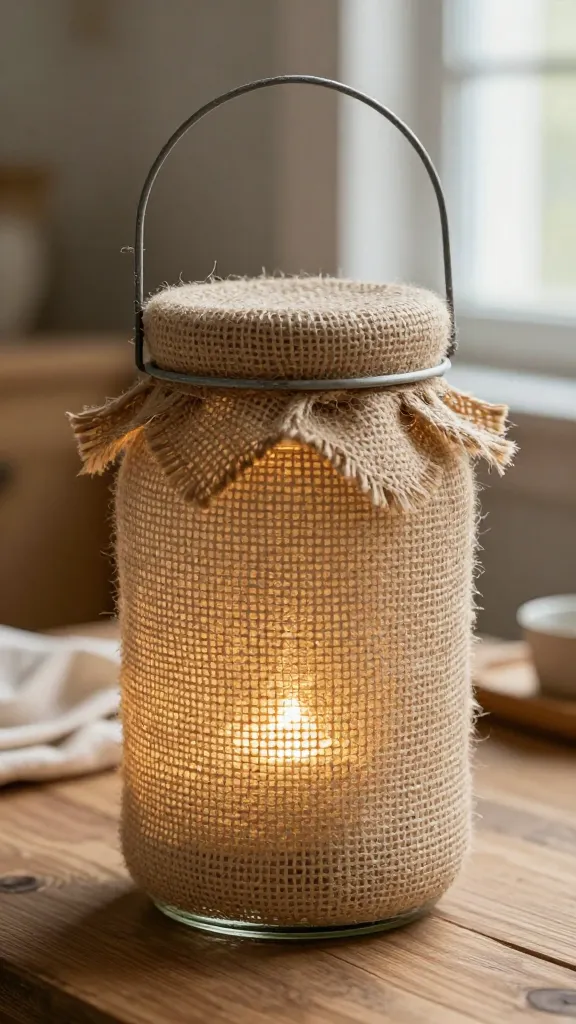
Transform simple glass jars or vases into 3D lanterns using burlap rolled around the base, topped with a wire handle. They glow softly and add dimension when lit with a candle or LED tea light.
Materials
- Glass jars or votive holders
- Burlap fabric
- Thin wire for handle
- LED tea lights
How to Make It
- Wrap burlap around the lower half of the jar and secure with glue.
- Create a small rolled cuff at the top for texture and attach a wire handle.
- Place a light inside and enjoy the warm glow.
Pro Tips / Styling Ideas
- Group in a row on a mantel for a charming vignette.
- Vary burlap colors (cream, taupe, charcoal) for depth.
Who’ll love it? Night-in lovers and table-scape enthusiasts who want soft, dimensional glow.
8. 3D Fern Framed Shadow Box Dioramas
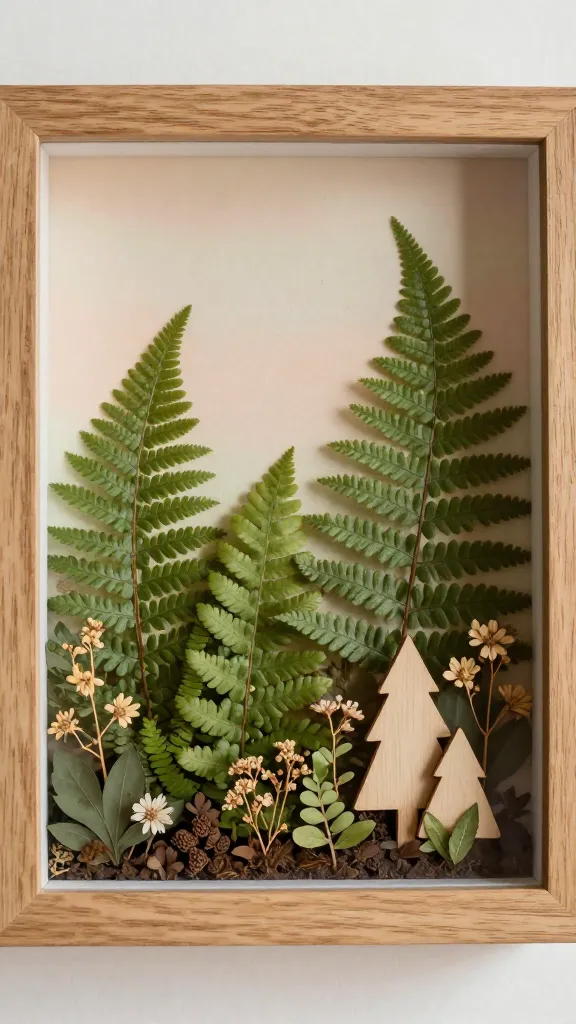
Create a mini 3D scene inside a shallow frame using pressed ferns, dried flowers, and tiny wood cutouts. The depth makes ordinary framed art feel like a living forest.
Materials
- Shallow picture frames
- Dried ferns, tiny flowers, and leaves
- Cardboard or foam board for the background
- Glue and scissors
How to Make It
- Layer background with a solid color or soft paper.
- Arrange dried botanicals in the foreground in a slightly raised profile.
- Secure with glue and seal with a light spray to reduce shedding.
Pro Tips / Styling Ideas
- Use in a hallway display or above a console for a nature-inspired pause.
- Mix with a few wood accents or ceramic pieces for balance.
Who’ll love it? Nature lovers who crave tactile art that’s easy to swap seasonally.
9. 3D Painted Stone Scrim Wall Panels
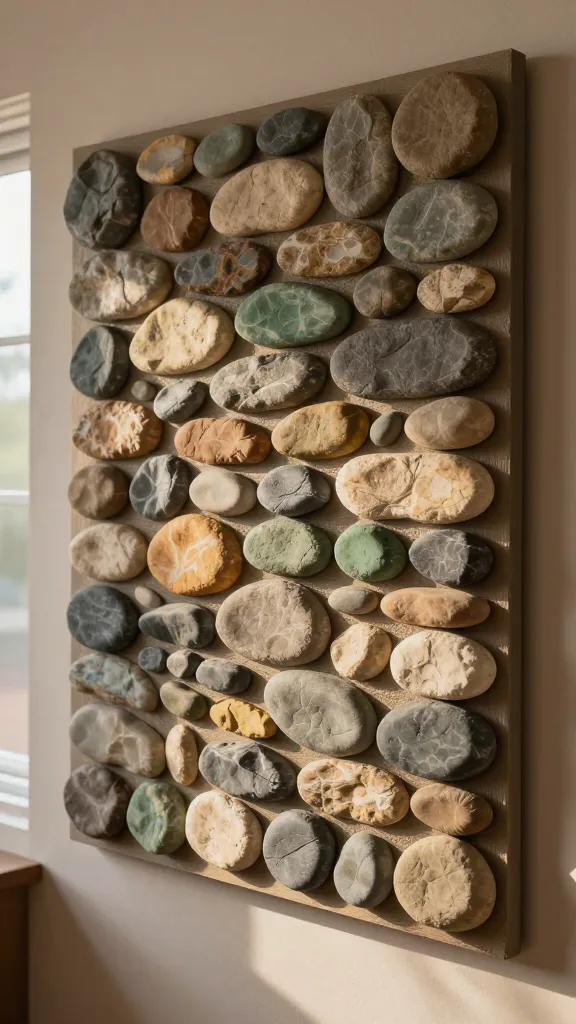
Sand, paint, and layer small river stones into a panel that sits proud of the wall, creating a tactile, textured backdrop reminiscent of a rustic garden wall.
Materials
- Flat wooden panel or canvas
- Small smooth stones or river rocks
- Acrylic paint in earthy tones
- Construction adhesive or hot glue
How to Make It
- Paint the panel with a base color; add distant, lighter tones for depth.
- Glue stones in rows or a random scattered pattern to build a 3D texture.
- Seal with a matte spray to reduce shedding and protect the finish.
Pro Tips / Styling Ideas
- Hang as a statement backdrop behind a dining table or sofa.
- Pair with soft textiles to soften the rugged texture.
Who’ll love it? Statement-makers who crave texture-rich walls without heavy commitment.
10. 3D Log Slice Christmas Tree Ornaments
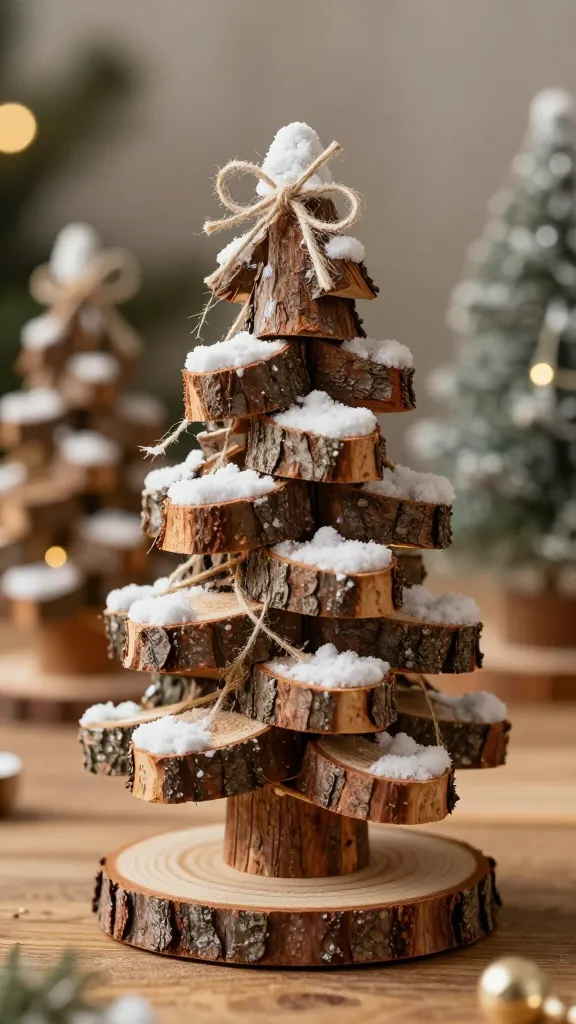
Cut small log slices and stack them with a slight offset to form little 3D Christmas trees. Add a pinch of white paint for a snowy touch and string with twine for a natural garland of warmth.
Materials
- Small log slices with bark intact
- White acrylic paint or wood stain
- Twine for hanging
- Hot glue or wood glue
How to Make It
- Slice logs to uniform thickness and dry thoroughly if fresh.
- Stack and glue slices with slight offset to create a 3D tree shape.
- Paint tips: a light dusting of white on the edges for a snowy look.
Pro Tips / Styling Ideas
- Use as a holiday centerpiece or hang on a wall garland for a rustic-chic feel.
- String a few together in varying heights for a woodland vibe year-round.
Who’ll love it? Holiday lovers who want a rustic, nature-inspired 3D touch for decorating seasons to come.
Conclusion
These 10 completely unique, 3D rustic crafts are built for farmhouse fans who crave texture, warmth, and a dash of whimsy. Dive in, mix and match ideas, and turn your space into a cozy, Pinterest-worthy haven. Which one will you start first, or will you collect them all for a seriously stunning decor overhaul?