9 Modern Minimalist 3d Craft Ideas to Try Now
Ready for a fresh batch of cozy, modern vibes? These 9 minimalist 3D craft ideas are sleek, tactile, and totally doable for a weekend project. Trust me, they’re the kind of little details that transform a room—and your mood.
Let’s dive in and pick a favorite that speaks to your space. Each idea is designed to be visually striking, easy to customize, and seriously satisfying to finish.
1. Geometric Paper Crane Wall Sculpture
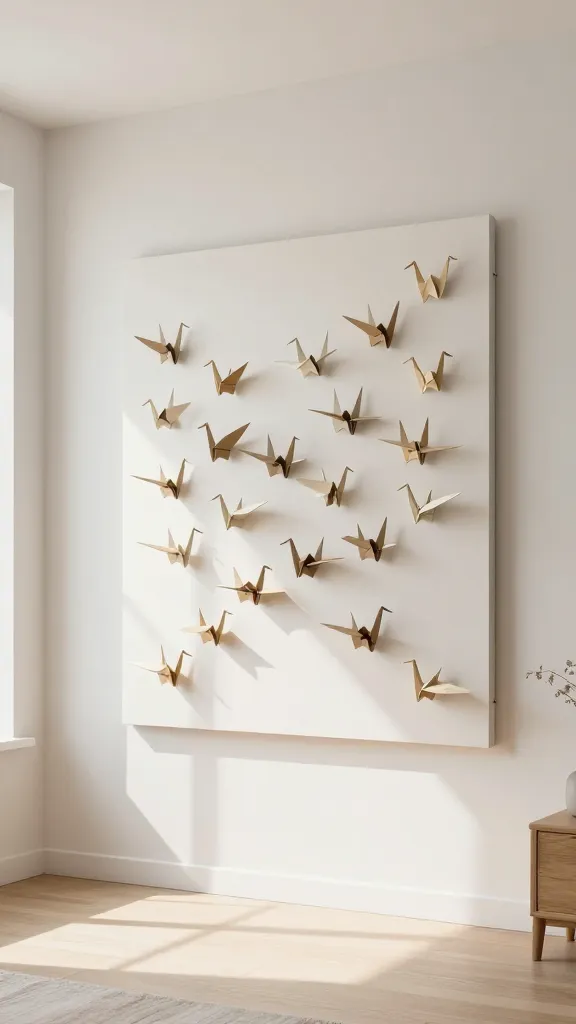
Picture a clean, airy wall speckled with delicate, three-dimensional paper cranes arranged in an oversized geometric canvas. This piece brings motion and softness to a minimalist space without shouting color. It feels modern, light, and totally Instagrammable.
Materials
- Colored or kraft paper (colors staying within a neutral palette works best)
- Cardboard or thin wood panel as backing
- Metal transfer nails or adhesive hooks
- Double-sided tape or glue
- Ruler, craft knife, cutting mat
How to Make It
- Cut geometric shapes from paper—triangles, diamonds, and parallelograms work well for a contemporary grid.
- Fold each shape into a small 3D form that stands off the backing by a few millimeters.
- Arrange on the backing in a radiating or tessellated pattern, then secure with tape or glue.
- Hang with a few evenly spaced nails or small hooks, keeping generous negative space around the piece.
Pro Tips
- Use subtly varied tones within a narrow palette to keep the piece cohesive.
- Keep the backing square and crisp; precision sells the minimalist vibe.
- Frame the area with a slim, matte black or warm wood frame for added polish.
Who will love it: anyone craving a thoughtful wall focal point that feels artful yet approachable. Perfect for living rooms or entryways.
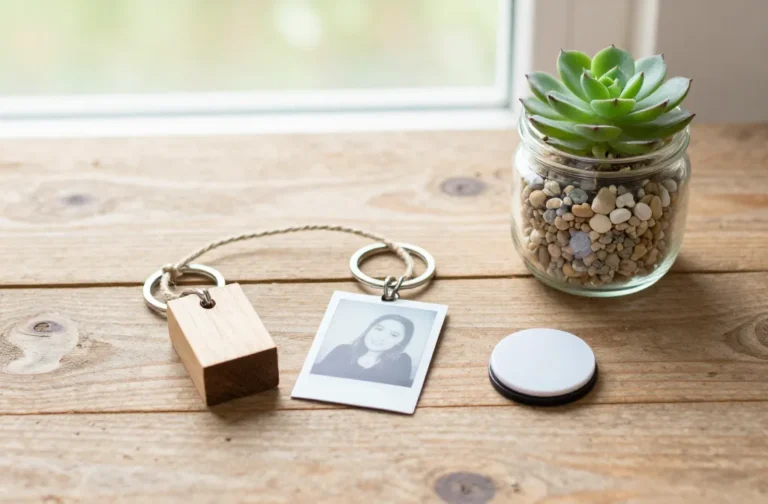
2. 3D Pebble Vase Terrarium
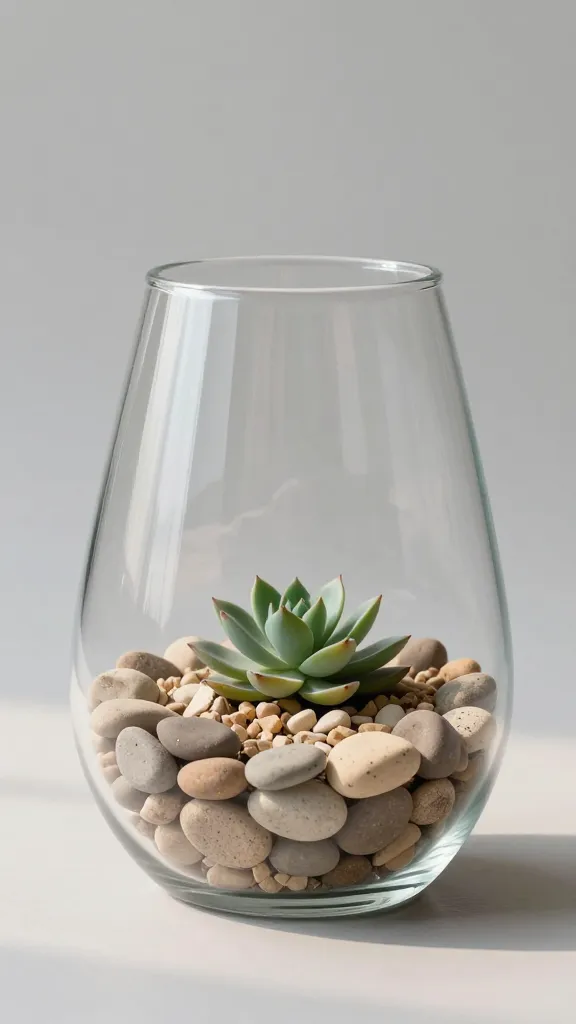
Imagine a tiny desertscape contained in a clean, glass vessel with soft, rounded 3D pebbles stacked into a sculptural nest. It’s nature-inspired, serene, and incredibly easy to swap with the seasons.
Materials
- Clear glass vase or geometric terrarium
- Assorted lightweight clay or plaster pebbles (dried and sanded)
- Indoor plant cutting (succulent or tiny fern works well)
- Clear adhesive or museum putty
How to Make It
- Layer pebbles in the bottom of the vase to create a gentle slope.
- Push a small plant cutting into a concealed pocket of pebbles with a dab of putty for stability.
- Arrange pebbles around the plant to form a 3D, rolling hill effect visible from all angles.
Pro Tips
- Choose neutral tones to keep the look calm and cohesive.
- Lightly mist occasionally to keep air plants or ferns vibrant if you use them.
- Place near natural light but avoid direct sun to prevent overheating the plant.
Who will love it: minimalists who adore tiny worlds and a touch of greenery without clutter. Great on a coffee table or bookshelf vignette.
3. Floating 3D Monochrome Letter Ornaments
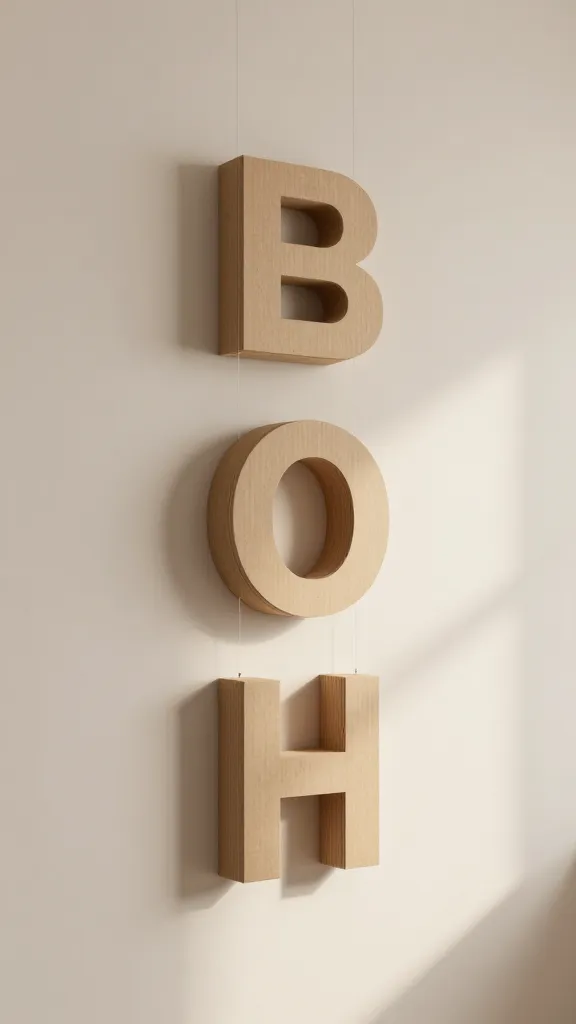
Letters become sculpture when you craft them in layered, lightweight materials and suspend them as if they’re mid-air. This is a chic way to customize a wall or office nook with personality minus loud color.
Materials
- Cardboard, basswood, or thick poster board
- Three to five sheets of identical color in varying thicknesses
- Hot glue gun and glue sticks
- String or thin fishing line for hanging
- Ruler and craft knife
How to Make It
- Cut multiple sheets into the same letter shape, varying thicknesses to create a stacked, 3D layered look.
- Glue letters in a stair-stepped stack, offsetting slightly for depth.
- Attach a string at top corners to suspend in a clean, airy space.
Pro Tips
- Stick to a single color family for true minimalism; black, white, or soft gray shine best.
- Experiment with different letter sizes for an eye-catching wall arrangement.
- Pair with a slim gallery rail so you can swap out letters seasonally or with mood boards.
Who will love it: typography lovers and office organizers who want a personal touch without visual noise. Perfect for a creative corner or entryway.
4. 3D Wrapped Wire Ball Orbs
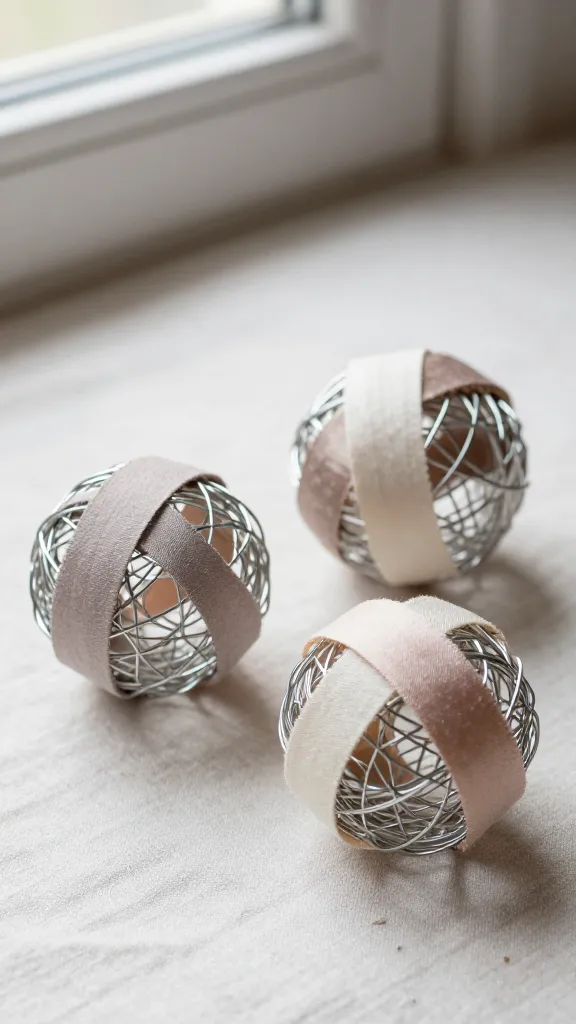
A trio of delicate wire spheres wrapped in a single strip of fabric or paper creates a sculptural trio that’s equal parts jewelry and home decor. Minimalist, tactile, and endlessly poseable for photos.
Materials
- Thin wire (aluminum works well)
- Decorative fabric strips or paper ribbons
- Floral tape or adhesive
- Wire cutters
How to Make It
- Create a small ball by wrapping wire around a rounded object or by looping a few times and twisting ends securely.
- Wrap with fabric or paper, layering to form a smooth surface as you go.
- Leave some sections bare for a light, airy contrast and hang in a cluster or solo.
Pro Tips
- Choose matte or satin fabrics to keep the finish soft and modern.
- Vary ball sizes for a refined, architectural display.
- Group with a slim, neutral tray or pedestal to create a quiet vignette.
Who will love it: design lovers who adore kinetic, sculptural decor with minimal color. Great on a shelf or floating shelf display.
5. 3D Layered Wall Calendar
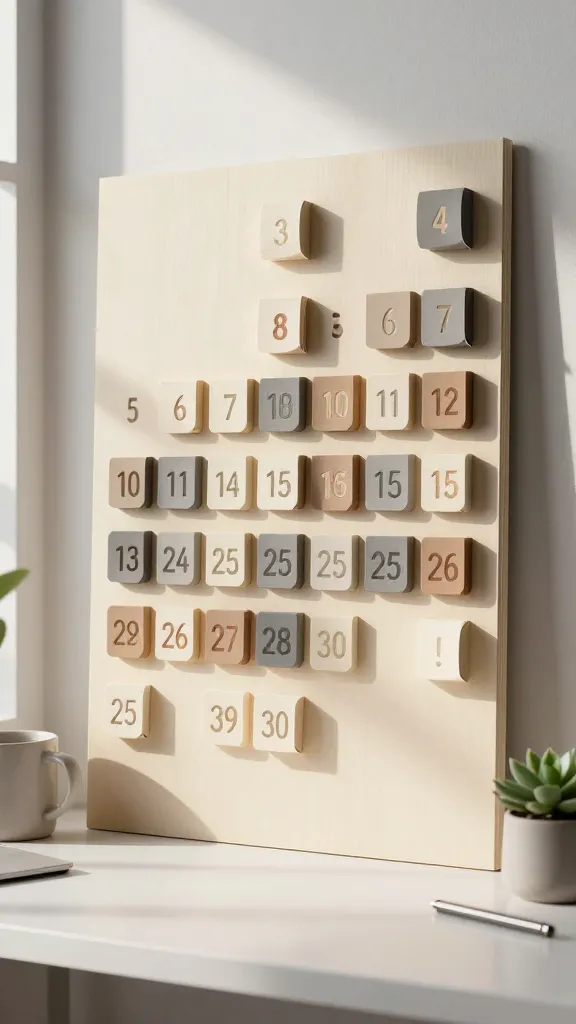
A calendar that’s not flat—three-dimensional numbers and soft shadows that shift with the light. It’s a functional piece that doubles as a modern art statement, perfect for desks or mudrooms.
Materials
- Thick poster board or lightweight wood for backing
- Colored numbers or letter tiles (neutral tones)
- Foam spacers or rolled cardboard for depth
- Adhesive
- Hanging hardware
How to Make It
- Place numbers as a grid, with each number elevated on a different depth to cast subtle shadows.
- Secure spacers behind each numeral for a gentle 3D effect.
- Add a minimalist month label at the top and hang where you’ll see it daily.
Pro Tips
- Use matte neutral tones to maintain a calm, year-round look.
- Keep the overall size compact so it fits on most desks or entryway walls.
- Optional: add a thin, clear acrylic sheet to protect the numbers without blocking depth.
Who will love it: organizers who crave a tasteful way to track time. It’s both practical and pretty enough to leave on display year-round.
6. Minimalist 3D Woven Wall Panel
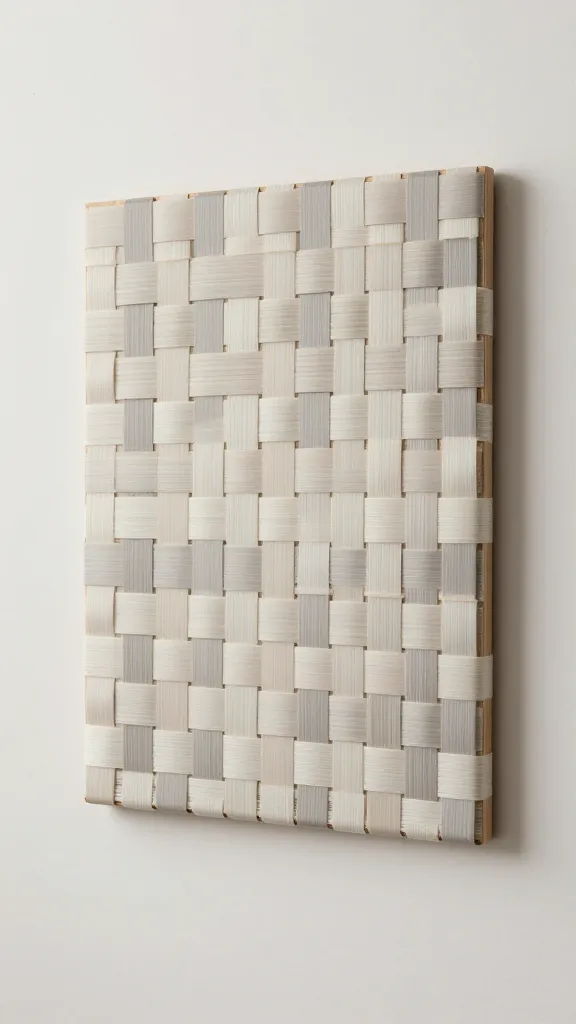
Think a knit-like texture created with lightweight 3D woven strips arranged in a grid. It’s tactile, striking, and surprisingly simple to assemble, delivering major texture with a minimalist palette.
Materials
- Thin fabric strips or paper-like ribbons
- Cardboard or thin wood panel backing
- Hot glue, double-sided tape
- Ruler and craft knife
How to Make It
- Cut fabric strips into uniform lengths. Create a weaving pattern by layering strips at 90-degree angles, gluing as you go to keep tension.
- Work in a grid, leaving small gaps to emphasize the 3D effect from the overlaps.
- Mount on the backing with a slim frame or leave as a standalone panel for a floating look.
Pro Tips
- Sticking to a restrained color family makes the texture do the talking.
- Try a gradient from light to dark across the panel for depth.
- Place near a light source to highlight the dimensional shadows.
Who will love it: texture enthusiasts and anyone decorating a modern, cozy living room or hallway. It’s a statement without shouting.
7. 3D Concrete Letter Set with Soft Edges
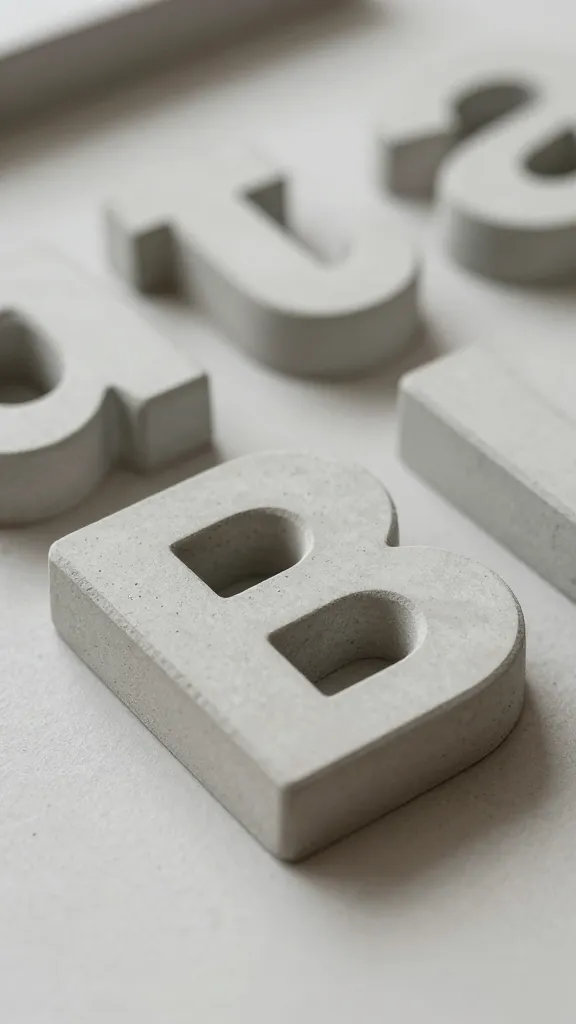
Concrete gets a gentle makeover with rounded edges and soft, matte finishes. The 3D letters sit like minimal sculpture, offering a bold yet understated personalization for a desk, shelf, or mantel.
Materials
- Concrete mix or pre-made concrete letter forms
- Fine sand for texture, optional
- Brush or sponge for finishing
- Sealant (matte)
How to Make It
- Pour into letter molds and tap out air bubbles. Let cure fully according to package instructions.
- Sand edges softly once set for a friendlier silhouette.
- Seal for a timeless, tactile finish.
Pro Tips
- Use a neutral gray or pale blush for a modern, versatile look.
- Group with other geometric shapes for a curated display.
- Place on a slim pedestal to elevate the sculpture.
Who will love it: fans of bold typography with a refined, hotel-lobby vibe. A chic focal point on a console or shelf.
8. 3D Sliced Wood Gradient Coasters
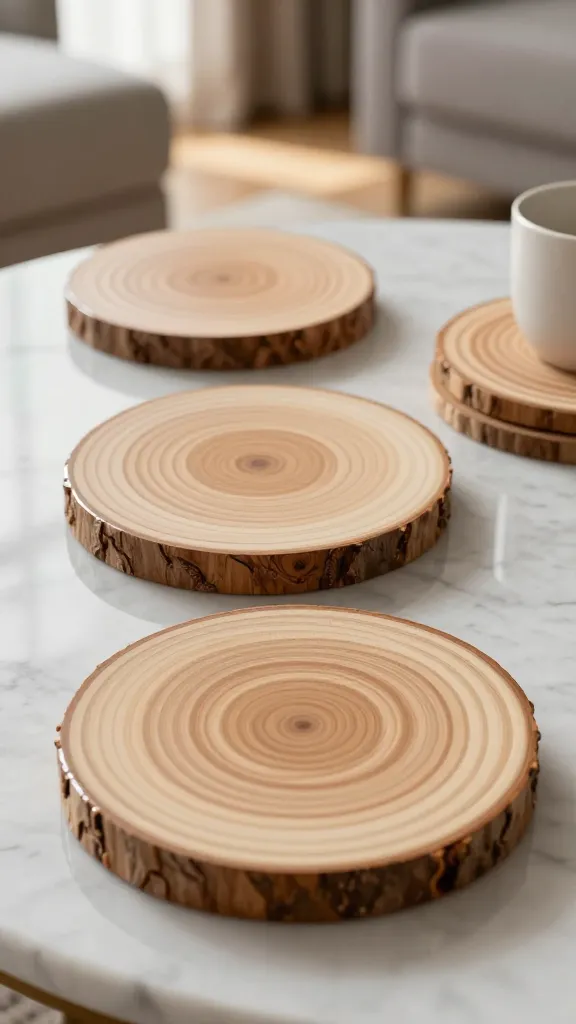
Coasters that are more sculpture than accessory, sliced into thin, layered wooden discs that reveal a subtle gradient of grain. They’re practical, tactile, and endlessly photo-worthy on a coffee table.
Materials
- Thin wood slices or veneers
- Wood stain or natural oils in a light gradient
- Clear sealant
- Adhesive felt pads
How to Make It
- Sand slices smooth, then apply a light stain or oil to create a soft gradient from edge to center.
- Seal to protect the wood and reduce watermarking from cups.
- Attach felt pads to the bottom to prevent table scratches.
Pro Tips
- Keep the color palette neutral—think soft beiges, warm grays, or ash tones.
- Vary thickness slightly for a more organic, 3D look.
- Arrange in a shallow dish or on a tray for a cohesive table styling moment.
Who will love it: hosts and design-minded folks who want everyday objects that feel elevated. Perfect for living rooms, dining tables, or stylish desks.
9. 3D Origami Flower Wall Panel
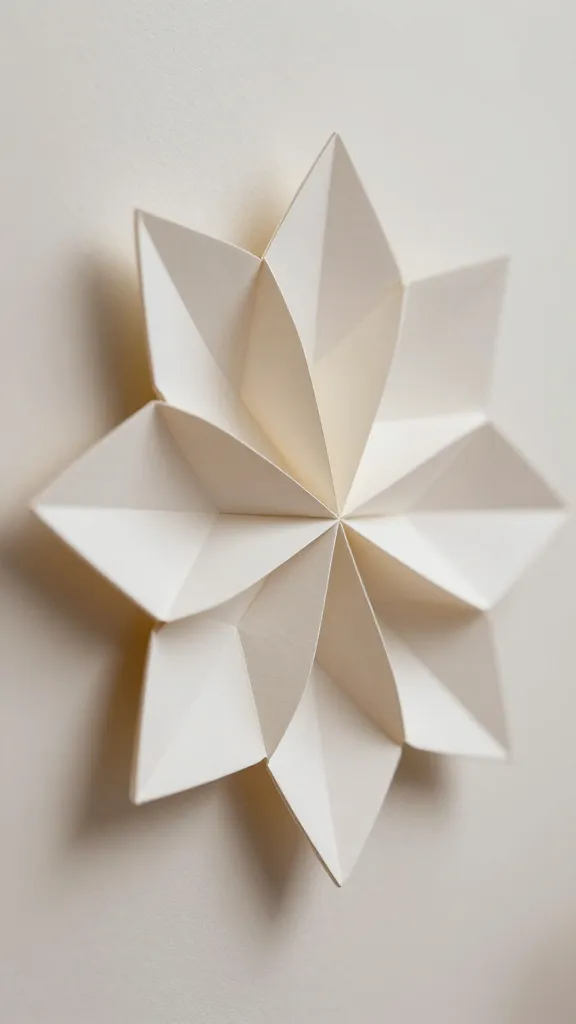
A minimalist take on origami that builds petals in layered panels to create a soft, floral silhouette—no color chaos required. It’s a calming, architectural bloom for walls that crave a whisper of nature.
Materials
- Thick, sturdy paper or light-weight card stock
- Backing board or canvas
- Adhesive or double-sided tape
- Ruler and craft knife
How to Make It
- Fold multiple identical petals or leaf shapes using a simple origami pattern.
- Layer petals in a radial or cascading arrangement on the backing board to form a 3D flower panel.
- Hang with a single nail or adhesive hook, ensuring the panel sits flat against the wall.
Pro Tips
- Choose a single muted color to keep the look serene and modern.
- Consider a small bouquet of four or five panels for a larger statement wall.
- Place where natural light creates soft shadows across the petals.
Who will love it: nature lovers and modernists who enjoy organic shapes in a clean, architectural form. Works beautifully in bedrooms or above a sofa chase.
Conclusion
Ready to transform your space with 9 completely unique, modern minimalist 3D crafts? Pick one that fits your vibe, or start with a couple to build a cohesive, tactile world at home. These projects are approachable, flexible, and designed to pin, save, and actually try. Have fun, and trust me—the tiny details make the biggest impact.