11 Eco Friendly 3d Craft Ideas with Recyclables: Creative Upcycling
1. Multilayer Cardboard Cityscape Wall Art
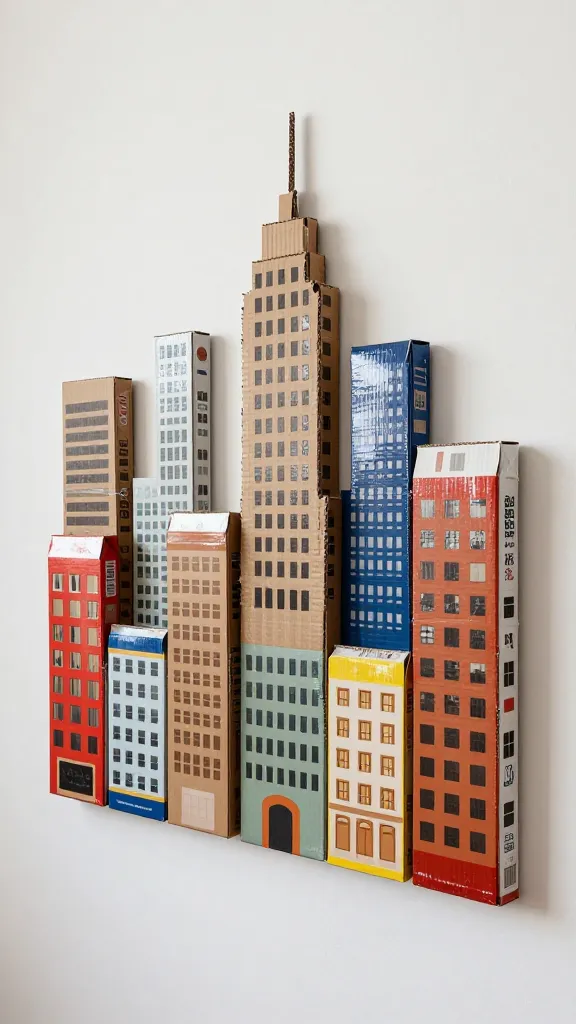
Imagine a tiny, vibrant city blooming on your wall — a 3D collage built from everyday recyclables. This piece feels playful, architectural, and totally shareable on your feed.
Finished look: stacked cardboard buildings of varying heights, painted pops of color, and hidden textures that catch the light. It’s bold, clean, and budget-friendly.
Materials
- Cardboard sheets (flattened cereal boxes work perfectly)
- Acrylic paints in bright and neutral tones
- Masking tape and a sharp craft knife
- Mod podge or clear-drying glue
- Double-stick mounting strips
How to Make It
- Cut several rectangles and squares in different sizes to form buildings and blocks.
- Score shallow lines to create windows and doors, then paint in layers to add depth.
- Glue buildings in staggered layers onto a sturdy backing board, then seal with a gloss or matte finish.
- Mount on the wall with strips, arranging so some pieces slightly overlap for that 3D vibe.
Pro Tips / Styling Ideas
- Keep a cohesive color palette (two to three colors) for a polished look.
- Add tiny terracotta pots or bottle-cap streetlights for whimsy.
- Change the color accents with seasons to refresh the piece.
Who’s going to love this? Architecture lovers, wall-art enthusiasts, and anyone who wants a bold statement piece with zero waste.
2. Upcycled Bottle Cap Mosaic Tray
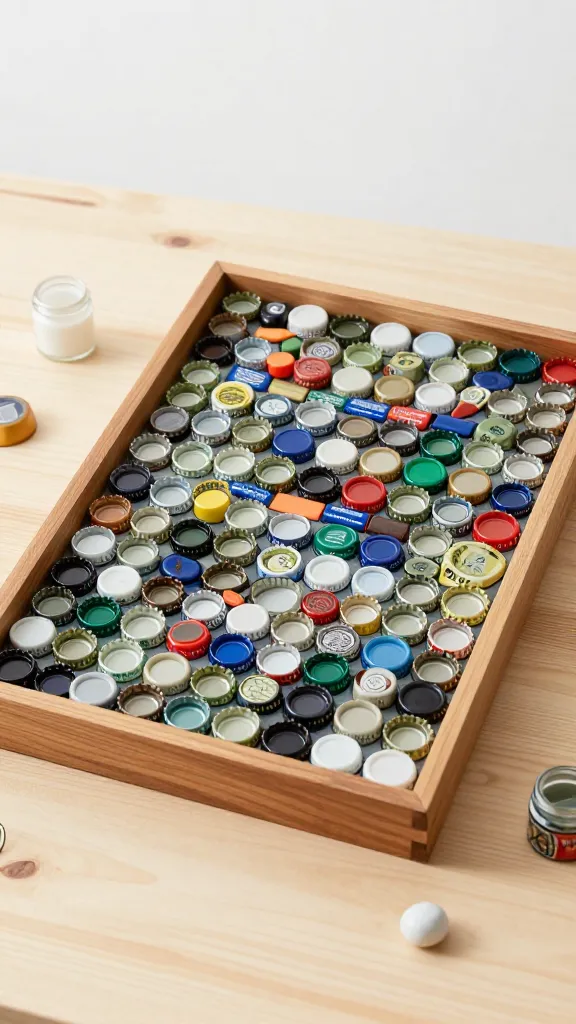
Turn an old tray into a shimmering, tactile mosaic using discarded bottle caps. It’s like tiny colorful puzzle pieces coming to life — seriously satisfying to make and even better to gift.
The finished tray has lush texture, a pop of color, and a surprisingly sturdy base that’s perfect for keys, jewelry, or sentimental bits.
Materials
- Old tray or shallow wooden frame
- Assorted bottle caps in coordinating colors
- Strong craft glue or hot glue
- Grout or thick acrylic gel (optional for a seamless look)
- Sealant spray or clear resin (for protection)
How to Make It
- Arrange bottle caps into a pattern you love on the tray, then glue them down piece by piece.
- Optionally fill gaps with grout for a mosaic-like finish, wiping excess as you go.
- Seal with a spray or resin to protect from spills and wear.
Pro Tips / Styling Ideas
- Coordinate colors with your room palette—think sunset tones or ocean blues.
- Use it as a catchall on entry tables or as a decorative serving tray for guests.
- If you don’t want grout, go tight-packed and glossy for a modern look.
A perfect match for upcycle fans and anyone who loves a little sparkle in their daily routine.
3. Driftwood and Wire Wall Mobile
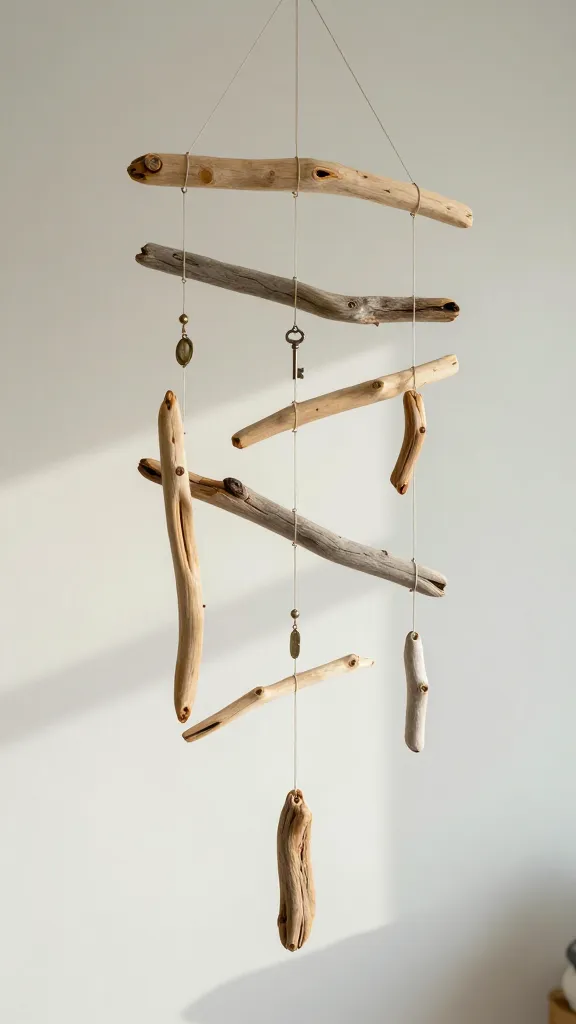
Reclaim driftwood bits and salvaged wires to craft a graceful, hanging sculpture that rustles softly with air movement. It’s organic, serene, and incredibly calming to gaze at.
Finished piece feels coastal, bohemian, and handmade with a refined edge. It’s the kind of piece that invites compliments and tangibly reduces clutter with its eye-catching presence.
Materials
- Driftwood, small branches, or reclaimed wood scraps
- Thin craft wire or jewelry wire
- Old keys, charms, or metal washers for accents
- Beads or shells (optional)
- Strong fishing line or leather cord for hanging
How to Make It
- Drill or twist a tiny hole in driftwood pieces to thread wire through.
- String various lengths of wire with small found objects, balancing weight and distance for movement.
- Attach all strands to a central anchor piece or a cut disc of reclaimed wood.
Pro Tips / Styling Ideas
- Hang near a sunny window where light can catch the metals and beads.
- Keep colors natural and metallic for an elegant, airy vibe.
Who would adore this? Fans of natural textures, minimalist decorators, and anyone craving a kinetic, nature-inspired piece.
4. Recycled Magazine Coil Lampshade
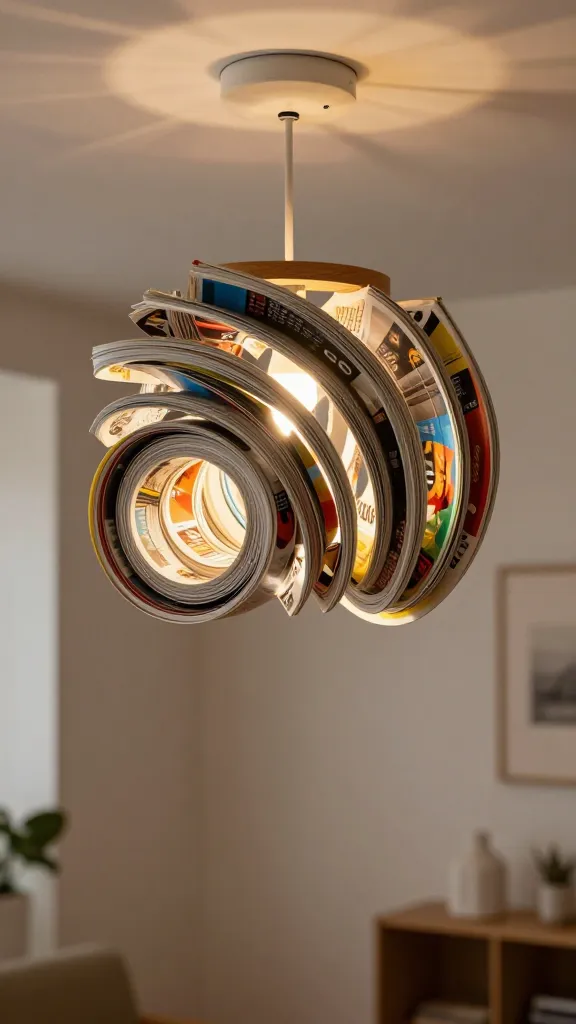
Roll up old magazines into tight coils to craft a chic, sculptural lampshade. When lit, this 3D lamp glows with color and texture, turning any room into a cozy, artful nook.
The result feels high-end and editorial, yet it’s delightfully doable with simple tools and paper stock you’d otherwise recycle.
Materials
- Old magazines or colorful catalogs
- Cardboard for the shade frame
- Glue gun or strong craft glue
- Lamp kit (socket, cord, and bulb)
- Clear tape or masking tape
How to Make It
- Cut magazine pages into long strips; roll them tightly into coils of various diameters.
- Layer coils on a cardboard shade form, gluing securely as you go.
- Attach the finished shade to a simple lamp kit and install a bulb.
Pro Tips / Styling Ideas
- Choose a unifying color scheme (neutrals with a burst of color) for a cohesive look.
- Pair with a mid-century lamp base for extra chic vibes.
Who should try this? Crafty color lovers and anyone who wants a warm, ambient glow without breaking the bank.
5. Upcycled Tin Can Planters With Facial Texture
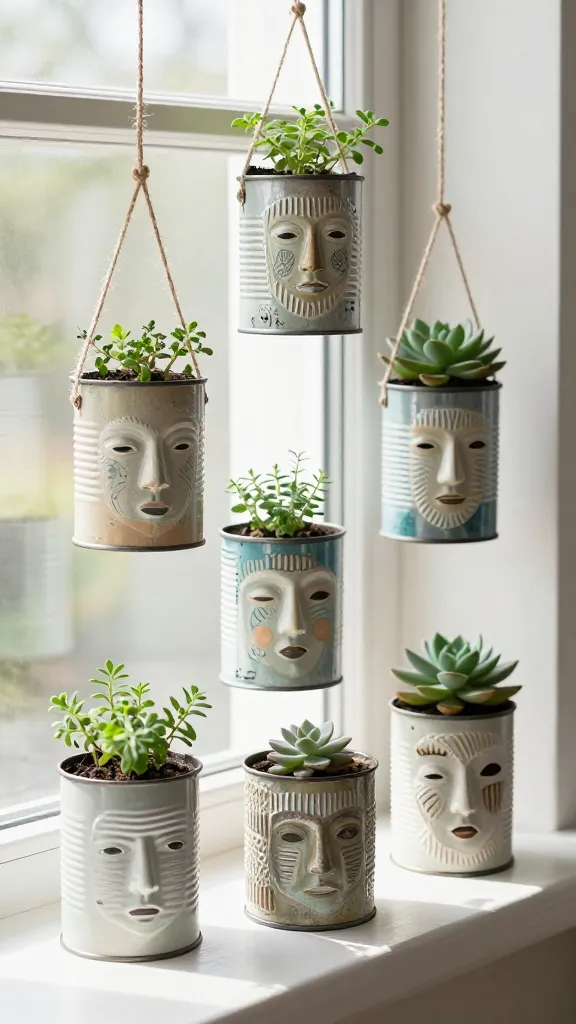
Brighten windowsills with sturdy, 3D tin can planters that hold tiny herbs or succulents. The raised texture and painted patterns turn ordinary cans into little modern sculptures.
Finished planters feel industrial-chic, making your greens pop with personality. They’re practical, drought-tolerant, and surprisingly cheerful.
Materials
- Spent tin cans (cleaned and dried)
- Acrylic paints and brushes
- Sandpaper or nail file for texture
- Twine or ribbon for handles (optional)
- Potting soil and small plants or herbs
How to Make It
- Sand the cans lightly for a smooth painting surface.
- Paint with multiple layers to build color and texture; add raised patterns with stencils or by pressing on rough textures.
- Seal with a clear coat to protect paint from soil and water.
- Fill with soil and plant your greens, then place on a sunny sill.
Pro Tips / Styling Ideas
- Use coordinating colors (terra cotta, teal, and white look gorgeous together).
- Hang a few as a trio for a dramatic look on a kitchen wall.
Who loves this? Garden lovers, urban greenery enthusiasts, and anyone who enjoys compact, stylish planters.
6. Plastic Bottle Pendant Snowflakes
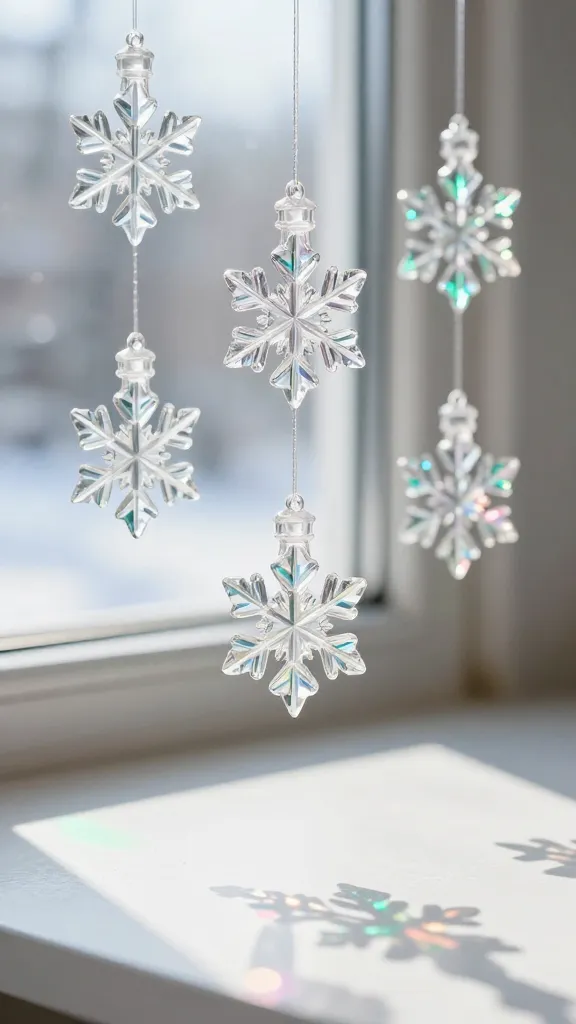
Turn plastic bottles into sparkling snowflake charms that hang above a table or window. They’re whimsical, wintery, and surprisingly easy to assemble, trust me.
Finish is luminous with light streaming through, creating a playful prism of color during daytime and a cozy glow at night.
Materials
- Plastic bottles (clear or colored)
- Scissors and exacto knife
- String or fishing line
- Acrylic paint or glitter paint (optional)
- Hole punch or drill for small holes
How to Make It
- Cut bottle sections into snowflake-like shapes and punch holes at corners.
- Decorate with paint or glitter if desired, then thread with string for hanging.
- Hang in a sunlit corner or near a lamp to catch the light.
Pro Tips / Styling Ideas
- Create a cluster at varying heights for a magical cascade.
- Pair with frosted white and icy blues for a winter wonderland vibe.
This craft is a hit for winter decor enthusiasts and anyone who loves a little sparkle from repurposed plastic.
7. Cardboard Tube Bird Feeder Sculpture
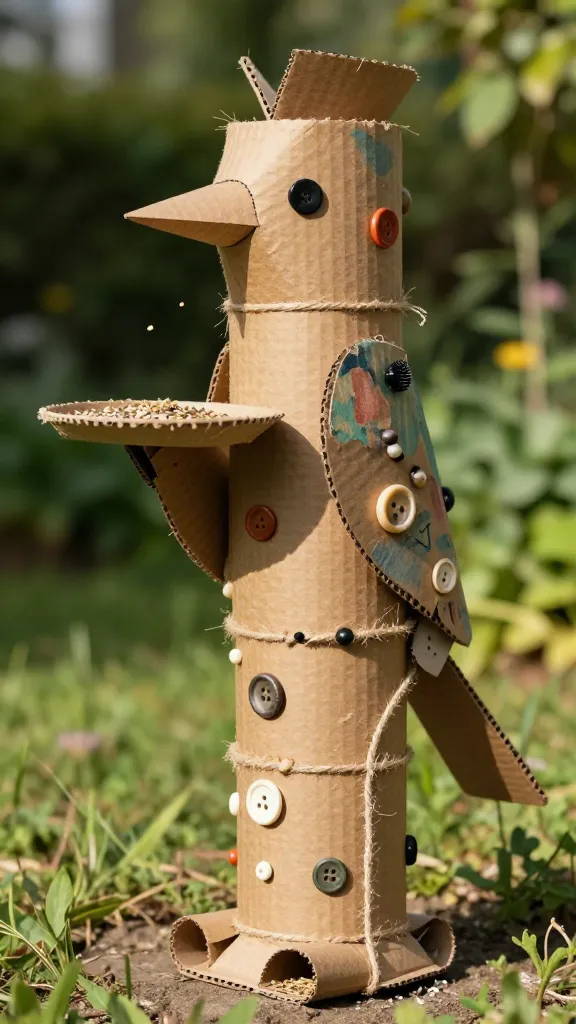
Repurpose cardboard tubes into a friendly 3D bird feeder sculpture that doubles as garden art. It’s a playful, practical project that birds (and you) will adore.
The result is a kinetic, textured sculpture that doubles as a feeding station, blending art with function in your outdoor space.
Materials
- Cardboard tubes (kitchen towel tubes work well)
- Natural twine or jute
- Hot glue gun and craft glue
- Paints and small decorative items (buttons, beads)
- Birdseed and a small dish attachment (optional)
How to Make It
- Assemble tubes into stacked shapes, securing with glue to form branches and levels.
- Paint and decorate, then attach a tiny dish or seed holder at the base.
- Hang in a tree or on a porch where birds can visit safely.
Pro Tips / Styling Ideas
- Keep the color palette earthy to blend with nature.
- Rotate the sculpture’s position seasonally for fresh garden art.
Who’d love this? Outdoor lovers, bird watchers, and anyone who wants to bring a touch of whimsy to their yard.
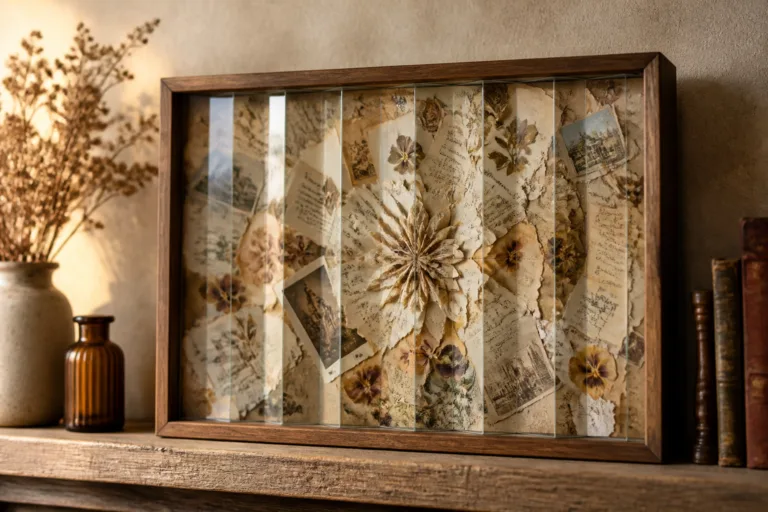
8. Reclaimed Fabric Patchwork Wall Tuck-In
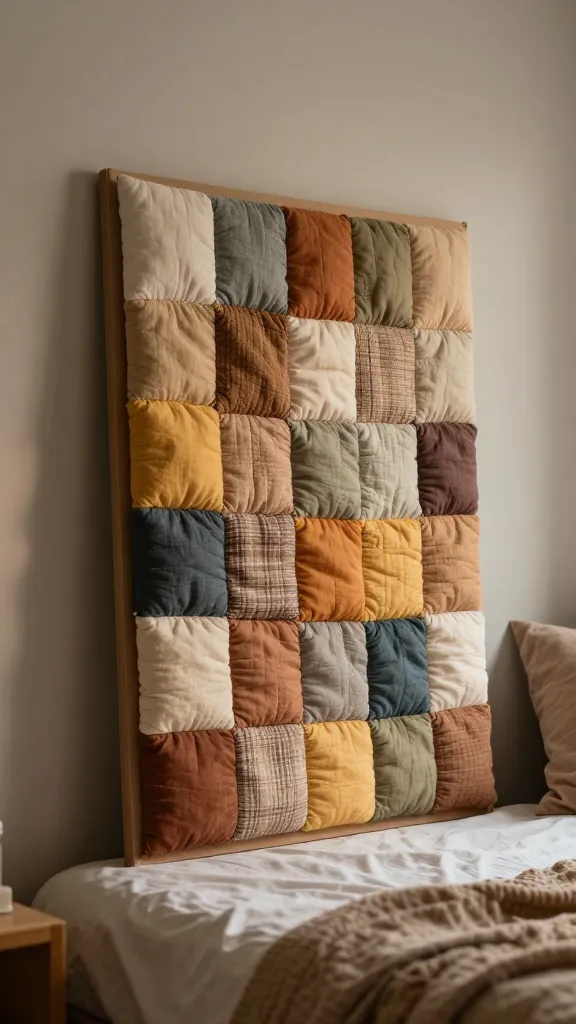
Slice up scrap fabrics and stitch a small 3D patchwork panel that tucks into a frame. This textile-centered piece is cozy, tactile, and endlessly customizable.
Finish feels warm, tactile, and intimate — perfect for a reading nook or above a bed for that soft, lived-in vibe.
Materials
- Scrap fabrics in a few complementary colors
- Cardboard backing or a small canvas
- Needle and thread or a sewing machine
- Glue for non-sew elements, scissors, ruler
- Frame to mount (optional)
How to Make It
- Cut fabric squares or shapes and layer them in a rising, 3D puff pattern using small stitches or glue dots.
- Attach to the backing in a grid, alternating textures for depth.
- Frame or mount as a standalone panel against a wall.
Pro Tips / Styling Ideas
- Choose a serene palette of three to four tones for a cohesive look.
- Place over a desk, sofa, or entryway to add warmth and personality.
Who will love this idea? Fabric crafters, boho lovers, and anyone who wants a tactile piece of art with a homemade touch.
9. Upcycled Denim String Art
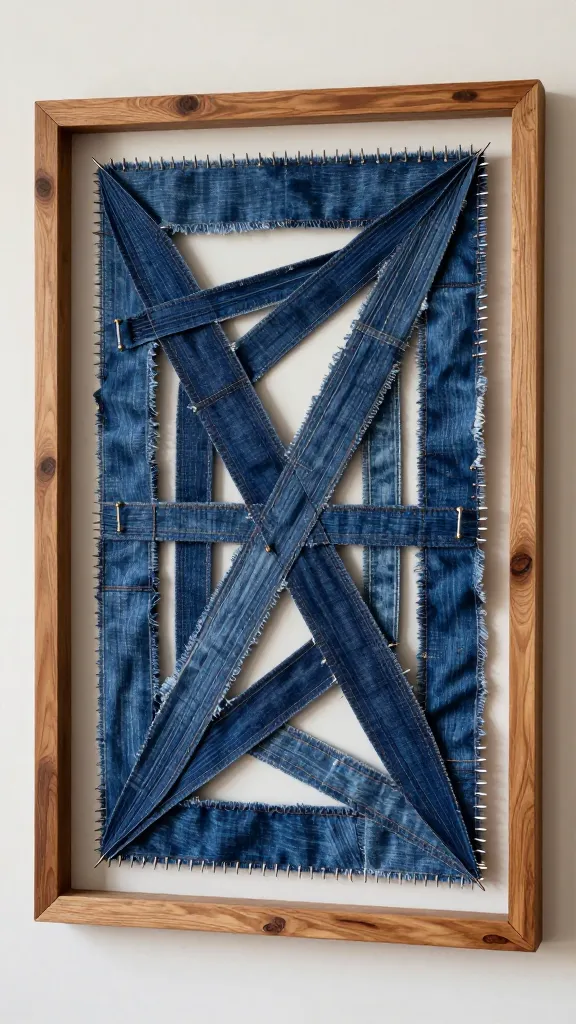
Stretch old denim into a bold string art pattern for a chic, textural focal point. It’s a 3D play on yarn art with a rugged, trendy edge.
Finish looks artisanal and bold, with the deep blue hues giving any wall depth and character.
Materials
- Old denim fabric scraps
- Wooden frame or plywood backing
- Nails or pins and sturdy string or twine
- Paint or stain for the frame
How to Make It
- Sketch a simple shape or letter on the backing, then hammer nails along the outline.
- Fill the center with crisscrossing strings to build a 3D depth effect.
- Finish the frame with paint or stain to complement the denim tones.
Pro Tips / Styling Ideas
- Choose a single bold letter or geometric shape for impact.
- Pair with brass accents and a neutral wall for a modern gallery vibe.
Who should try this? Denim lovers, graphic art fans, and anyone who loves tactile wall pieces with a touch of rugged charm.
10. Cardboard Lanterns With Layered Silhouettes
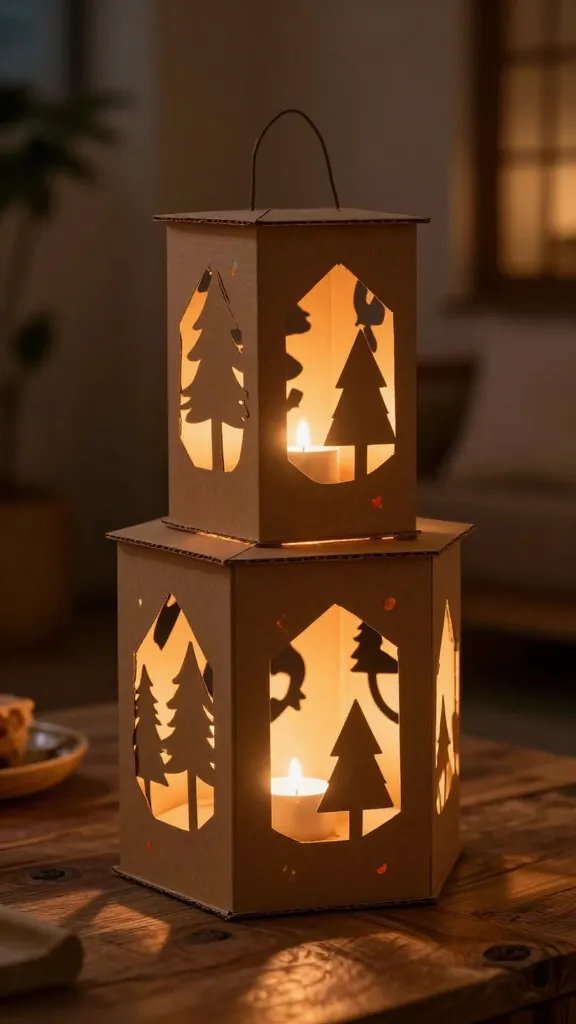
Craft three-dimensional lanterns by layering cut cardboard silhouettes and adding a tealight inside. The glow peeking through creates a soft, cozy ambiance that’s perfect for evenings.
Finish is cozy, sculptural, and surprisingly luminous, offering a warm focal point for any room or patio corner.
Materials
- Cardboard sheets
- Craft knife and scoring tool
- Decorative paper or tissue for color
- Tealight or LED candle
- Glue, tape, and rulers
How to Make It
- Cut two or three silhouettes (like trees or geometric shapes) from cardboard.
- Glue silhouettes in stepped layers to create depth, forming a lantern shape.
- Cover with decorative paper, then place a tealight inside to cast shadows.
Pro Tips / Styling Ideas
- Use warm amber tones for a cozy glow; arrange in a row for a dramatic table centerpiece.
- Humidity-friendly for indoor use only unless you use LED candles.
Who’s who? Night-in enthusiasts, table-scape lovers, and anyone who enjoys ambient, DIY lighting.
11. Reusable Wooden Spoon Stamps Garden Markers
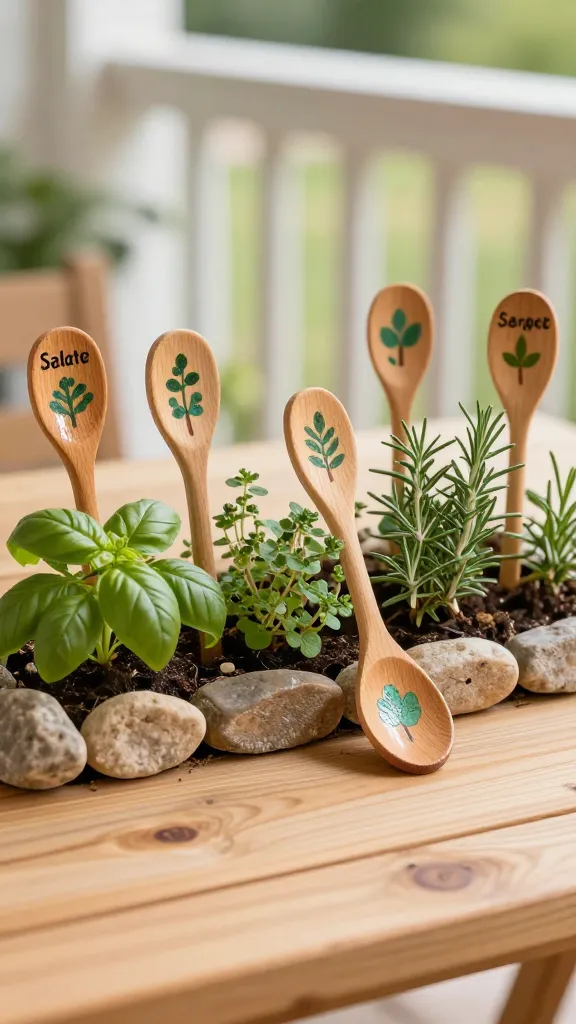
Save wood spoons from the bin and turn them into cute, 3D garden markers. They’re whimsical, practical, and add a hand-painted touch to your balcony or yard beds.
The finished markers feel charmingly rustic and totally collectible for your herb garden lineup.
Materials
- Wooden spoons
- Acrylic paints or markers
- Permanent clear sealant
- Drain holes or small pebbles for stability (optional)
How to Make It
- Paint the handle of each spoon with the plant name or a pictorial symbol.
- Seal to protect from moisture, then insert into soil with the painted end visible.
Pro Tips / Styling Ideas
- Group markers by color families for a cohesive garden aesthetic.
- Use in planters, raised beds, or balcony pots to keep herbs organized and accessible.
Who would love this? Garden lovers, upcycle enthusiasts, and anyone who wants a small, cheerful outdoor project.
Conclusion
These 11 eco friendly 3d craft ideas with recyclables prove that creativity can flourish with everyday scraps. Grab your favorite materials, dive in, and trust me — you’ll have a blast making something beautiful, useful, and planet-friendly. Pick one, or go all out and try each one—your home will thank you, and your craft stash will thank you even more.