11 Budget 3d Craft Ideas Under $10 You’Ll Love
Welcome, makers! If you’re hunting for wow-worthy crafts that won’t break the bank, you’re in the right spot. These 11 budget 3d craft ideas under $10 prove you can create Pinterest-perfect pieces with everyday materials. Ready to get crafty and save some cash? Let’s dive in!
1. Mini Floral 3D Wall Panel From Cardboard Rings
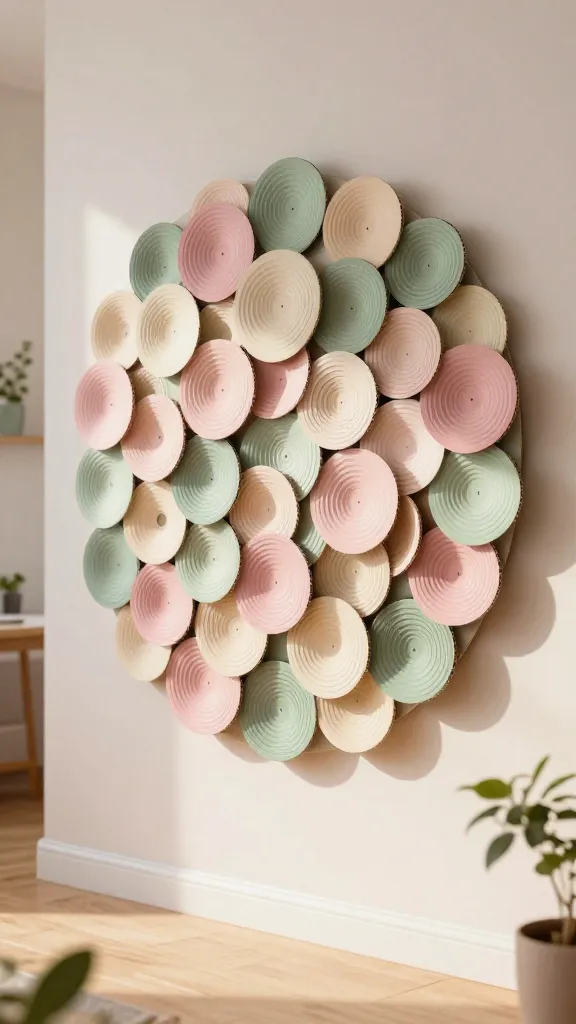
Imagine a sunny wall come alive with a garden of tiny cardboard blooms. This 3D panel adds texture and whimsy without expensive materials. The secret is layering circular cutouts into petals and mounting them as a living photo backdrop—trust me, it’s delightfully lush.
Materials Needed
- Corrugated cardboard scraps
- Compression spray adhesive or hot glue
- Craft paint and brushes
- Scissors or a craft knife
- Pillow-backed mounting nails or adhesive strips
How to Make It
- Cut dozens of cardboard rings in varying sizes.
- Paint them in soft pastels or bold hues—your call.
- Layer shapes into petals, arranging clusters in a grid on the wall panel.
- Secure with glue, then mount on a thrifted wooden board or canvas.
Pro Tips / Styling Ideas
- Use a monochrome palette with pops of metallic for a chic look.
- Hang near a window to catch natural light and create shadows that dance on the wall.
Who will love it: anyone craving botanical texture without real plants. Perfect for living rooms, bedrooms, or hallway accents.
2. DIY 3D Paper Cube Garden Centerpiece
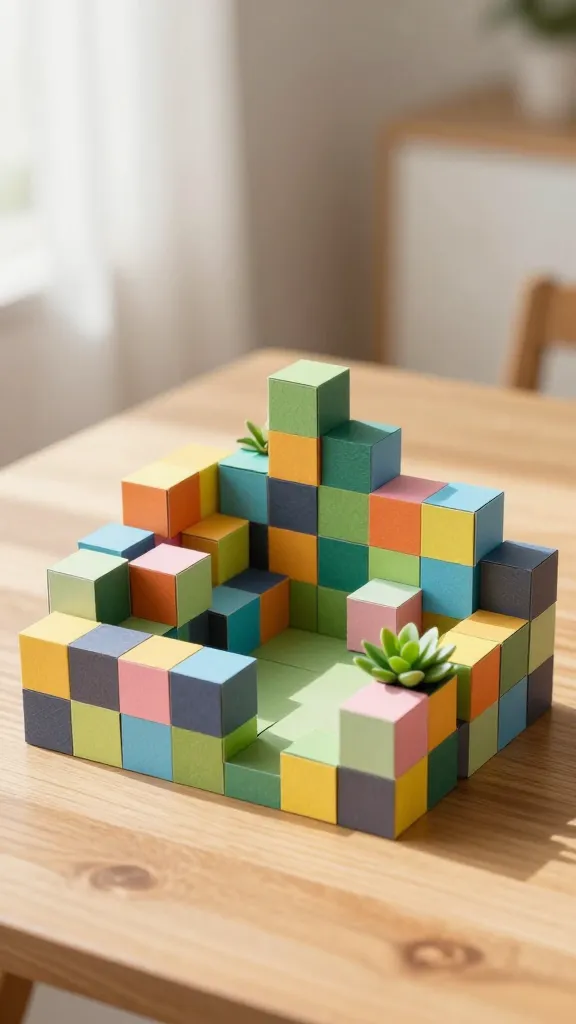
Picture a table centerpiece that looks like a tiny, tidy garden—crafted entirely from paper cubes stacked into a lush three-dimensional scene. It’s playful, surprisingly sturdy, and endlessly customizable.
Materials Needed
- Colored cardstock or scrapbook paper
- Scissors or a paper cutter
- Ruler and pencil
- Double-sided tape or glue
- Optional: mini faux succulents for accents
How to Make It
- Cut 3-inch squares from your paper. You’ll need a lot, so prep ahead.
- Fold and glue to create hollow cubes with open faces.
- Stack cubes to form a garden tower, adding paper plants and flowers inside.
Pro Tips / Styling Ideas
- Use gradient greens for the “plants” to add depth.
- Place on a tray with small candles for a cozy centerpiece.
Who will love it: desk lovers, tea-time table decor, or gift-worthy little green thumbs.
3. Upcycled Tin Can Lanterns With 3D Cutouts
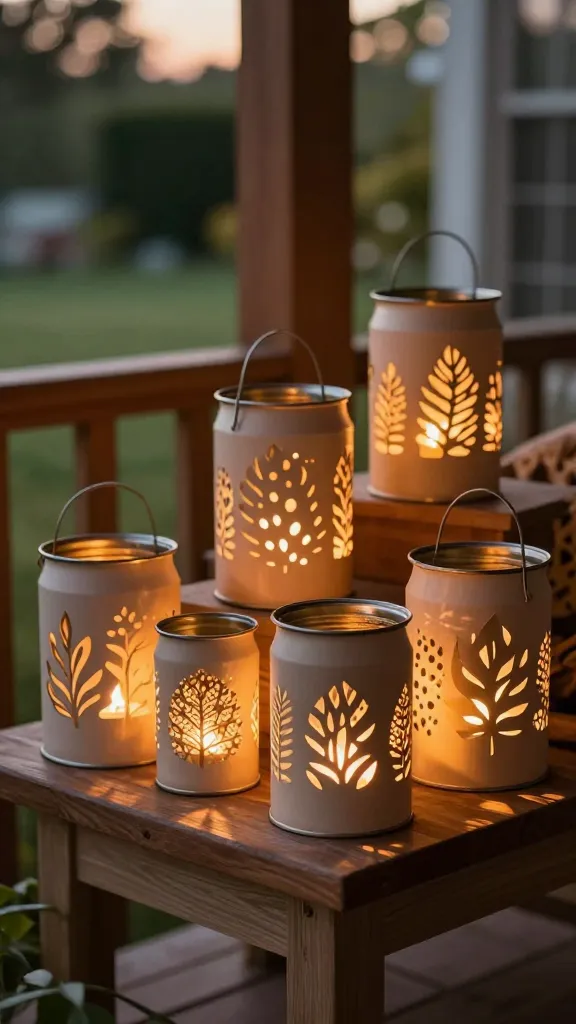
Turn humble tin cans into warm, lantern-style art you can group on a porch or mantel. The 3D cutouts cast gorgeous shadows when lit—romantic, eco-friendly, and seriously satisfying to make.
Materials Needed
- Empty aluminum cans (rinsed and dried)
- Tin snips or a precision cutter
- Acrylic paint and brush
- Tea lights or LED tealights
- Paint pens for detailing
How to Make It
- Trace and cut 3D leaf or geometric shapes into the can sides, leaving tabs to bend outward.
- Bend tabs to create a raised, textural pattern.
- Paint in complementary colors and seal with a clear finish.
Pro Tips / Styling Ideas
- Group several cans at different heights for drama.
- Line a windowsill or outdoor table for magical night vibes.
Who will love it: shoppers who adore ambient lighting and DIY-friendly upcycling.
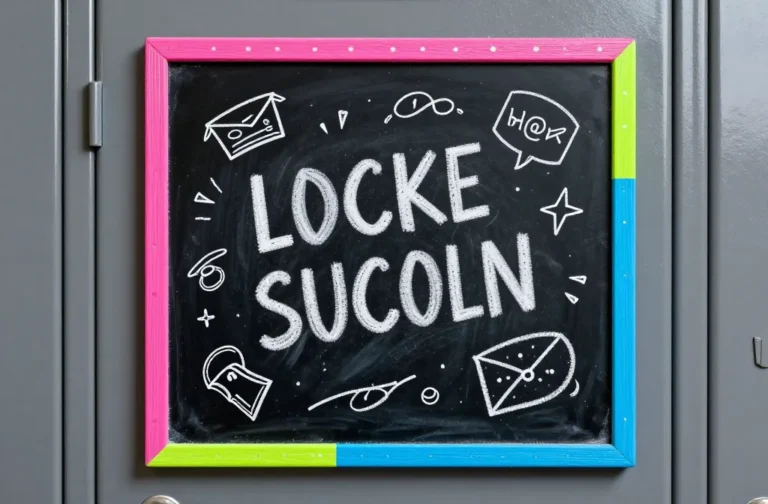
4. 3D Felt Letter Wall Art With Layered Elements
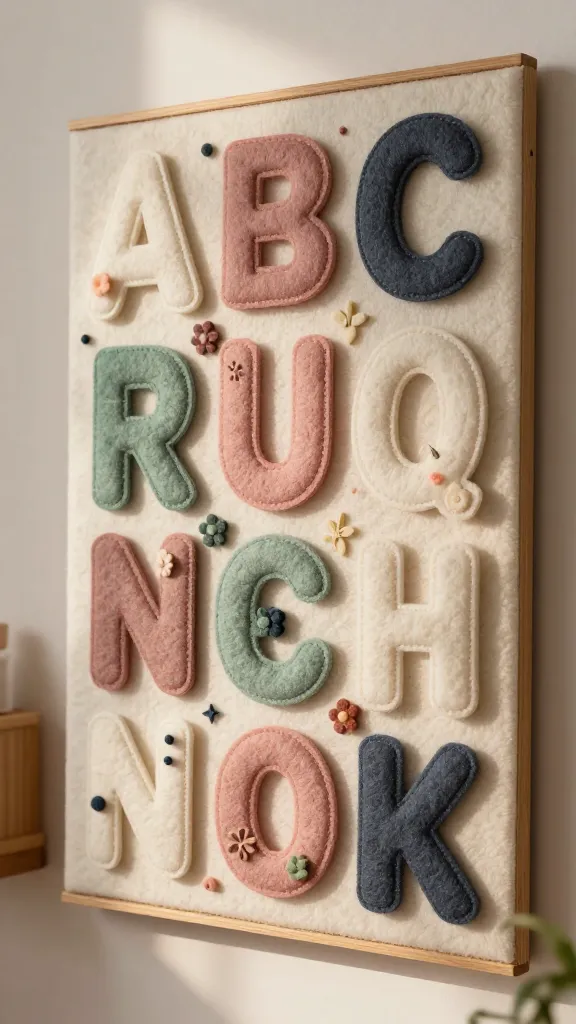
Spell out a motto or name with soft, tactile depth. This 3D felt letter piece uses layered letters and tiny embellishments to build a cozy, dimensional wall statement.
Materials Needed
- Felt sheets in chosen colors
- Wooden mounting board or thick cardboard
- Hot glue gun and glue sticks
- Thick embroidery threads or yarn
- Scissors and ruler
How to Make It
- Cut out large, bold letters from felt and then cut smaller pieces to layer for dimension.
- Arrange on the board in a stencil-style layout and glue down.
- Add stitched details around edges for extra texture.
Pro Tips / Styling Ideas
- Choose a neutral base and pop with a contrasting hue for letters.
- Hang above a sofa or entryway to greet guests with personality.
Who will love it: typography lovers, nursery decor enthusiasts, or anyone who wants a soft, handcrafted vibe.
5. 3D Feather Mobile From Wood Shaving Beads
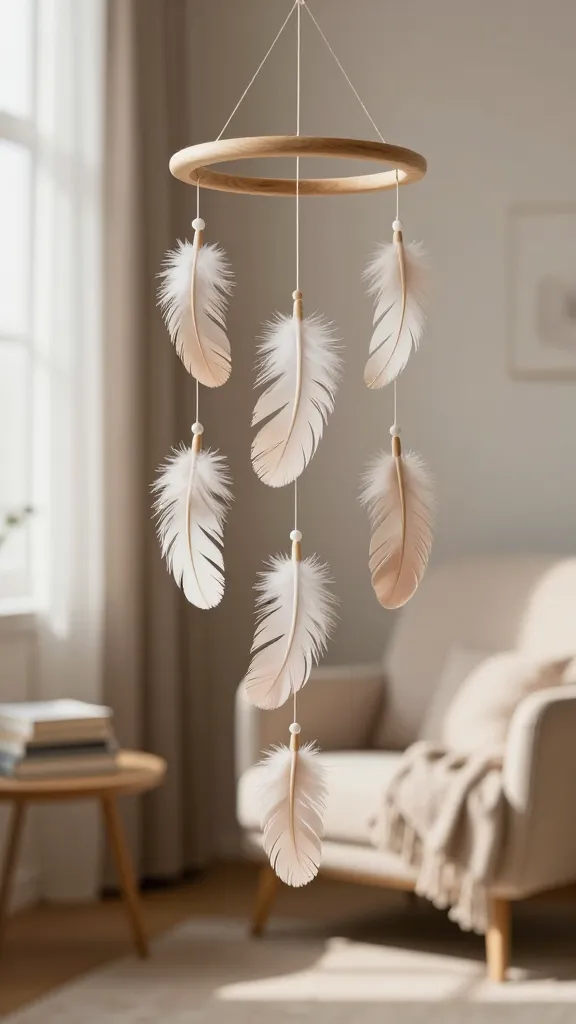
Layered feather shapes float in a delicate mobile you can hang over a reading nook or crib. It’s airy, elegant, and incredibly inexpensive if you scavenge wood shavings and inexpensive beads.
Materials Needed
- Small wooden skewers or thin dowels
- Wood beads or painted popsicle sticks
- Feather-shaped templates or cutouts
- String or twine
- Hot glue or craft glue
How to Make It
- Assemble feather shapes by layering cutouts onto dowels with glue.
- Stack and space beads between layers for a dreamy cascade.
- String the pieces at varying heights and attach to a circular hanger.
Pro Tips / Styling Ideas
- Choose soft, muted tones for a calming vibe, or go metallic for a modern twist.
- Hang near a window so breeze sets the feathers in gentle movement.
Who will love it: anyone who adores light, kinetic decor and nature-inspired vibes.
6. 3D Cardboard Statue Figurines With Painted Texture
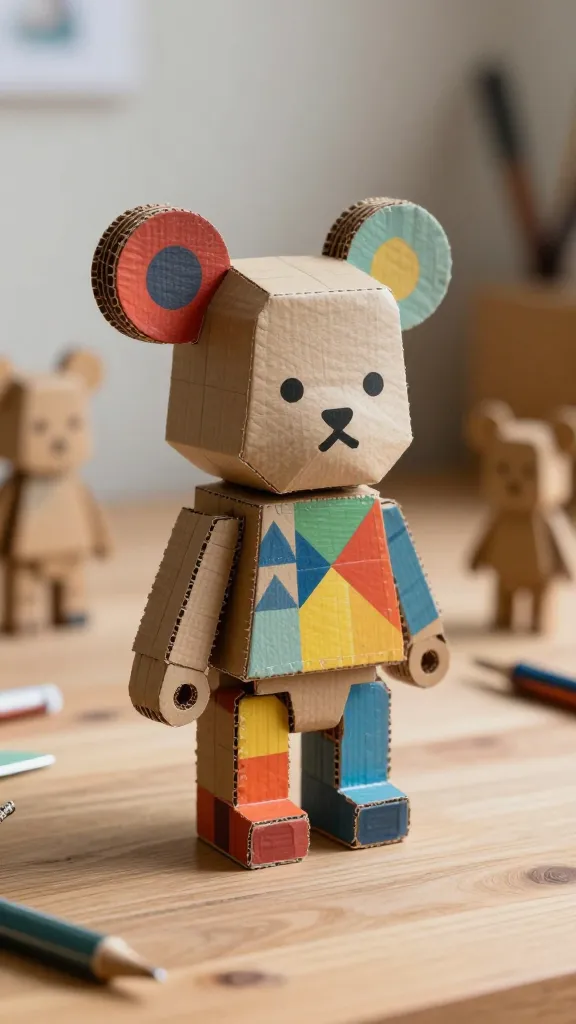
Turn cardboard into tiny 3D sculptures by stacking and painting textured layers. These figures are playful, customizable, and perfect for desk decor or quirky shelf candy.
Materials Needed
- Cardboard scraps
- Acrylic paints, brushes
- Scissors or craft knife
- Glue or hot glue
How to Make It
- Cut multiple shapes in varying sizes from cardboard.
- Glue in a stepped stack to create a 3D form.
- Paint with bold patterns and highlights to bring character to life.
Pro Tips / Styling Ideas
- Create a tiny family of figures for a playful vignette.
- Display on a shelf with small plants and books for scale.
Who will love it: budget-conscious crafters who crave characterful desk or shelf art.
7. 3D Geometric Concrete Resin Coasters (Budget-Friendly)
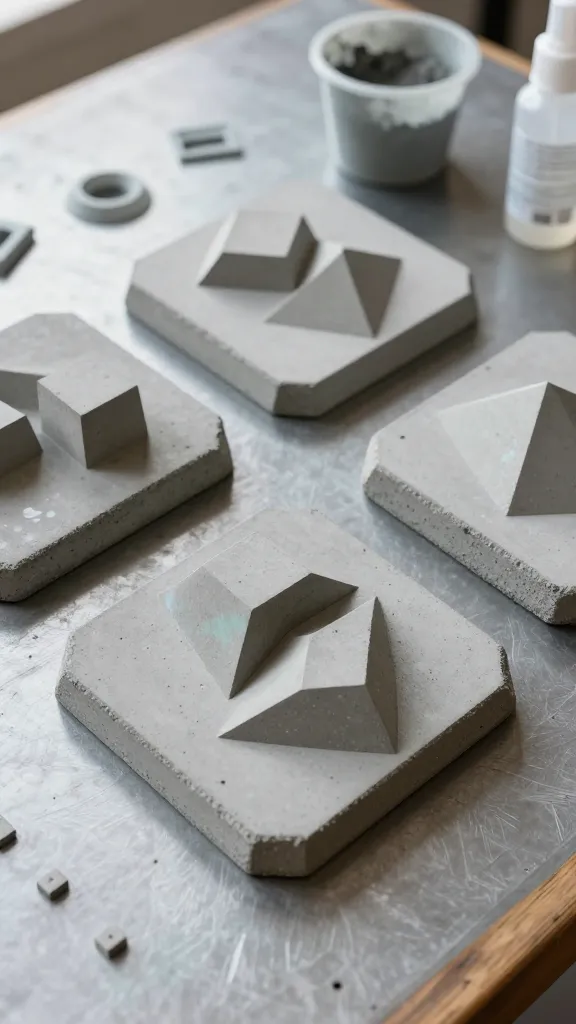
Concrete coasters with 3D geometric accents offer a chic, industrial touch. They’re sturdy, functional, and surprisingly easy to make with tiny molds and a little resin magic.
Materials Needed
- Small silicone mold set
- Hydraulic cement or simple concrete mix
- Color pigment powders (optional)
- Sealant spray or resin (if using)
How to Make It
- Mix concrete, add color if desired, and pour into molds.
- Leave to cure, then pop out and layer geometric shapes or pressed bits for texture.
- Seal to keep surfaces water-resistant.
Pro Tips / Styling Ideas
- Pair with a matching tray and a small plant for a cohesive coffee table scene.
- Use metallic pigments for a luxe edge.
Who will love it: fans of modern, minimalist, tactile home accents.
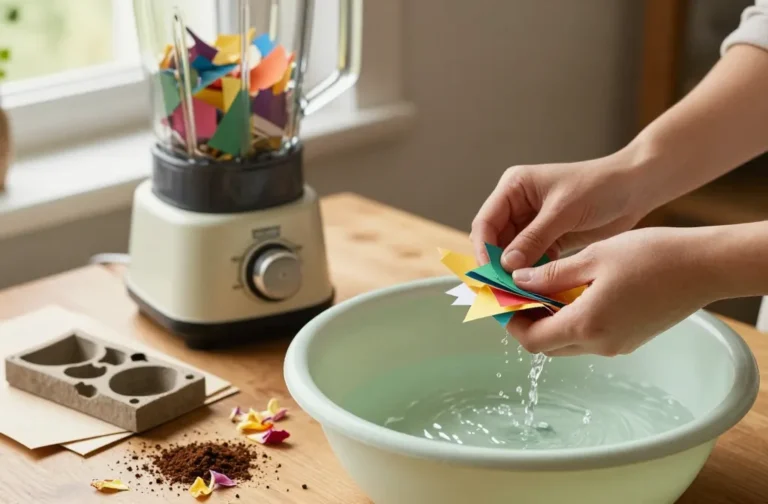
8. 3D Origami Wall Bowls Made From Magazine Pages
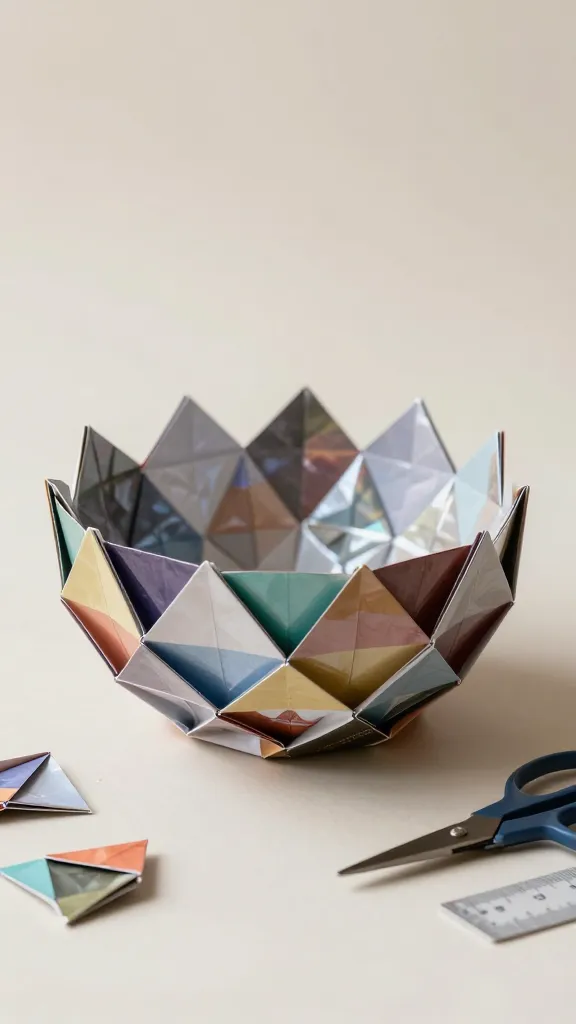
Turn glossy pages into sculptural, papery bowls that shine in any light. These 3D origami forms are conversation starters and a brilliant way to recycle print into art.
Materials Needed
- Old magazines or colorful paper
- Clear-drying glue or Mod Podge
- Balloon or egg carton form for shaping
- Scissors and ruler
How to Make It
- Cut pages into square units and fold into three-dimensional units (modules).
- Glue modules together around a balloon form to form a bowl shape.
- Peel away the form once the glue dries; finish with a light coat of glue to seal edges.
Pro Tips / Styling Ideas
- Use high-contrast pages for striking patterns.
- Hang in a cluster for a gallery-like effect.
Who will love it: magazine lovers and upcycling fans who crave sculptural, airy drama.
9. 3D Paper Sugar Skull Wall Art
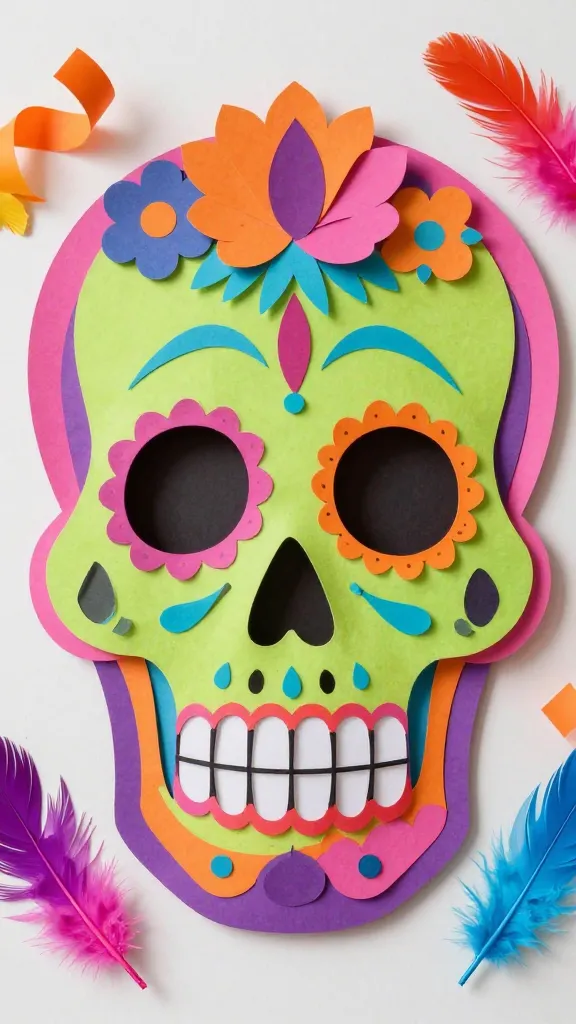
Celebrate color, culture, and cut-paper craft with a vibrant 3D sugar skull. Layered colors and raised features make it a festive staple for fall or Day of the Dead decor.
Materials Needed
- Colorful craft paper or cardstock
- Adhesive foam or double-sided tape
- Pencil and scissors
- Black marker for facial details
How to Make It
- Cut multiple skull shapes in different colors and sizes.
- Layer to build depth, adding small cutouts for eye sockets, noses, and teeth details.
- Outline features with a bold black marker for definition.
Pro Tips / Styling Ideas
- Pair with bright tassels or sparkly accents for a party vibe.
- Mount on a contrasting background to make colors pop.
Who will love it: festival enthusiasts, Halloween lovers, and anyone drawn to bold color work.
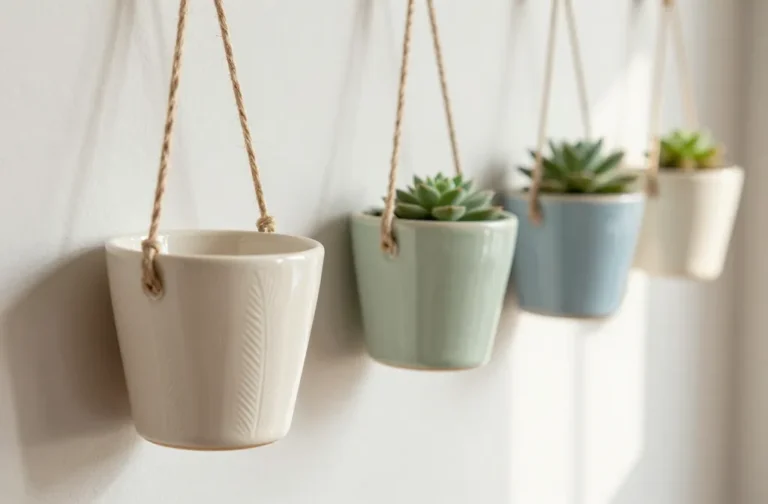
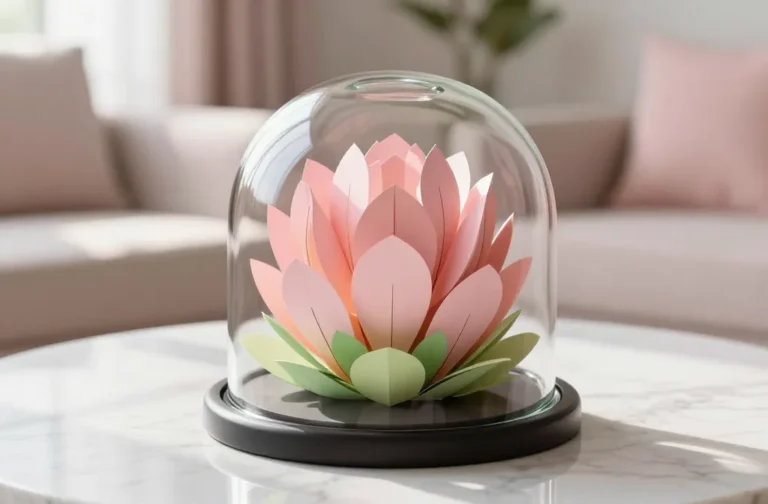
10. 3D Felt Succulent Garden in a Shadow Box
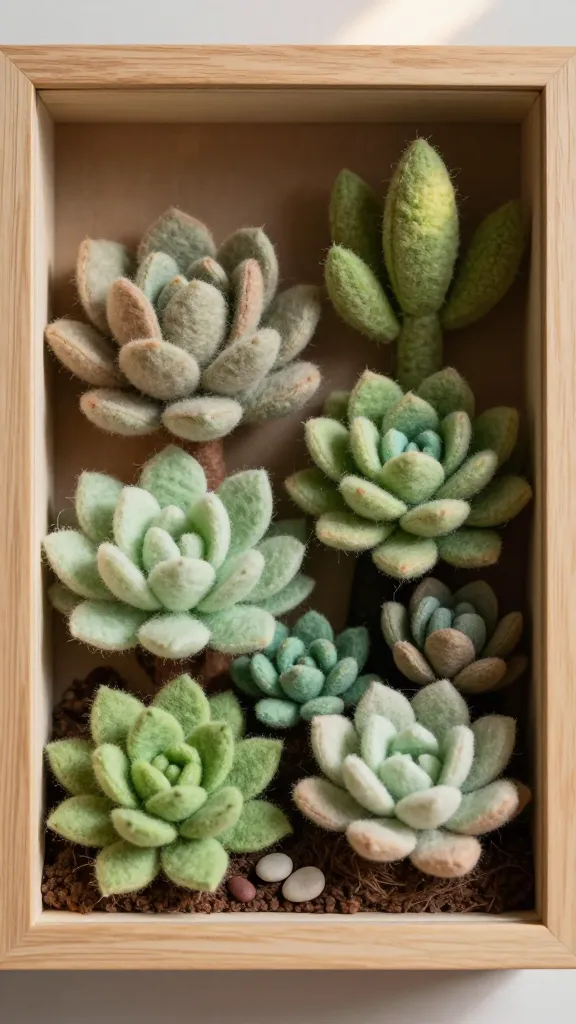
Create a tiny, curated succulent garden using layered felt cutouts. The result is a lush, tactile display you can hang or stand on a shelf—with zero watering required.
Materials Needed
- Assorted felt sheets in greens and neutrals
- Shadow box frame
- Thin foam or batting for depth
- Glue gun and glue sticks
How to Make It
- Cut various succulent shapes in different green tones and thicknesses.
- Glue to the backing at staggered depths to mimic a real garden bed.
- Fit into the shadow box and hang or display on a stand.
Pro Tips / Styling Ideas
- Add small beads or seeds as “pebbles” for texture.
- Mix with a tiny felt fence or garden tools for whimsy.
Who will love it: plant lovers and anyone wanting a maintenance-free green corner.
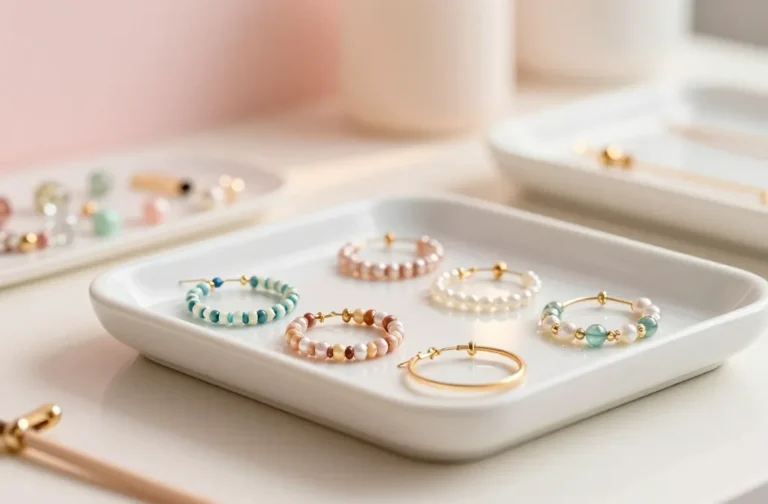
11. 3D Mosaic Tile Coasters With Recycled Glass Beads
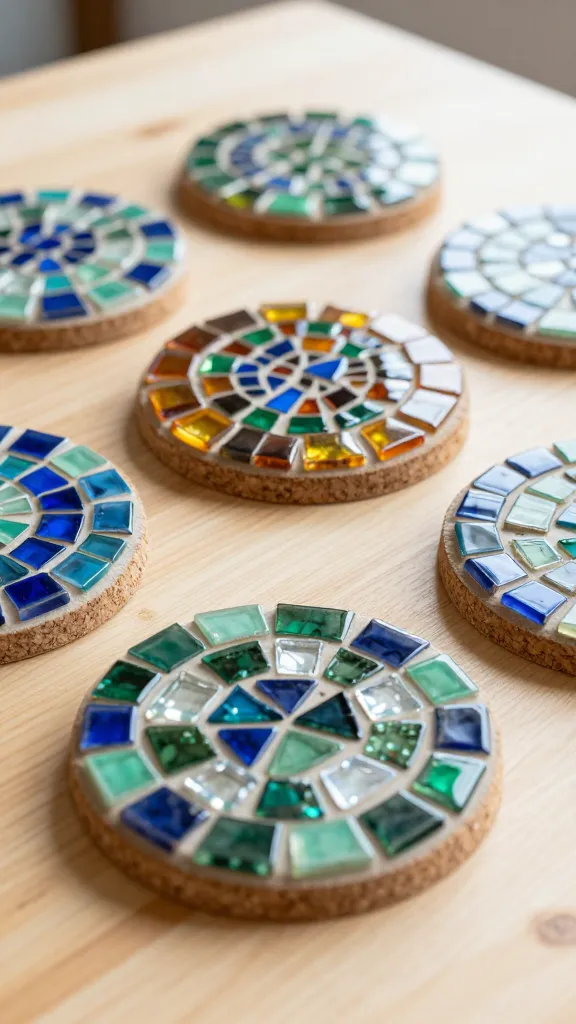
These mosaic tile coasters feel luxe yet keep costs down with budget-friendly, repurposed glass beads. A glossy finish and tactile surface make every sip feel special.
Materials Needed
- Plain ceramic or cork coaster bases
- Assorted glass beads or broken tiles
- Strong craft glue
- Sealant spray for protection
How to Make It
- Arrange beads or tile pieces on each coaster in a pattern you love.
- Glue securely and let dry completely.
- Seal with a clear protective spray to prevent moisture damage.
Pro Tips / Styling Ideas
- Use a unifying color palette to keep the look cohesive.
- Pair with a matching tray for a polished drink station.
Who will love it: hostesses, beverage lovers, and anyone who adores a little sparkle under their coffee cup.
Conclusion
There you have it—11 completely unique 3D craft ideas under $10 that mash up texture, color, and whimsy. Each project is approachable, budget-friendly, and designed to spark joy in your space. Which one will you try first? Gather a few scraps, trust your instincts, and start creating—your next favorite keepsake might be just a glue gun away.