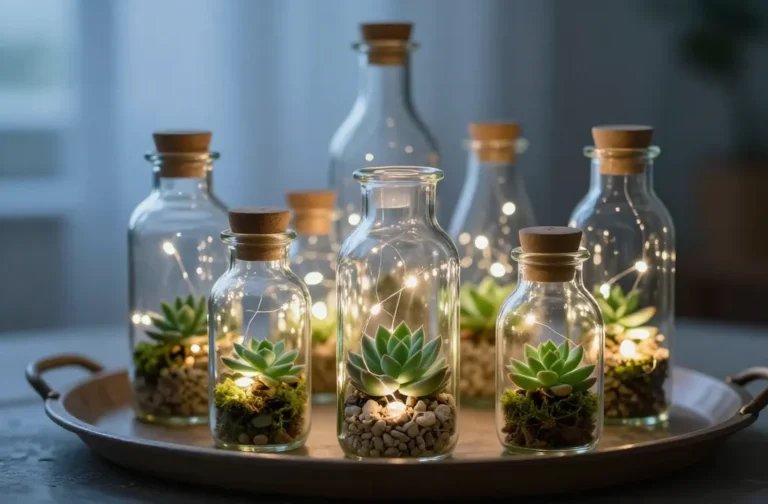
9 Aesthetic Kids Activities for Small Spaces (Apartment Friendly)
Ready to transform tiny square footage into big, dreamy play moments? These 9 DIY crafts are purposely apartment-friendly: no loud tools, no messy chaos, just stylish, kid-friendly projects you’ll both love. Trust me, these ideas turn drab corners into creative havens you’ll want to Instagram immediately.
1. Mini Wall-Tallet Studio: Magnetic Palette Art Board
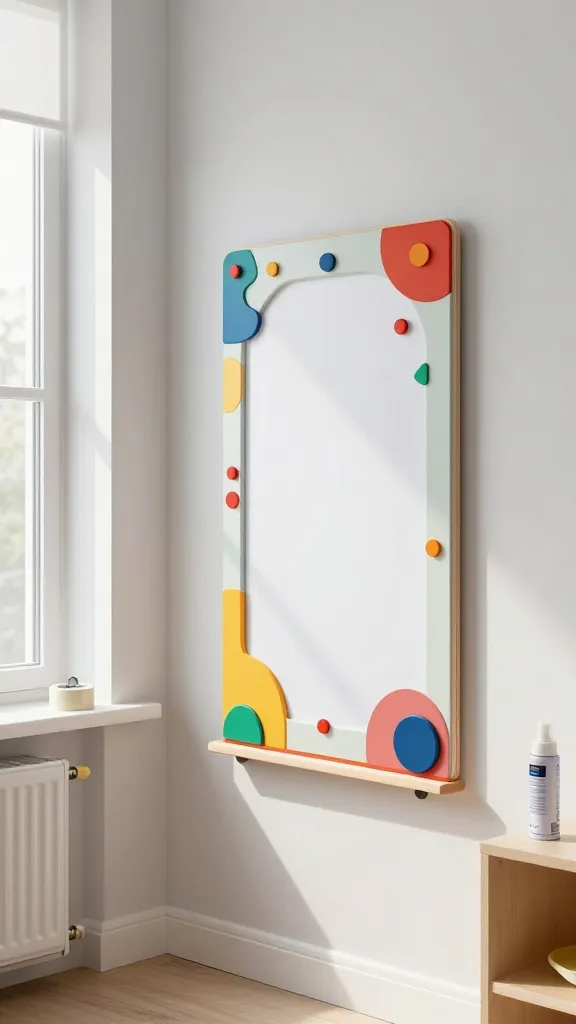
Picture a whimsically painted wall panel that doubles as a kid-friendly art studio. This compact magnetic art board brings color and order to a small space, with a playful, gallery-ready vibe.
- Materials Needed
- • Thin plywood panel (sonoma or craft board)
- • Magnetic primer and magnetic paint
- • Acrylic paints in bold hues
- • Small magnets, magnets shapes
- • Sturdy picture rail or washi tape trim
- Tools
- • Paintbrushes, roller, sander (optional)
- • Painter’s tape
- • Clear sealant spray
- Key Steps
- • Sand and prime the panel, lay down the magnetic primer, then paint with bright stripes or blocks.
- • Add a magnetic topcoat, cure, and pop in magnets for alphabet, shapes, and mini artworks.
- • Attach to wall with a removable mounting strip or a small easel stand on a shelf.
- Customization Ideas
- • Theme the palette: space, jungle, or ocean.
- • Add clip-on mini chalkboard sections for quick doodles.
Who will love it: budding artists, tiny apartment dwellers, and anyone who loves a tidy, visual art corner. It’s seriously a game-changer for shared spaces.
2. Cardboard City Playground: Sturdy Skyline Build
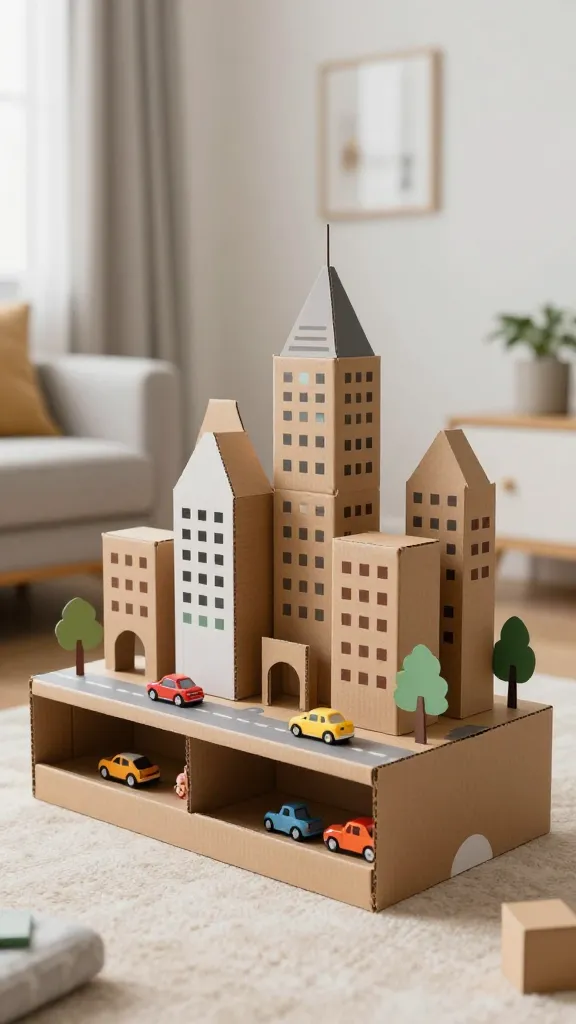
Imagine a multi-layer cardboard cityscape that doubles as a play surface and storage. It’s lightweight, stackable, and totally Instagrammable with painted windows and paper trees.
- Materials Needed
- • Large corrugated cardboard sheets
- • Acrylic paints, markers, decorative paper
- • Craft knife, scissors, glue, double-sided tape
- • Small toy cars, figurines, sticky-back felt for greenery
- Tools
- • Cutting mat, craft knife
- • Ruler, pencil
- Key Steps
- • Cut cardboard into city blocks and a base platform. Score folds for easy assembly.
- • Paint the skyline, add windows with marker lines, and collage paper trees and parks.
- • Attach the sections with tape or glue to create a multi-level playground that stores flat when not in use.
- Styling Ideas
- • Use pastel tones for a sweet vibe or bold primaries for a playful streetscene.
- • Add mini street signs and a pretend subway map on the base.
Who will love it: small-space gamers, pretend-play enthusiasts, and parents who want a quick-clean-up cardboard solution that lasts for weeks.
3. Origami Wall Garland: Paper Crane Banner
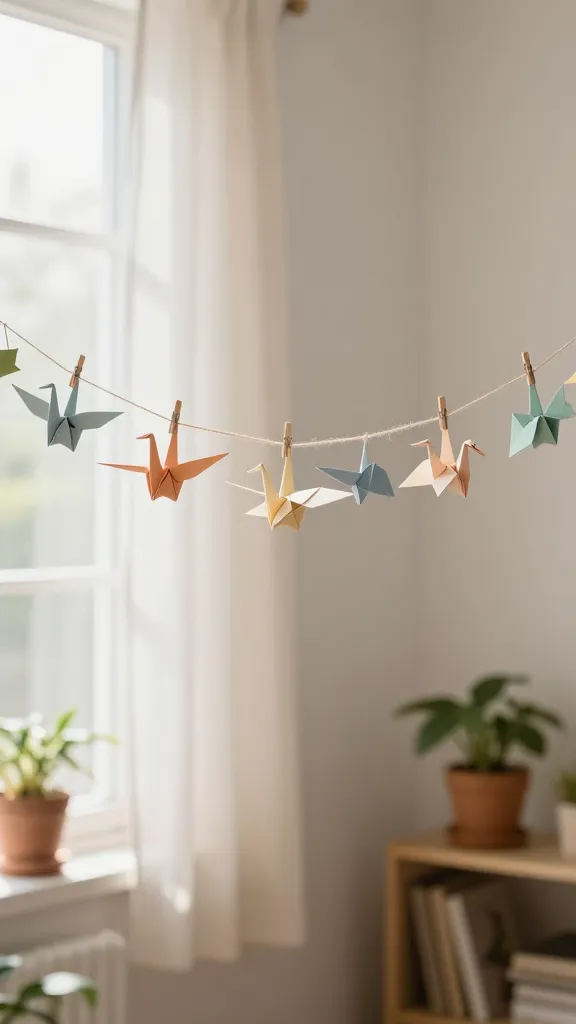
A light, airy garland that adds texture and color to a blank wall. Each crane flutter catches a breeze and brings a touch of whimsy to a cozy room.
- Materials Needed
- • Scrapbooking paper or origami paper
- • String or twine, mini clothespins or paper clips
- • Scissors, bias tape (optional for finishing ends)
- Tools
- • Bone folder or ruler for crisp folds
- Key Steps
- • Fold multiple origami cranes or simple paper shapes. Attach to string with clips.
- • Space pieces evenly and hang across a window frame or wall corner.
- Customization Ideas
- • Use seasonal colors for holidays or birthdays.
- • Interleave with mini photos or whimsical tags.
Who will love it: decor-obsessed kids and adults who adore gentle, tactile art. It’s a soft, fluttering focal point that doesn’t overwhelm a small space.
4. Chalkboard Pegboard Combo: Creative Corner Organizer
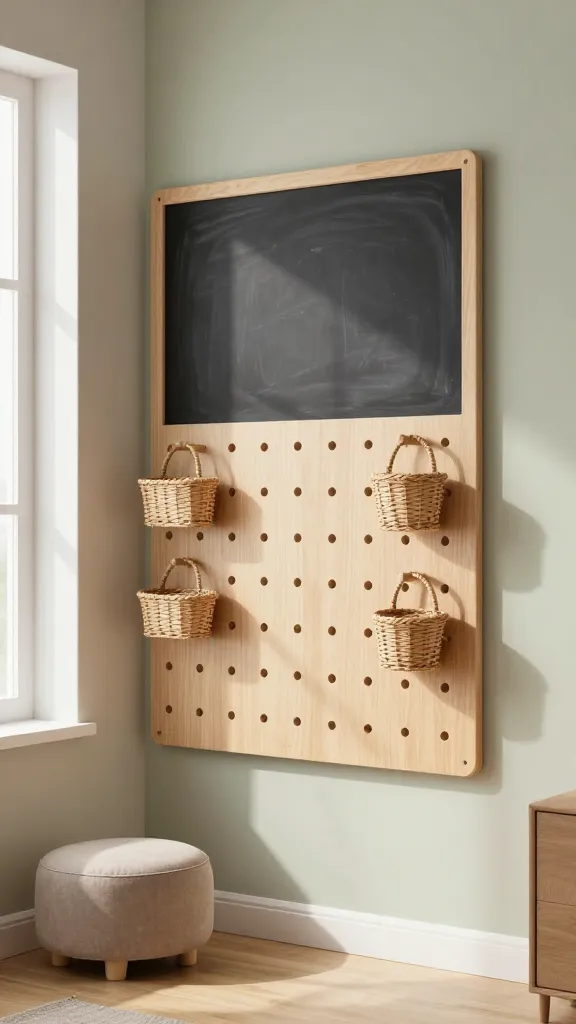
Turn a small wall into a stylish, functional art station with a painted chalkboard panel and a pegboard splash. It’s perfect for daily doodles, schedules, and easy storage.
- Materials Needed
- • Small pegboard sections
- • Chalkboard paint or chalkboard vinyl
- • Paint in muted tones, wooden pegs, and small baskets
- Tools
- • Level, drill or nails for mounting
- • Sandpaper and brushes
- Key Steps
- • Mount the pegboard as a backing; apply chalkboard paint to a panel for drawing and note-taking.
- • Add baskets for crayons, stickers, and mini toys. Personalize with doodles on the chalkboard section.
- Styling Ideas
- • Use a soft pastel palette or bold contrast for a modern vibe.
- • Add a small shelf with a plant and a lamp for cozy evenings.
Who will love it: kids who love schedules and rewards, and parents who want a tidy, stylish command center that doubles as decor.
5. Shadow Box Secret Garden: Mini Window Box Display
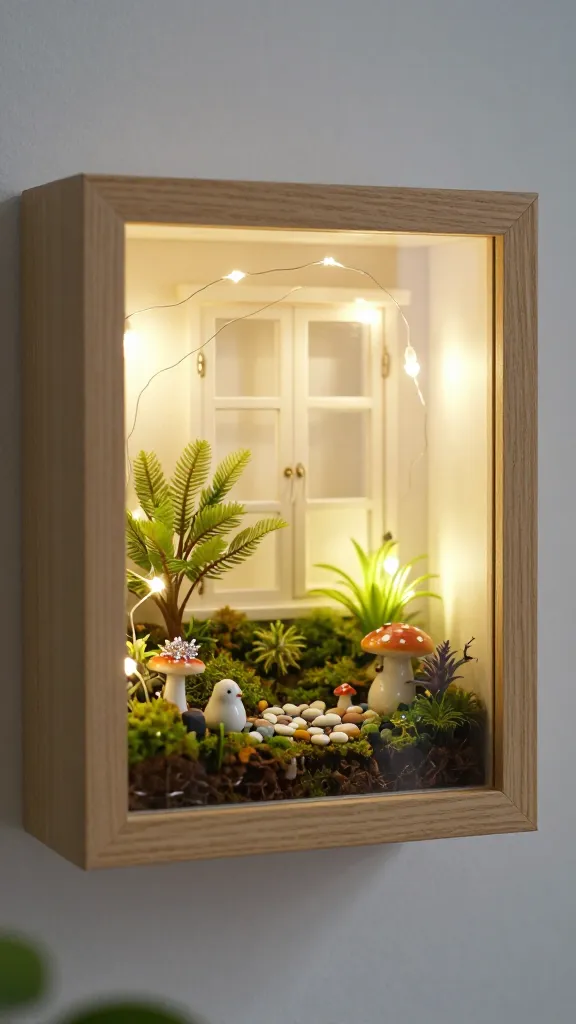
Bring a tiny garden indoors with a shadow box turned into a magical window display. Think mini moss, fairy lights, and tiny ceramic critters that sparkle at night.
- Materials Needed
- • Small shadow box with glass front
- • Moss, faux plants, mini pebbles
- • Battery-operated fairy lights
- • Tiny figurines or faux mushrooms
- Tools
- • Glue, hot glue gun (optional), scissors
- Key Steps
- • Line the base with moss, add pebbles and plants to create a tiny landscape.
- • Thread fairy lights behind the glass for a gentle glow at night.
- • Seal with a clear backing and place on a shelf or window ledge.
- Customization Ideas
- • Change with seasons—tiny pumpkins in fall, blossoms in spring.
- • Swap figurines for seasonal characters.
Who will love it: dreamers, plant lovers, and anyone who wants a bit of nature without taking over a table or floor.
6. Felt Play Mats: Cozy Floor Miniature Rooms
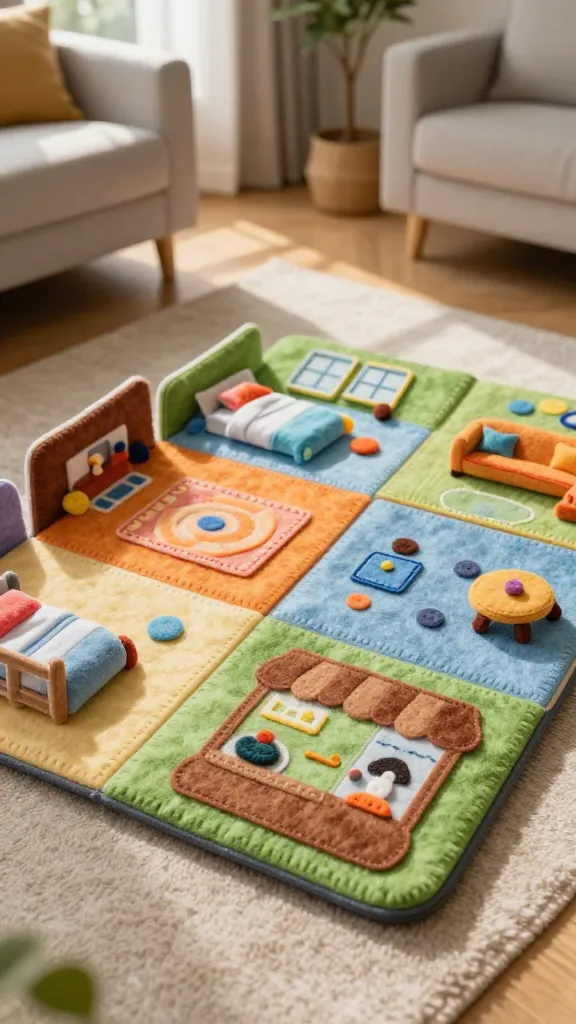
Soft, tactile, and proudly small—these felt play mats become interactive mini-room scenes. Each mat doubles as a story prompt and a gentle noise-dampening surface.
- Materials Needed
- • Colorful felt sheets
- • Thin batting or fleece for padding
- • Needle, thread or fabric glue
- Tools
- • Scissors, rotary cutter (optional)
- Key Steps
- • Cut felt into room shapes: bedroom, living room, cafe storefront. Layer with padding for softness.
- • Sew or glue edges; stitch simple details like beds, rugs, and windows.
- Styling Ideas
- • Add velcro on the back to attach to a larger play mat or design a modular cityscape.
Who will love it: tactile kids who enjoy storytelling and adults who want a soft, textured decor piece for a play corner.
7. Glitter Jar Shadow Box: Tiny Night Sky in a Jar
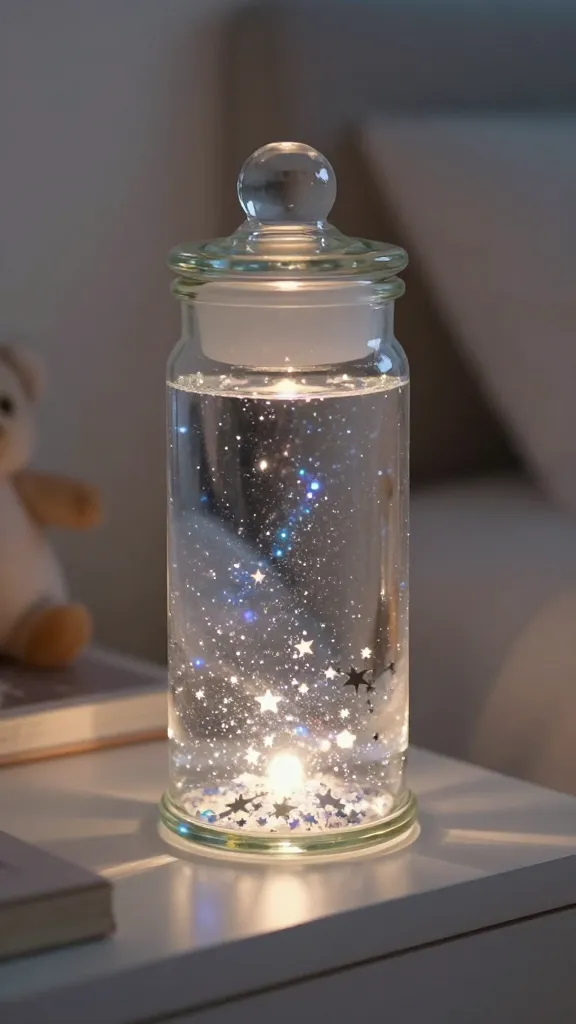
A shimmering night-sky vignette captured in a jar, ideal for a bedside shelf or a calming corner. It’s a tiny universe kids can gaze into at bedtime.
- Materials Needed
- • Clear glass jar with lid
- • Glitter, star confetti, tiny LED light
- • Water, glycerin or clear glue
- Tools
- • Funnel or spoon, hot glue
- Key Steps
- • Fill jar with water and a few drops glycerin for slow glitter drift.
- • Add glitter, stars, and a LEDs light at the bottom; secure lid tightly.
- Customization Ideas
- • Change by season—comets for winter, fireflies for summer.
Who will love it: night-sky lovers and kids who crave a cozy, starry companion for quiet time.
8. Button String Wall Art: Colorful Quilt of Circles
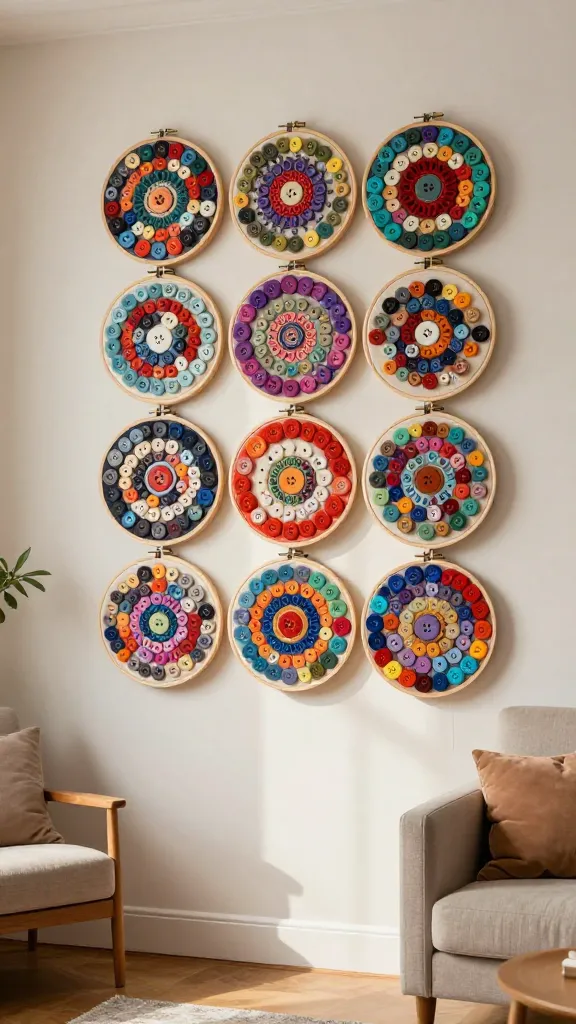
A cheeky, textural wall piece made from buttons strung into ceramic-like circles. It’s bold, inexpensive, and instantly elevates a plain wall.
- Materials Needed
- • Assorted buttons, embroidery floss in coordinating colors
- • Wooden embroidery hoop or thick foam board
- • Glue, needle, scissors
- Tools
- • Optional hot glue for extra durability
- Key Steps
- • Thread buttons into circular motifs using one color per hoop or board. Tie knots securely.
- • Attach circles to the hoop or board in a grid or freeform pattern.
- Styling Ideas
- • Coordinate with a color palette from a bedroom or playroom.
Who will love it: color lovers and anyone who enjoys a handmade, quirky art piece that doubles as a conversation starter.
9. Sensory Bottle Garden: Calm, Glittery Water Beads
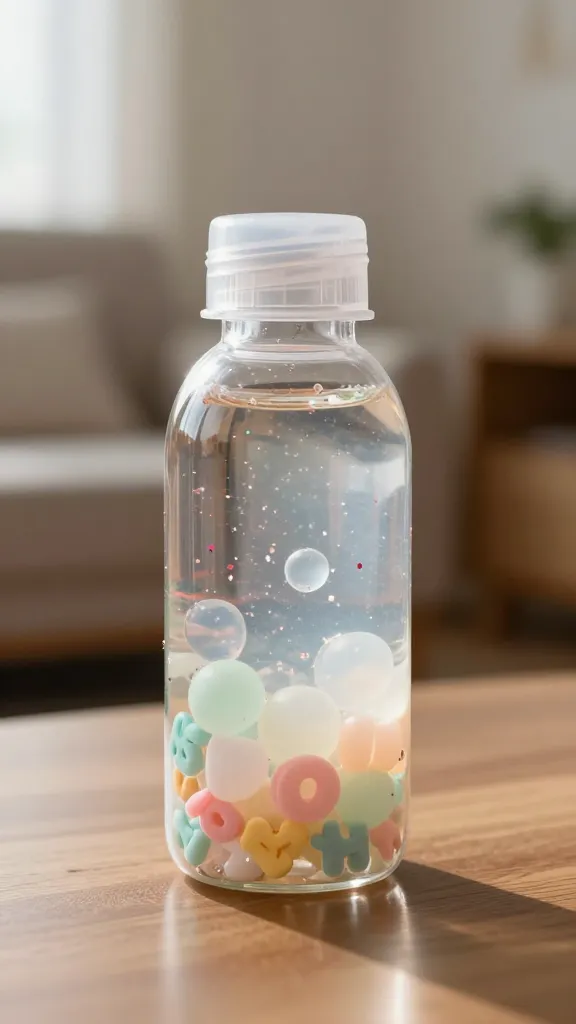
A soothing, interactive bottle garden that doubles as a decorative piece. Shake it, watch the beads drift, and let the subtle sounds calm a busy room.
- Materials Needed
- • Clear plastic bottle with lid
- • Water beads or small decorative beads
- • Alphabet sand or colored glitter
- • Drop of glycerin or clear glue
- Tools
- • Funnel, hot glue (for lid seal)
- Key Steps
- • Fill bottle halfway with water beads, add beads and glitter, then seal tightly.
- • Add a touch of glycerin for slower movement and a few drops of color for a soft hue.
- Customization Ideas
- • Use themed beads—stars, shells, or tiny figurines.
- • Create a set with different colors and rotate on a shelf.
Who will love it: sensory-seeking kids, tidy-treaks who crave gentle visual therapy, and parents who want a soothing focal point on a shelf.
Conclusion
These 9 aesthetic kids activities for small spaces (apartment friendly) prove you don’t need a sprawling studio to spark creativity. Pick one (or all) and watch your tiny corner transform into a stylish, playful zone you’ll actually enjoy spending time in. Ready to try one tonight? You’ll love this—your space, your rules, your imagination. Happy crafting!