7 Toilet Paper Roll Crafts That Actually Work
Hey crafty friend, ready to turn those humble toilet paper rolls into adorable, useful treasures? You’ll love these seven totally unique projects that are easy, affordable, and surprisingly stylish. Let’s dive in and get the creative juices flowing—trust me, you’ll want to try every one.
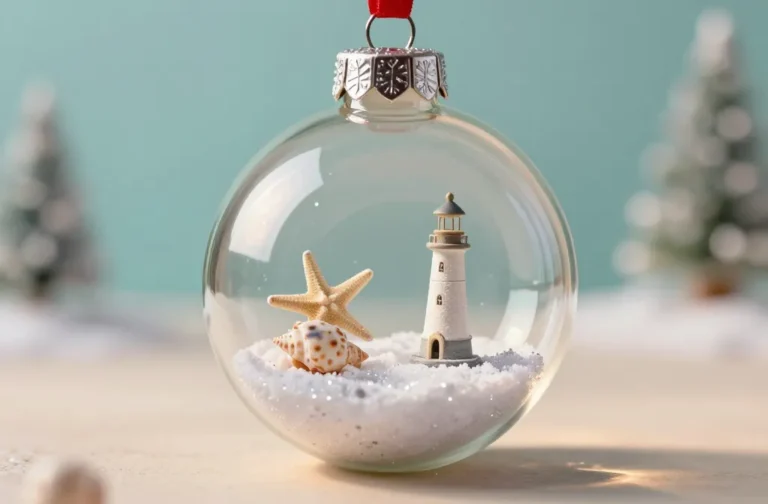
1. Mini Plant Terrarium Terrific: Glassy Globe from a Roll

Imagine a tiny glassy world perched on your desk, housing a little succulent or air plant. This project transforms a simple toilet paper roll into a delicate, modern terrarium substitute that’s both cute and low-maintenance.
Materials Needed
- Toilet paper roll
- Glass jar lid or clear plastic dome (optional, for top)
- Small pebbles, activated charcoal, potting soil
- Mini succulent or air plant
- Moss, decorative sand, tiny figurine (optional)
How to Make It
- Layer a thin bed of pebbles in the roll’s bottom for drainage.
- Add a pinch of activated charcoal, then a scoop of potting soil.
- Place a tiny succulent or air plant inside, add moss around for a lush look.
- Top with decorative sand or a glass dome lid if you have one.
Pro Tips / Styling Ideas
- Keep it small and airy—these look best in groups of three on a sunny windowsill.
- Add a drop of white paint on the rim for a chic, minimalist vibe.
- Pair with a miniature figurine or a glass bead for whimsy.
End note: This would charm plant lovers and anyone who adores clean, modern decor. It’s a tiny, low-maintenance green friend you’ll want near your workspace.
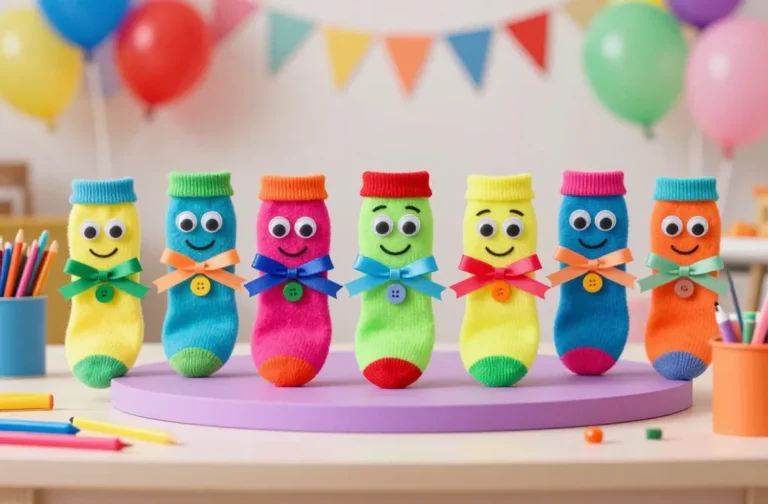
2. Cozy Wall-Wallet Gallery: DIY Photo Clip String

Turn a stack of cardboard rolls into a chic photo display that doubles as a mini gallery. This is perfect for a dorm, a shared apartment, or a cozy living room corner—framing memories has never been this thrifty.
Materials Needed
- 3–4 toilet paper rolls
- Mini binder clips or metal paper clips
- Twine or jute string
- Paint or decorative paper, scissors, glue
- Photos or postcards you love
How to Make It
- Flatten the rolls by slightly pressing them and cut them into 1–2 inch segments.
- Cover with paint or decorative paper for a pop of color.
- Attach binder clips to each segment and string them along twine in a row or zigzag.
- Clip your favorite photos or mini art prints and hang on the wall.
Pro Tips / Styling Ideas
- Mix metallics (gold, copper) with pastels for a modern gallery vibe.
- Create a seasonal version with holiday cards or love notes—great for gifting too.
End note: A playful, budget-friendly craft that makes a wall feel personal and curated. You’ll love how quickly it comes together.
3. Foamy Fairy Lights Jar: Glittery Glow-Up
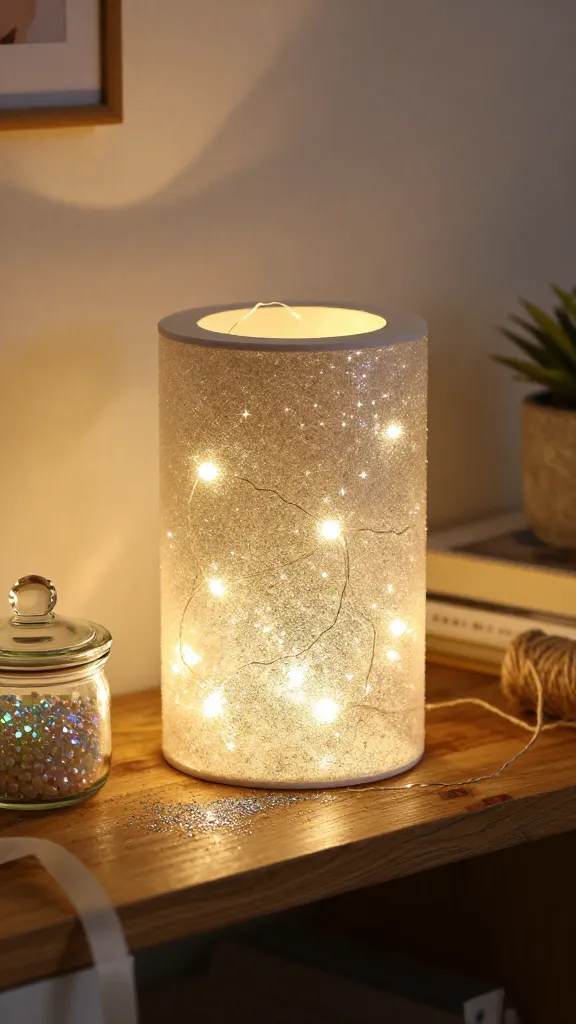
Who doesn’t adore a warm, twinkling glow? This jar hides a tiny surprise inside a repurposed roll, turning plain lighting into a magical decor piece for shelves, desks, or bedside tables.
Materials Needed
- Toilet paper roll
- Small glass jar with lid
- String lights or fairy lights
- Glitter, confetti, or tiny beads
- Ribbon or twine to decorate
How to Make It
- Roll a strip of glittery paper around the outside of the roll for a shimmering texture.
- Fill the jar with a handful of glitter or beads, then tuck the roll inside as a decorative insert.
- Place the lights inside the jar, turn on, and wrap the jar with ribbon for a finished look.
Pro Tips / Styling Ideas
- Use a battery-operated timer so the glow comes on automatically at dusk.
- Match the glitter color to your room palette for a cohesive feel.
End note: It’s a cozy, sparkly night-light that’s as decorative as it is functional. Seriously, this little jar brings warmth to any corner.
4. Seed-Sower Seedling Grow Tray: Desktop Planter
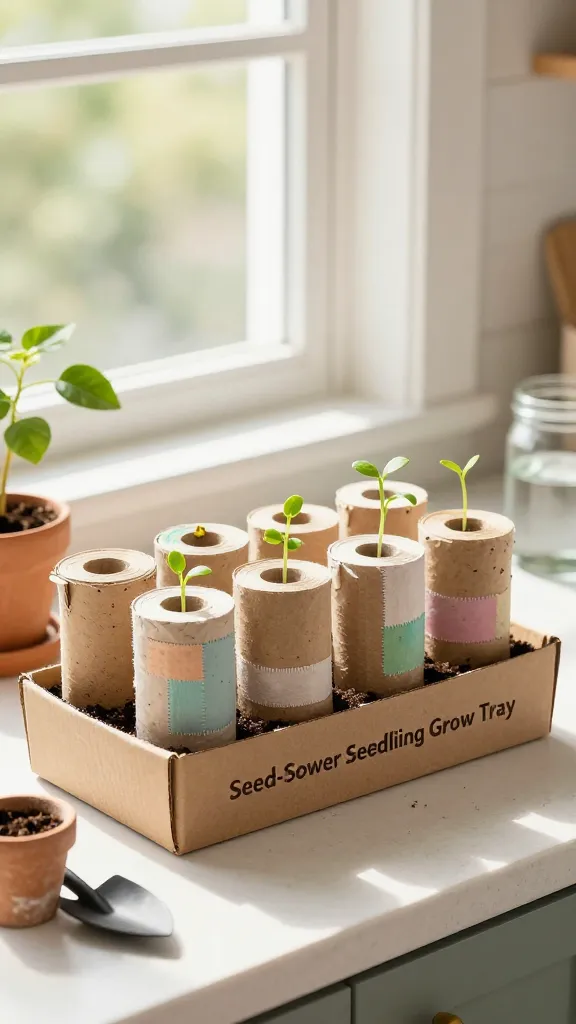
Give seedlings a stylish start with a customizable tray made from upcycled rolls. This is perfect for starting herbs or tiny plants in a bright kitchen or sunny windowsill. It’s cute, practical, and totally recyclable.
Materials Needed
- Toilet paper rolls
- Cardboard tray or shallow dish as a base
- Potting soil, seeds or small nursery plants
- Glued-on decorative fabric or paint for flair
How to Make It
- Flatten one end of each roll to create a lip, then cut to size to fit in the tray.
- Fill with a bit of soil and plant seeds or a tiny seedling in each roll.
- Decorate the outer surface with fabric scraps or a splash of color.
Pro Tips / Styling Ideas
- Line the tray with moss for a garden-ready look.
- Label each roll with a tiny chalk mark for easy identification.
End note: This is gift-worthy for fellow plant lovers or apartment dwellers. A charming starter kit with zero-waste vibes.
5. Elegant Jewelry Holder: Ring-and-Thread Bar
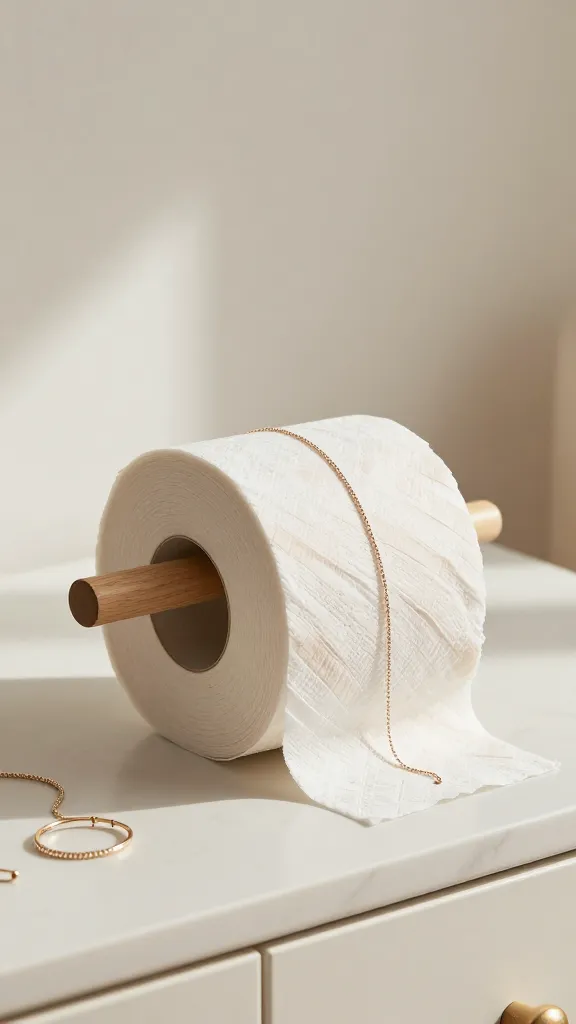
Turn everyday cardboard into a beauty-boosting accessory holder. This sleek ring-and-thread bar keeps jewelry organized while looking chic on a dresser or vanity. It’s minimalist, affordable, and surprisingly sturdy.
Materials Needed
- Toilet paper roll
- Wooden dowel or thick thread
- Fabric wrap or decorative paper
- Glue, scissors
- Small hooks or pins (optional, for hanging earrings)
How to Make It
- Wrap the roll in fabric or decorative paper to hide the cardboard edge.
- Glue a dowel lengthwise across the top of the roll to act as a mini bar for rings and bracelets.
- Optionally add hooks on the bottom for earrings or bracelets.
Pro Tips / Styling Ideas
- Pair with a ceramic tray and a scented candle for a luxe vanity vignette.
- Choose a bold color for a statement piece or a muted tone for a calm aesthetic.
End note: A practical yet stylish solution for organizing jewelry. You’ll love the clean, curated look it brings to your dressing area.
6. Seasonal Countdown Banner: Festive Roll Garland

Make a cheerful, reusable banner by slicing rolls into discs and painting seasonal designs. It’s perfect for birthdays, holidays, or just adding a playful touch to your decor. Easy, adorable, and totally customizable.
Materials Needed
- Toilet paper rolls
- Acrylic paints or markers
- Twine string or ribbon
- Scissors, hot glue (optional), stencils (optional)
How to Make It
- Flatten and cut each roll into 1/2 inch discs. Sand edges if needed.
- Paint one side with a seasonal design or a simple number/initial.
- Thread the discs onto twine to create a continuous banner. Tie or glue the ends to secure.
Pro Tips / Styling Ideas
- Create color schemes per season: warm autumn tones, icy winter pastels, etc.
- Hang above a mantel, doorway, or entryway for an instant festive feel.
End note: It’s a customizable statement piece that you can reuse year after year. You’ll love how quickly it elevates any space.
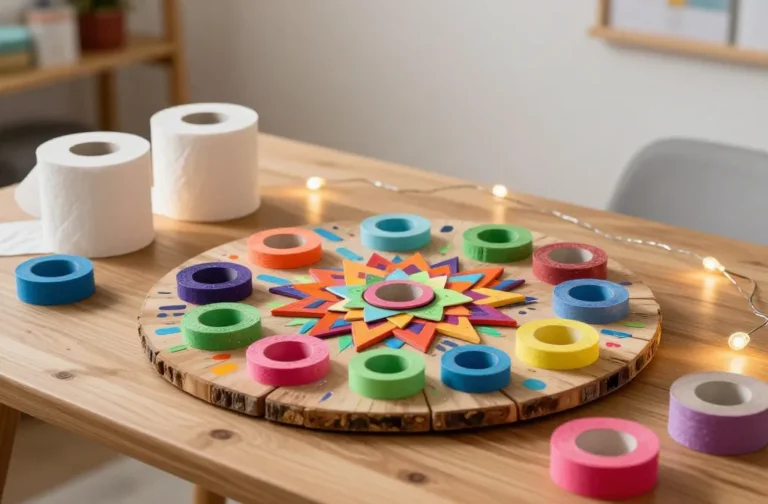
7. Cozy Desk Organizer: Cardboard Cannon for Office Cuteness
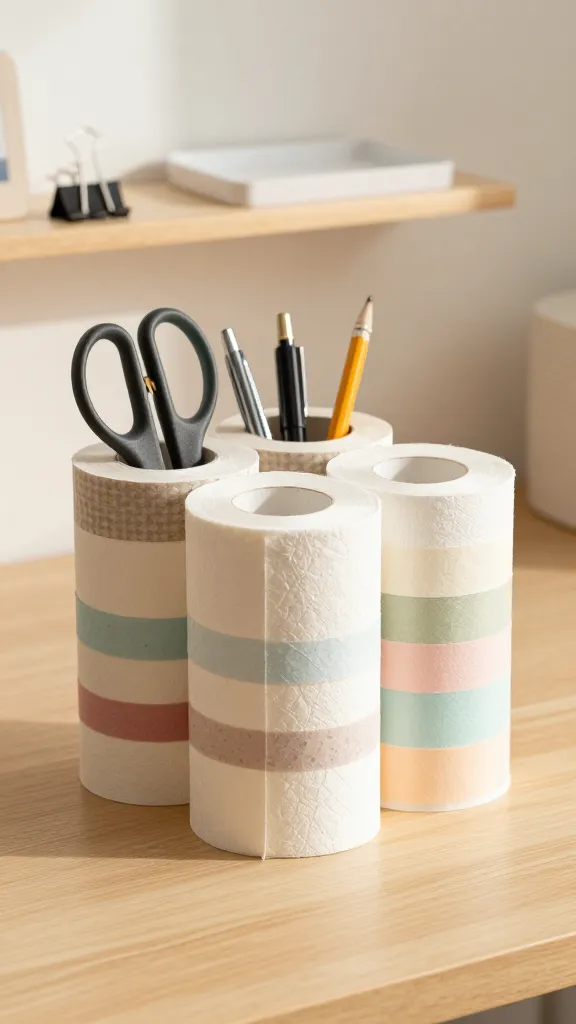
Last but not least, fashion a practical desk organizer that corrals pens, scissors, and clips. A practical upgrade for home offices or study nooks, this roll-made container keeps supplies within arm’s reach while looking adorable on your desk.
Materials Needed
- Three or four toilet paper rolls
- Decorative paper, washi tape, or paint
- Hot glue gun or strong craft glue
- Scissors, ruler
- Optional: small cardboard tray for base
How to Make It
- Flatten the ends of the rolls to help them glue snugly together in a row or cluster.
- Wrap each roll with decorative paper or paint them to match your desk theme.
- Glue the rolls side-by-side onto a base or directly onto a tray, leaving gaps for pens and scissors.
Pro Tips / Styling Ideas
- Label sections with cute stencils for quick organization—phones, pens, post-its, etc.
- Use a chalkboard label on the outer surface for easy switching of contents.
End note: A simple, stylish upgrade that turns a cluttered workspace into a tidy, inspiring zone. You’ll thank yourself every time you reach for a marker and find it within arm’s reach.
Conclusion
These seven toilet paper roll crafts prove that you can turn everyday scraps into something genuinely lovely and usable. Each project is designed to be approachable, affordable, and totally Pinterest-worthy. Pick one (or all seven) and start crafting—your home will thank you, and so will your imagination.