8 Toilet Paper Roll Crafts You Need to Try
Ready to turn humble bathroom essentials into standout decor? These 8 toilet paper roll crafts are simple, budget-friendly, and seriously Instagram-worthy. Trust me: you’ll be surprised what a little cardboard magic can do.
Now grab a roll, your favorite craft supplies, and your best DIY vibes. Let’s dive into eight completely unique ideas that will spark creativity and delight at every turn.
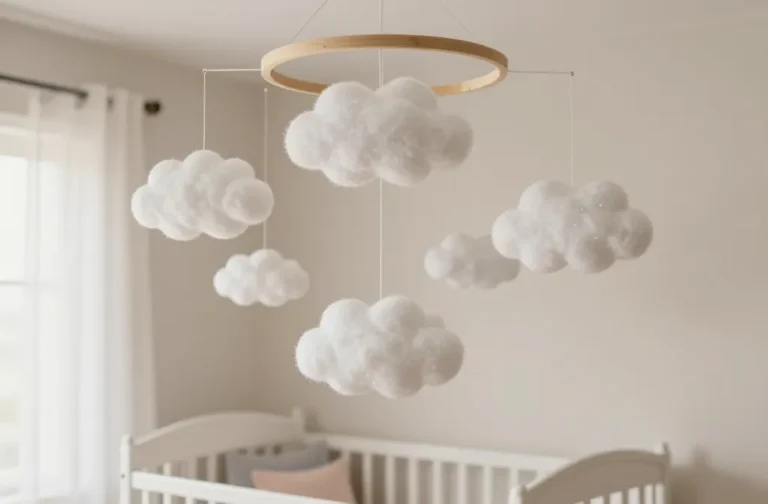
1. Whimsical Paper Mushroom Garden Ornaments

Imagine a tiny forest right on your shelf—lush, playful, and a touch magical. These mini mushrooms built from toilet paper rolls bring whimsy to desks, mantels, or windowsills. The colors pop, the textures feel cozy, and they’re delightfully easy to customize.
Materials Needed
- Toilet paper rolls (2–3 per mushroom)
- Acrylic paints (red, white, brown, and any accent colors)
- White gesso or craft glue
- Bubble wrap or small brush for texture
- Hot glue gun
- Optional: felt, fake moss, tiny artificial flowers
How to Make It
- Cut each roll into 2–3 short segments to form stems.
- Paint the outside of the segments with a mushroom cap color (red is classic). Let dry.
- For the cap, leave a white dot to mimic the classic mushroom pattern. Glue the cap onto the stem base.
- Texture the caps with a dab of paint and bubble wrap to give a natural dotted surface.
- Arrange on a small clay base or paint a tiny garden scene on a tray, then mount the mushrooms with a dab of glue.
Pro Tips / Styling Ideas
- Paint some caps in pastel tones for a dreamy, whimsical display.
- Glue a few tiny faux flowers around the base for a fairytale touch.
End note: These little fungi are perfect for a playful shelf, kids’ room, or nature-themed party décor. You’ll love the instant charm they add to any corner.
2. Modern Geode Wall Art Made From Cardboard Rings
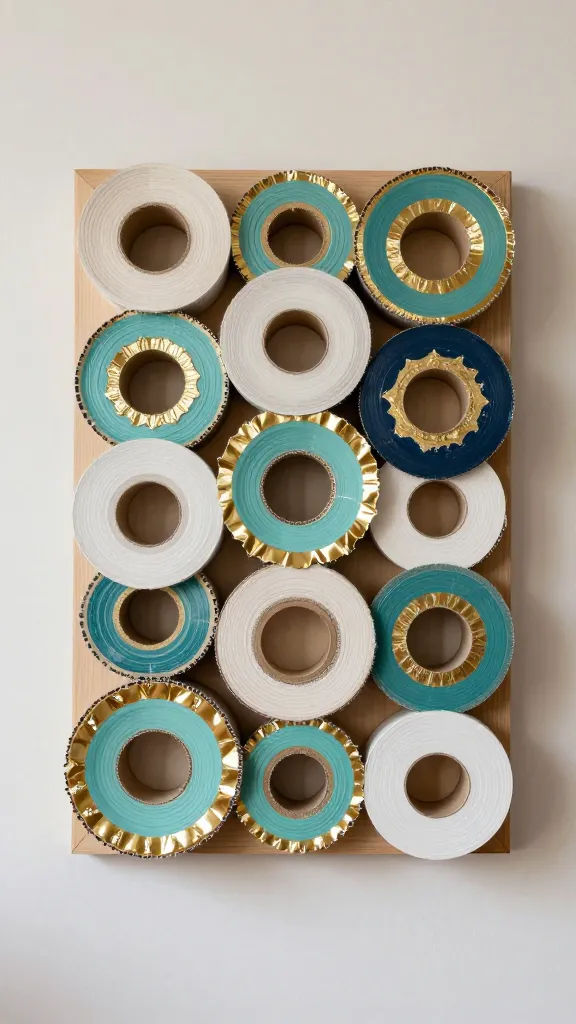
Geodes feel luxurious, but this version uses recycled rolls and a splash of metallics for a chic, modern vibe. It’s a bold statement piece that won’t break the bank or your back.
Materials Needed
- Toilet paper rolls
- Cardboard or wood backing (about 8×10 inches)
- Acrylic paints in teal, navy, white, and gold
- Gold or metallic foil accents
- Mod Podge or clear drying glue
- Scissors and hot glue gun
How to Make It
- Cut rolls into varying lengths to form a cluster of “geode” pieces.
- Paint the interiors with bold jewel tones, leaving some natural cardboard edges for texture.
- Arrange the pieces on the backing in a radial or crystalline pattern, then glue down.
- Add gold accents along the edges and sprinkle a bit of metallic dust for sparkle.
Pro Tips / Styling Ideas
- Frame the completed piece or attach a hanging bracket for wall display.
- Pair with a monochrome room for contrast or a teal palette for a sea-inspired look.
End note: This is the grown-up, gallery-style craft you never knew you needed. It’s bold, it’s easy, and it’s surprisingly sophisticated.
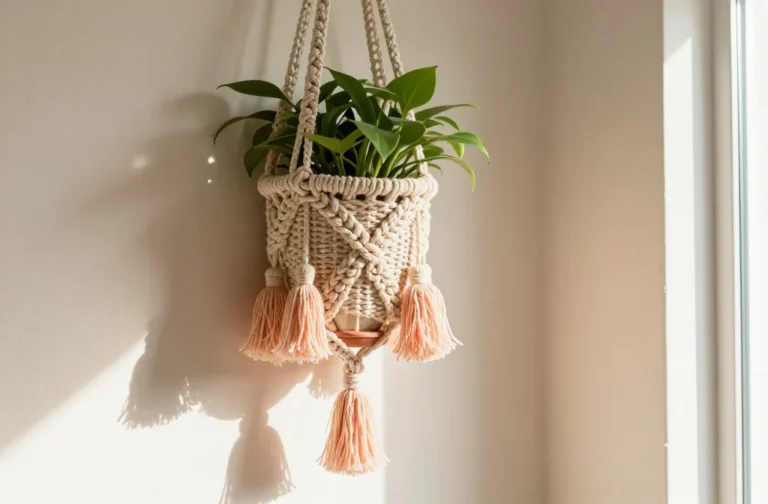
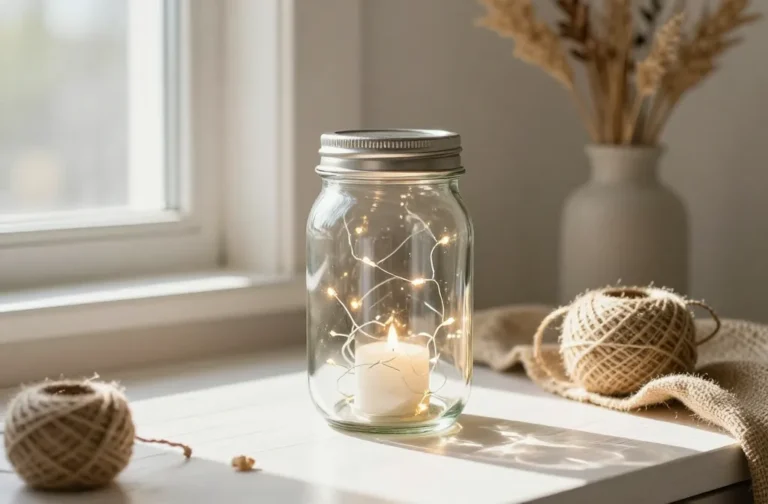
3. Cozy Knit-Look Lanterns
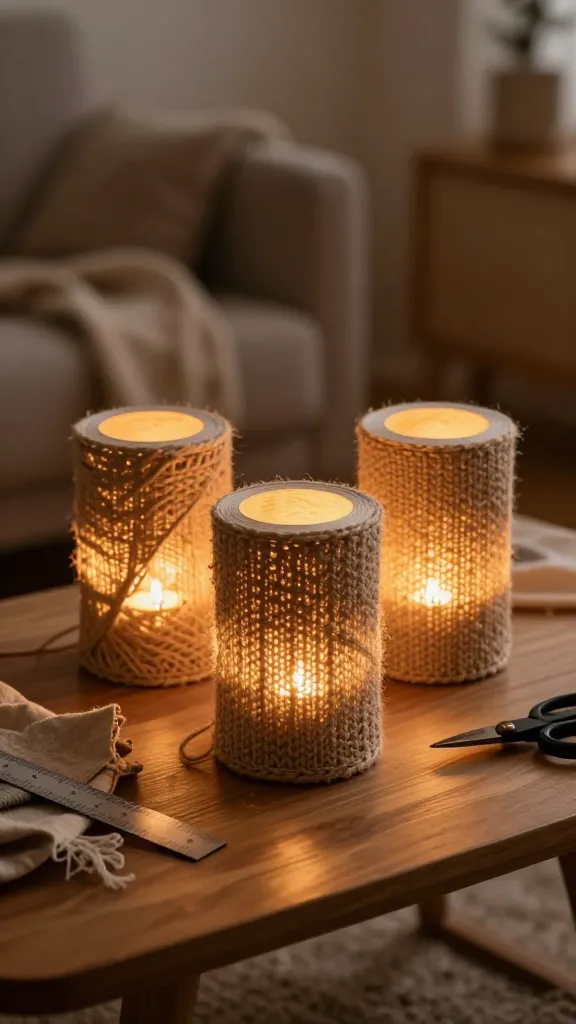
Who says you need yarn to get a knit look? These lanterns bring warmth and texture to any space, with a soft glow that makes evenings feel snug and inviting. They’re a surefire conversation starter at gatherings.
Materials Needed
- Toilet paper rolls
- Jute twine or thick yarn
- PVA craft glue or hot glue
- LED tea lights (battery-operated)
- Ruler and scissors
- Optional: fabric scraps for a cozy lining
How to Make It
- Cut the rolls into shorter sections to form hollow cylinders if you want a lantern look.
- Wrap the roll with twine or yarn, securing as you go with glue. Leave windows by weaving in a simple pattern with gaps for light.
- Glue the ends neatly and cap with a small strip to help hold the wrap in place.
- Place an LED light inside and enjoy the ambient glow.
Pro Tips / Styling Ideas
- Create a trio in varying heights for a cozy tablescape.
- Line a window ledge with several lanterns for a warm, inviting display.
End note: An easy way to add warmth to any room. They’re divinely cozy and endlessly customizable.
4. Floral Curtain Tiebacks From Tiny Tubes
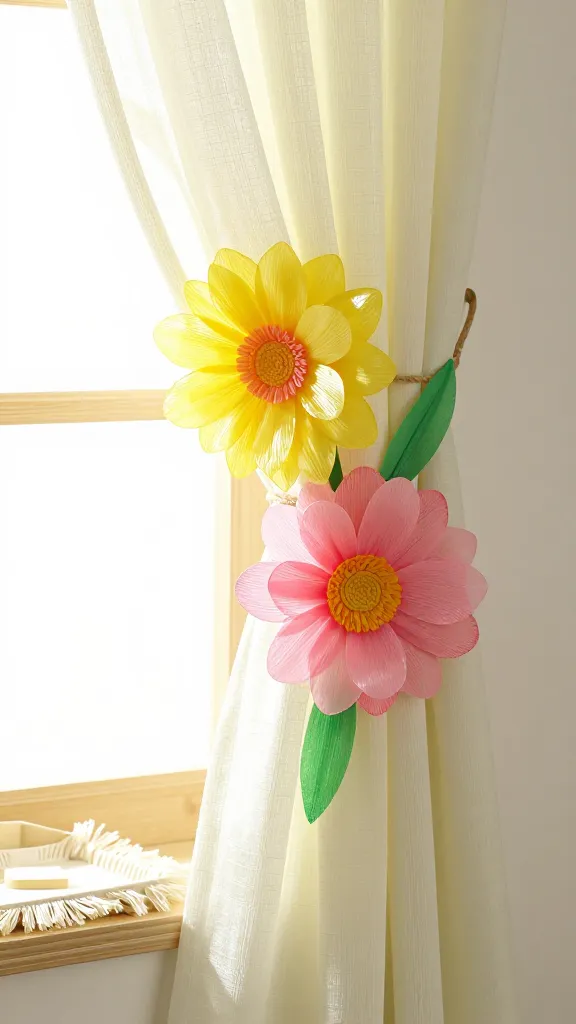
Give your curtains a fresh summer bloom with bright, paper-flower tiebacks crafted from toilet paper rolls. They’re cheerful, lightweight, and a perfect, practical decor upgrade.
Materials Needed
- Toilet paper rolls
- Colored tissue paper or crepe paper
- Hot glue or craft glue
- Ribbon or twine for the tie
- Scissors and edge scissors for fringe
How to Make It
- Cut the rolls into small discs (about 1 inch thick).
- Stack discs together and glue in a circular flower shape; trim the edges into petal shapes.
- Fill the center with tissue or curled paper for texture.
- Attach a small loop of ribbon to use as the tieback, or simply wrap around the curtain rod with a looped end.
Pro Tips / Styling Ideas
- Mix colors for a garden bouquet look or stick to a single color for modern minimalism.
- Place in a bright sunlit window for a papery floral glow.
End note: A functional decor upgrade that adds a pop of springtime charm to any room.
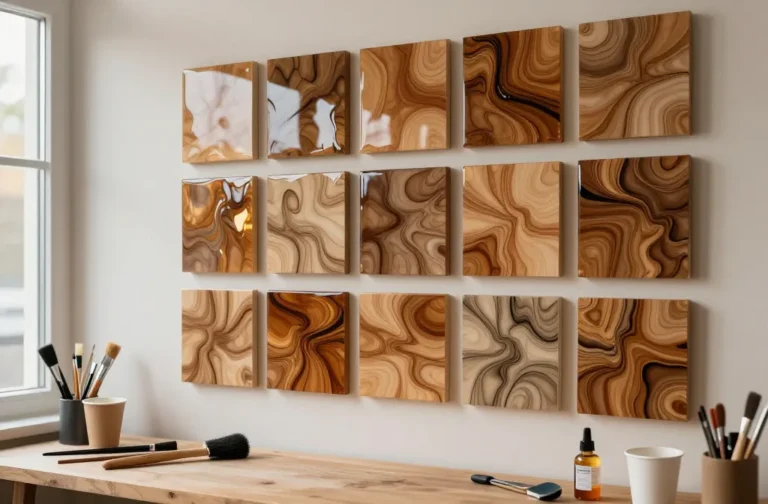
5. Mini Marble-Print Pencil Cups
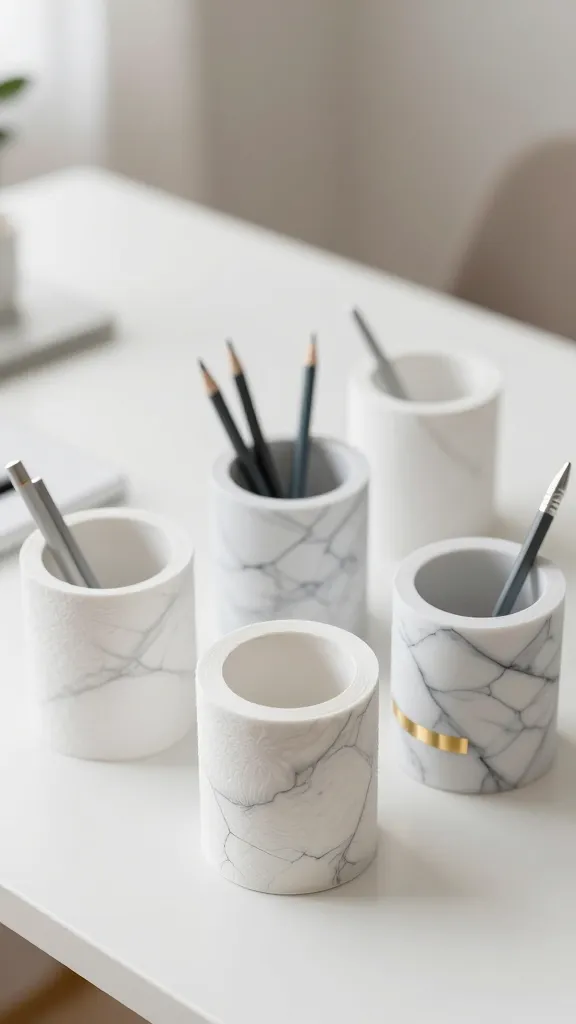
Turn plain desks into high-design workspaces with marble-inspired cups made from recycled rolls. No paint smudges, just chic, organized surfaces and a touch of luxe texture.
Materials Needed
- Toilet paper rolls
- White acrylic paint, black or gray acrylic for marble veins
- Fine paintbrushes or a toothpick for veining
- Gold or metallic sticker tape (optional)
- Sealant spray
How to Make It
- Paint the outside white and the interior a contrasting color if desired.
- Use a fine brush or toothpick to paint subtle marble veins in gray or black across the exterior.
- Seal with a spray to protect the finish.
- Fill with pens, pencils, or small desk essentials.
Pro Tips / Styling Ideas
- Place on a desk with a matching color palette for a cohesive look.
- Line a tray with several cups for a refined office aesthetic.
End note: Practical, pretty, and perfect for gifting to a student or a coworker who loves organized spaces.
6. Festive Party Blowers and Confetti Dispensers

Hosting a celebration? Create playful party blowers and a tiny confetti dispenser from tubes for a DIY decor boost that’s sure to right places at the party. They’re silly, colorful, and surprisingly easy.
Materials Needed
- Toilet paper rolls
- Bright patterned paper or tissue paper
- Stapler or glue
- Ribbon or string
- Confetti or small paper shapes
How to Make It
- Wrap a roll with patterned paper, secure with glue or staples, and add a small snip for the end.
- Fill a second, smaller roll with confetti for a quick dispenser; attach with a small notch to release when blown.
- Decorate with ribbons and streamers for extra festive flair.
Pro Tips / Styling Ideas
- Use as a photo booth prop stand or as a fun favor container.
- Keep a few preloaded with confetti for quick bursts during the celebration.
End note: A playful, budget-friendly party upgrade that guests will adore and you’ll proudly claim as a clever find.
7. Customizable Desk Organizer Towers
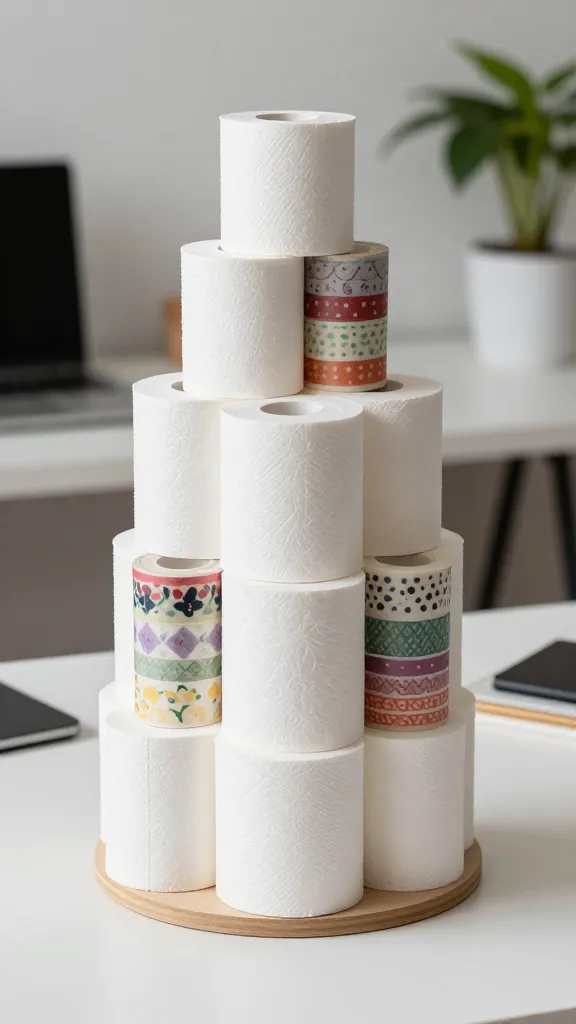
Turn clutter into chic organization with a stacked tower made from multiple rolls. It’s compact, modular, and you can style it to match any room—home office, craft corner, or entryway.
Materials Needed
- Several toilet paper rolls
- Decorative paper, washi tape, or paint
- Hot glue or craft glue
- Cardboard or thin wood base for stability
How to Make It
- Color or decorate each roll uniquely and let dry.
- Glue rolls side-by-side in a circular or square pattern on a base, building up to desired height.
- Fill with pens, scissors, glue sticks, or small office supplies.
Pro Tips / Styling Ideas
- Alternate colors to create a rainbow tower or go monochrome for a sleek look.
- Glue a small lip around the top for added structure and texture.
End note: A practical, high-impact piece that proves organization can be stylish and fun.
8. Festive Wind Chimes Using Painted Tubes
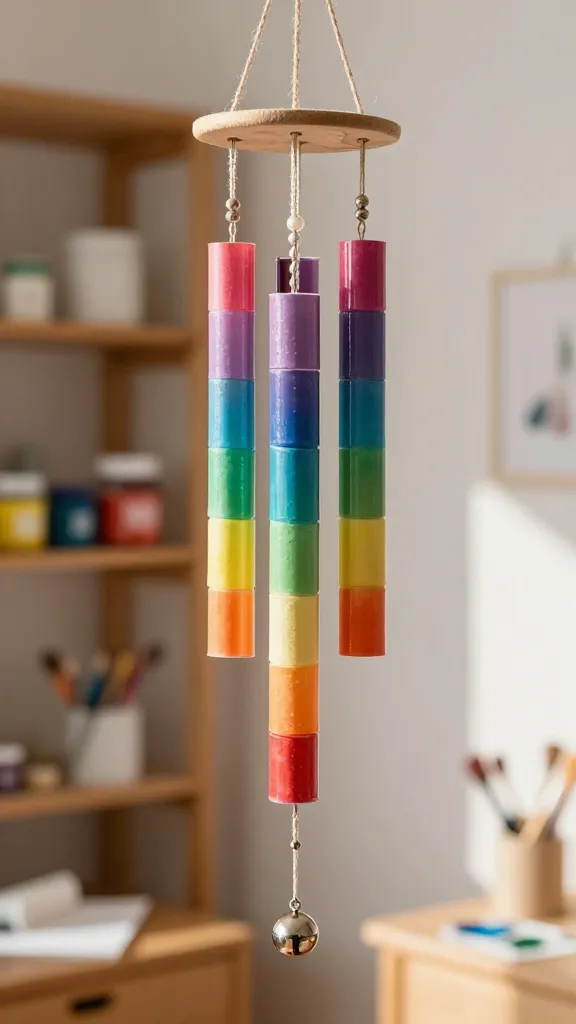
End the list with a soothing, musical vibe: wind chimes made from hollow tubes protectively painted and strung with twine. They’re calming, artistic, and a clever reuse of materials you’d otherwise toss.
Materials Needed
- Toilet paper rolls
- Acrylic paints in assorted colors
- String, twine, or fishing line
- Beads or charms (optional)
- Small bell or chime piece (optional)
How to Make It
- Cut rolls into 1–2 inch tubing chunks; paint in a rainbow of colors or gradient patterns.
- Seal with a clear coat and let dry fully.
- Thread string through each piece and hang at different lengths from a ring or dowel. Add beads or charms for extra texture.
Pro Tips / Styling Ideas
- Hang near a window for gentle tinkling with every breeze.
- Pair with outdoor seating for a charming garden accent.
End note: A soothing, decorative project to close out your eight-craft lineup with a musical finale.
Conclusion
These eight toilet paper roll crafts are proof that creativity thrives on everyday materials. Each project offers a fresh look, unique texture, and a sense of playful accomplishment. Pick one to start, or make all eight for a full-room refresh that’s as satisfying to create as it is to display. Have fun, and happy crafting!